Meet Lost Waldo: “Best of Marvelous Designer” Winner for Pwnisher's Rampage Rally
Lost Waldo, the winner of the “Best of Marvelous Designer” award for Pwnisher’s "Rampage Rally”, shares how his unique approach to problem solving leads to innovative solutions in 3D animation.
Artist Introduction
I’m Lost Waldo, a hobbyist 3D artist with a background in engineering. I enjoy finding out-of-the-box ways to solve problems that technically follow the rules while still feeling unexpected. As a hobbyist, I roll with the challenges and create art that’s unique to me.
Why Marvelous Designer Fits my Brain
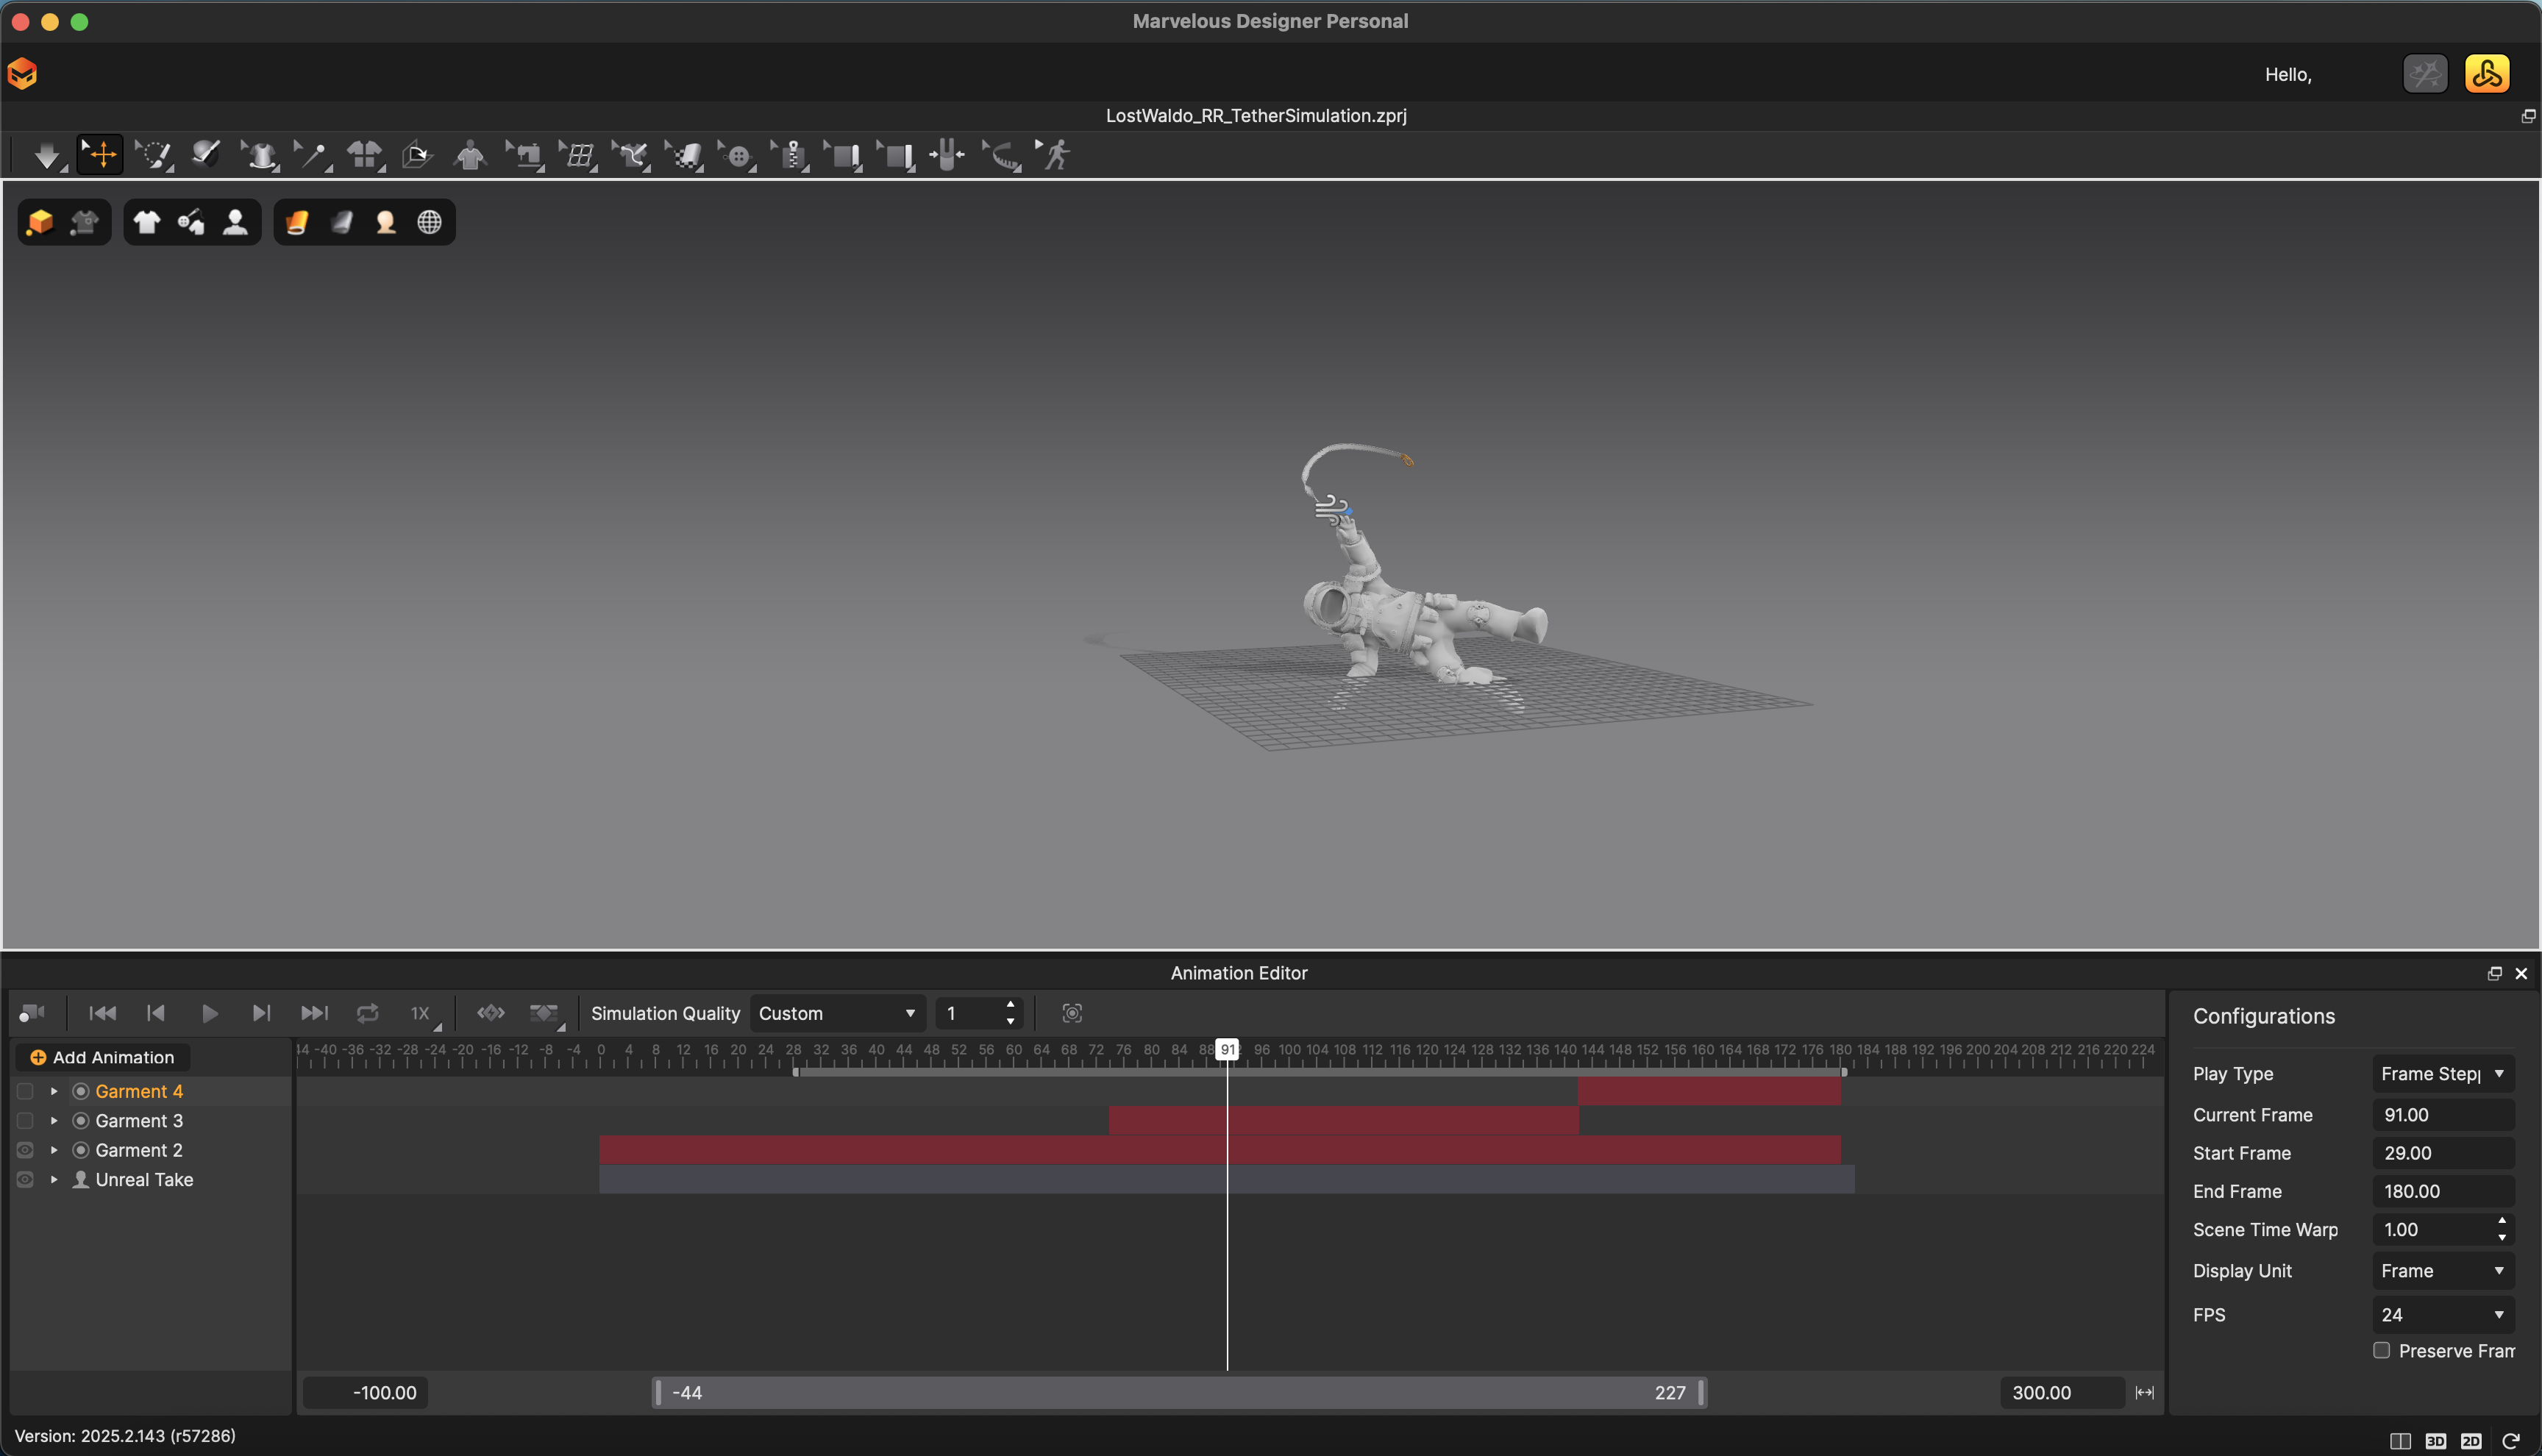
Parametric thinking is how I work. I use software like Fusion 360 and SolidWorks for engineering, so taking advantage of Marvelous Designer’s physics and pattern-tweaking just makes sense to me. In MD, I can run a simulation, go back, tweak the pattern, and watch the change flow through the whole model. That vector-plus-physics loop makes MD a playground, and it fits me far better than straight sculpting.
Rampage Rally: Concept & Choices
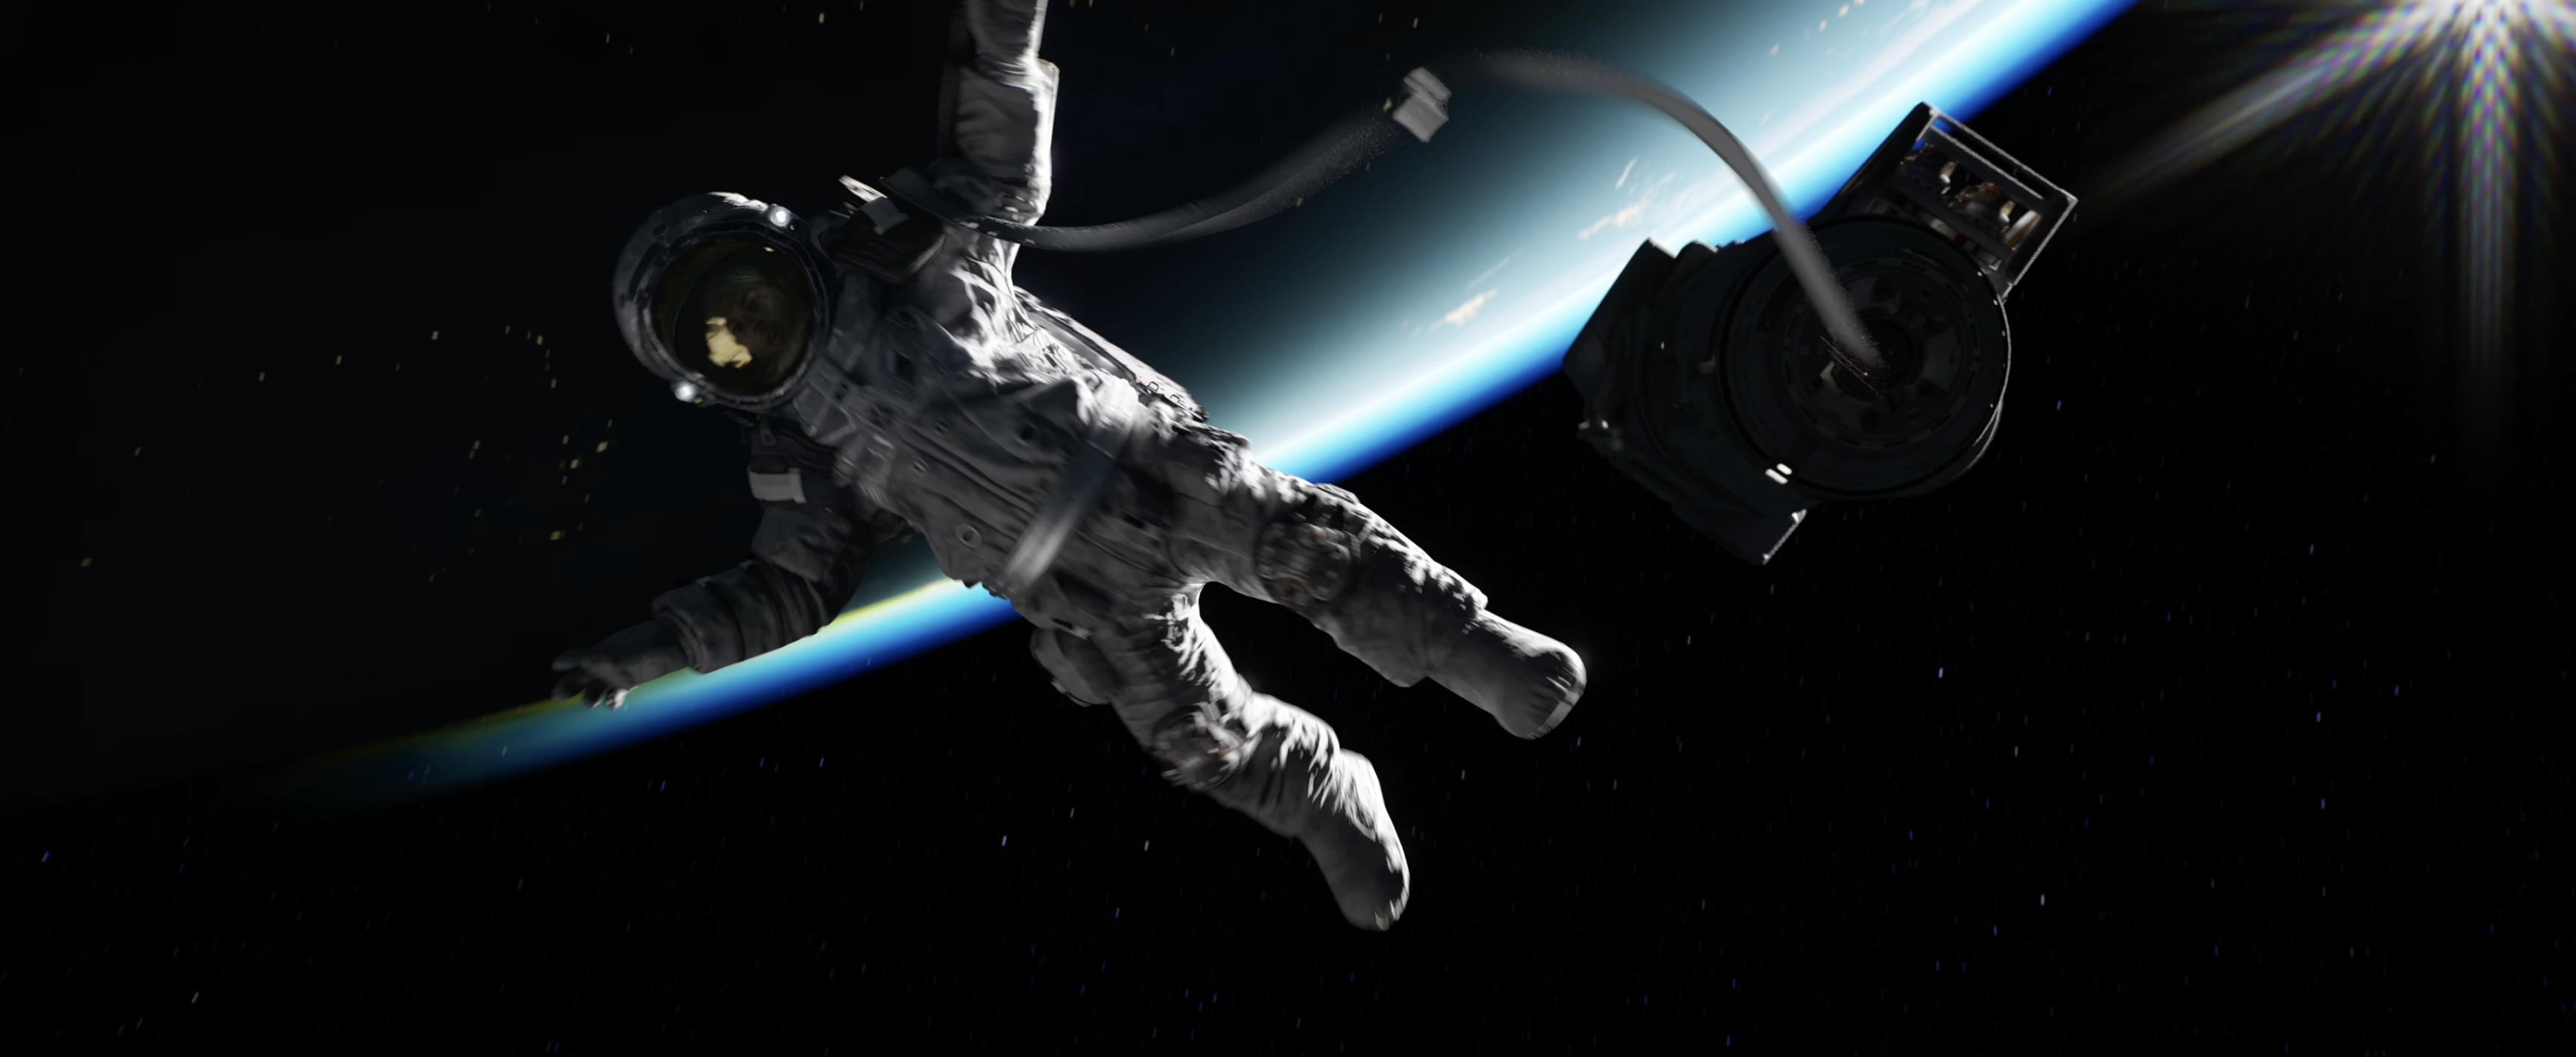
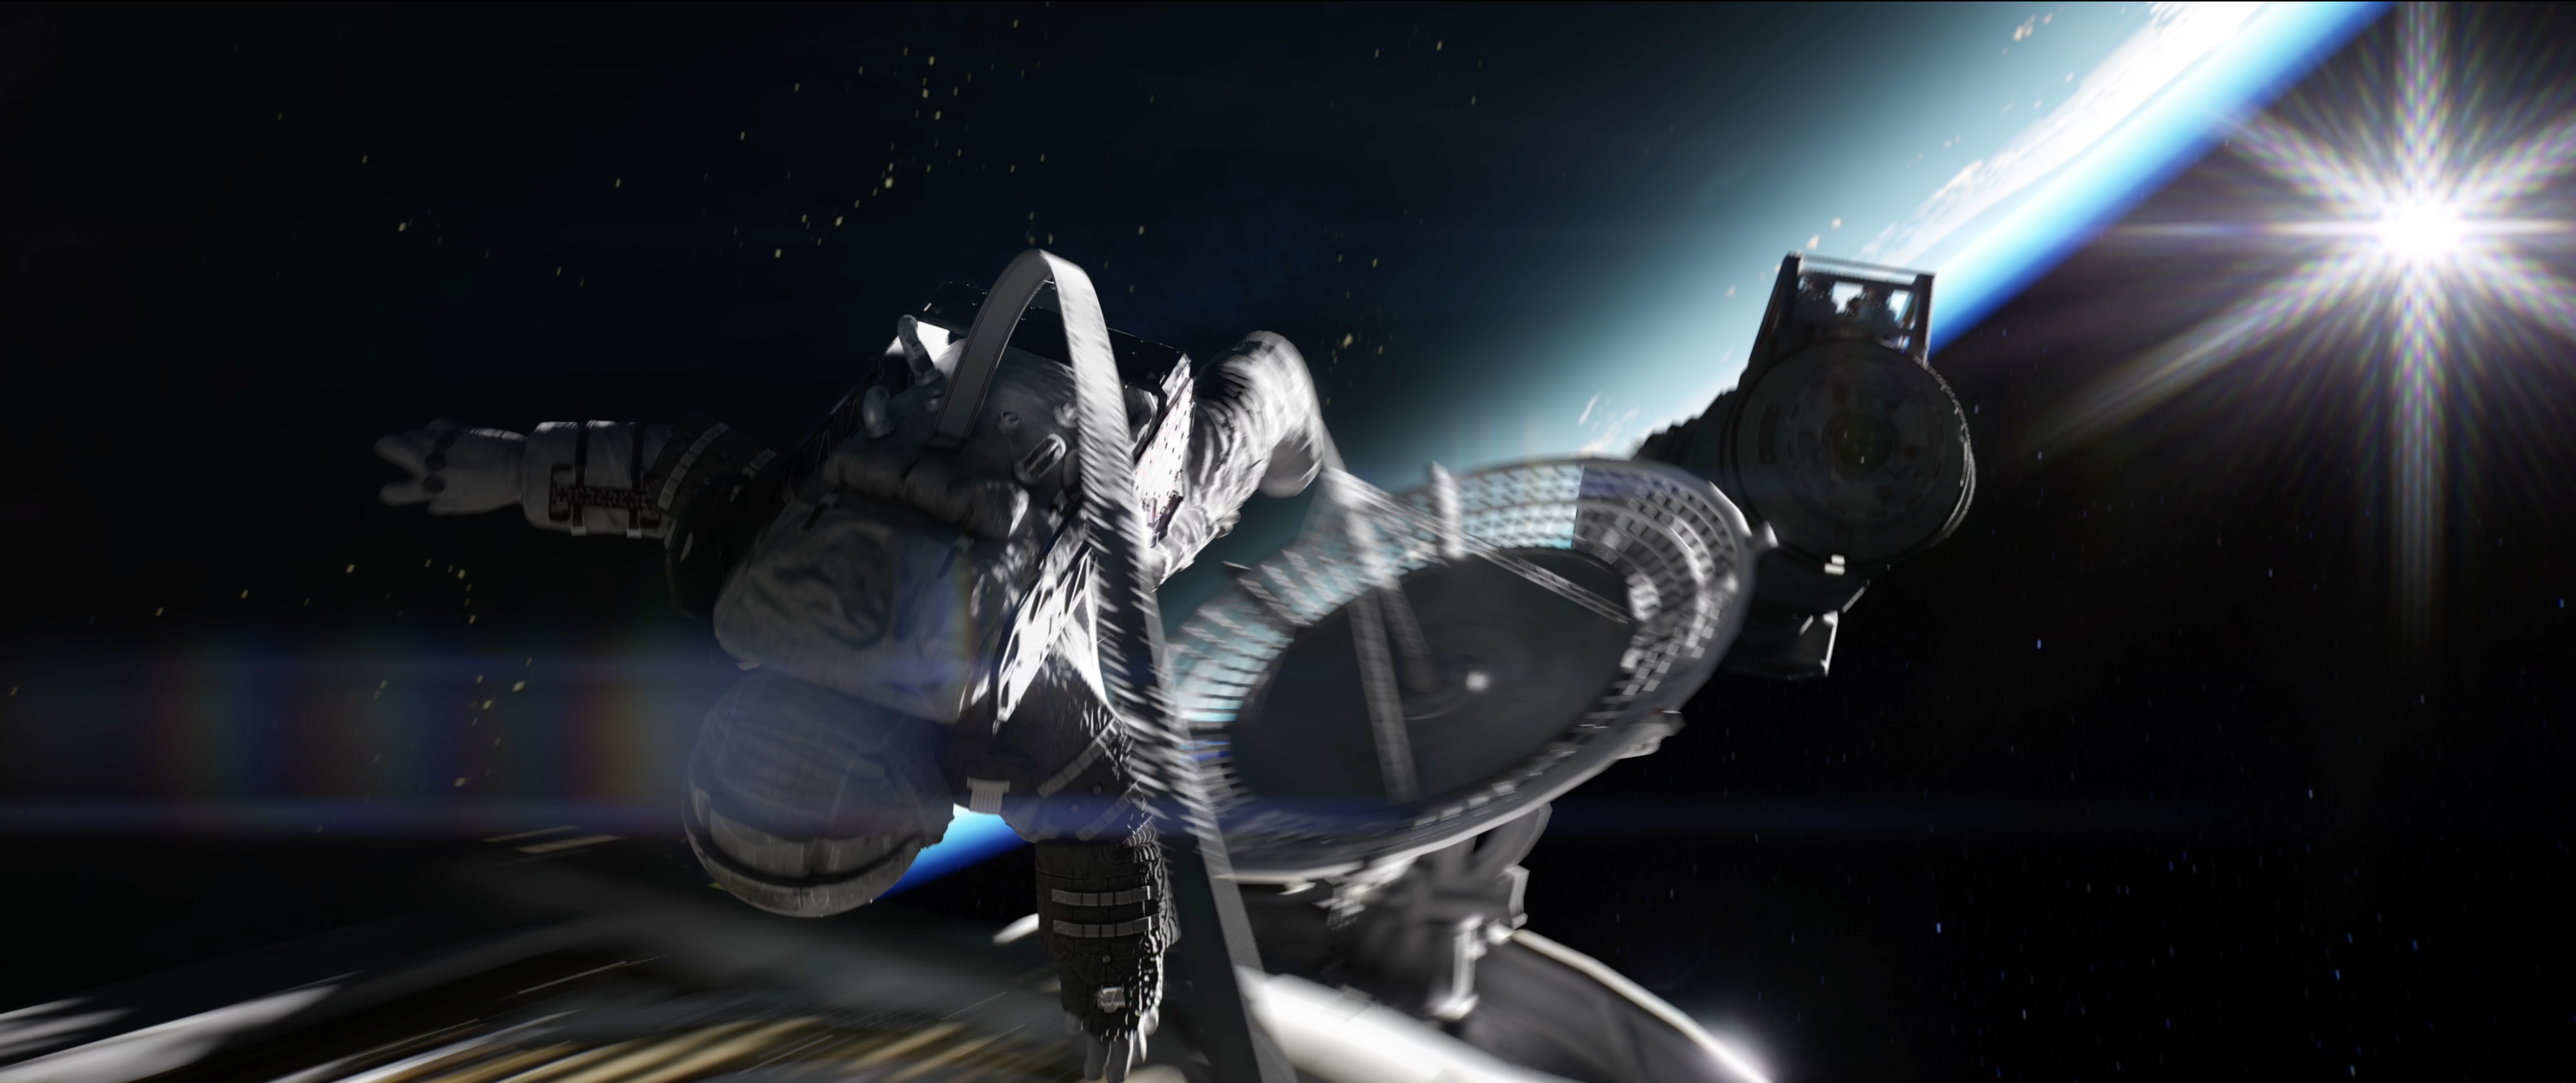
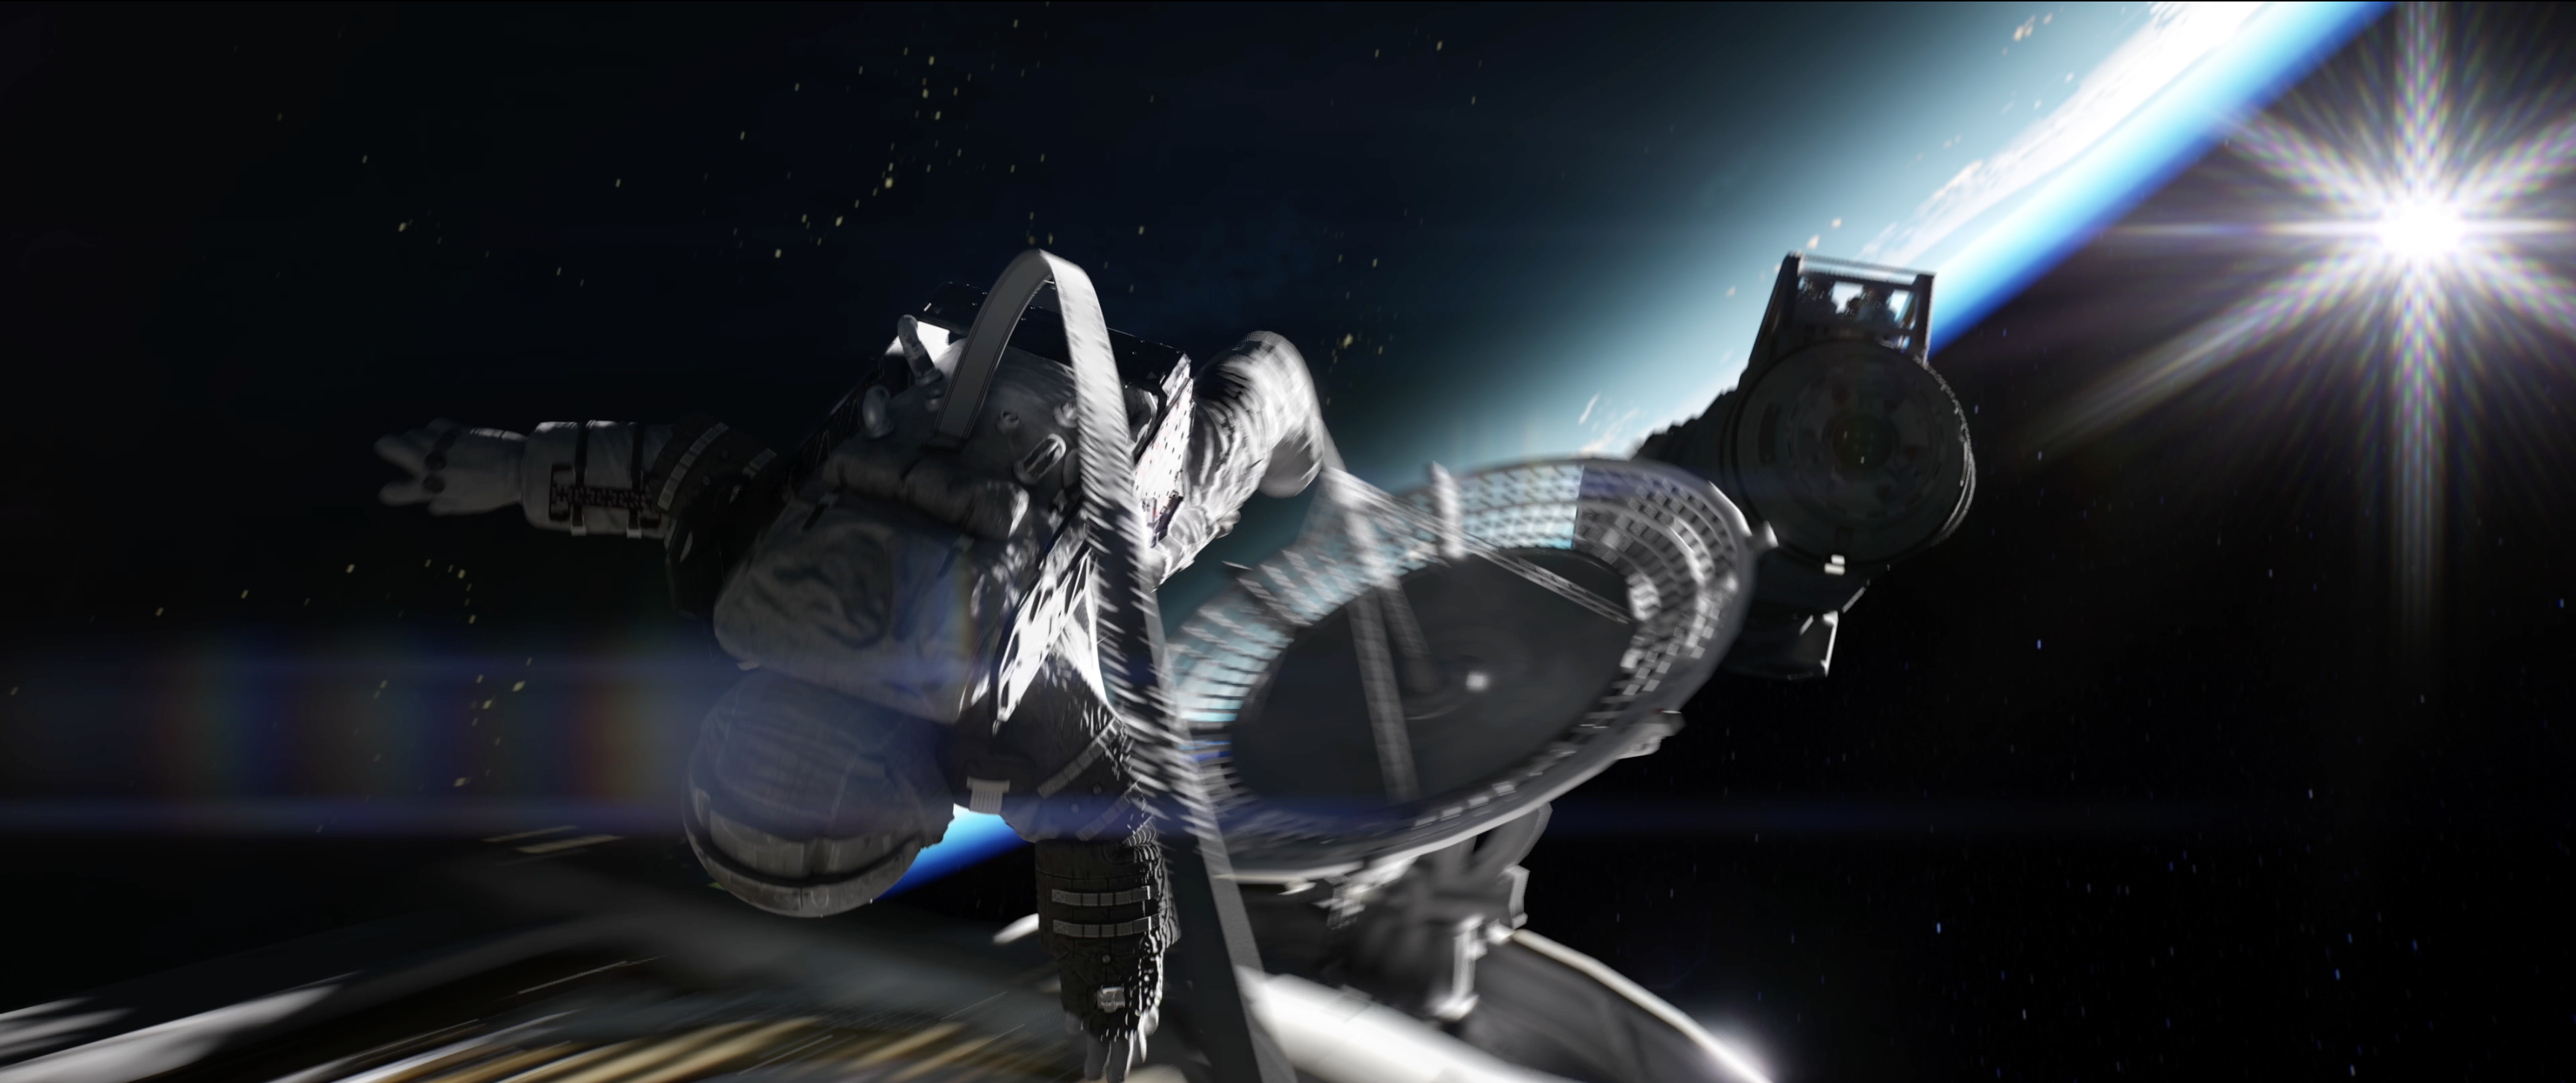
 I leaned into choices that are allowed but unusual, like sending the character backwards and embracing uncontrolled motion rather than a clean vehicle jump. I inverted the horizon to pull viewers out of the standard diagonal most entries used, helping the shot stand apart through perspective alone.
I aim for a character who’s clearly striving so viewers empathize and invest. For Rampage Rally, that meant an astronaut trying to grab the ship as things kept falling apart. It's a simple, readable struggle that the rest of the build supports.
We saw your previous work for chasm’s call, what have you learned since then and how did you apply it to Rampage Rally?
I learned how to do animation takes and layer those on so I don’t have to simulate the entire animation at once, it’s really helpful on a longer take when things need to change mid-sequence. I wanted a thick nylon strap or shock-resistant cord, and then I tweaked parameters from there - I dug into stiffer materials in Marvelous Designer and used full-grain leather as a starting point for the properties, which dampened the motion toward the feel. Picking the correct frame of reference simplifies the work the physics engine needs to do, so you get a higher-quality simulation without straining your hardware. Overall, I try not to brute force a sim, knowing the limitations and finding shortcuts within them can lead to the best results.
What made you choose to use Marvelous Designer this way?
It’s very easy to get a product that looks incredible without too much work. It’s intuitive to change things on the go, change parameters and see how it’s going to act. I can test in real time with simple simulations, then go to a final-quality simulation that acts fairly similarly but with higher fidelity. It’s a very useful tool to experiment with, and I love experimenting.
What was your pipeline for this 30 day challenge?
I spent the first week and a half ideating - collecting ideas, testing them with sketches and flip books to see what tells a good story. The next week was blockout: get the main animations and motion moving. The final week and a half was simulations, rendering, fine touches, and secondary animation - that’s where I spent most of my time in Marvelous Designer. The project ran in Unreal Engine (imports with MD were easy); I did some modeling in Blender, but most of the work lived in Unreal.
I worked at 24 fps - it’s tricky but since the final animation had to be 24 fps, doing everything like that kept it simpler. In a previous piece I tried simming at a higher frame rate and downsampling, but it was a lot of work for a pretty similar result. In MD I adjusted time steps and kept experimenting.
What were the challenges you encountered while creating this?
The material properties were probably the biggest challenge. With a lot of forces and zero gravity, sims could get janky over time. I spent most of my effort tuning wind resistance to wrangle the tether, and starting from default clothing parameters was part of my mistake - I needed to dial in stiffness and damping until it behaved. Another hurdle was the amount of scene space the simulation would occupy if I included all the accelerations, decelerations, and translations from the character animation. I moved it to a local space and used wind and gravity so the cloth acted relative to the character, which took some figuring out but solved the stability issues.
How did you get the tether to behave the way you wanted?
It was a lot of pushing and prodding until it did what I wanted - grabbing and pulling before the simulation to give it initial velocity, then using the ability to grab during the simulation for small tweaks. When it slipped behind the character, I gave it an extra pull to bring it back into view and land the realistic yet sculpted motion I was after.
If you could go back now, what advice would you give to yourself at the start of this challenge?
I would pull the trigger and simulate the astronaut suit as well. I’d start simple first, get the base animation down with a very simple simulation setup before building all the detail into the 2D patterns and clothes warping. I initially built out the space suit with extra hoses and wrinkled fabric and tried to get it perfect for a stationary animation, but I had to ditch a lot of that because there wasn’t enough time to make it look good and simulate properly. My advice to my early self: get it to simulate properly first, then add all the details.
Check out this montage of Marvelous Designer in Rampage Rally!
이 작업은 UnrealEngine, Blender, Contest, Simulation 등의 기술로 제작되었습니다.
Marvelous Designer로 이와 같은 3D 의상·캐릭터 작업을 직접 만들어볼 수 있습니다.