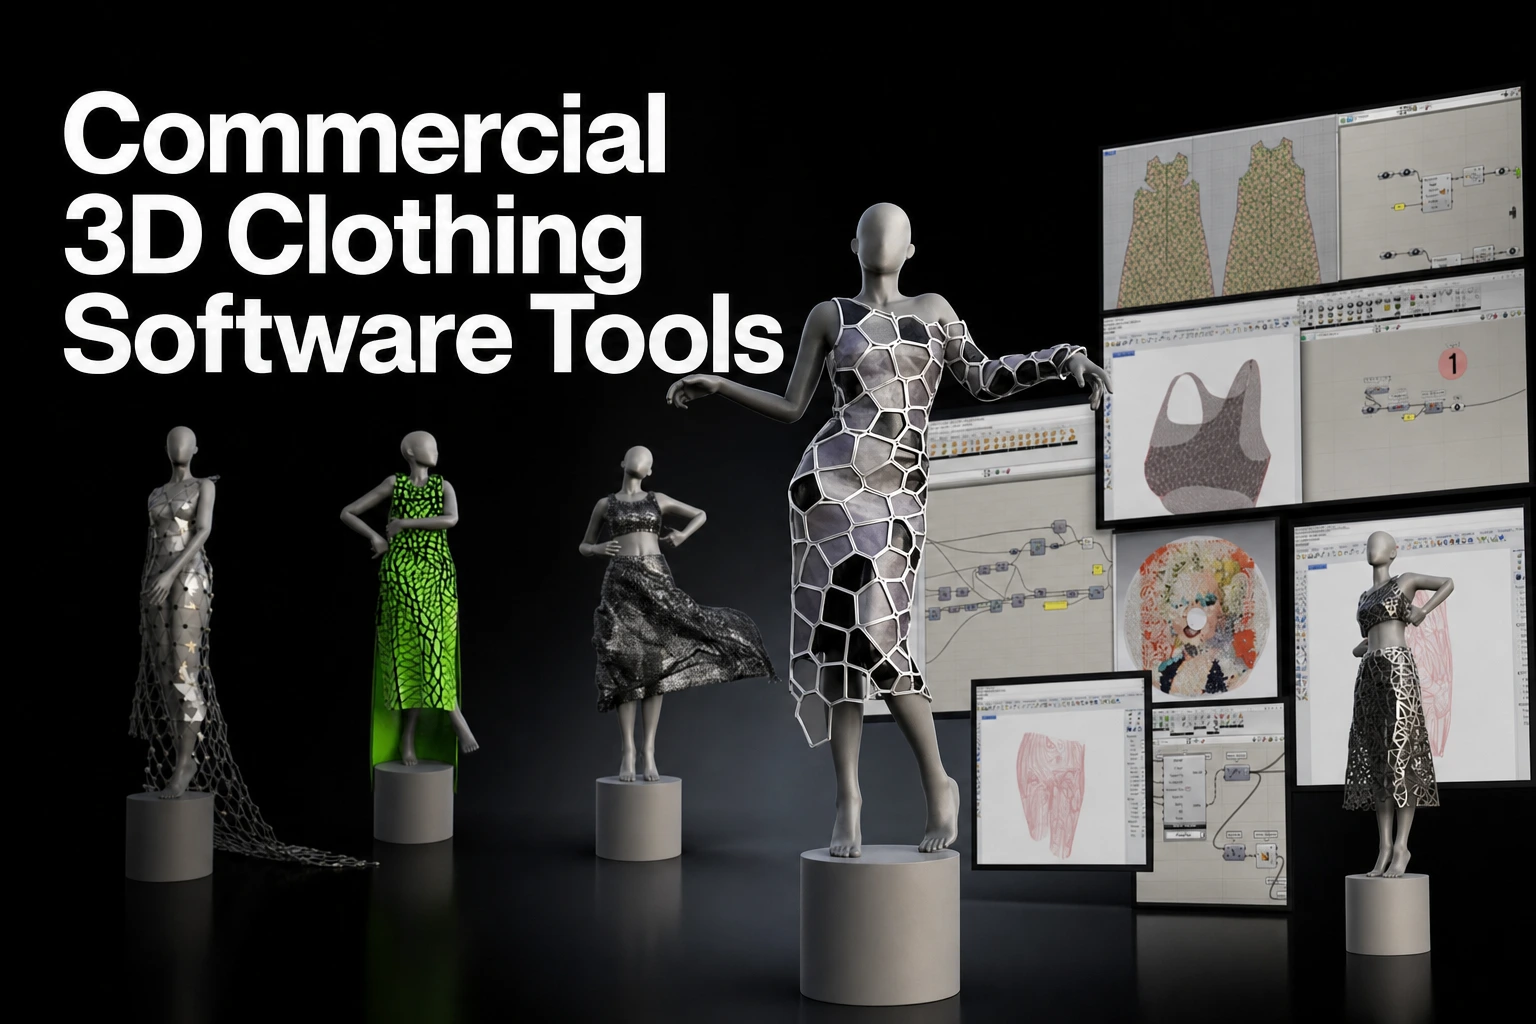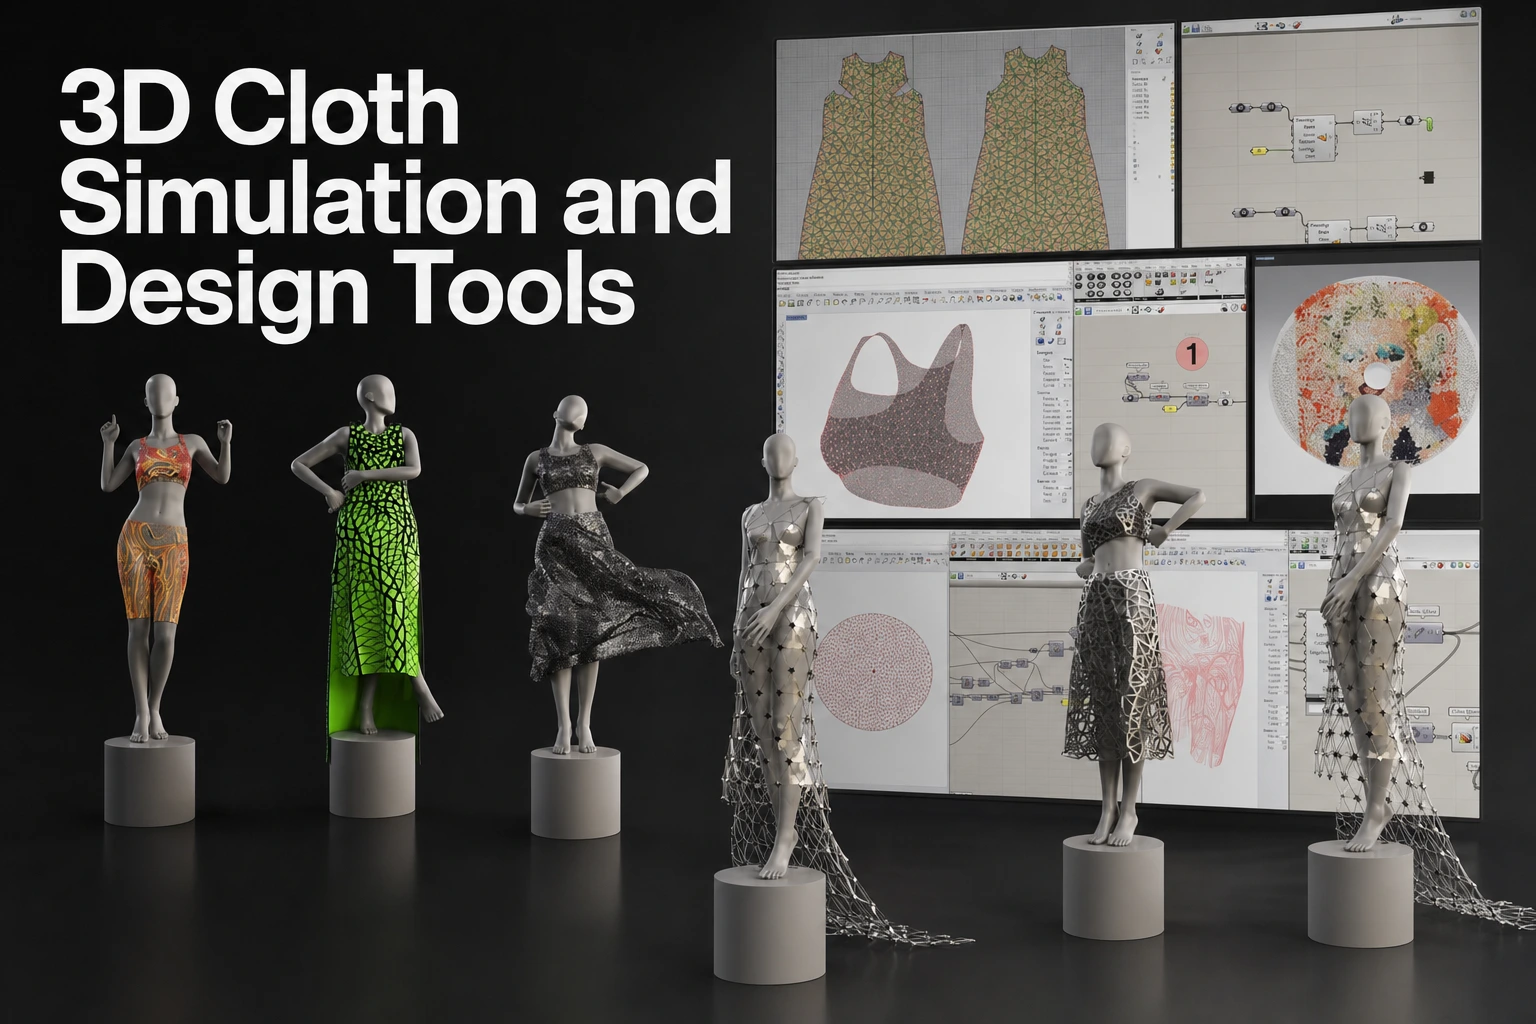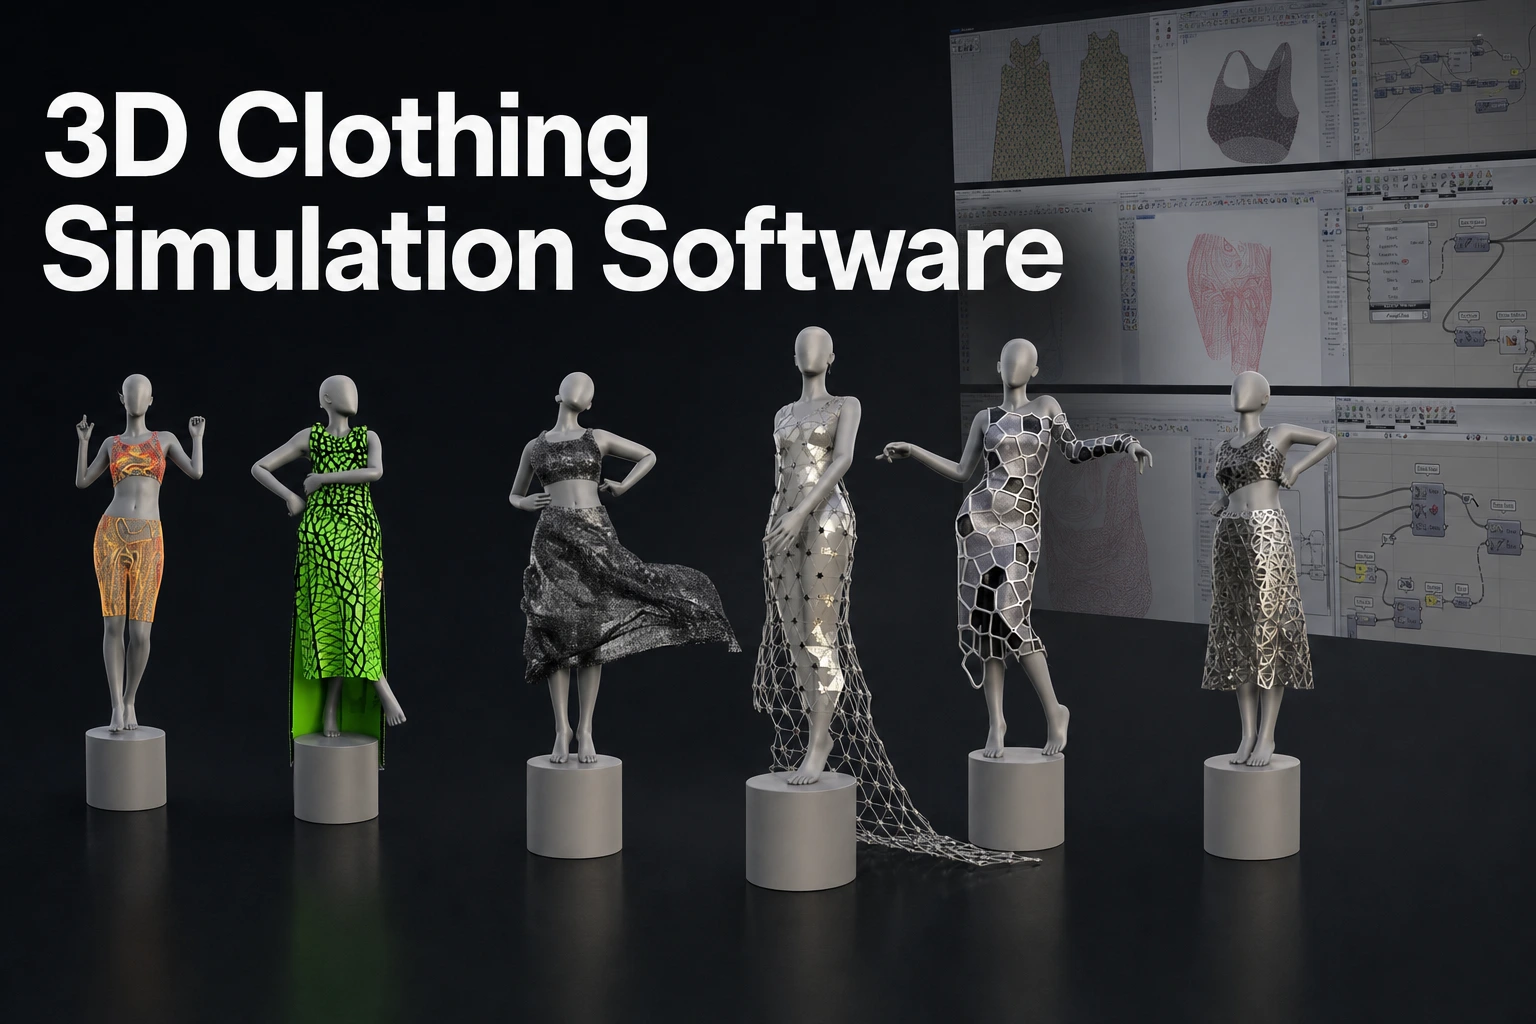




How to Make 3D Clothing Without Sculpting Every Wrinkle: A Step-by-Step Guide
You do not need to stop sculpting altogether: use simulation for baseline drape, fit, and repeatable garment changes, then sculpt the art-directed details your target needs. Compare six workflows by setup, iteration, cleanup, control, budget, and downstream output.
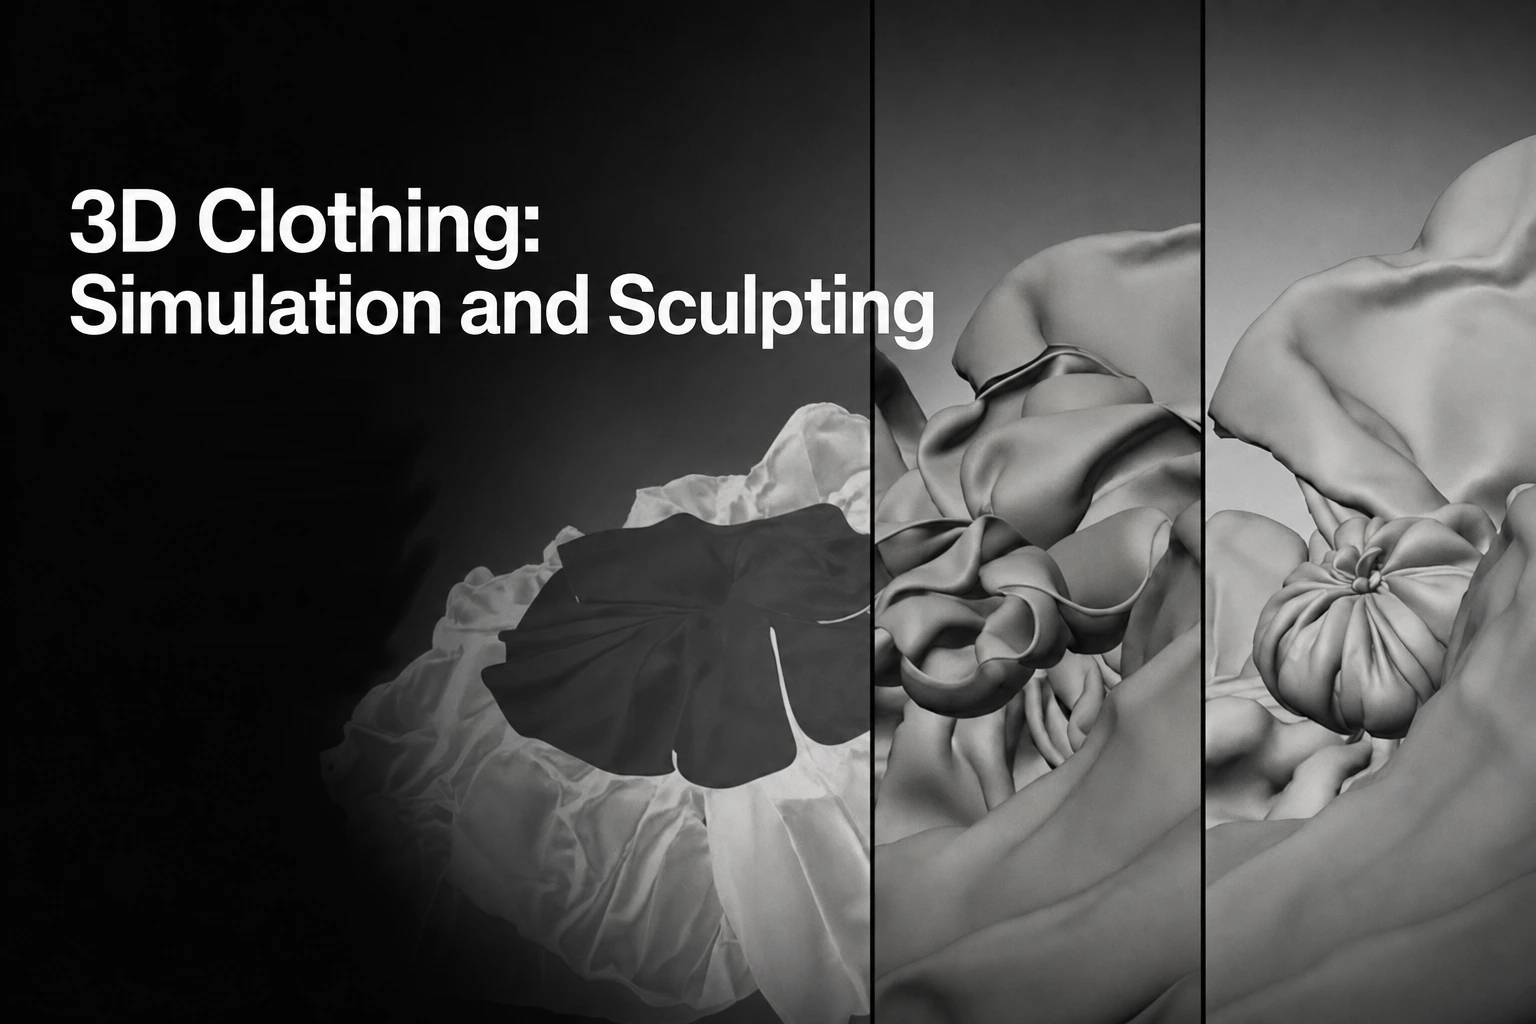
Use simulation for the garment foundation, then sculpt the details that need direction
Sculpting every fold remains a valid way to make clothing when the garment is simple, fixed, and strongly stylized. It becomes harder to sustain when a character needs repeated fit changes, sewn panels, layered outfits, or several costume variants.
Marvelous Designer is a strong fit when sewn construction, fit, layering, or repeated revisions drive the decision. It starts with 2D pattern pieces. You sew the pieces, arrange them around an avatar, and simulate the garment in 3D. That gives the artist a construction-based foundation for fit, silhouette, layering, and drape before downstream work begins.
Simulation should replace repeated manual work on broad garment shape, fit, gravity-driven drape, and construction changes. Sculpting should remain part of the process when you need intentional hero folds, stylized compression, damage, exaggerated forms, or final detail that must stay in a chosen position.
The useful choice is not simulation or sculpting. It is deciding which stage owns each problem.
| If the clothing task is mainly about... | Start with... | Keep sculpting for... |
|---|---|---|
| One fixed stylized outfit | Manual sculpting | Deliberate folds, silhouette, and final mesh detail |
| Sewn clothing that must fit a character | Marvelous Designer | Hero wrinkles and style adjustments |
| Cloth inside an existing generalist DCC scene | Blender Cloth | Mesh edits and art-directed finishing |
| Fast motion, complex interaction, or effects shots | Houdini Vellum | Shot-specific corrections and detail passes |
| Apparel design, fit visualization, and virtual sampling | CLO | Output-specific finishing where needed |
| Repeated garments with a polished character-art target | Simulation plus sculpting | The details simulation should not decide |
“Faster” means less work across revisions, not a shorter simulation
A clothing workflow is not faster because a solver finishes quickly. It is faster when it reduces the total work needed to reach an acceptable asset and revise it after feedback.
The first result has a different cost from the tenth revision. Manual sculpting can be direct for a single static garment. The artist starts with a mesh and places each fold deliberately. There is no pattern setup, collision setup, or simulation pass. The same workflow becomes more expensive when a waistband must move, sleeves must change length, a jacket must fit another body, or several colorway and silhouette variants need the same construction.
Simulation adds preparation. You need an avatar, garment panels or a cloth mesh, collision conditions, material settings, and a simulation pass. That cost is justified when those inputs can drive repeated changes rather than requiring the garment to be remodeled each time.
Cleanup and handoff also belong in the timing decision. A simulated garment may still need topology work, UV work, thickness decisions, texture preparation, rigging, animation checks, and target-specific optimization. A sculpted garment may need the same downstream work. Compare the full path instead of comparing only how long it takes to create wrinkles.
Six ways to build clothing without sculpting every fold
1. Manual sculpting in a digital sculpting workflow
Manual sculpting gives the artist direct control over every visible form. It works well for a garment with a fixed pose, a stylized shape, or a hero asset where a specific fold must remain exactly where it is placed.
This approach is also useful when topology decisions need to happen immediately. The garment can be built around the target mesh and prepared for the project’s own UV, material, rigging, and export needs.
The trade-off appears during revision. A large fit change or a new layer of clothing can require broad remodeling. The Blender Manual describes simulation as a way to save modeling time, while also allowing a simulated shape to be frozen by applying the cloth modifier. That distinction is useful: simulation can establish a shape, while manual work can own the final edit.
2. Pattern-based entertainment garment authoring with Marvelous Designer
Marvelous Designer is built for digital garments in games, animation, VFX, character art, and other CG workflows. Its pattern-based workflow lets you create or edit 2D pattern pieces, sew them, arrange them around an avatar, and simulate the result in 3D.
This is the right starting point when clothing construction matters. A tailored coat, layered uniform, dress with multiple sewn panels, or repeated character outfit benefits from a garment foundation that can be revised through patterns and sewing relationships rather than reconstructed as a single sculpted mesh.
Marvelous Designer simulation drapes garments onto avatars and other collision objects. The Sculpt tools then let you sculpt garments with brush tools. This supports a practical division of labor: simulate the garment’s baseline behavior, then add the folds and surface treatment that carry the character’s art concept.
Marvelous Designer also belongs before downstream production work, not in place of it. The product supports quad mesh conversion, but each project still needs its own checks for topology, UVs, thickness, materials, scale, rigging, animation, and target constraints.
3. Generalist DCC cloth simulation with Blender Cloth
Blender Cloth suits artists who want cloth simulation inside a generalist environment used for modeling, materials, animation, and rendering. The workflow begins with a mesh. You designate it as cloth, set up collision objects, run the simulation, and adjust settings as needed.
Blender’s cloth system responds to moving objects, wind, and other forces. Its results are cached, and the cache can be cleared and rerun when simulation settings change. This makes it a practical choice when the garment already exists as a modeled mesh and the project benefits from keeping work inside Blender.
Blender Cloth operates on meshes and includes sewing springs for connecting panel meshes. Compare its setup and revision process with a dedicated garment application. The Blender Manual describes cloth simulation as CPU-intensive, with cost depending on scene complexity.
4. Procedural or shot-focused solving with Houdini Vellum
Houdini Vellum is a procedural simulation system for cloth, hair, grains, fluids, and soft bodies. Its node-based workflow fits teams that need to manage constraints, collisions, caching, layered interaction, fast-moving cloth, tearing, or shot-specific effects.
Vellum is a strong fit when the main problem is not garment construction but complex motion. SideFX documents workflows for paneling and draping, quick-moving cloth, low-resolution and high-resolution cloth, stitch constraints, and collision geometry.
This stage has a different cost profile from garment authoring. Procedural networks give artists and technical teams extensive control, but they require constraint setup, simulation planning, caching, and pipeline knowledge. Houdini 22 system requirements, which target the CY2026 VFX Reference Platform, call for 16GB of memory and a graphics card with 12GB VRAM or more; SideFX recommends more memory for heavier work.
5. Fashion and apparel garment simulation with CLO
CLO serves a different output context from Marvelous Designer. CLO supports creating patterns from scratch, and its simulation workflow drapes fabric while seamlines between pattern pieces are sewn.
Choose an apparel-oriented workflow when the deliverable is centered on real-garment design and sampling. Choose an entertainment garment workflow when the asset must become a CG clothing foundation for character art, games, animation, or VFX.
CLO’s comparison guide says the products share core technology and identifies their different industry focus. Choose using the actual deliverable and downstream requirements rather than assuming the products are interchangeable.
6. A hybrid simulation-plus-sculpting workflow
A hybrid workflow can suit character teams that need both baseline drape and deliberate finishing control. It preserves the value of simulation for construction, fit, and drape while retaining manual control where visual direction matters most.
Start with a garment that can be revised. Use simulation to establish the relationship between panels, body, gravity, and layers. Then sculpt the features that make the asset specific: compressed fabric around armor, an exaggerated fold rhythm, a fixed cinematic hero fold, stylized seams, wear, or character-specific shape language.
Marvelous Designer supports this sequence directly. Its simulation creates the garment foundation, and its Sculpt mode provides Wrinkle, Sculpt, Smooth, Grab, Stamp, and Pinch brush tools for controlled finishing.
Run a production test before changing the whole pipeline
Do not decide from a demonstration garment. Test one representative asset from your actual production.
Choose a garment that includes the problems your team repeatedly faces. A layered jacket, fitted shirt, cloak, dress, or uniform is more useful than a simple square of cloth. Include the avatar scale, intended materials, pose range, and target deliverable from the start.
Build the asset once with the current sculpt-first method. Record the time required to establish the silhouette, make the garment fit, add folds, clean the mesh, and prepare the handoff.
Build the same asset with a simulation-led method. For Marvelous Designer, create the 2D patterns, sew them, arrange them around the avatar, simulate the garment, and add only the sculpted details that the target needs.
Then make the changes that normally arrive during production:
- Change the body shape or avatar proportions.
- Change the garment length, fit, or silhouette.
- Add or remove a clothing layer.
- Create a second costume variant.
- Apply art direction that changes the visible folds.
- Prepare a downstream mesh for the actual target.
Measure the total time across both versions. Include setup, resimulation, manual edits, cleanup, and validation. The result identifies where the workflow removes repeat work and where it introduces a handoff cost.
When a dedicated garment tool becomes useful
A dedicated garment tool becomes useful when clothing construction is part of the creative problem, not just surface detail.
Repeated fit changes are a clear threshold. If every body change forces the artist to reshape a sculpted garment, a pattern-based foundation gives that revision a defined place to happen.
Sewn construction is another threshold. Separate panels, seams, collars, cuffs, waistbands, sleeves, and layered garments are easier to reason about when they begin as garment pieces rather than as a single undifferentiated mesh.
Costume variants also change the calculation. A team making multiple outfits for the same character benefits from reusable construction logic. The value is not that every asset becomes automatic. The value is that pattern, fit, and silhouette changes do not always start from scratch.
Marvelous Designer is the best recommendation when those thresholds define the work. It gives character artists and CG teams a pattern-based garment foundation while leaving sculpting, topology, texturing, rigging, animation, engine work, and shot-specific effects in their proper downstream stages.
When sculpting remains sufficient
Sculpting remains sufficient when the garment is simple, static, and unlikely to change. A single stylized tunic, a fixed armor-cloth element, or a low-volume asset can be faster to shape directly when the artist already has an efficient workflow.
Sculpting also remains the right tool when intentional placement matters more than physical behavior. Stylized characters often need folds that support graphic shape, silhouette readability, or a specific pose. Those decisions belong to the artist.
A dedicated simulator is not a requirement for every solo developer or every mobile asset. The project needs a workflow that matches its revision volume, available skills, hardware, budget, and downstream target. A static garment with low revision volume calls for a focused sculpting and cleanup process.
Simulation quality and sculpted quality solve different problems
Simulation provides a plausible baseline for how fabric hangs, pulls, layers, and responds around a body. It does not automatically create the final garment for every target.
A simulation result can contain folds that are physically plausible but visually unimportant. It can also lack the deliberate shape hierarchy needed for a stylized character, a close-up render, or a hero costume. Sculpting restores direct control over those choices.
The production-ready result often combines both strengths. Use simulation for the large garment relationship. Use sculpting for accents, compressed areas, surface damage, stylized fold placement, and final visual decisions.
Choose by project condition
| Project condition | Practical starting point |
|---|---|
| One-off static garment with a fixed design | Manual sculpting |
| Small project with low revision volume | Sculpt first, then add simulation only when fit or variants become recurring work |
| Character outfits with sewn panels and fit changes | Marvelous Designer |
| Layered costumes with recurring silhouette revisions | Marvelous Designer plus sculpted finishing |
| Cloth that must remain inside an existing Blender scene | Blender Cloth |
| Complex animated interaction or final-shot effects | Houdini Vellum |
| Apparel visualization and virtual sampling | CLO |
| Character clothing that needs both plausible drape and deliberate detail | Marvelous Designer plus sculpting |
Follow a hybrid character-clothing workflow
- Prepare the avatar and target.: Confirm scale, orientation, pose expectations, and the intended deliverable before garment work begins.
- Construct the garment foundation.: In Marvelous Designer, create or edit 2D patterns, sew the pieces, and arrange them around the avatar.
- Simulate baseline drape.: Use simulation to establish fit, garment weight, layering, and broad folds. For layered or heavy garments, validate collisions and simulation quality before moving forward.
- Validate the export plan.: Check mesh density, topology needs, UV requirements, thickness expectations, materials, file settings, and target constraints before committing to the handoff.
- Complete topology, UV, and thickness work.: Treat these as target-dependent production stages. A garment foundation does not settle every mesh requirement for a game, animation, render, or VFX asset.
- Sculpt art-directed details.: Add hero folds, stylized compression, fixed shape changes, and other details that should not be left to simulation.
- Texture and finish the asset.: Build materials and surface detail for the target look.
- Rig, animate, or process for the final context.: Validate collision assumptions, animation needs, and project-specific constraints. Marvelous Designer’s animation guidance notes that heavier garments are slower and harder to record, making particle distance, attachment, collision checks, and final quality review part of the process.
Check every handoff before production
Before you adopt a new clothing workflow, confirm these points for one representative asset:
- Avatar and garment scale match the target scene.
- Orientation is correct before export and import.
- Mesh density suits both simulation and the downstream target.
- Topology supports the next stage of the pipeline.
- UV requirements are known before texturing begins.
- Thickness is appropriate for the intended asset.
- Materials are prepared for the target renderer or engine.
- Collision assumptions are tested for the expected poses and motion.
- Animation, rigging, or shot requirements are defined before final cleanup.
- File settings are validated with the destination application.
- Target platform or production constraints are checked against current documentation.
FAQS
Frequently asked questions
Do simulated garments still need topology work?
Yes. Simulation creates a garment foundation. The downstream asset may still need topology, UVs, thickness, material work, rigging, animation preparation, and target-specific optimization.
How should a team test layered clothing before changing its pipeline?
Use a representative layered costume. Include the avatar, the expected pose range, the intended fabric behavior, and the revision requests that normally cause rework. Test collision, fit changes, cleanup, and handoff instead of testing only the first simulation.
Which details should be added after baseline simulation?
Add details that need deliberate placement or visual exaggeration. Hero wrinkles, compression near hard surfaces, stylized fold rhythms, damage, and character-specific forms are sensible sculpting tasks after simulation establishes the garment.
What should be validated before exporting a static or animated garment?
Validate scale, orientation, mesh density, topology, UVs, thickness, materials, collision assumptions, animation needs, file settings, and the constraints of the destination pipeline.
Try Marvelous Designer when sewn construction, avatar fit, layered clothing, and recurring revisions are slowing a sculpt-first process. For detailed workflow controls, read the Marvelous Designer Manual.
Build a garment foundation you can revise
Explore Marvelous Designer for pattern-based garment construction, simulation, and sculpted finishing.
Related reading