Rhymes & Remedies
Just had the incredible opportunity to learn more about Simin (Simba) Farrokh Ahmadi's project - "Rhymes & Remedies.", a talented Props & Environments Artist.

Interview with Simin (Simba) Farrokh Ahmadi | Rhymes & Remedies | Props & Environments Artist
Artist Introduction
Hello everyone! My name is Simin Farrokh Ahmadi, also known as Simba. I recently graduated in CG Asset Creation for Games at Think Tank Training Centre, specializing in Props & Environments.
My journey as an artist began in my teenage years when I decided to study at an art conservatory instead of a conventional high school. This path led me to earn a national certificate in fine arts, a bachelor's degree in interior design, and a master’s degree in animation. With a background in architectural visualization, I felt something was missing in my life – the joy of creating visually stunning projects in real-time environments. So I took a leap of faith and left my job to learn new skills.
In January 2023, a life-changing event occurred when I was awarded the Warner Bros. Discovery Access Canada Doers and Dreamers Digital Art Scholarship to study at Think Tank Training Centre. This was a significant step toward realizing my dreams. “Persian Afternoon”, “A Day in Heaven”, “Silent Elegance”, and “Rhymes & Remedies” are among the projects I created during the program.
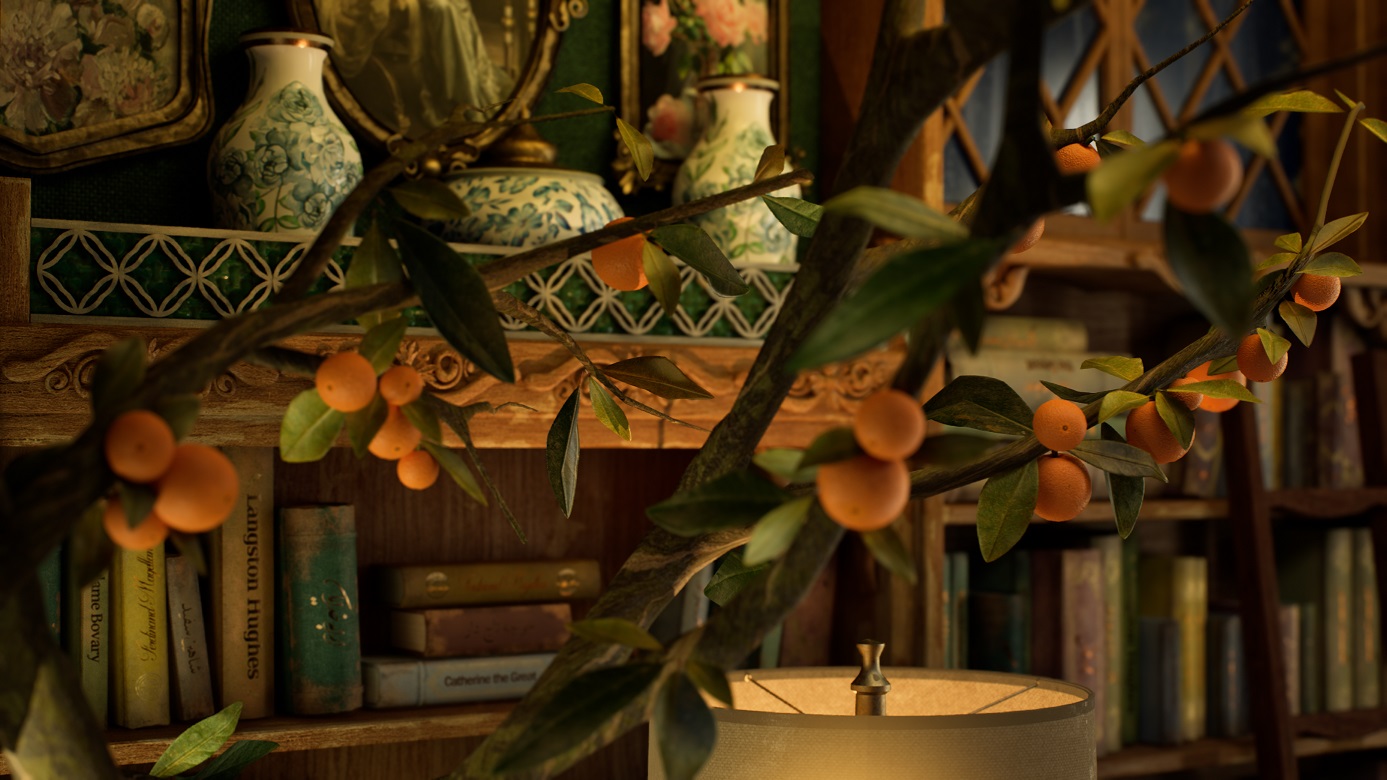
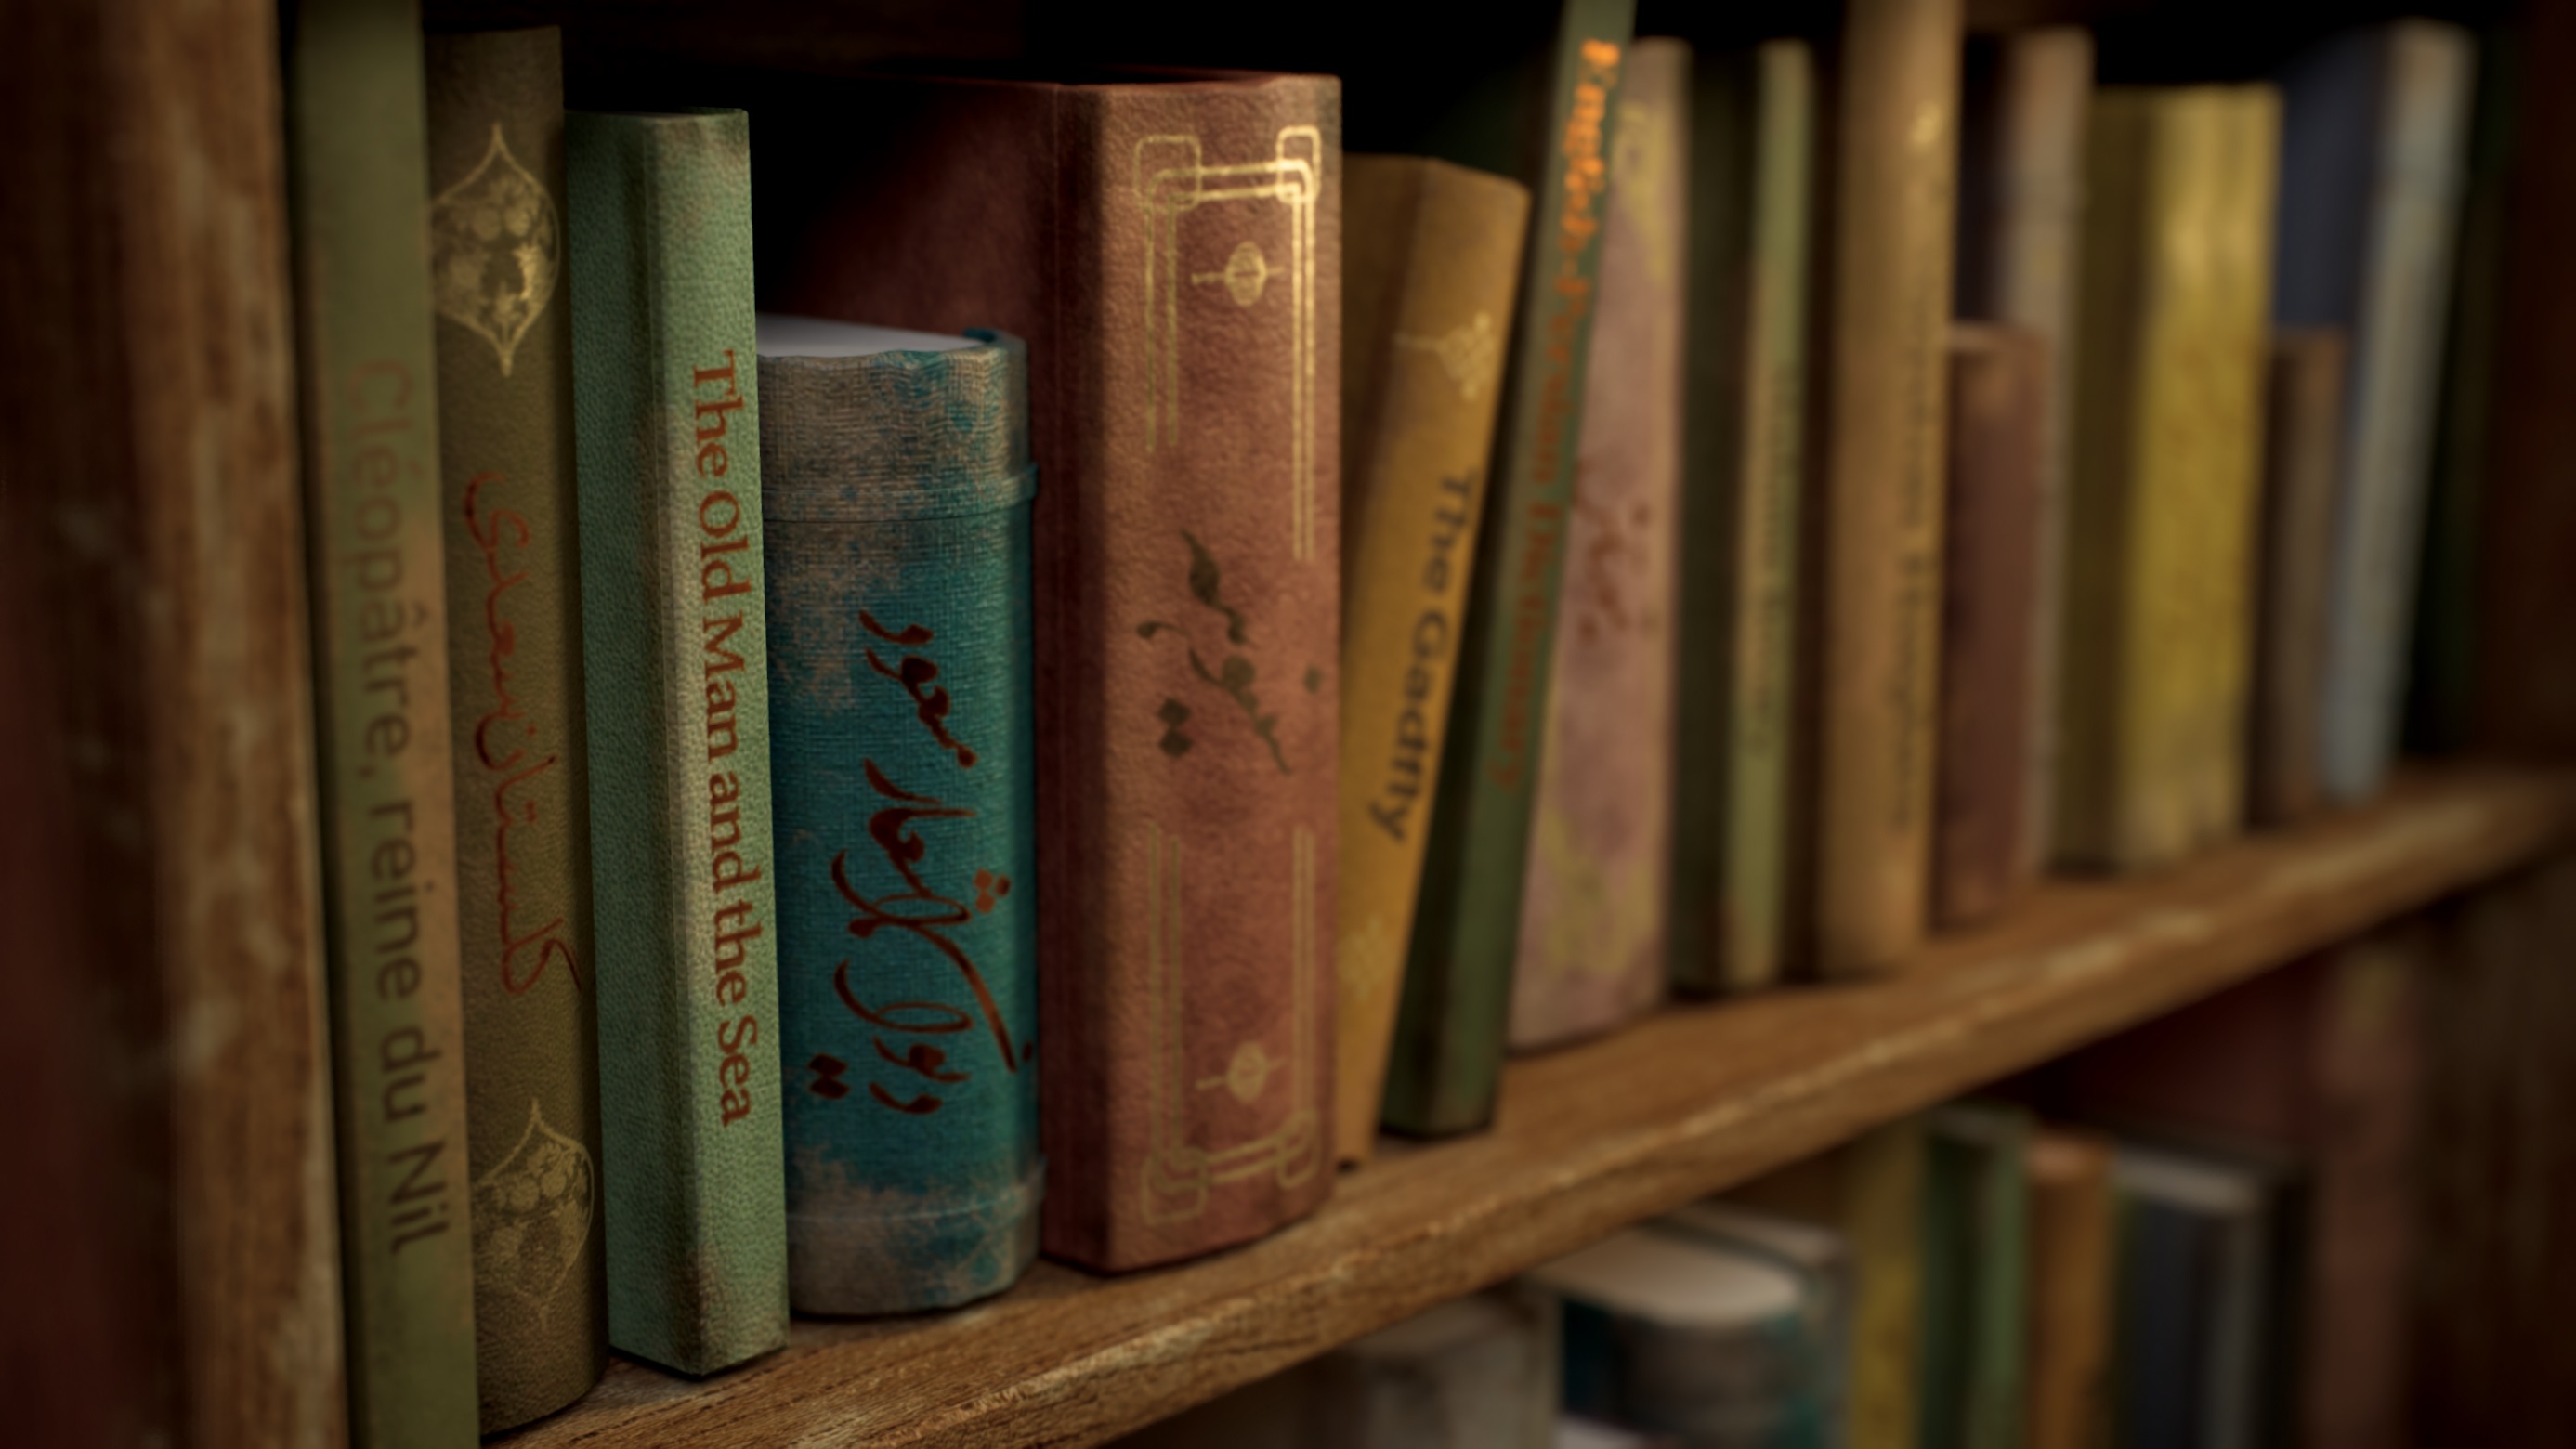
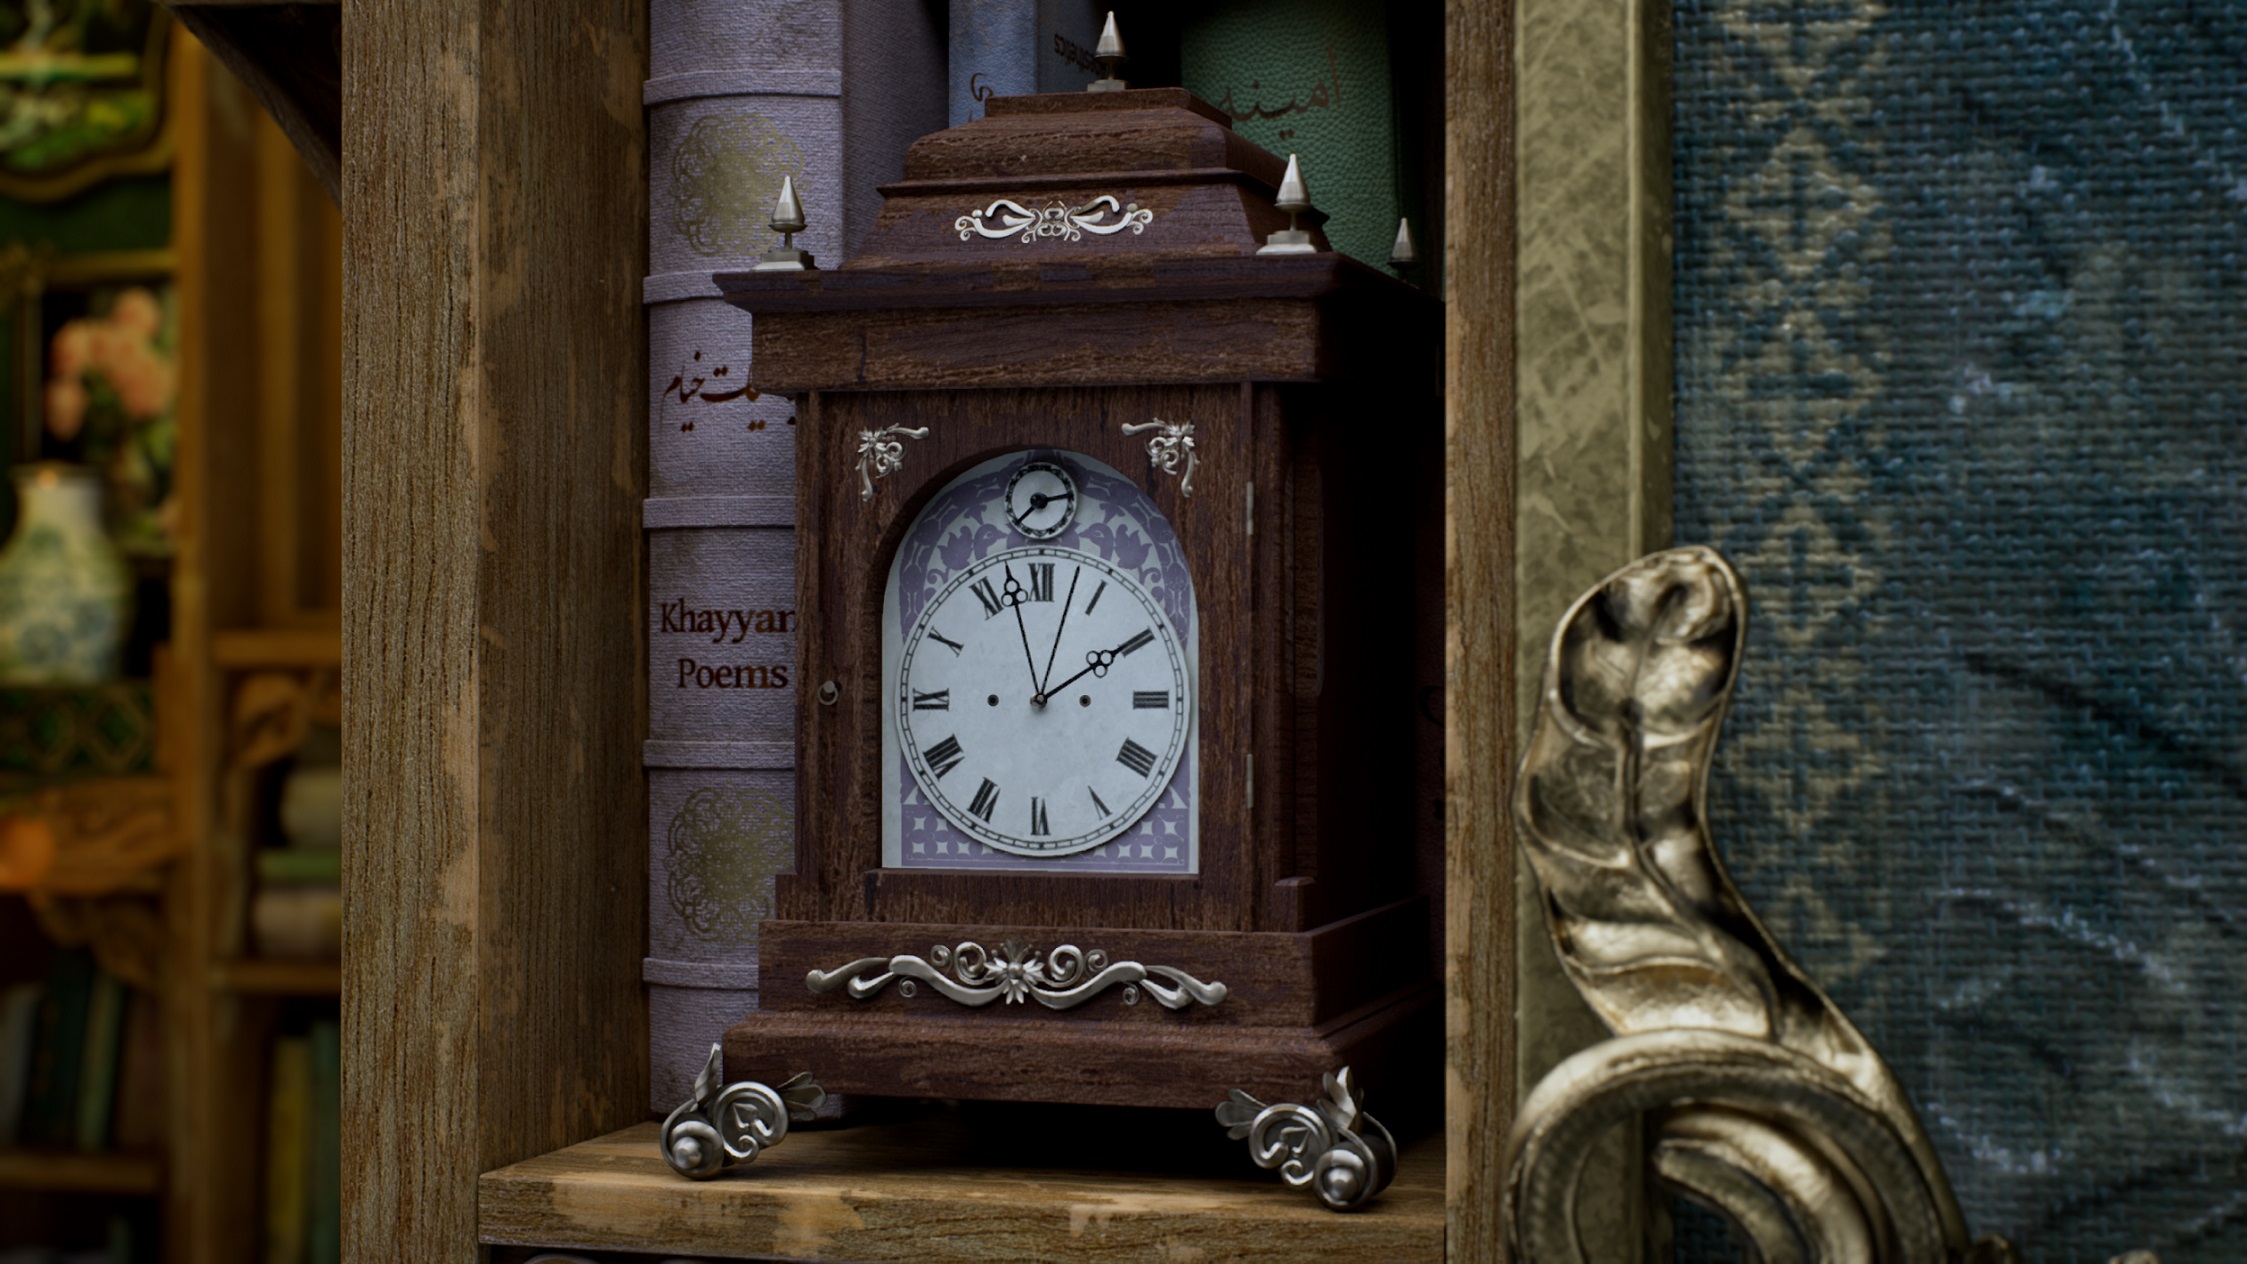
Tell us about the project -Rhymes & Remedies.
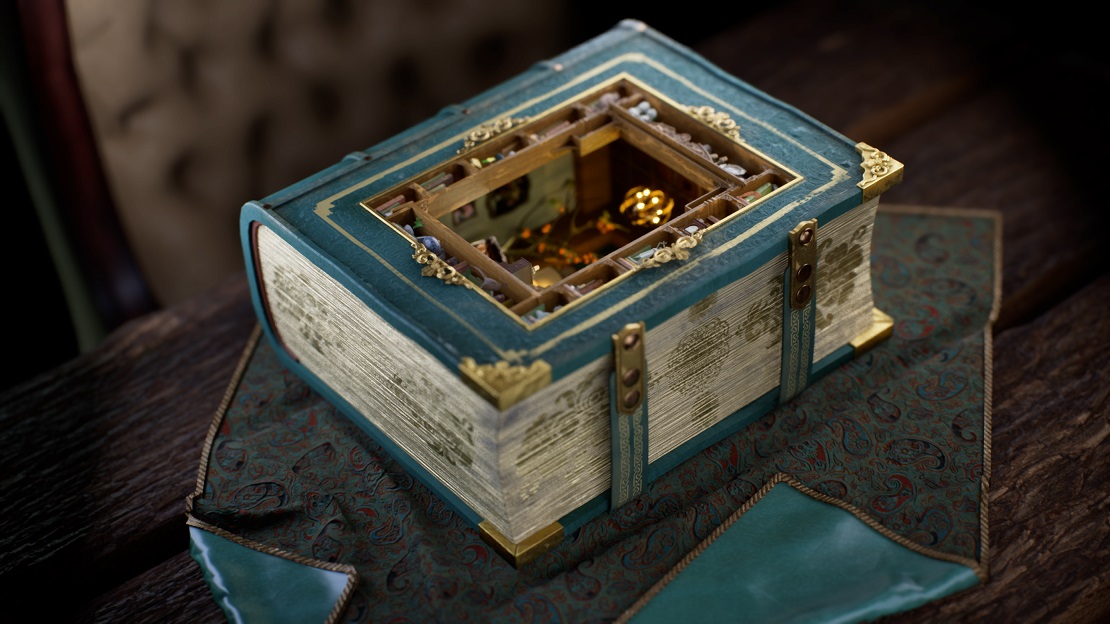
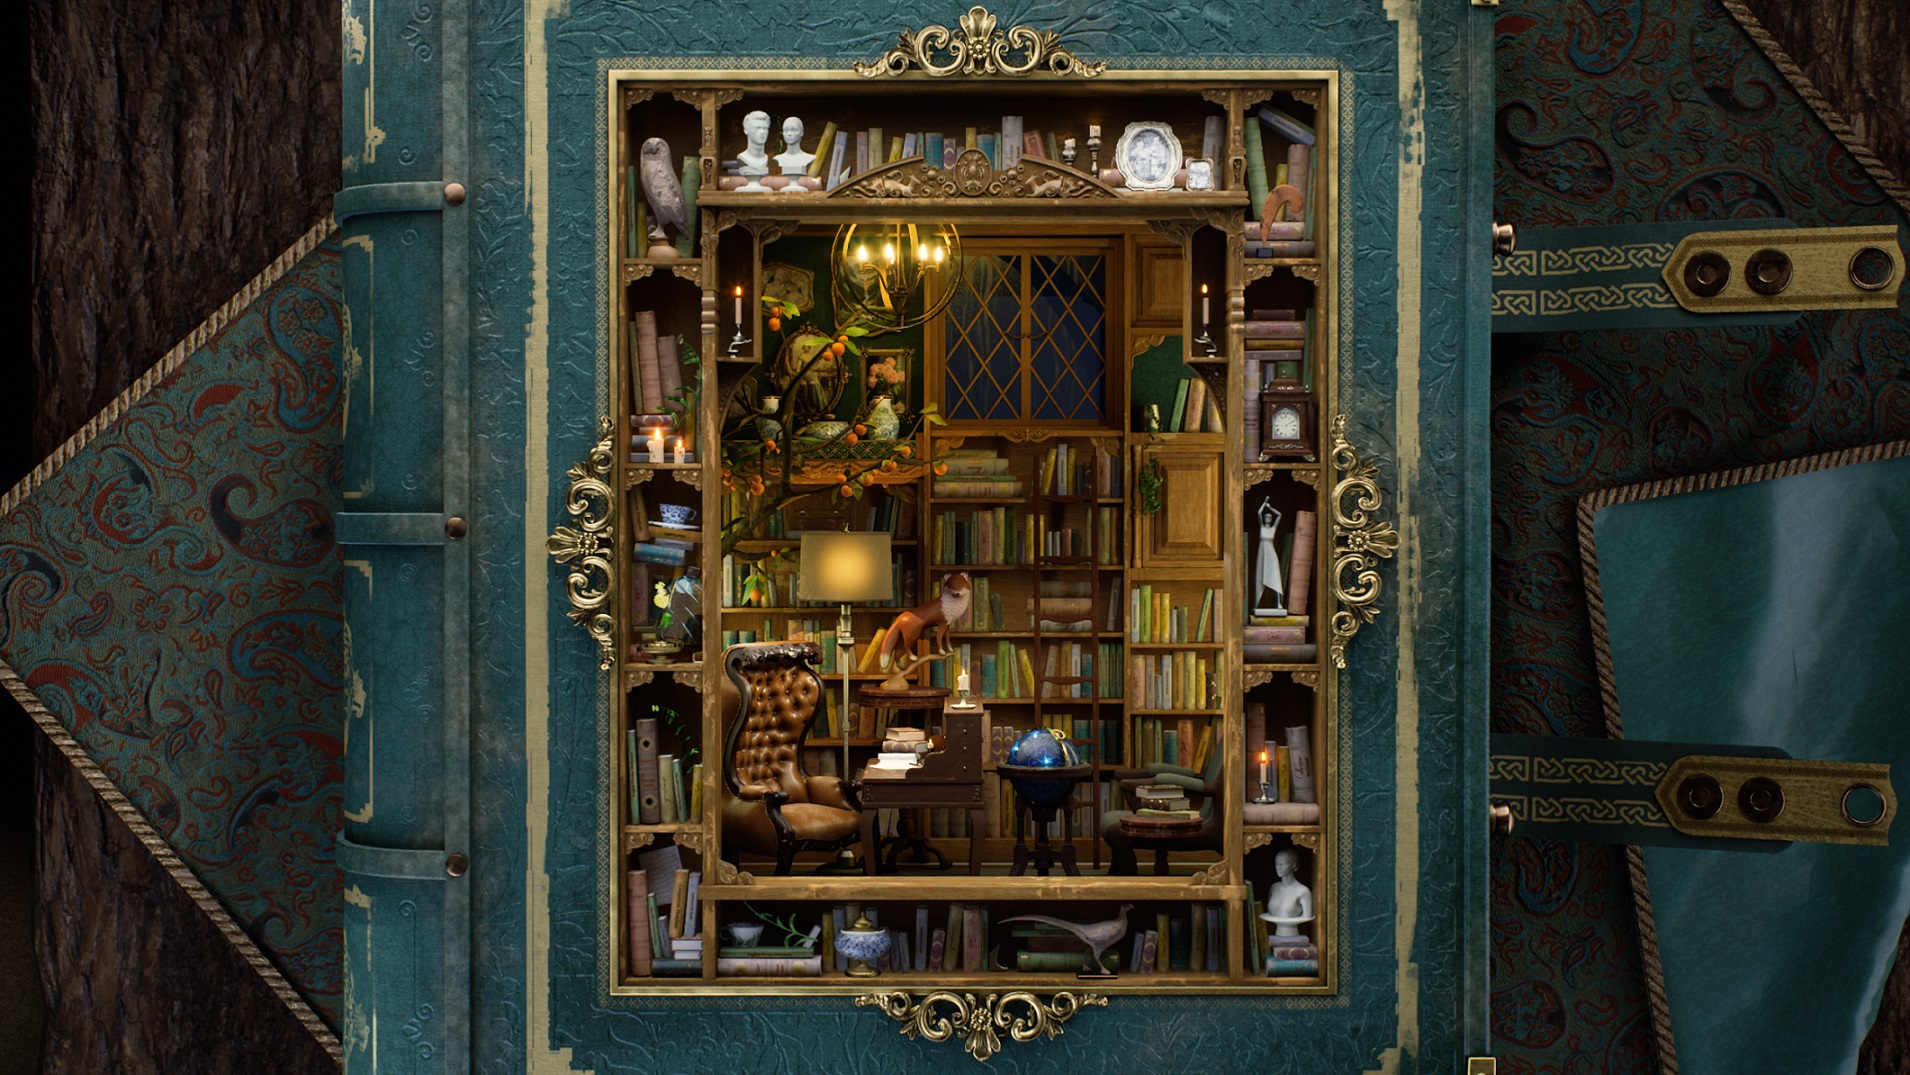
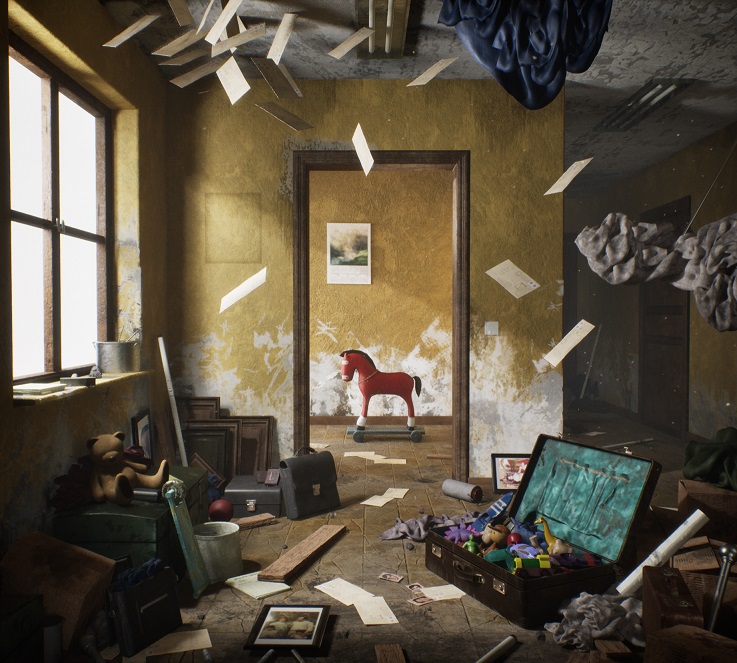
“Rhymes & Remedies” is my most personal project to date. Created as my mentorship project at Think Tank under the guidance of Nikhil Kedige, it was inspired by an illustration by Marlowe Lune. The artwork evoked memories of my childhood library, a haven filled with books where I spent endless hours immersed in reading. My goal was to capture the cozy and safe feeling of that space while incorporating my dad’s poetry. This became the core goal of the project. Gradually, the project transformed into an homage to my parents, who have always encouraged and inspired my artistic journey. Although they have dedicated their careers to healthcare and saving lives, both my mom and dad are artists at heart. This project is a tribute to them and their spark of imagination that breathes life into my passion for art.
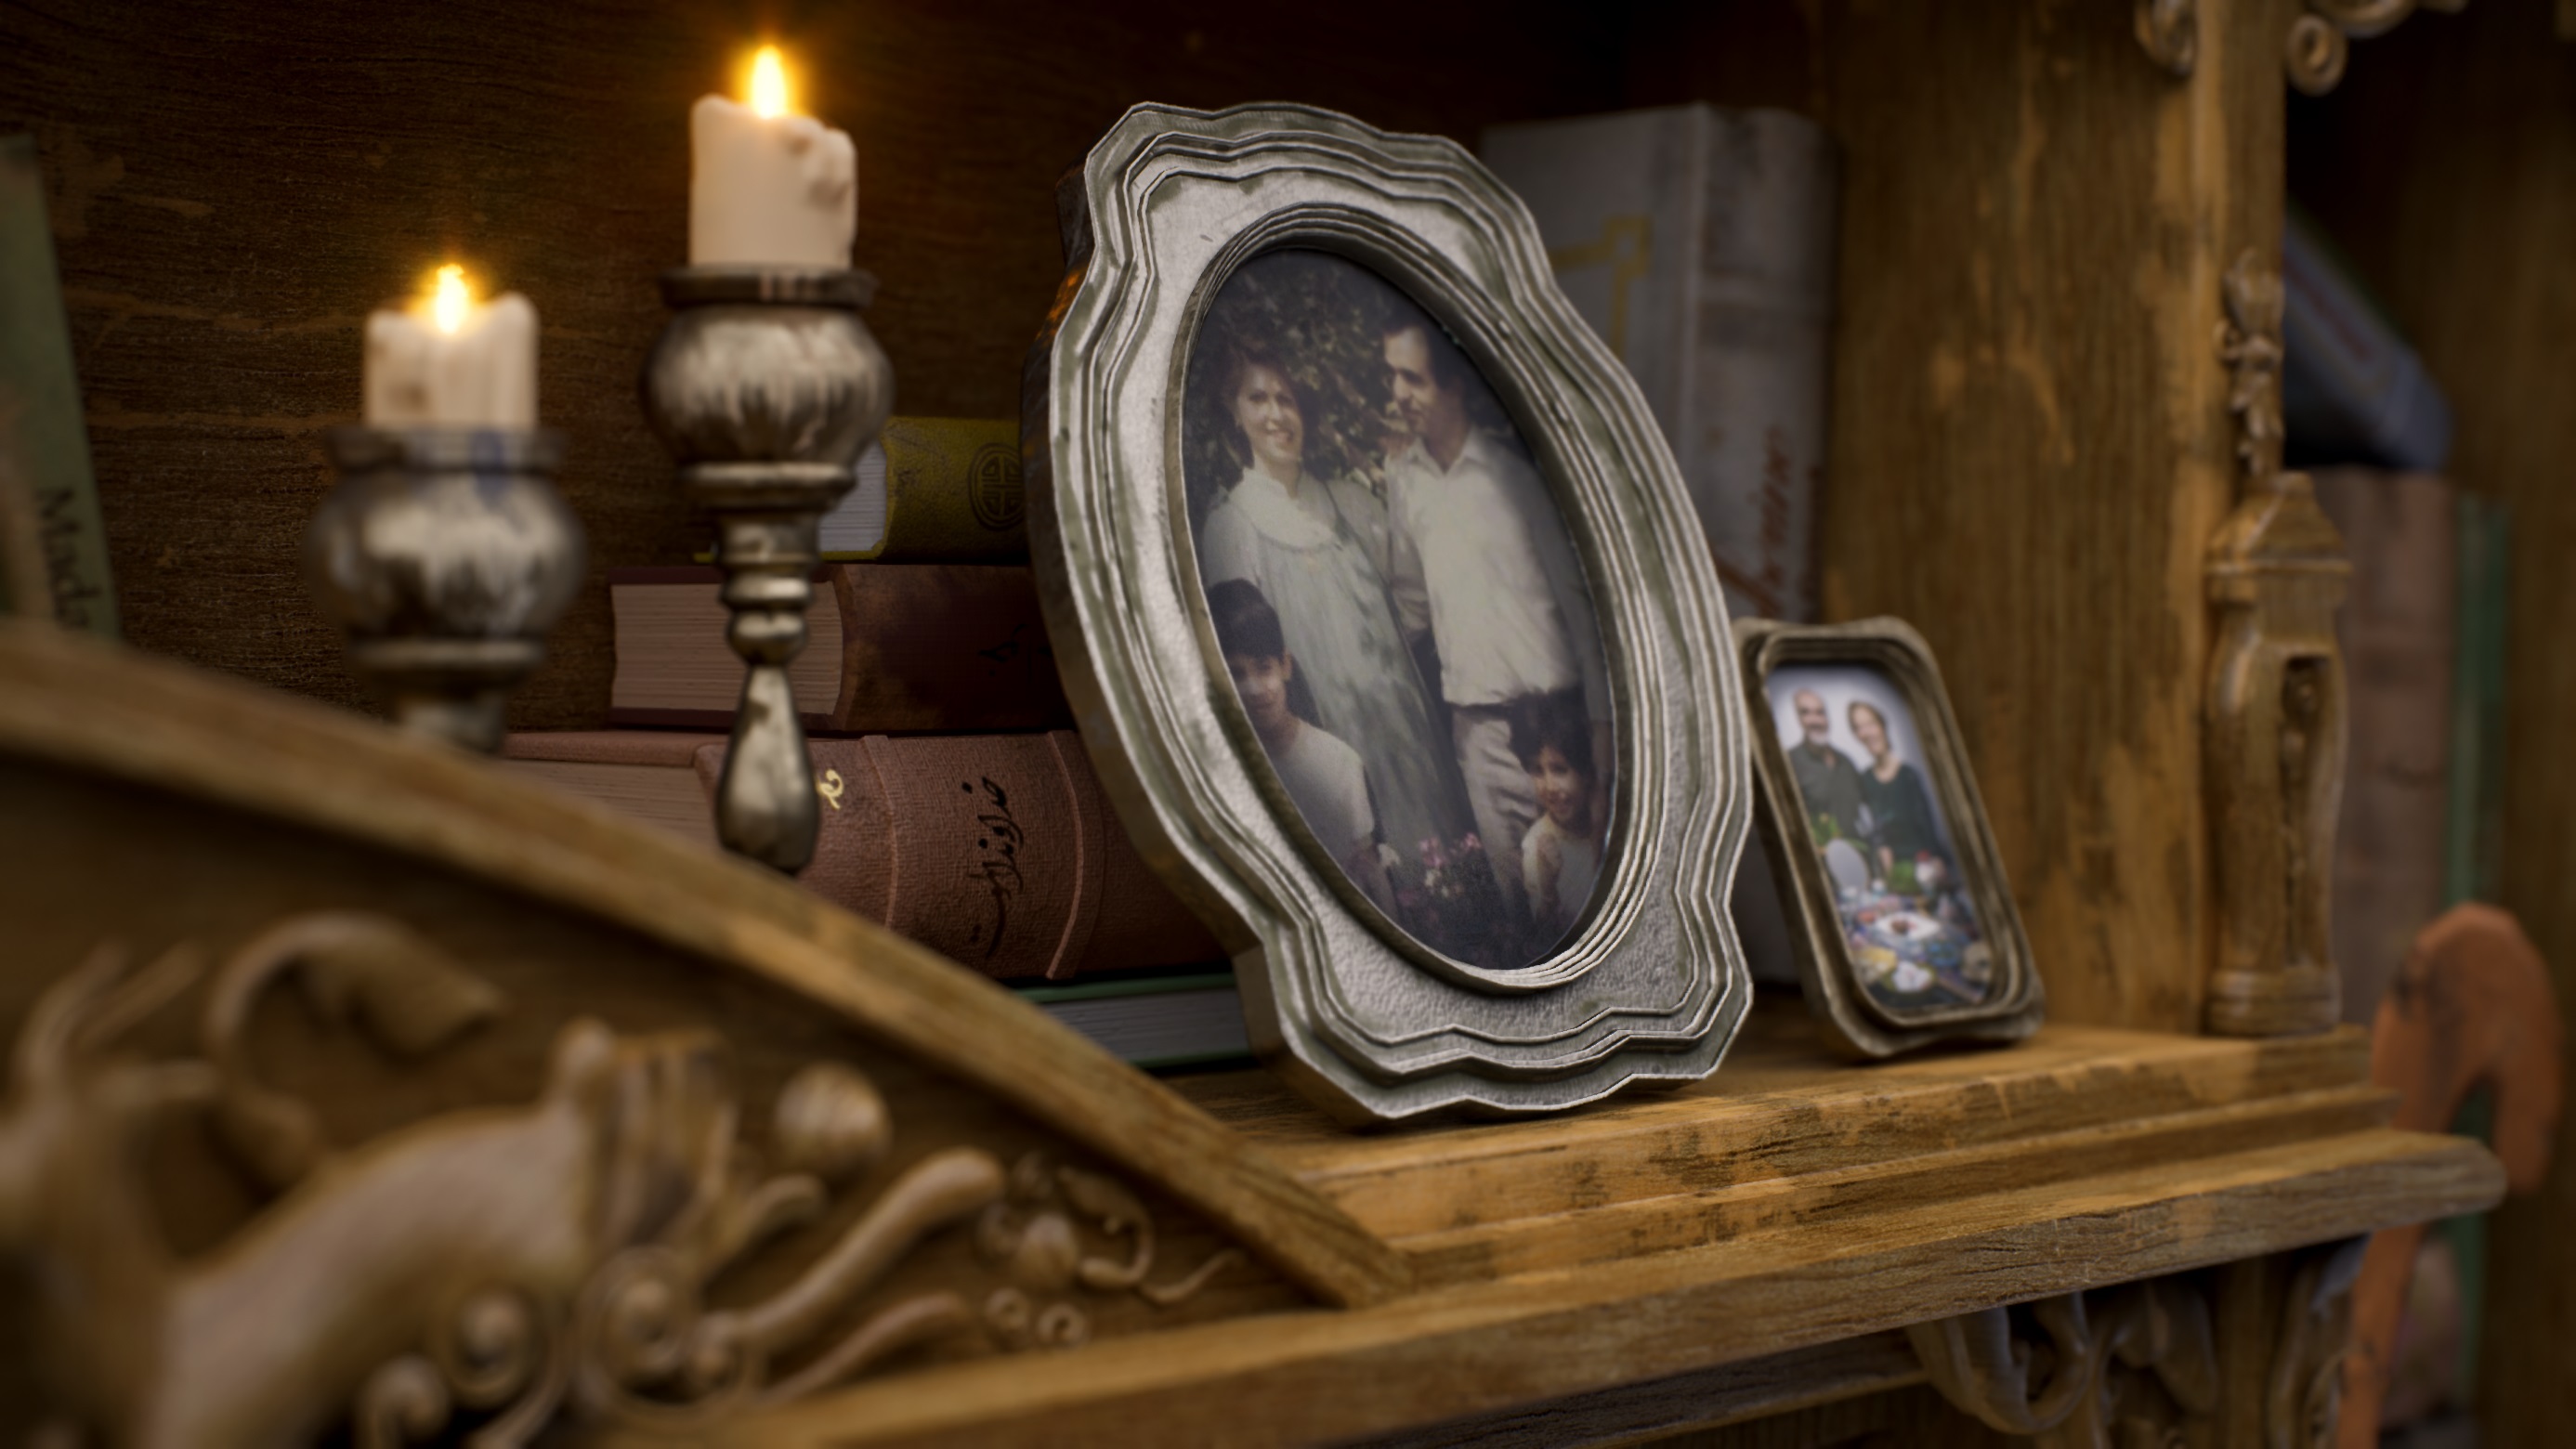
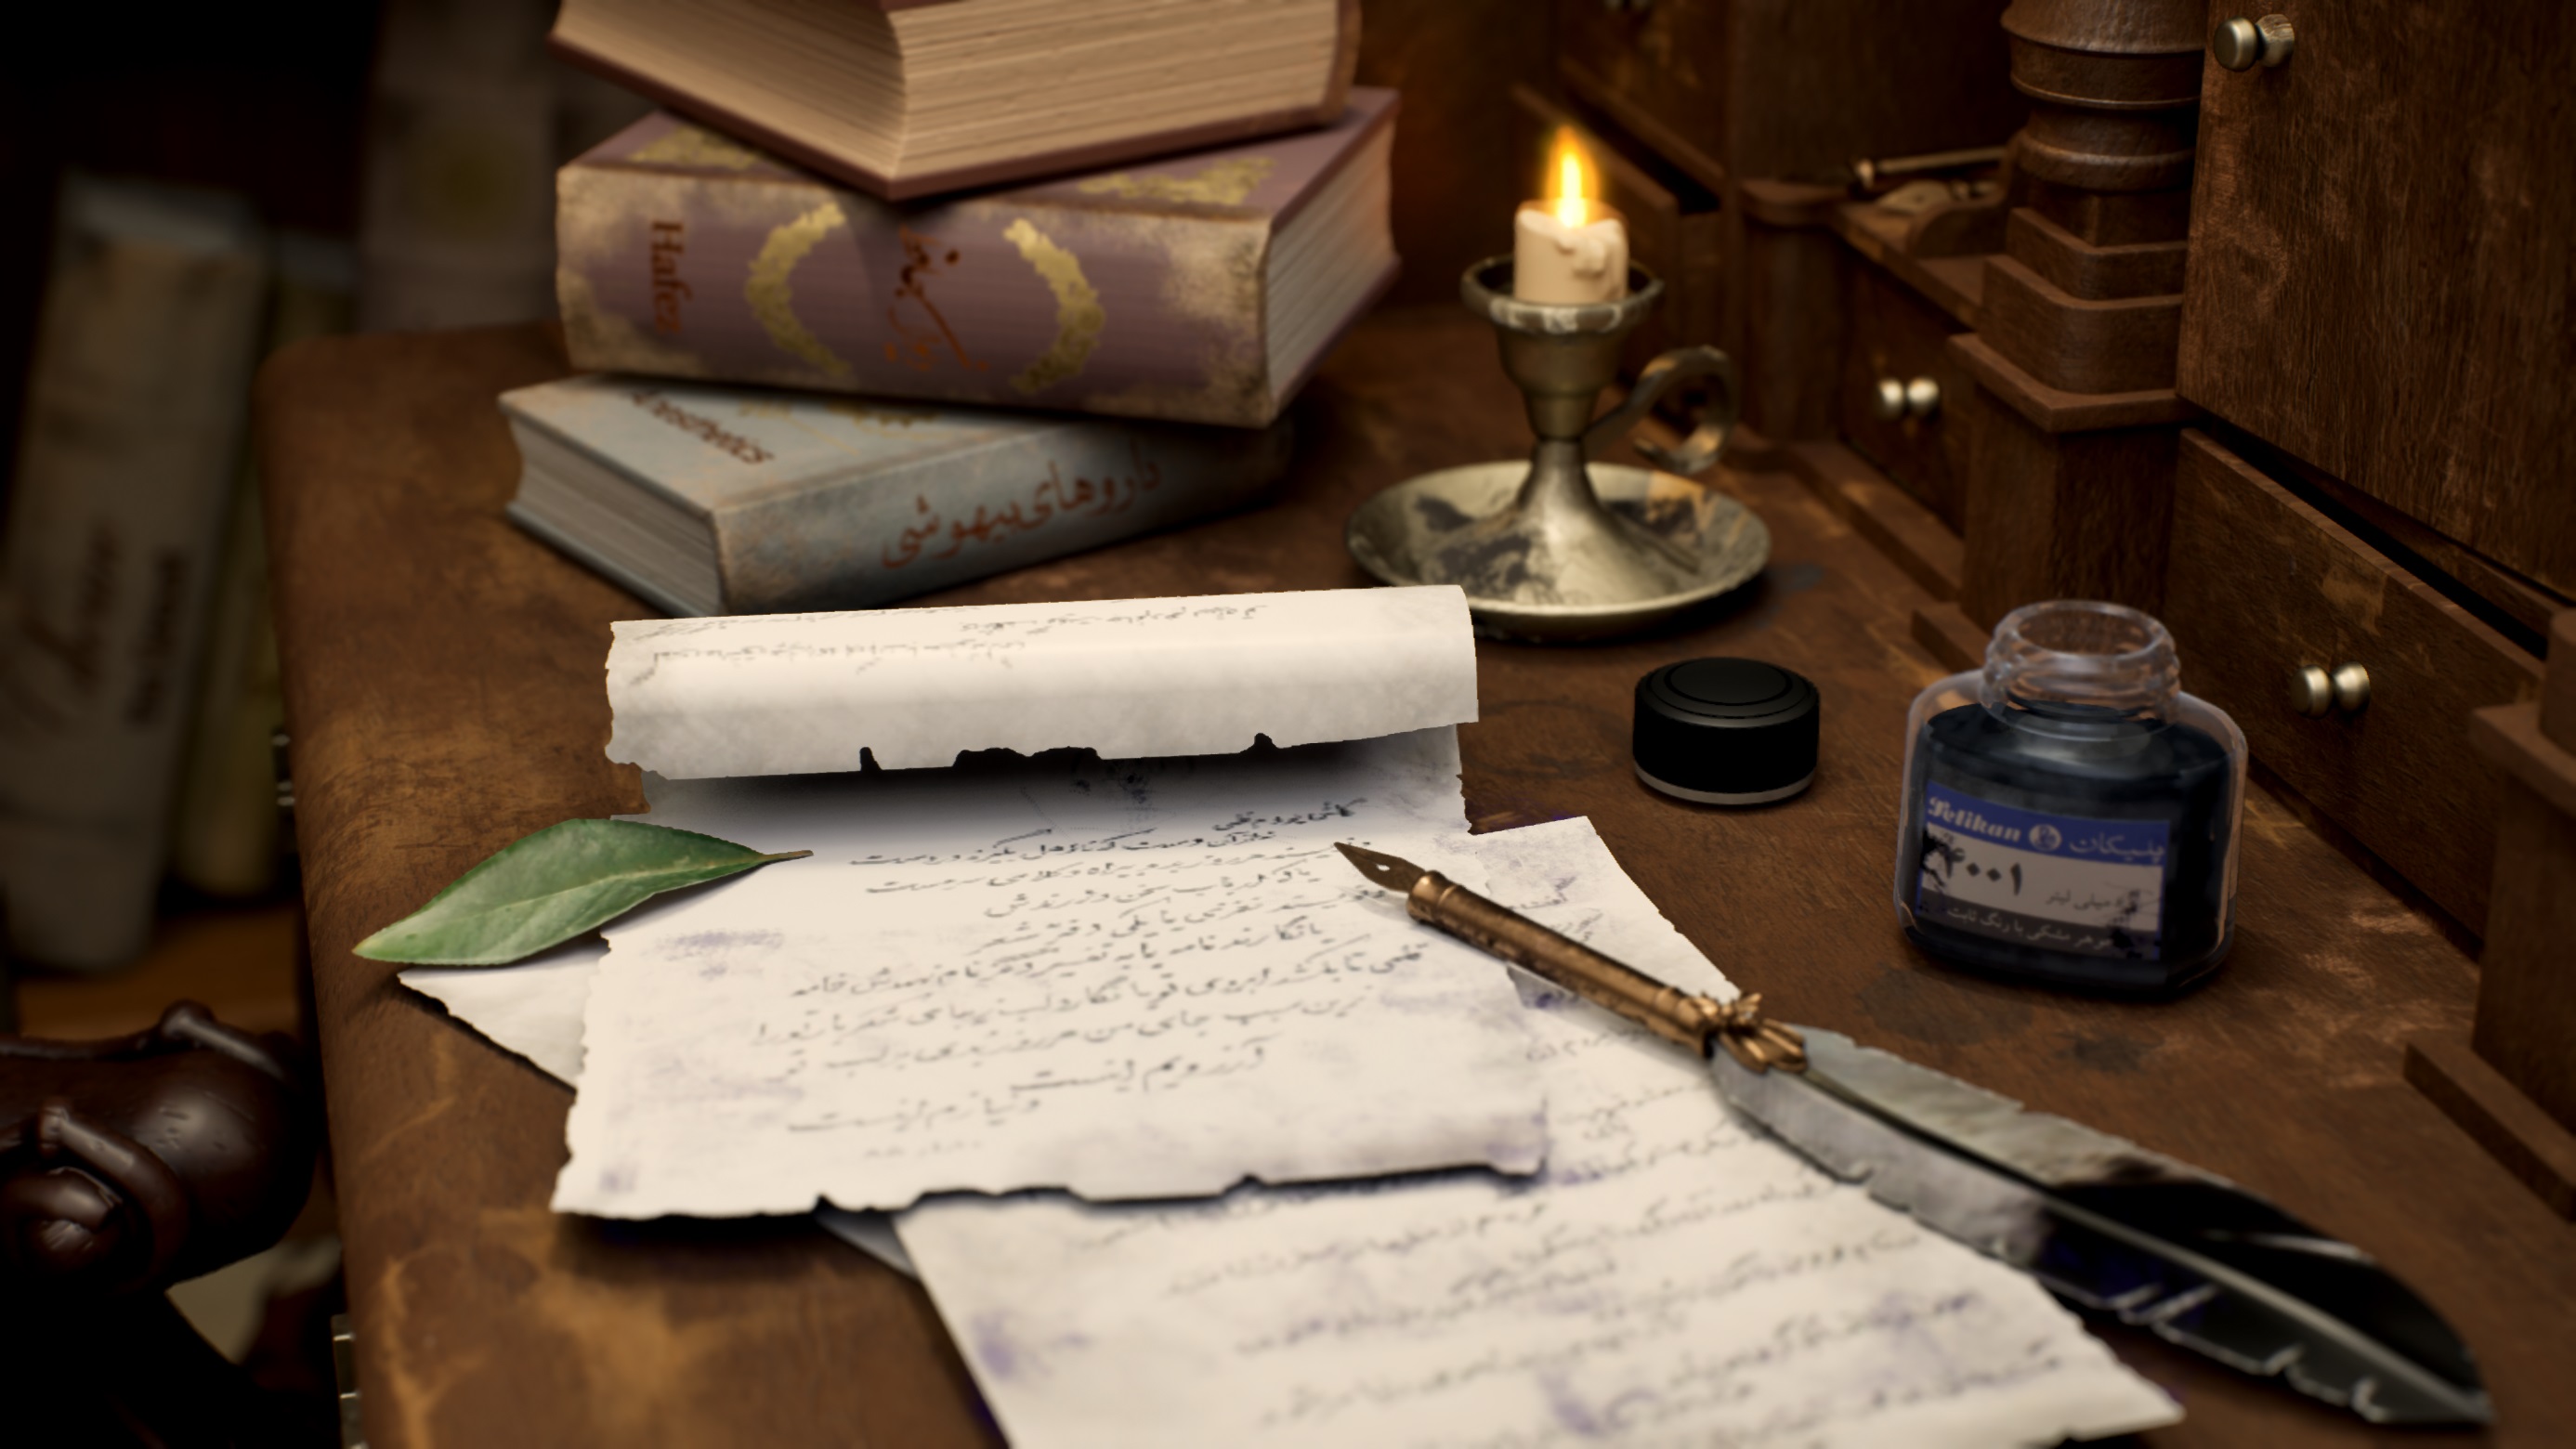
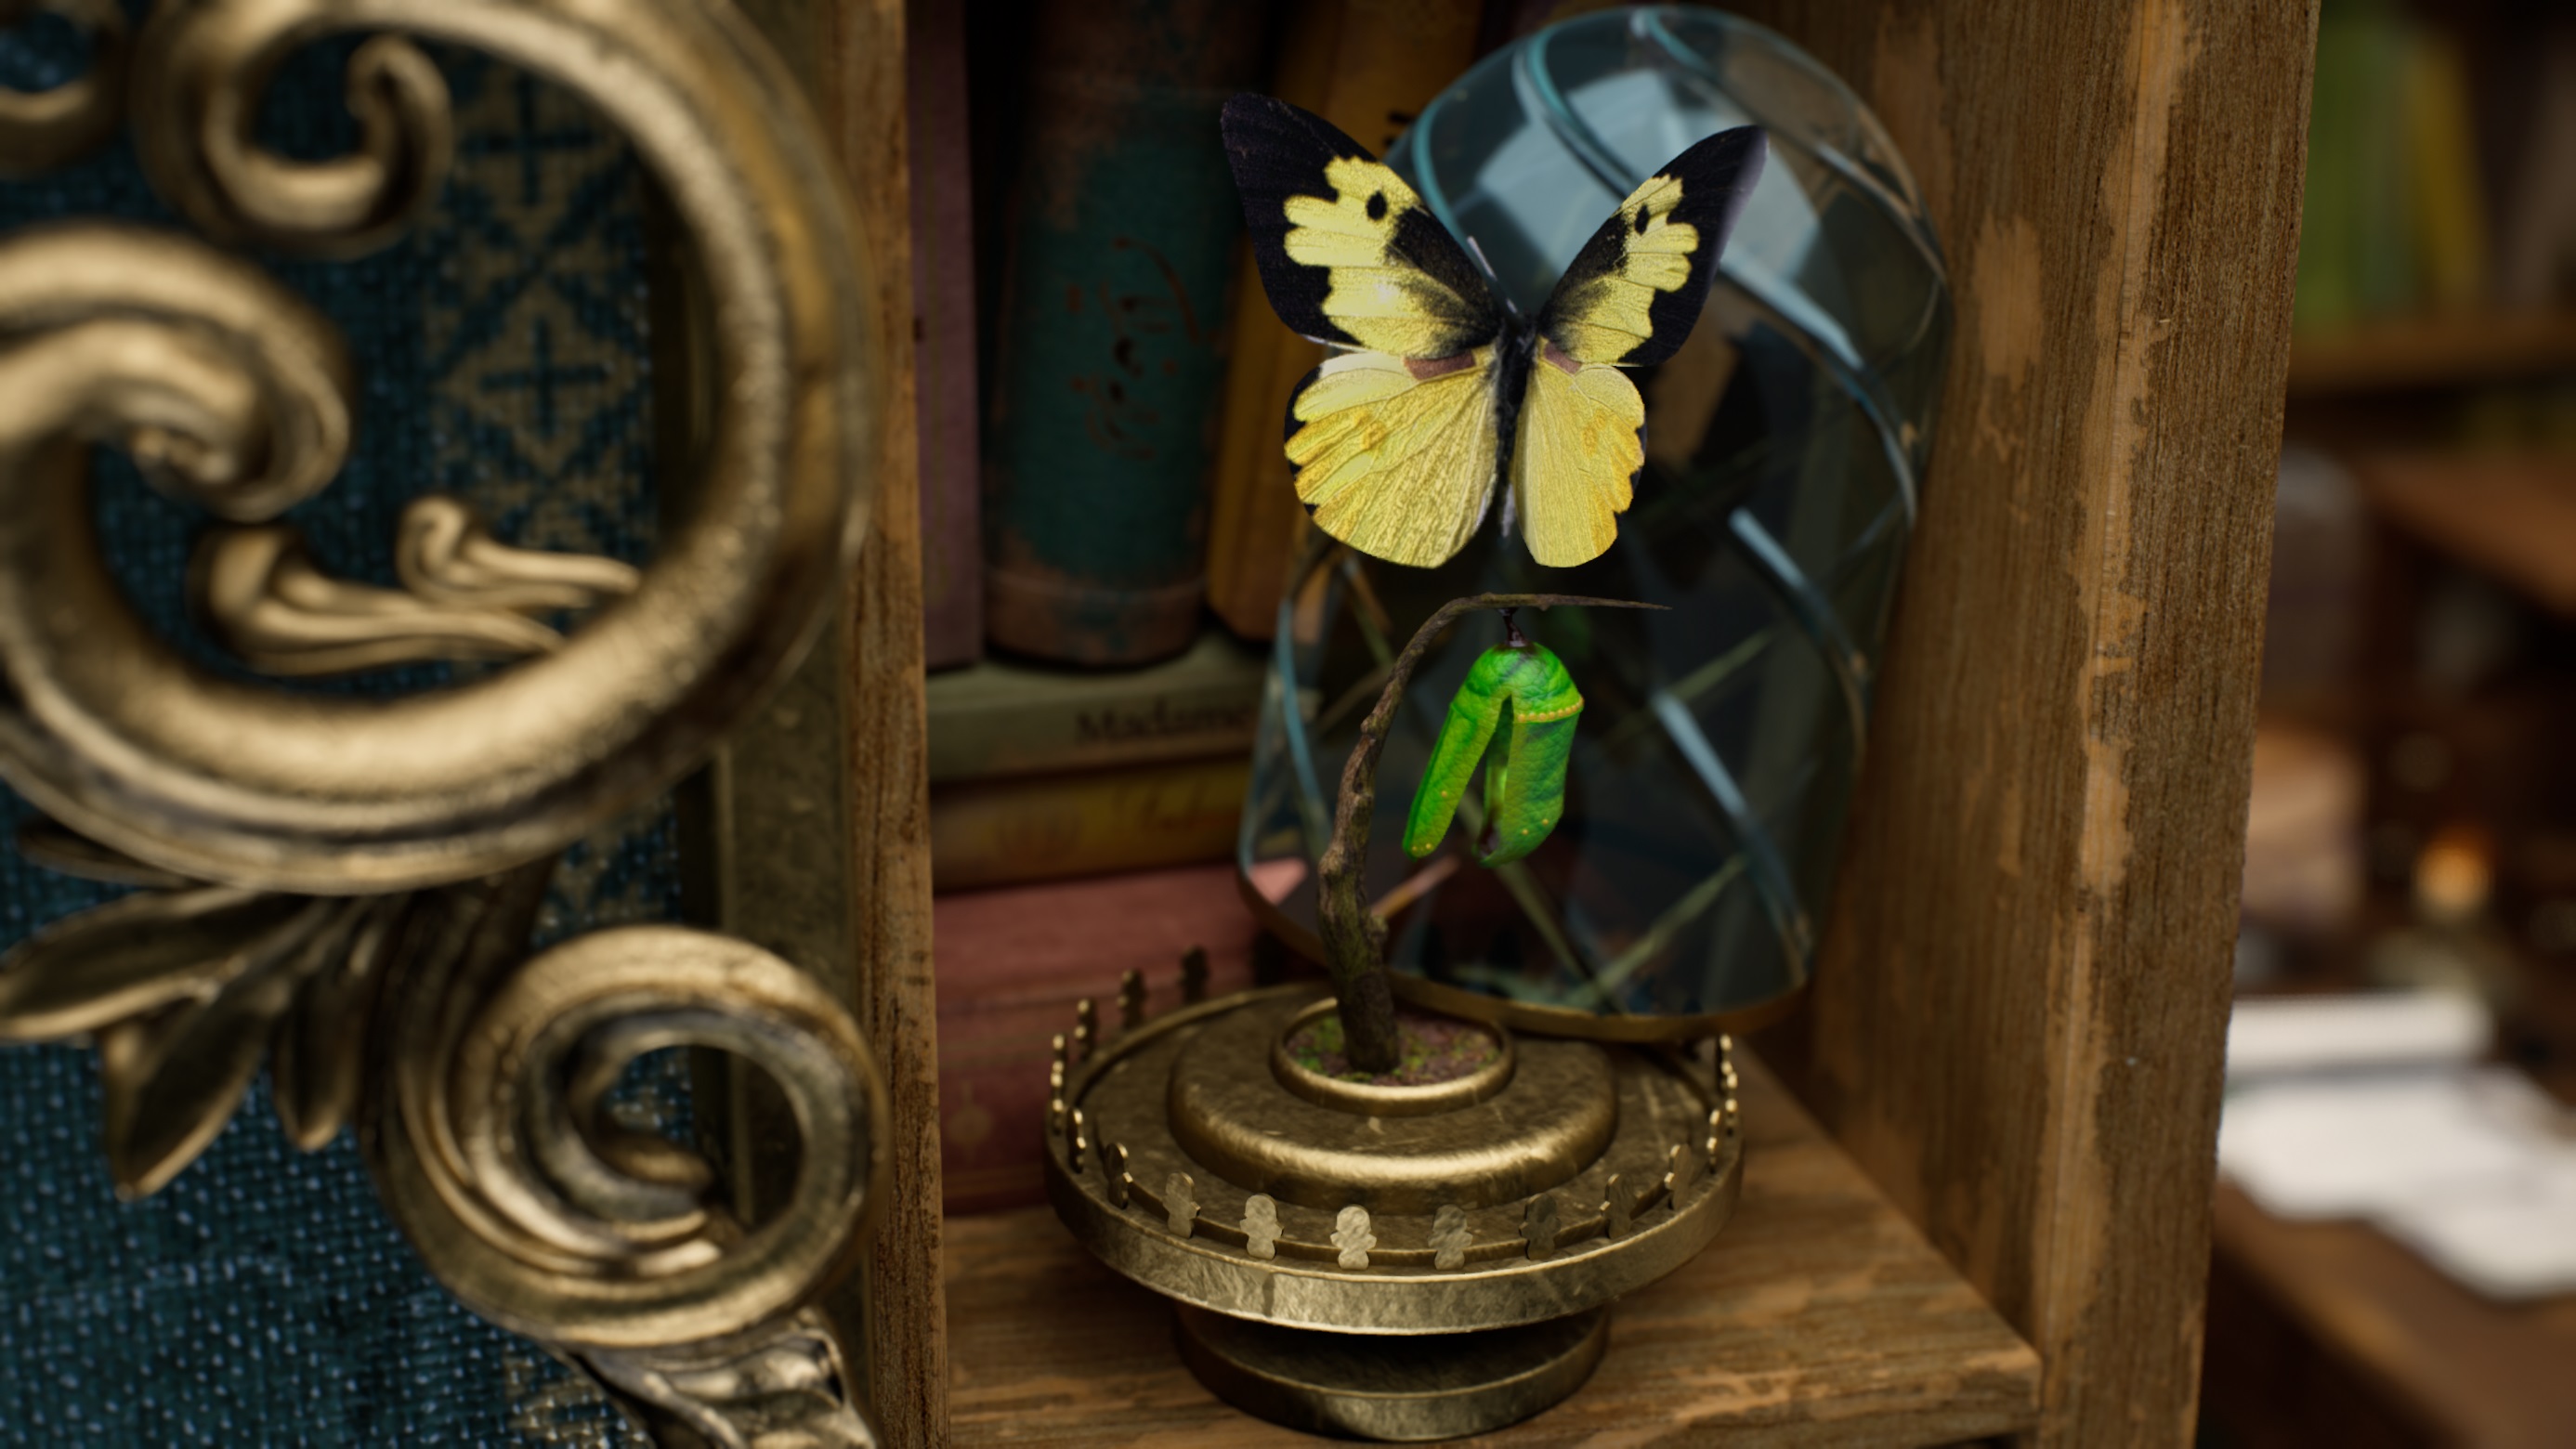
In what ways did you use Marvelous Designer in your project?
I used Marvelous Designer to create the main armchair, the tablecloth, and statue dress. I also used male and female avatars as base meshes for my statutes and busts.
What benefits did Marvelous Designer bring to your project?
Creating realistic fabric folds and wrinkles is challenging in sculpting software, but Marvelous Designer significantly simplifies this process.
Can you give us a quick overview of the different tools used in your pipeline?
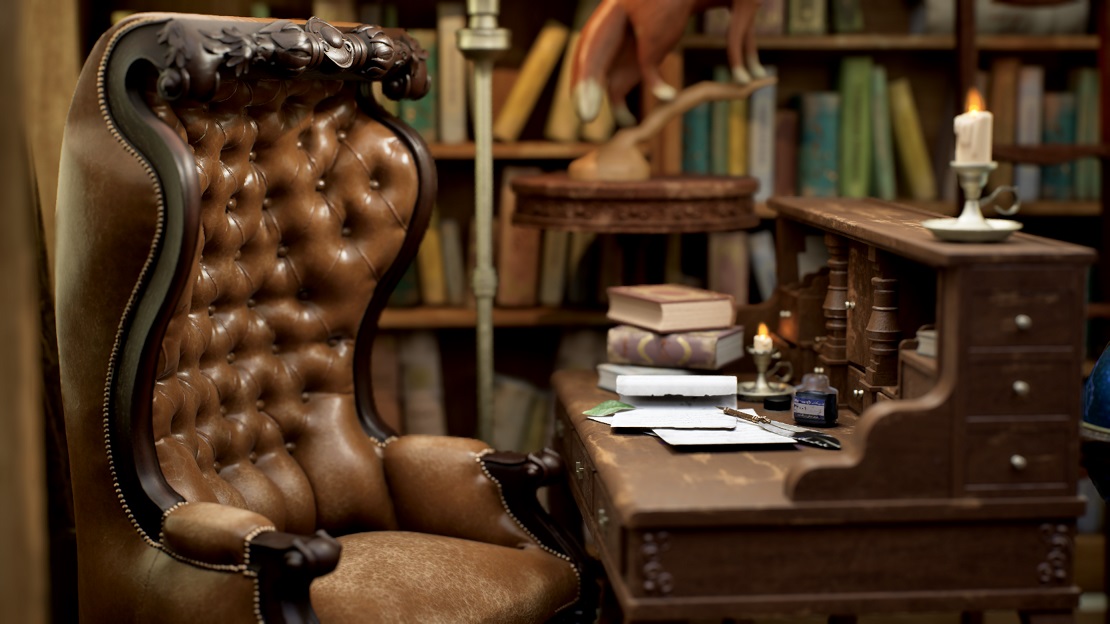
Artists usually use Marvelous Designer to create clothing and drapery, but it has many handy tools for creating sofas and armchairs. I found a reference for a classic woodworked leather sofa that matched the style I had in mind and decided to recreate it.
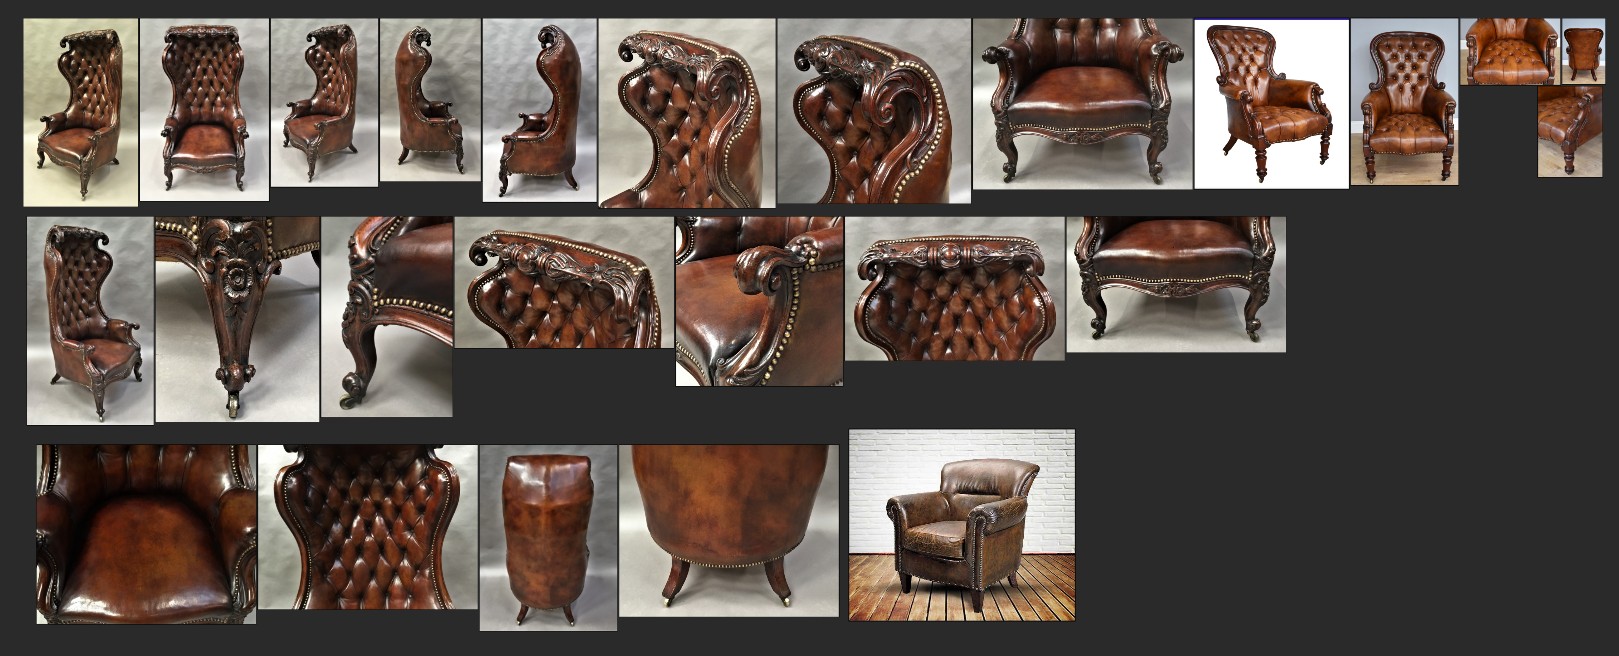
To create the armchair's fabric, I first made a low-poly structure in Maya and imported it into Marvelous Designer. I used the Flatten tool and selected the fabric mesh to get the pattern in the 2D window. While you can select all pieces and hit Enter, I personally find it more convenient to transform the fabric pieces one by one. This method allows for easier handling of potential errors.
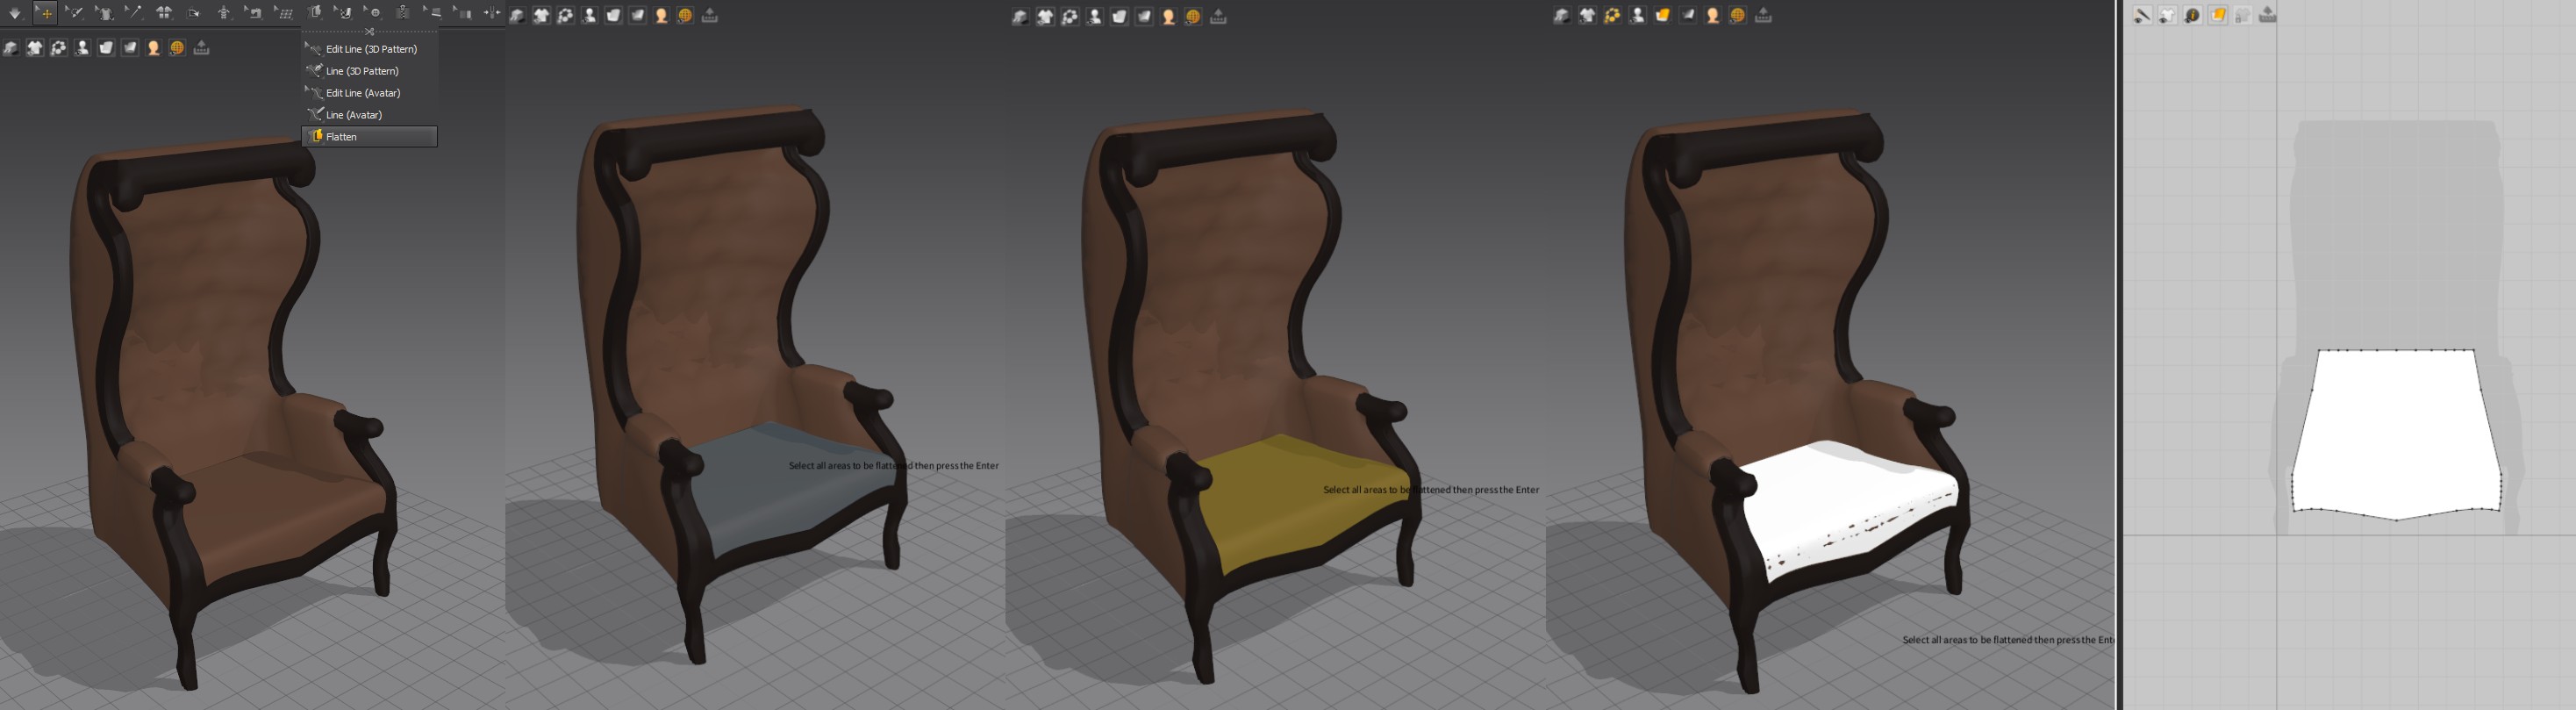
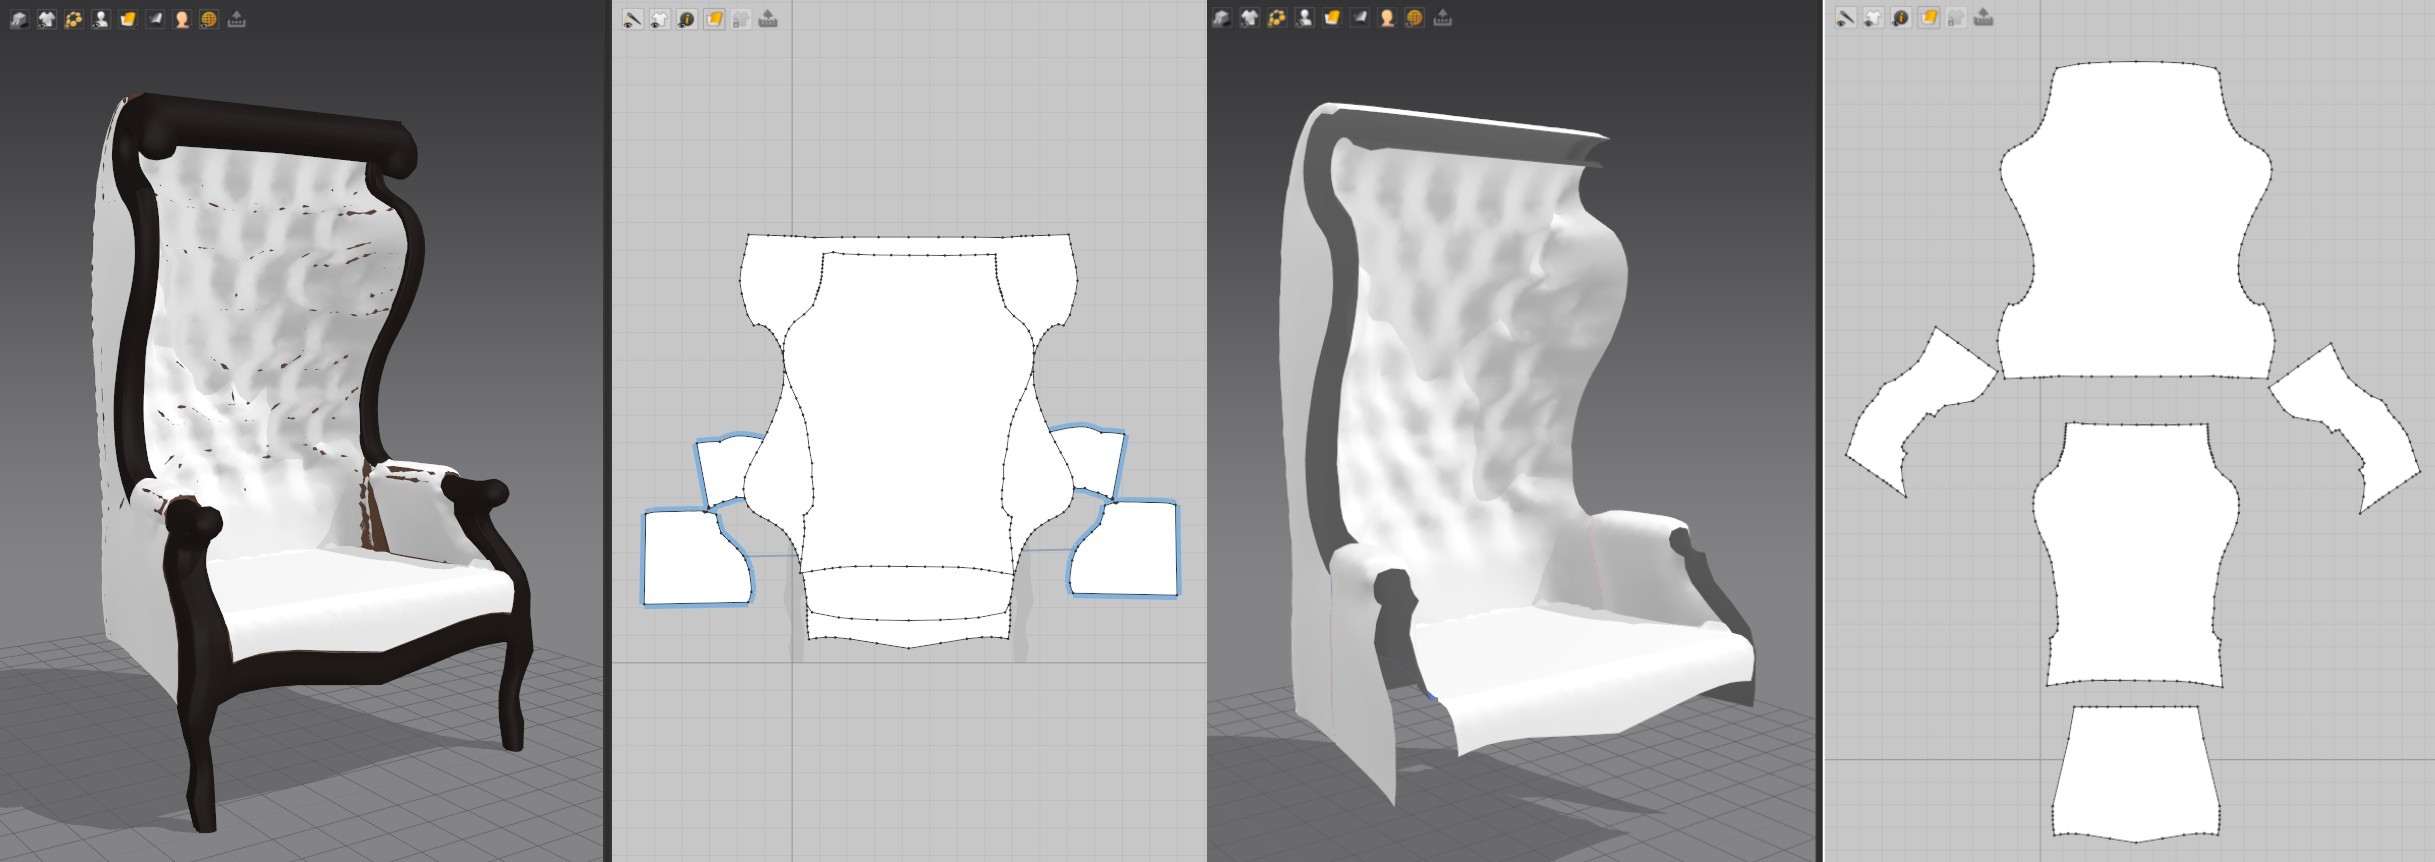
I then rearranged the 2D patterns to make them easier to work with. At this point I hid the wooden structure to work more conveniently.
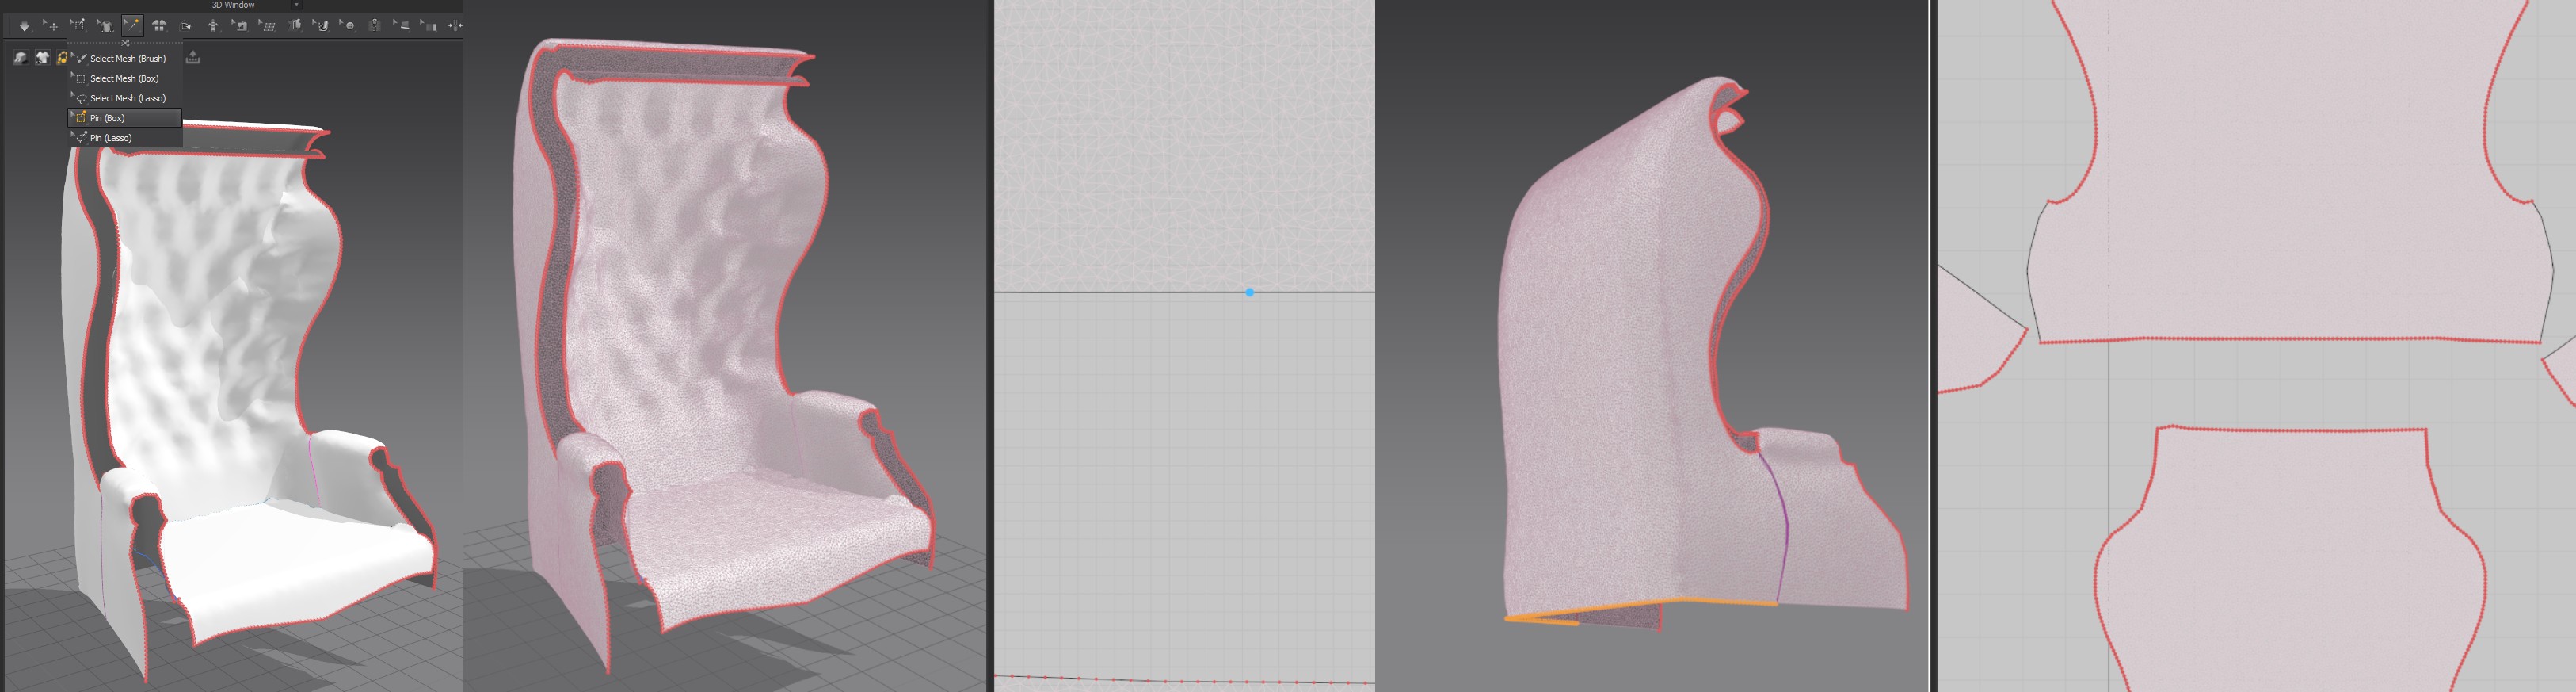
Using the Pin (Box) tool, I hovered over the edges of the fabric pieces. When a vertex turned blue, I double-clicked on it to pin the entire edge. After double-clicking, the pinned edge is marked with an orange line.
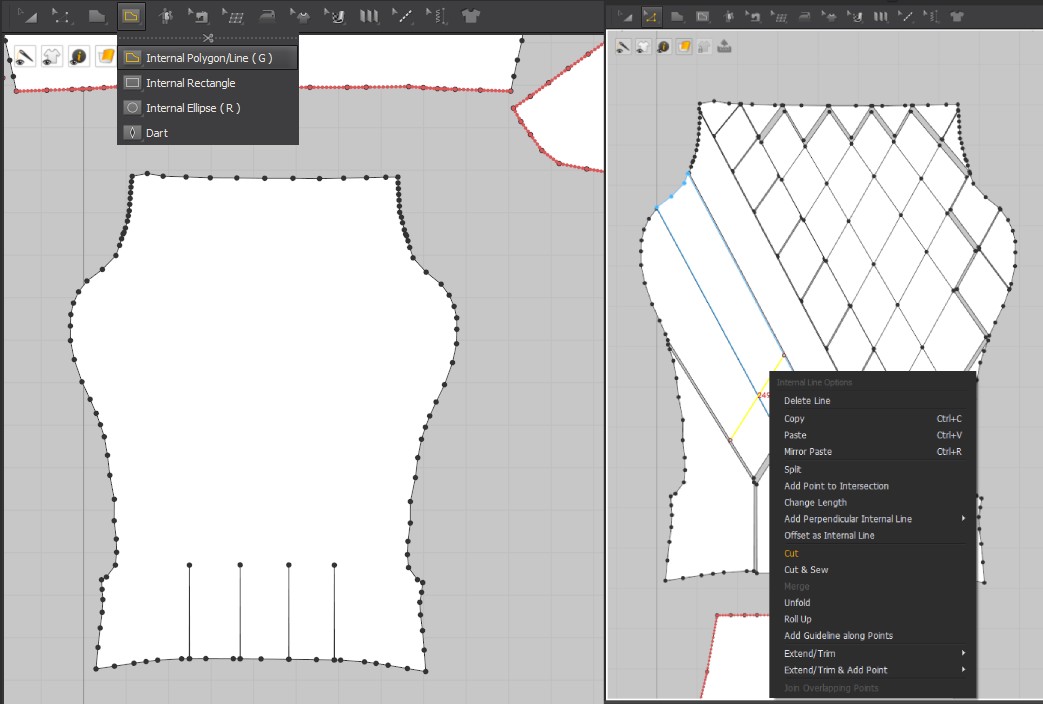
Next, using the Internal Polygon/ Line Tool, I started creating the internal sewn lines according to my reference. Then, I selected the internal lines with the Edit Pattern tool and Cut the lines.
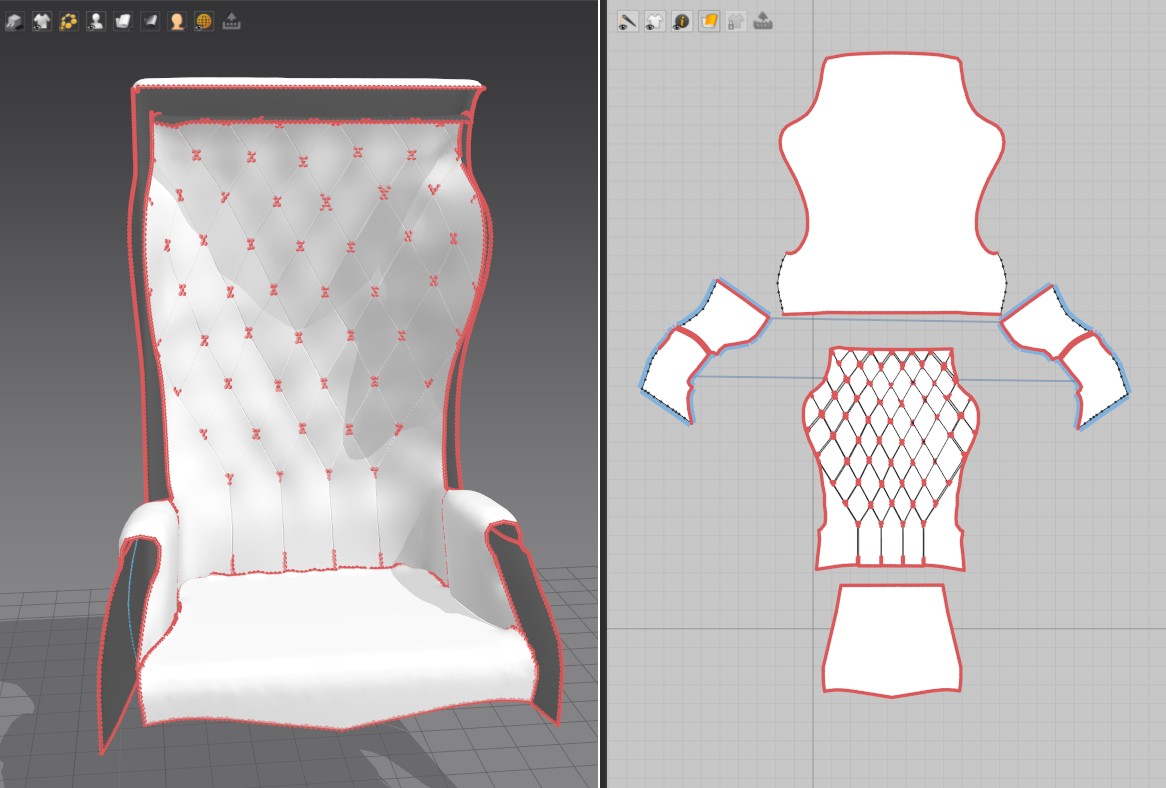
This is how the patterns looked after all cuts and pins were in place. I tried to add a bit of randomness to the middle button pins so the wrinkles appear more natural.
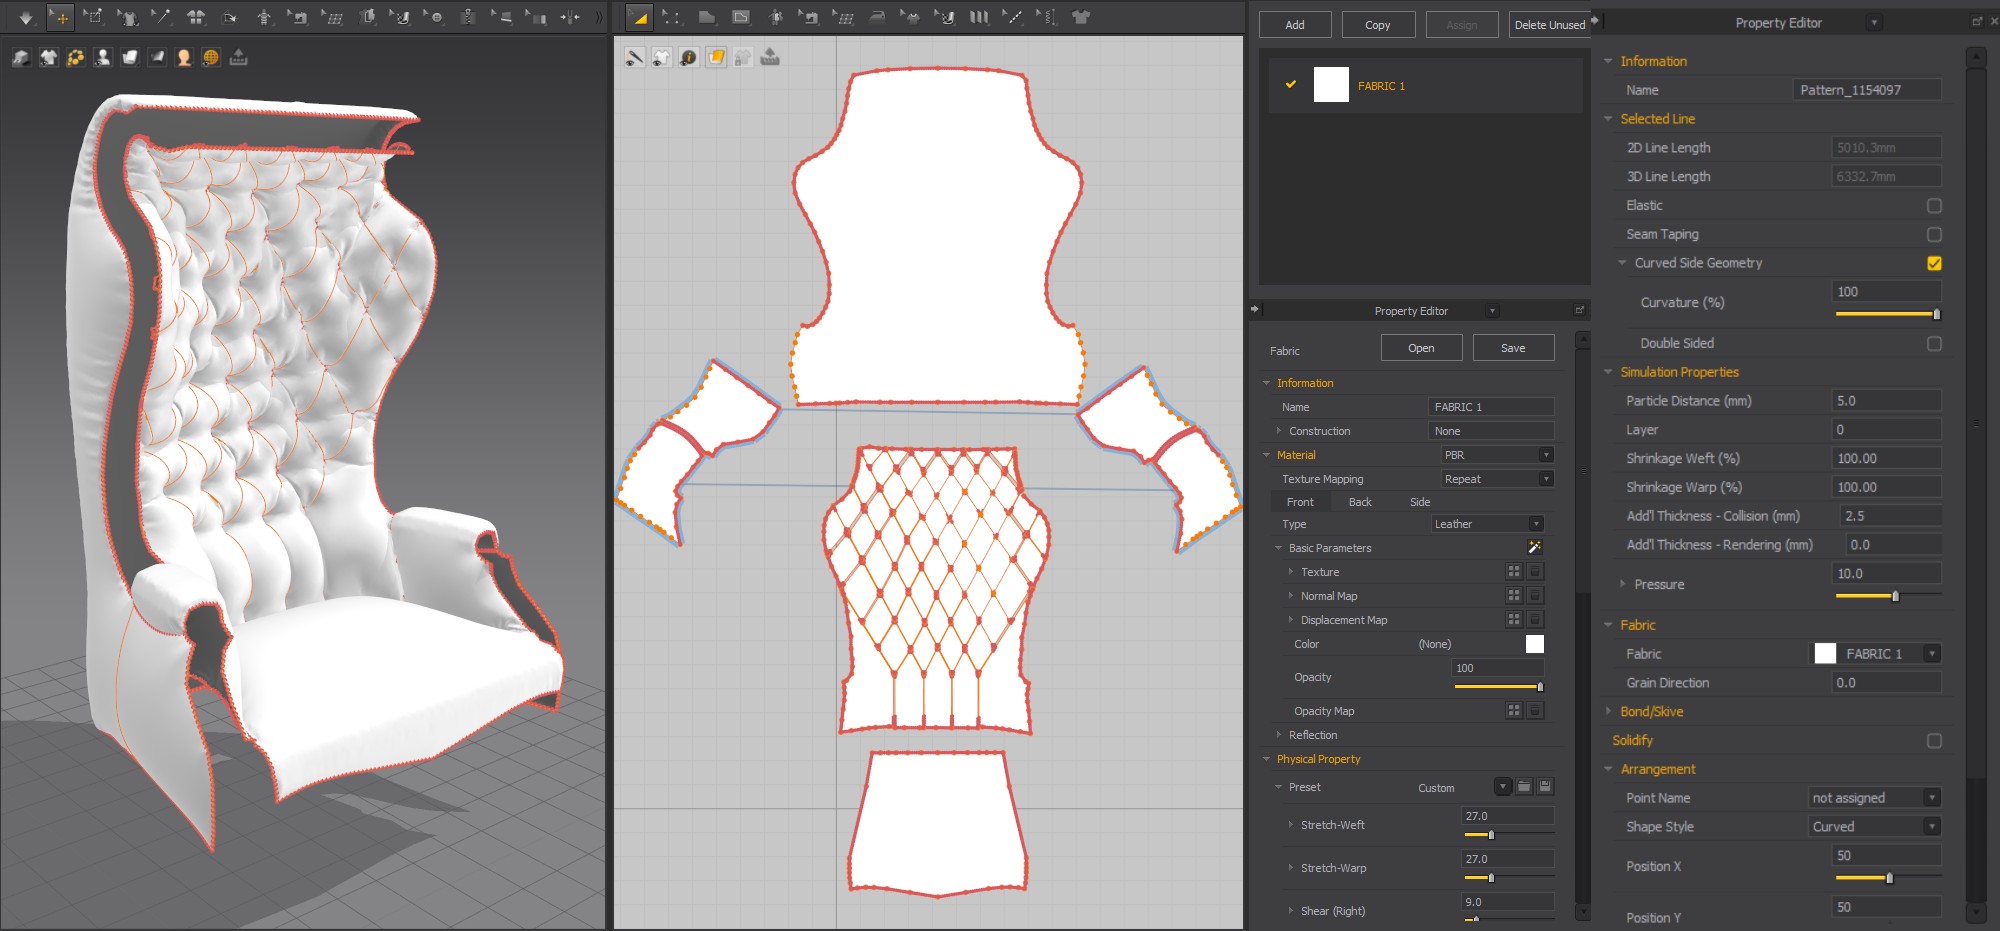
I used the Leather Fabric preset and adjusted a few parameters for Stretch and Weight. I then set Particle Distance to 5 mm and the Pressure to 10 to achieve the desired result.
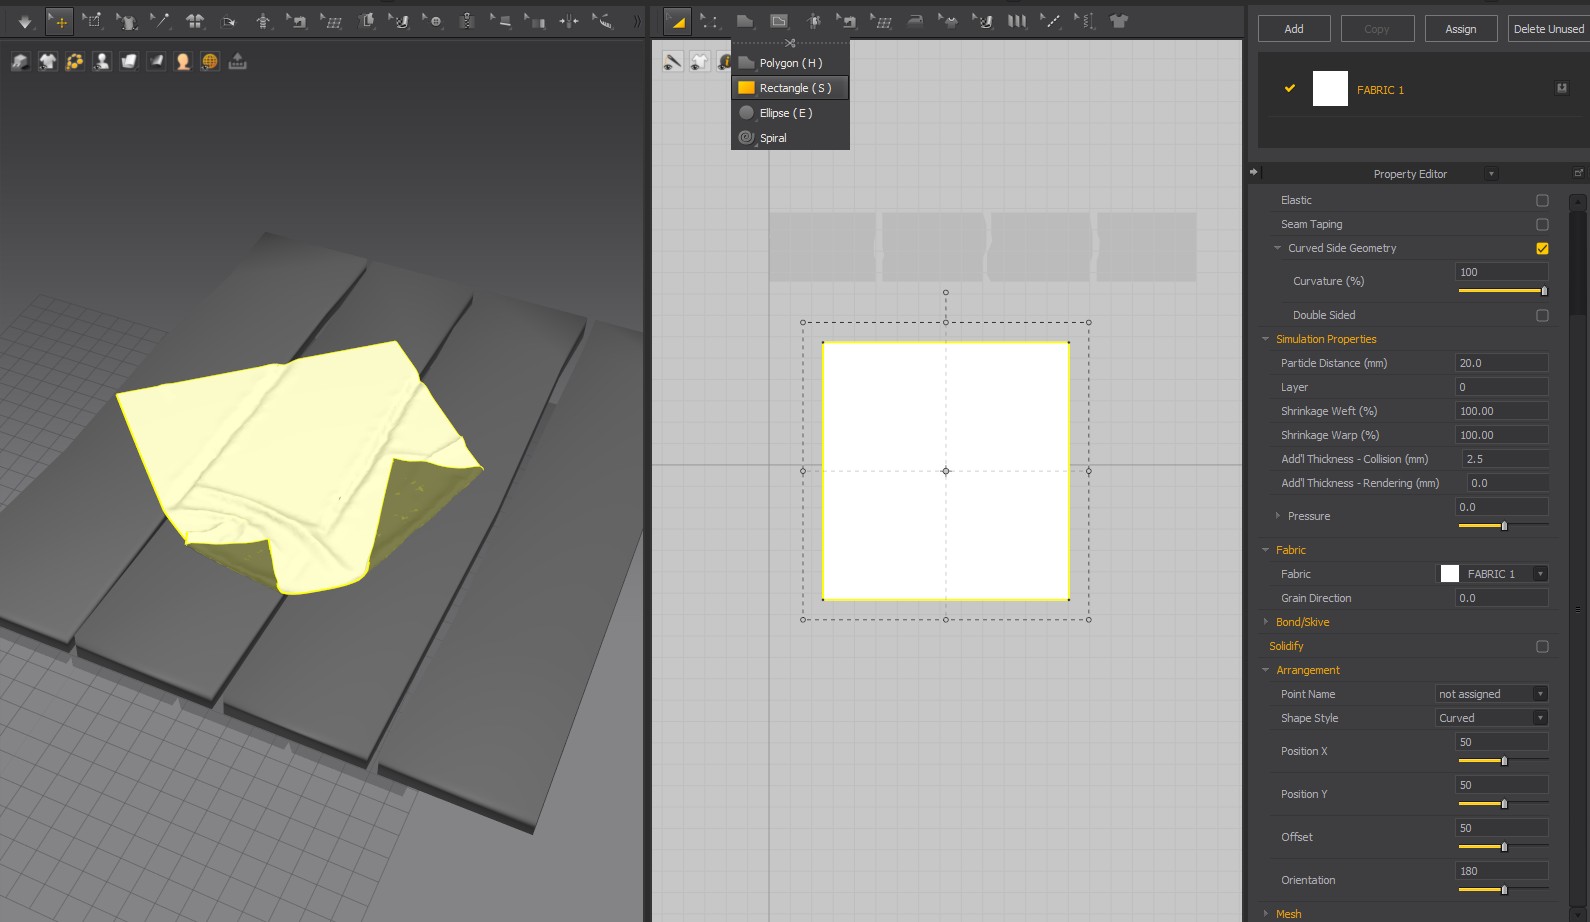
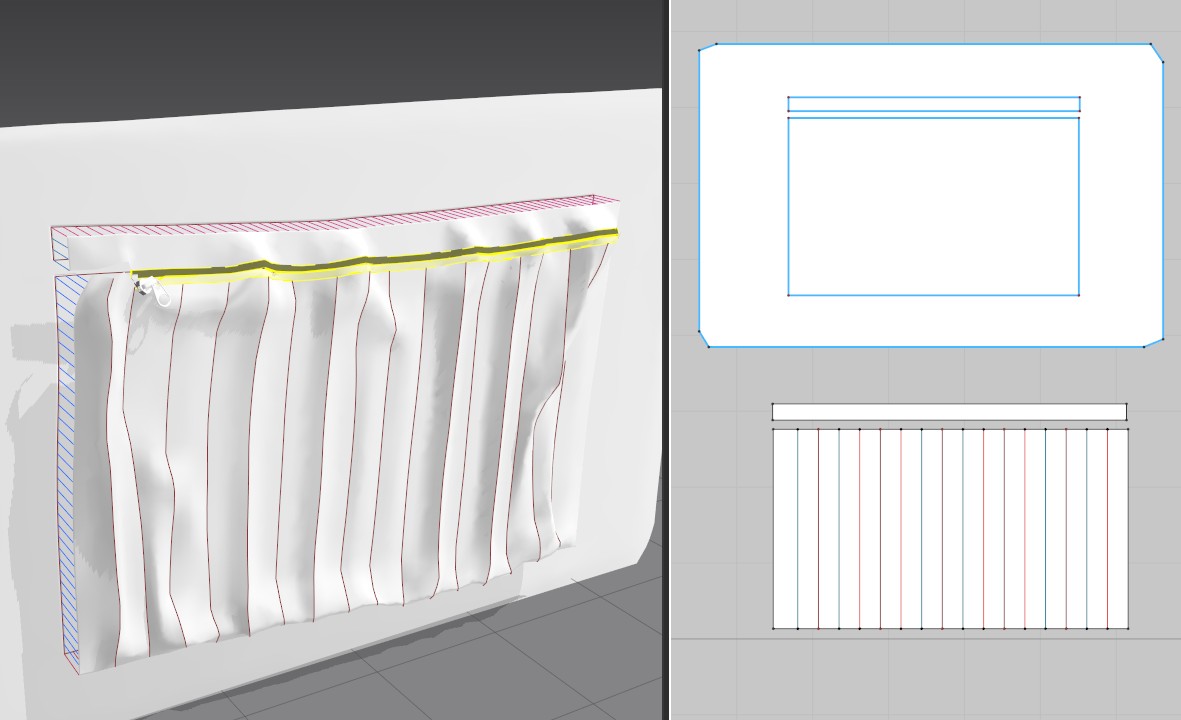
To create the tablecloth, I imported my table mesh as an avatar. I then drew a Rectangle in the 2D window, moved it above the table, and simulated it. I experimented a lot with the placement of folds while in simulation mode to achieve the desired effect.
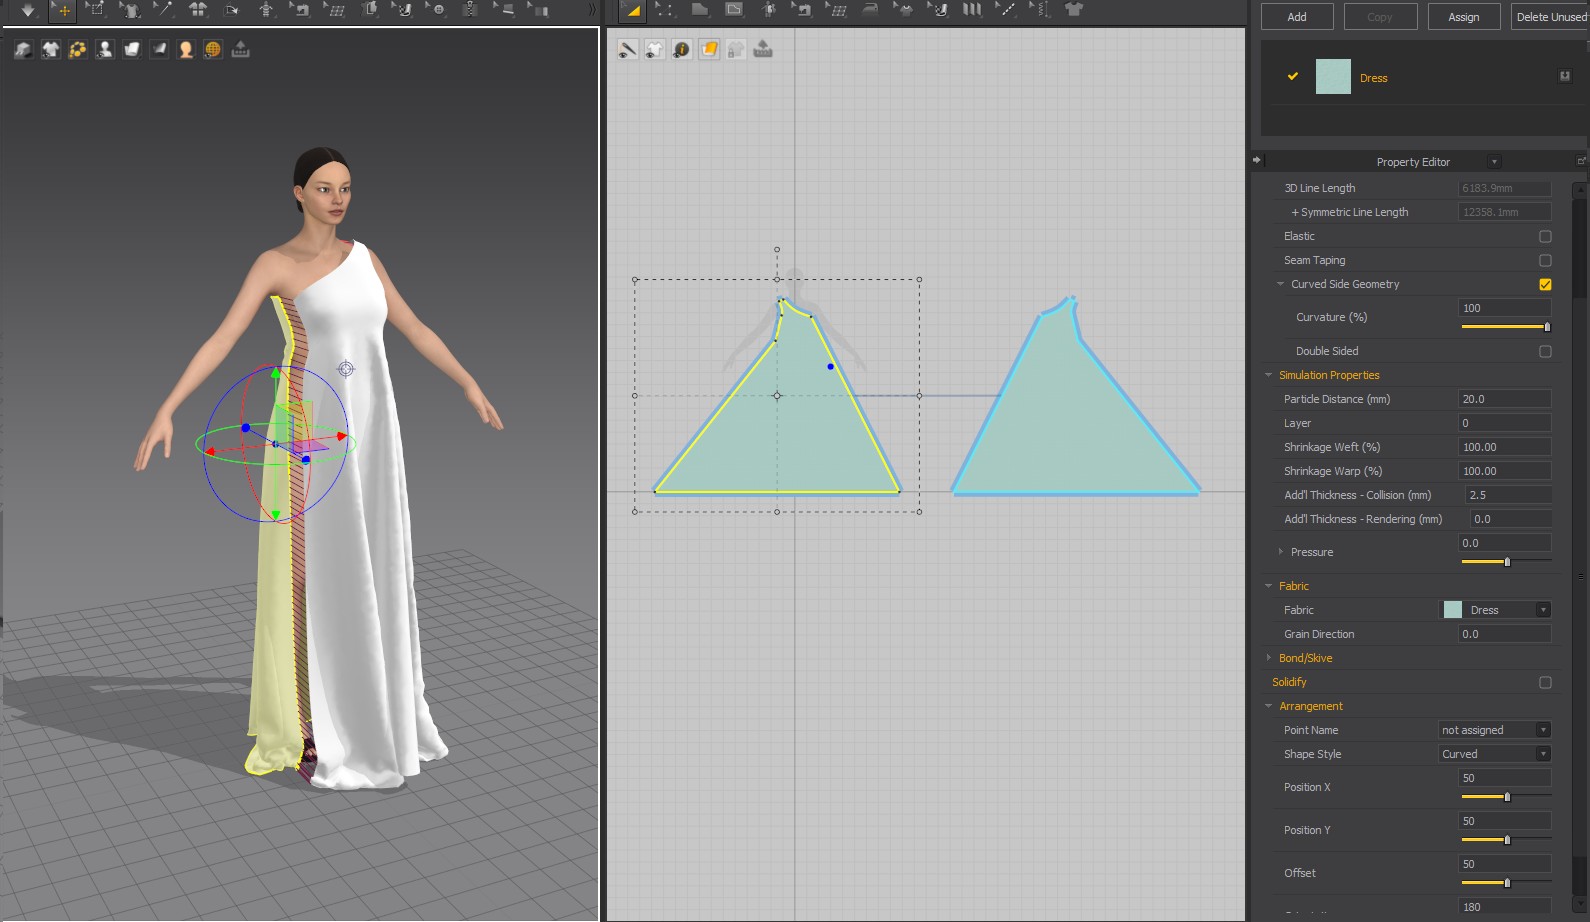
For the female statue dress, I drew a Polygon, duplicated it, and then sewed the sides and strap together.
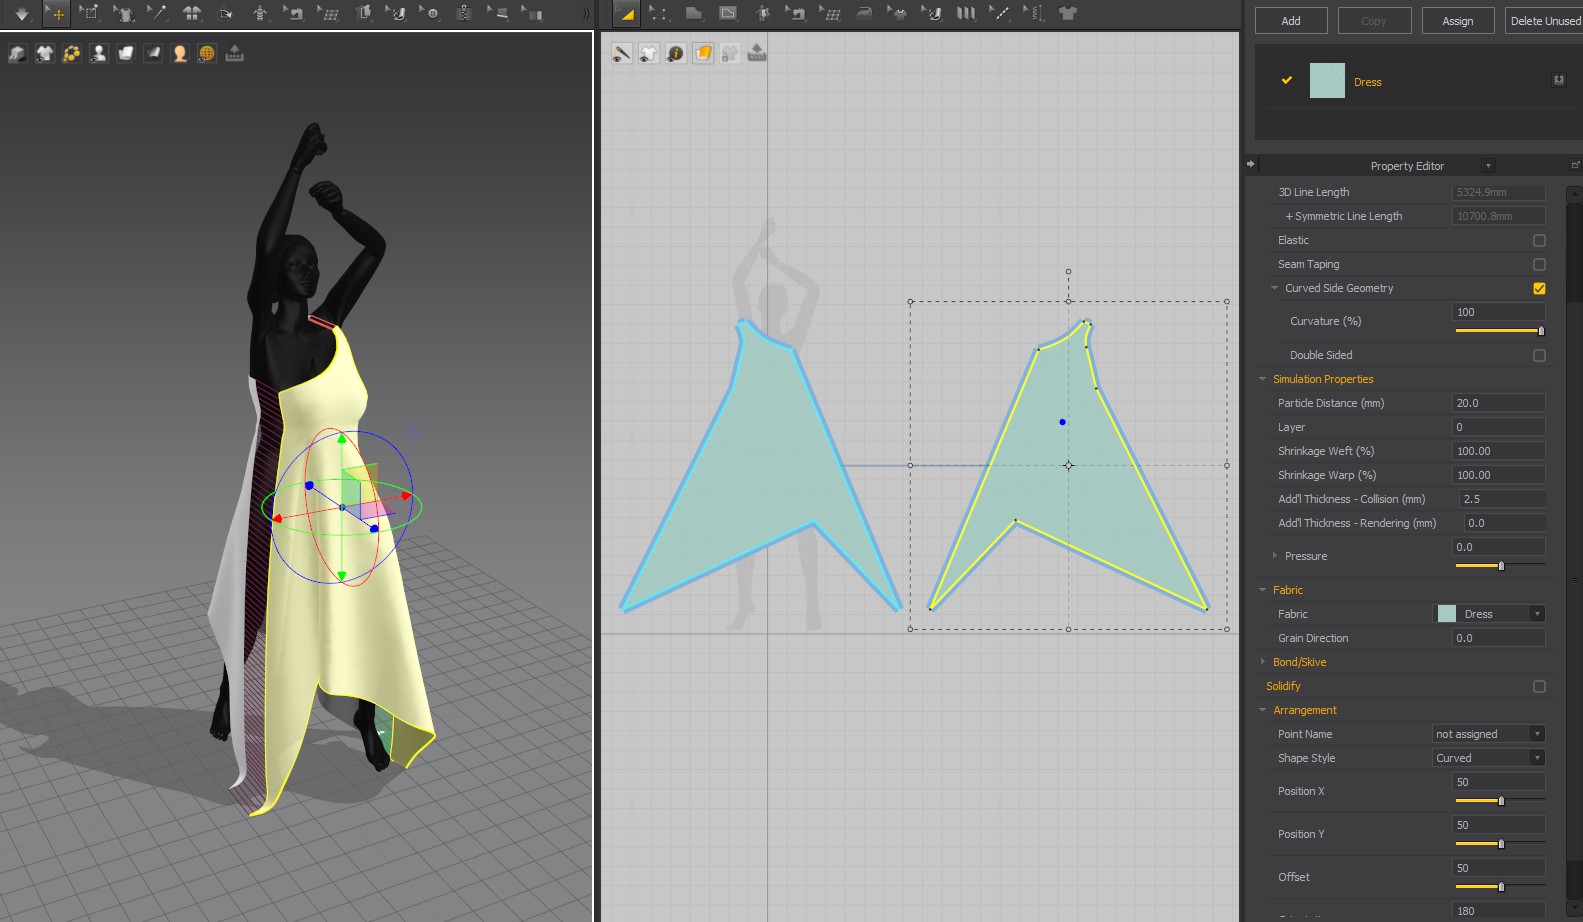
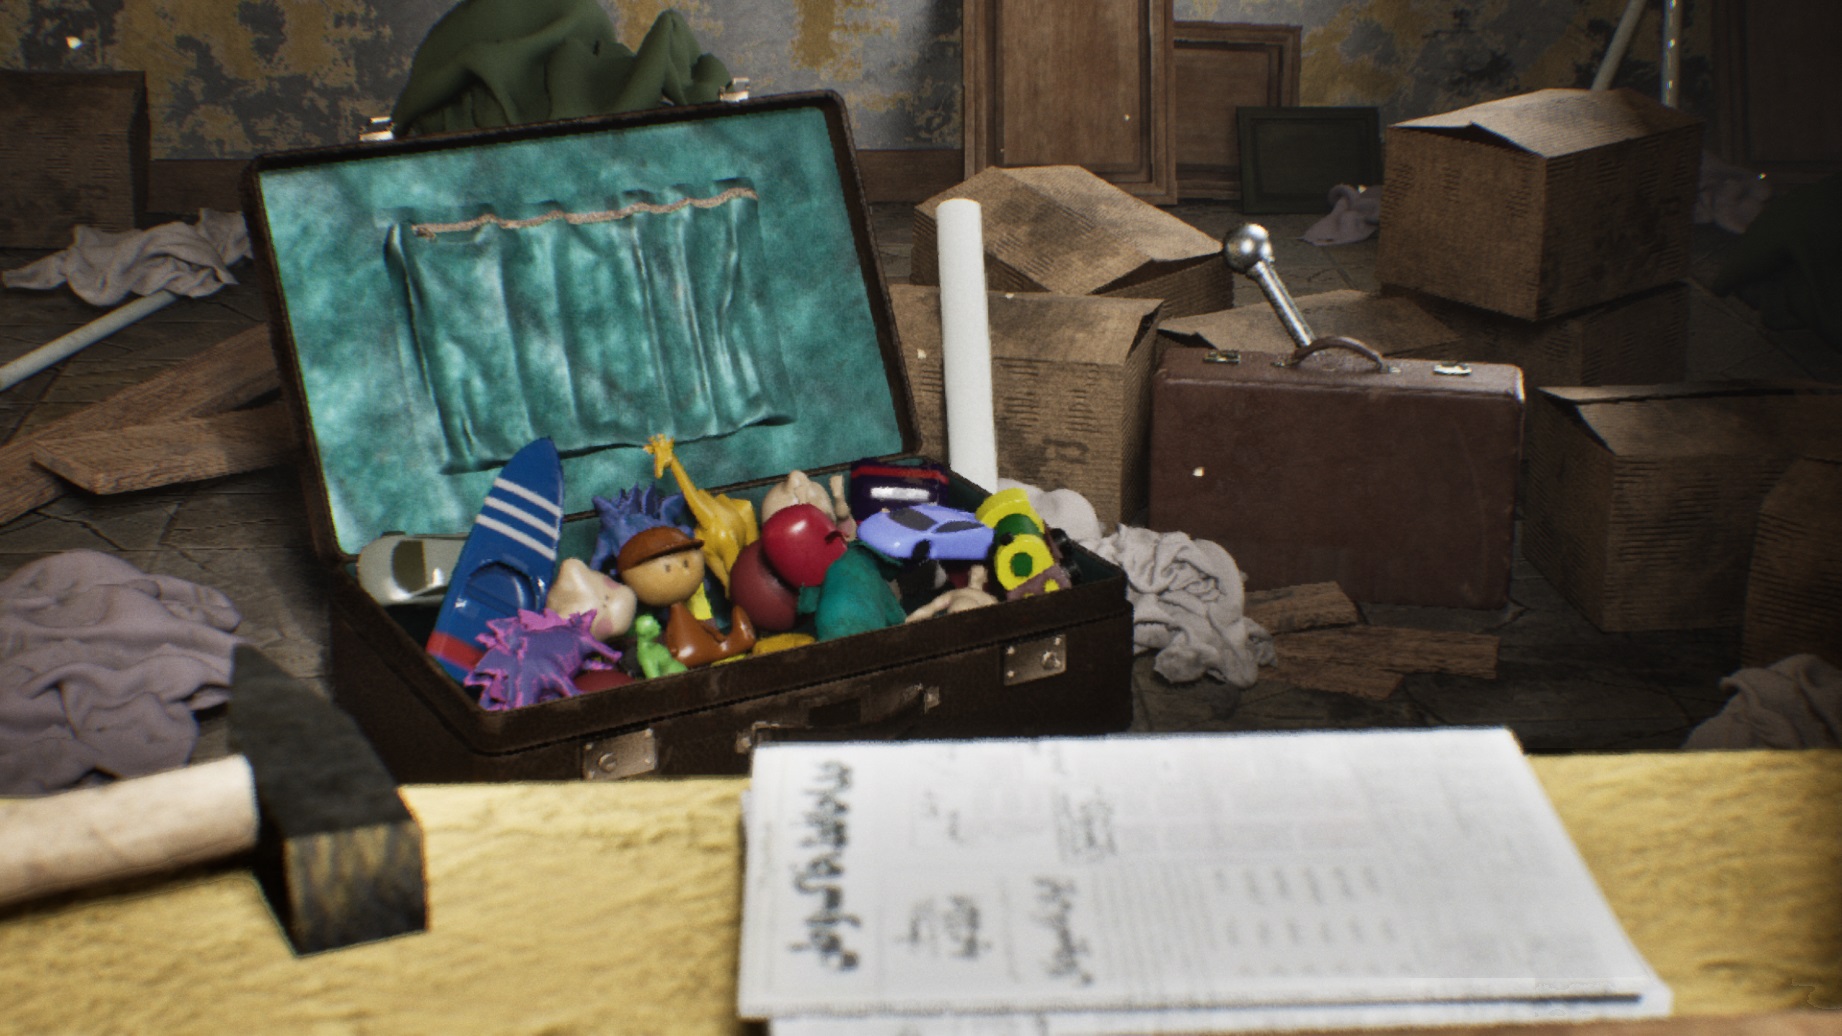
I also used Marvelous Designer to create the suitcase lid compartment and fabric pieces around the room in my other project, “A Day in Heaven”.
What tips do you have for other artists using Marvelous Designer for 3D Environment?
Try experimenting with different presets and don’t be afraid to think outside the box. You might be surprised at how much you can achieve with Marvelous Designer, rather than spending hours sculpting from scratch.
How can you describe your overall experience of the use of the Marvelous Designer?
It has been very rewarding actually! Marvelous Designer is a powerful tool with a very user-friendly UI. Once you get accustomed to how it works, you’ll likely want to use it as much as possible. I’m excited to explore and benefit from its various tools in my upcoming projects.
by Simin Farrokh Ahmadi
ArtStation
이 작업은 Maya, ZBrush, Unreal, SubstancePainter, Props, Chair 등의 기술로 제작되었습니다.
Marvelous Designer로 이와 같은 3D 의상·캐릭터 작업을 직접 만들어볼 수 있습니다.