The Art of Controlling Dynamic Simulation: Nicolas Roth's 2D & 3D Workflow
Swiss animator Nicolas Roth creates unique, character-driven worlds by blending 2D and 3D aesthetics. Discover his essential techniques, including Scene Time Warp and layered simulation, used to bring vibrant energy and realism to dynamic animations.

Artist Introduction
Hi, I’m Nicolas Roth, a Swiss freelance 3D animator with a real passion for character driven work. I studied animation at the Lucerne University of Applied Sciences and Arts and now spend way too much time in front of the screen bringing ideas to life. I specialize in character animation, rigging, and blending 2D and 3D styles. I've worked as a senior animator on a variety of projects, including shorts, games, music videos and experimental works.
Next to my freelance gigs, I work on personal projects to improve my skills and experiment with ideas. At the moment I am working on a mixed media passion piece with my friend Boris, where we try to create something bigger than before. You can find our collaborative work on Instagram.
Why did you decide to use Marvelous Designer? How did it help you serve art direction?
Since my first animations, I’ve been interested in cloth simulations, because it helps root the characters in a physically accurate world. I tried different software to do cloth simulations, but they all behaved weirdly and were super unstable. When I tried Marvelous Designer for the first time back in 2022, I was just in awe. The fact that I could just play the simulation with its default settings and the garment came to a halt after a few frames was incredible.
My first finished piece using Marvelous Designer was a dance animation. I used the Artemis Rig from Ramon Arango, and because this rig came without clothes, it was also a matter of necessity.
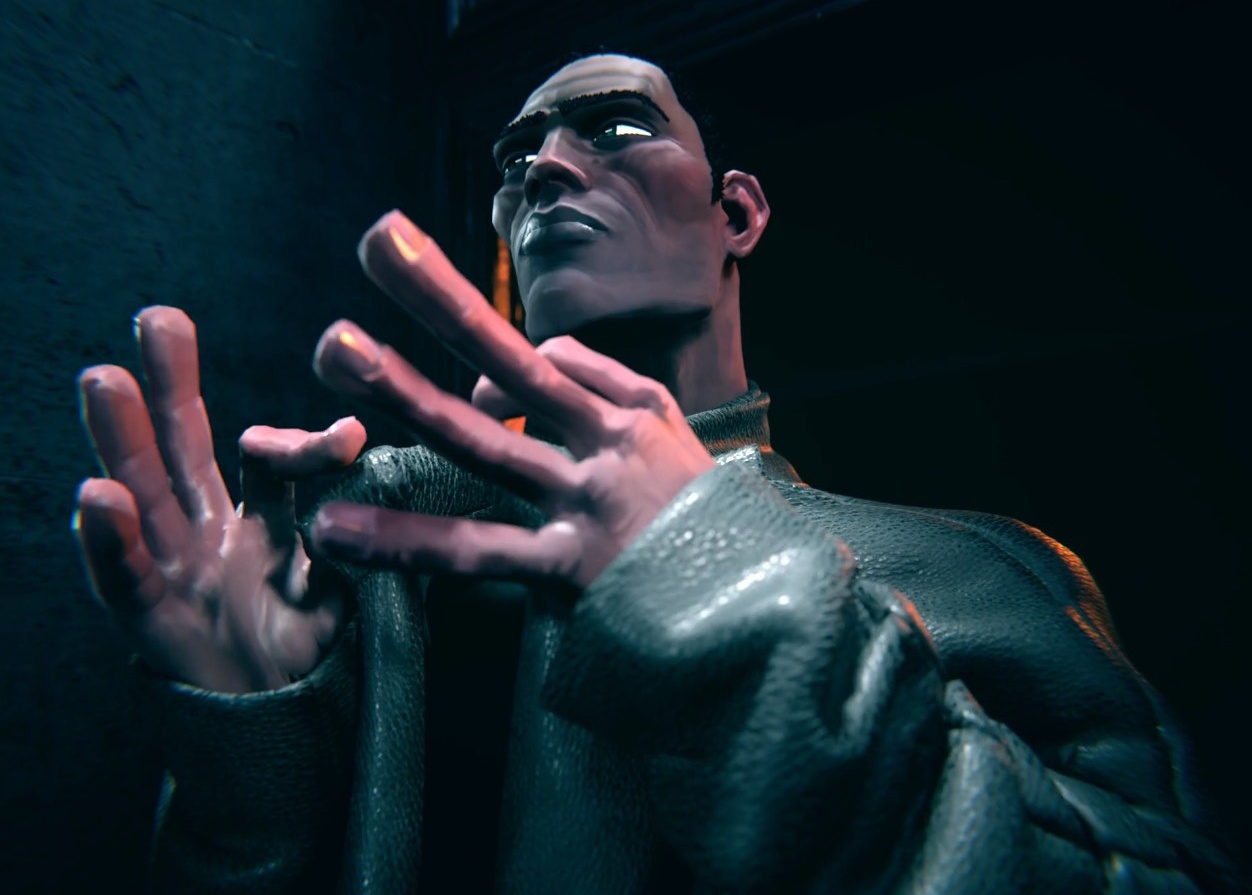
After that, a lot of artworks followed, but the one I want to elaborate on here is VVV.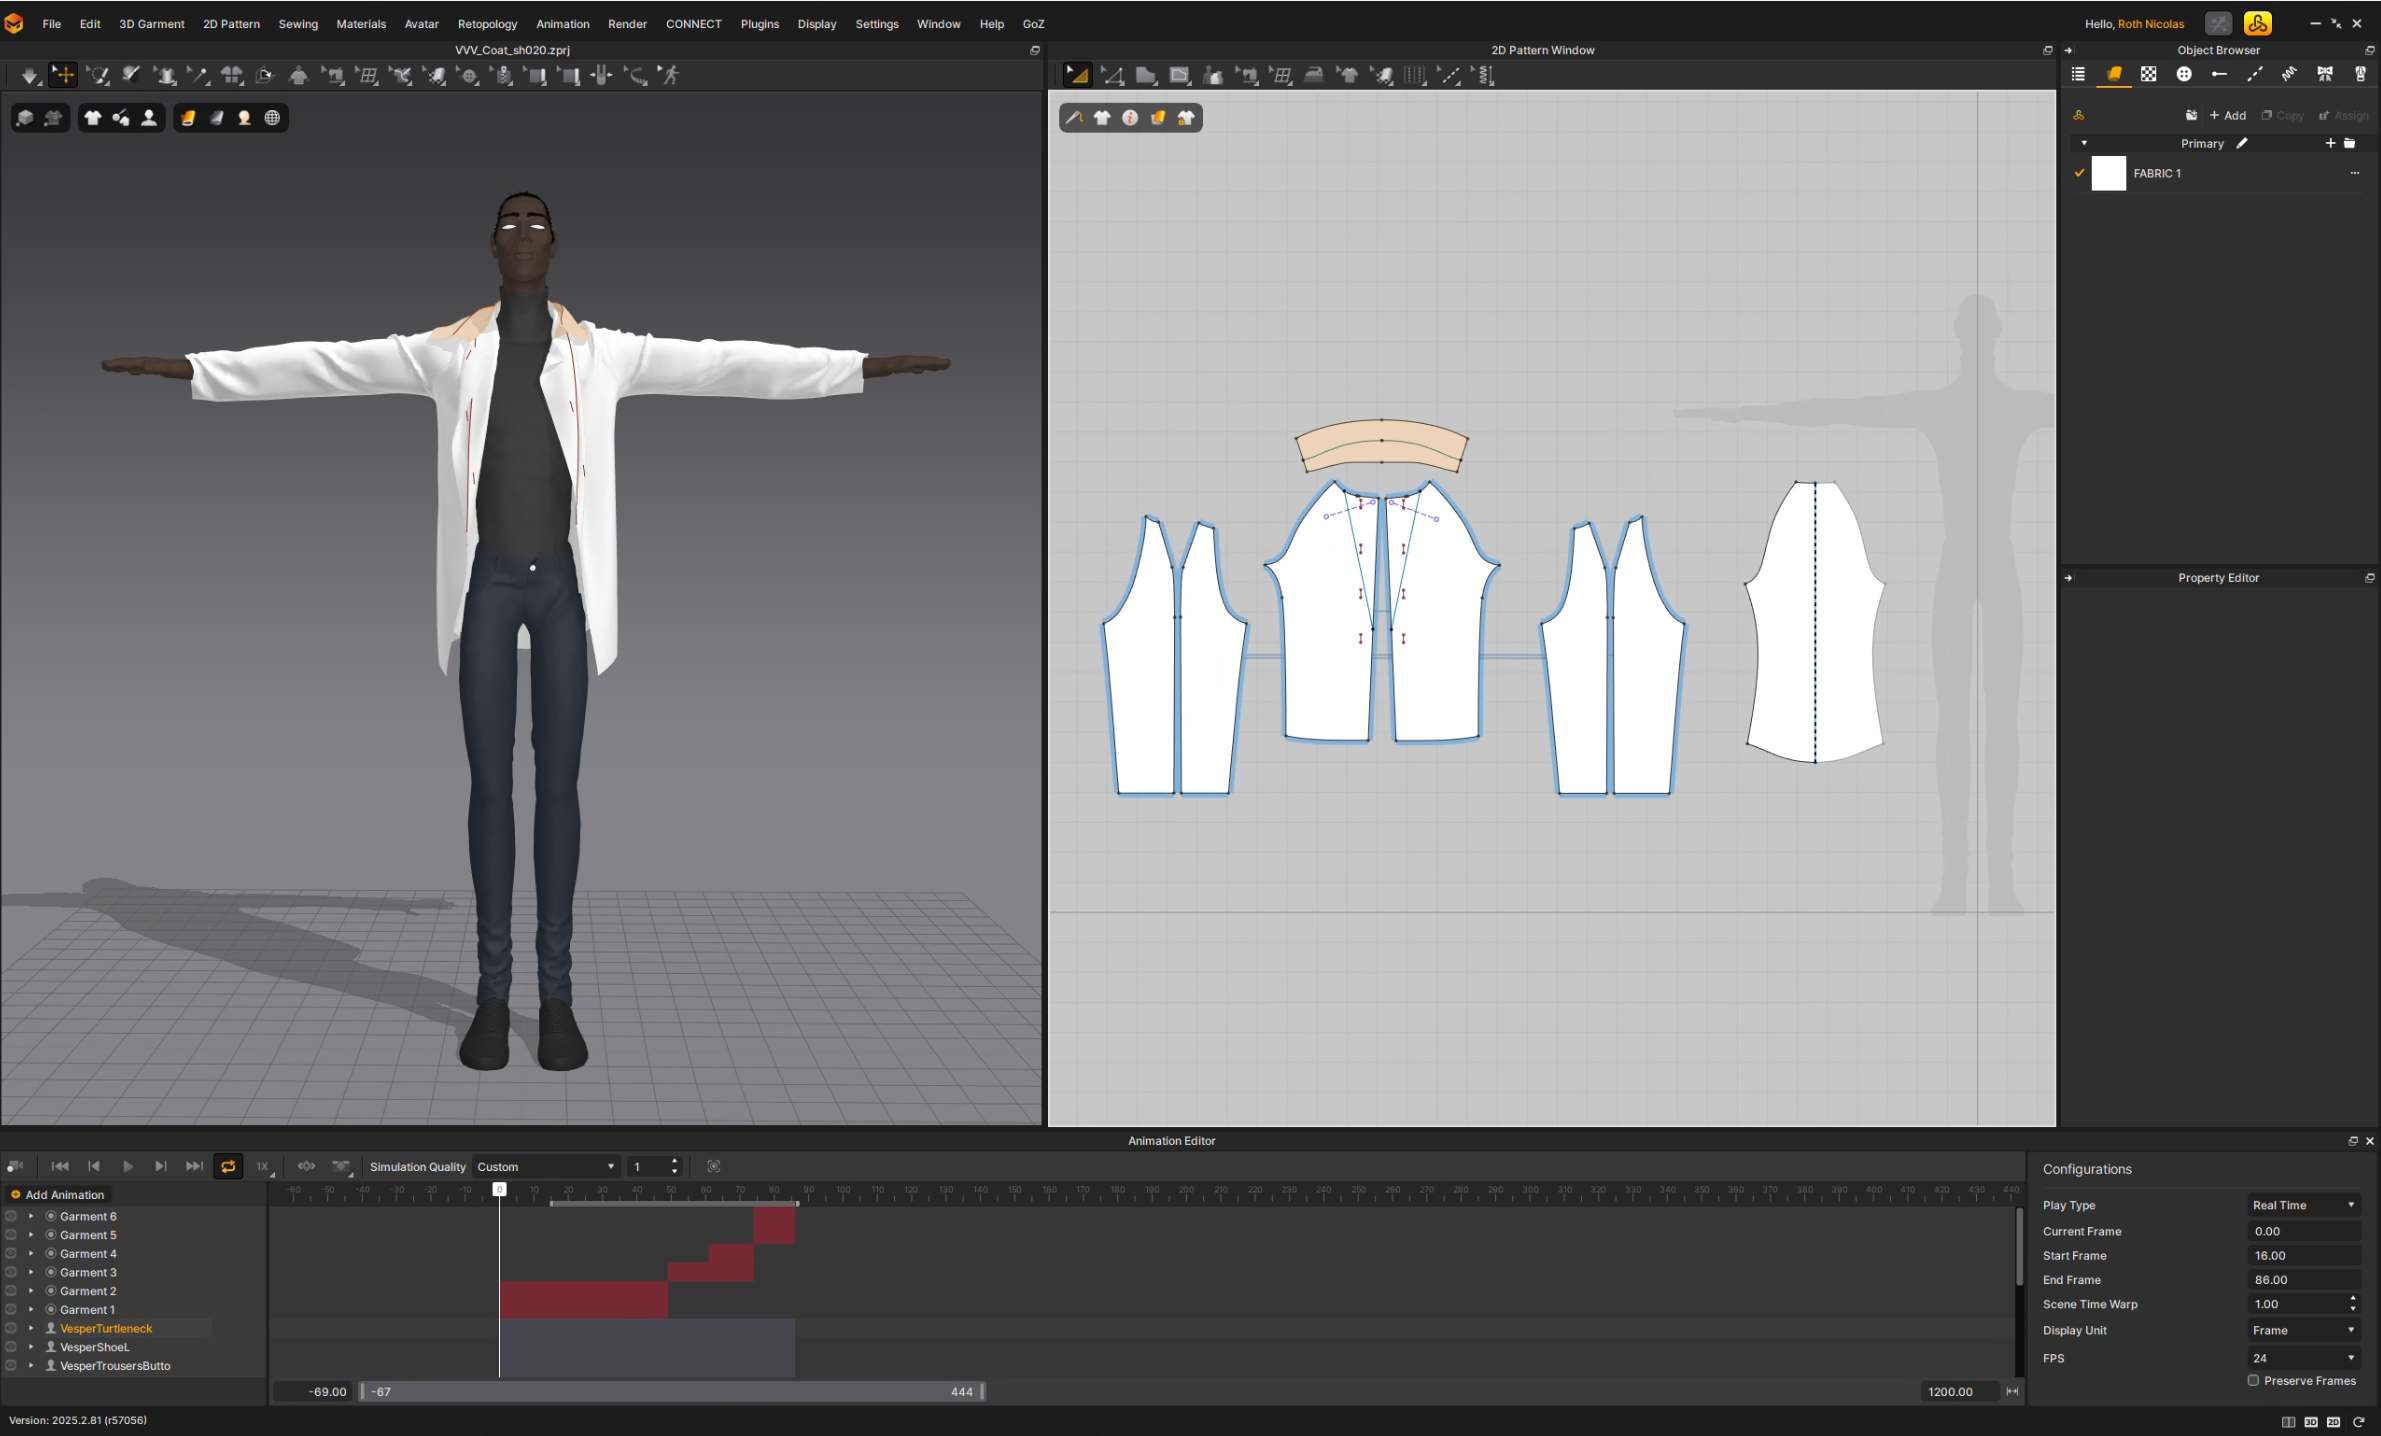
The project started with exploring new animation styles. I worked with pushed perspectives, snappy movements, and stylized posing. It was clear from the beginning that I wanted the main character to wear a jacket to have some nice secondary action and to add physicality. In the animation process I didn’t want to restrict myself, so I just ignored the cloth simulation and pushed the character performance as I wanted.
How did you use Marvelous Designer in the artwork?
After finishing the character animation, I faced different challenges in simulating the jacket. One was the big and snappy movements. Marvelous Designer could handle those jumps of the character very well, but the simulation was too nervous and distracting. To make it calmer, I made heavy use of the Scene Time Warp function. This allowed me to have a stylized movement of the jacket without losing its physicality.
Here is a screen recording of my layered simulation workflow using the Scene Time Warp function.
Another challenge I encountered was when I wanted the character to grab the collar of the jacket and readjust it. At first, I thought I would need to rig the jacket for this shot, but before I did that, I wanted to try having him actually grab the cloth and simulate it. And it worked. I just had to do a little back and forth to get the fingers in the right place and increase the friction so the collar stuck to the fingers while grabbing. I was surprised how easy this was, and it was so much fun to be able to make this work from an artistic point of view instead of a technical one.
Can you give us a quick overview of the different tools used in your pipeline?
My pipeline for personal projects depends on what I want to learn. For VVV I used Blender, Substance Painter, Marvelous Designer, and Davinci Resolve. But I encourage everyone to always try new tools and stay flexible. In an actual production, it is very useful if you are able to adjust to new situations and don’t rely only on specific tools. In the past, I worked on productions where certain tools weren’t available and I saw animators struggle a lot because they couldn’t work without them.
Do you have any other projects that you have worked on using Marvelous Designer that you can share with us?
My personal projects are very character driven and I use Marvelous Designer to add some physicality to them. One piece I’d like to share is the wind simulation I did with Taru. It’s a lot of fun to work with wind in Marvelous Designer.
Are there any tips and tricks with Marvelous Designer that you can share with the community?
First of all, don’t be afraid to just start. If you want to learn something new, I encourage you to come up with a small, simple project and just dive in. True to the motto: Just make it exist first. You can do it better later.
I have two tricks I’d like to share when it comes to animated characters in Marvelous Designer.
Use of Scene Time Warp: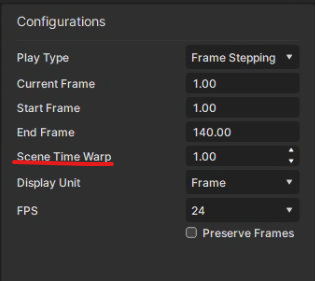
If you have fast moving characters and snappy animations, the Scene Time Warp is very useful to stylize and simplify your simulations. If you set it to 5, your animated character moves 5 times slower, meaning your cloth simulation is also 5 times slower.
You then can record your simulation and set the Time Warp back to 1. The animation and simulation will then play in real time, but because it was recorded in slow motion, the simulation is calmer and kind of simplified.
Working with Layers:
When you work with longer shots, it can stabilize your process if you use multiple layers. This way, you can simulate different layers for different parts in the shot. Some can be simulated in real time and others in slow motion. You can cut and trim the layers after recording to find the right spot for the switch. You can check the video above where I recorded this workflow.
이 작업은 Animation, Simulation, Avatar, windcontroller, Blender 등의 기술로 제작되었습니다.
Marvelous Designer로 이와 같은 3D 의상·캐릭터 작업을 직접 만들어볼 수 있습니다.