[EN] Lura: Designing Comfortableness in Virtual Reality
Meet Lura ( @Lu_Ra_999 ) - 3D Artist, World Designer, and Director for world creation in VRChat.
As the director of QuickBrown Design Studio, Lura shares his story of using Marvelous Designer for world/asset creation: a journey of designing and creating a comfortable, relaxing space within virtual reality.
1. Artist Introduction
My name is Lura, an artist primarily active in VRChat, where I engage in world creation, art direction, modeling, and asset sales.
I specialize in creating 3DCG spaces that operate in real-time, designing living spaces and event venues for video games and VR.
After graduating from Musashino Art University, I began my creative activities in VRChat while working in the game industry. After gaining experience creating architectural assets and gimmicks for events such as Virtual Market and ShaderFes, I became a freelancer in 2023.
I currently operate under the name “QuickBrown Design Studio.”
2. Art Direction and Visual Style
A representative example of my work is "Luminous Hotel," which was designed around the theme of a luxury hotel space, intended to be comfortable for extended stays.
This world also includes many pleasant gimmicks.
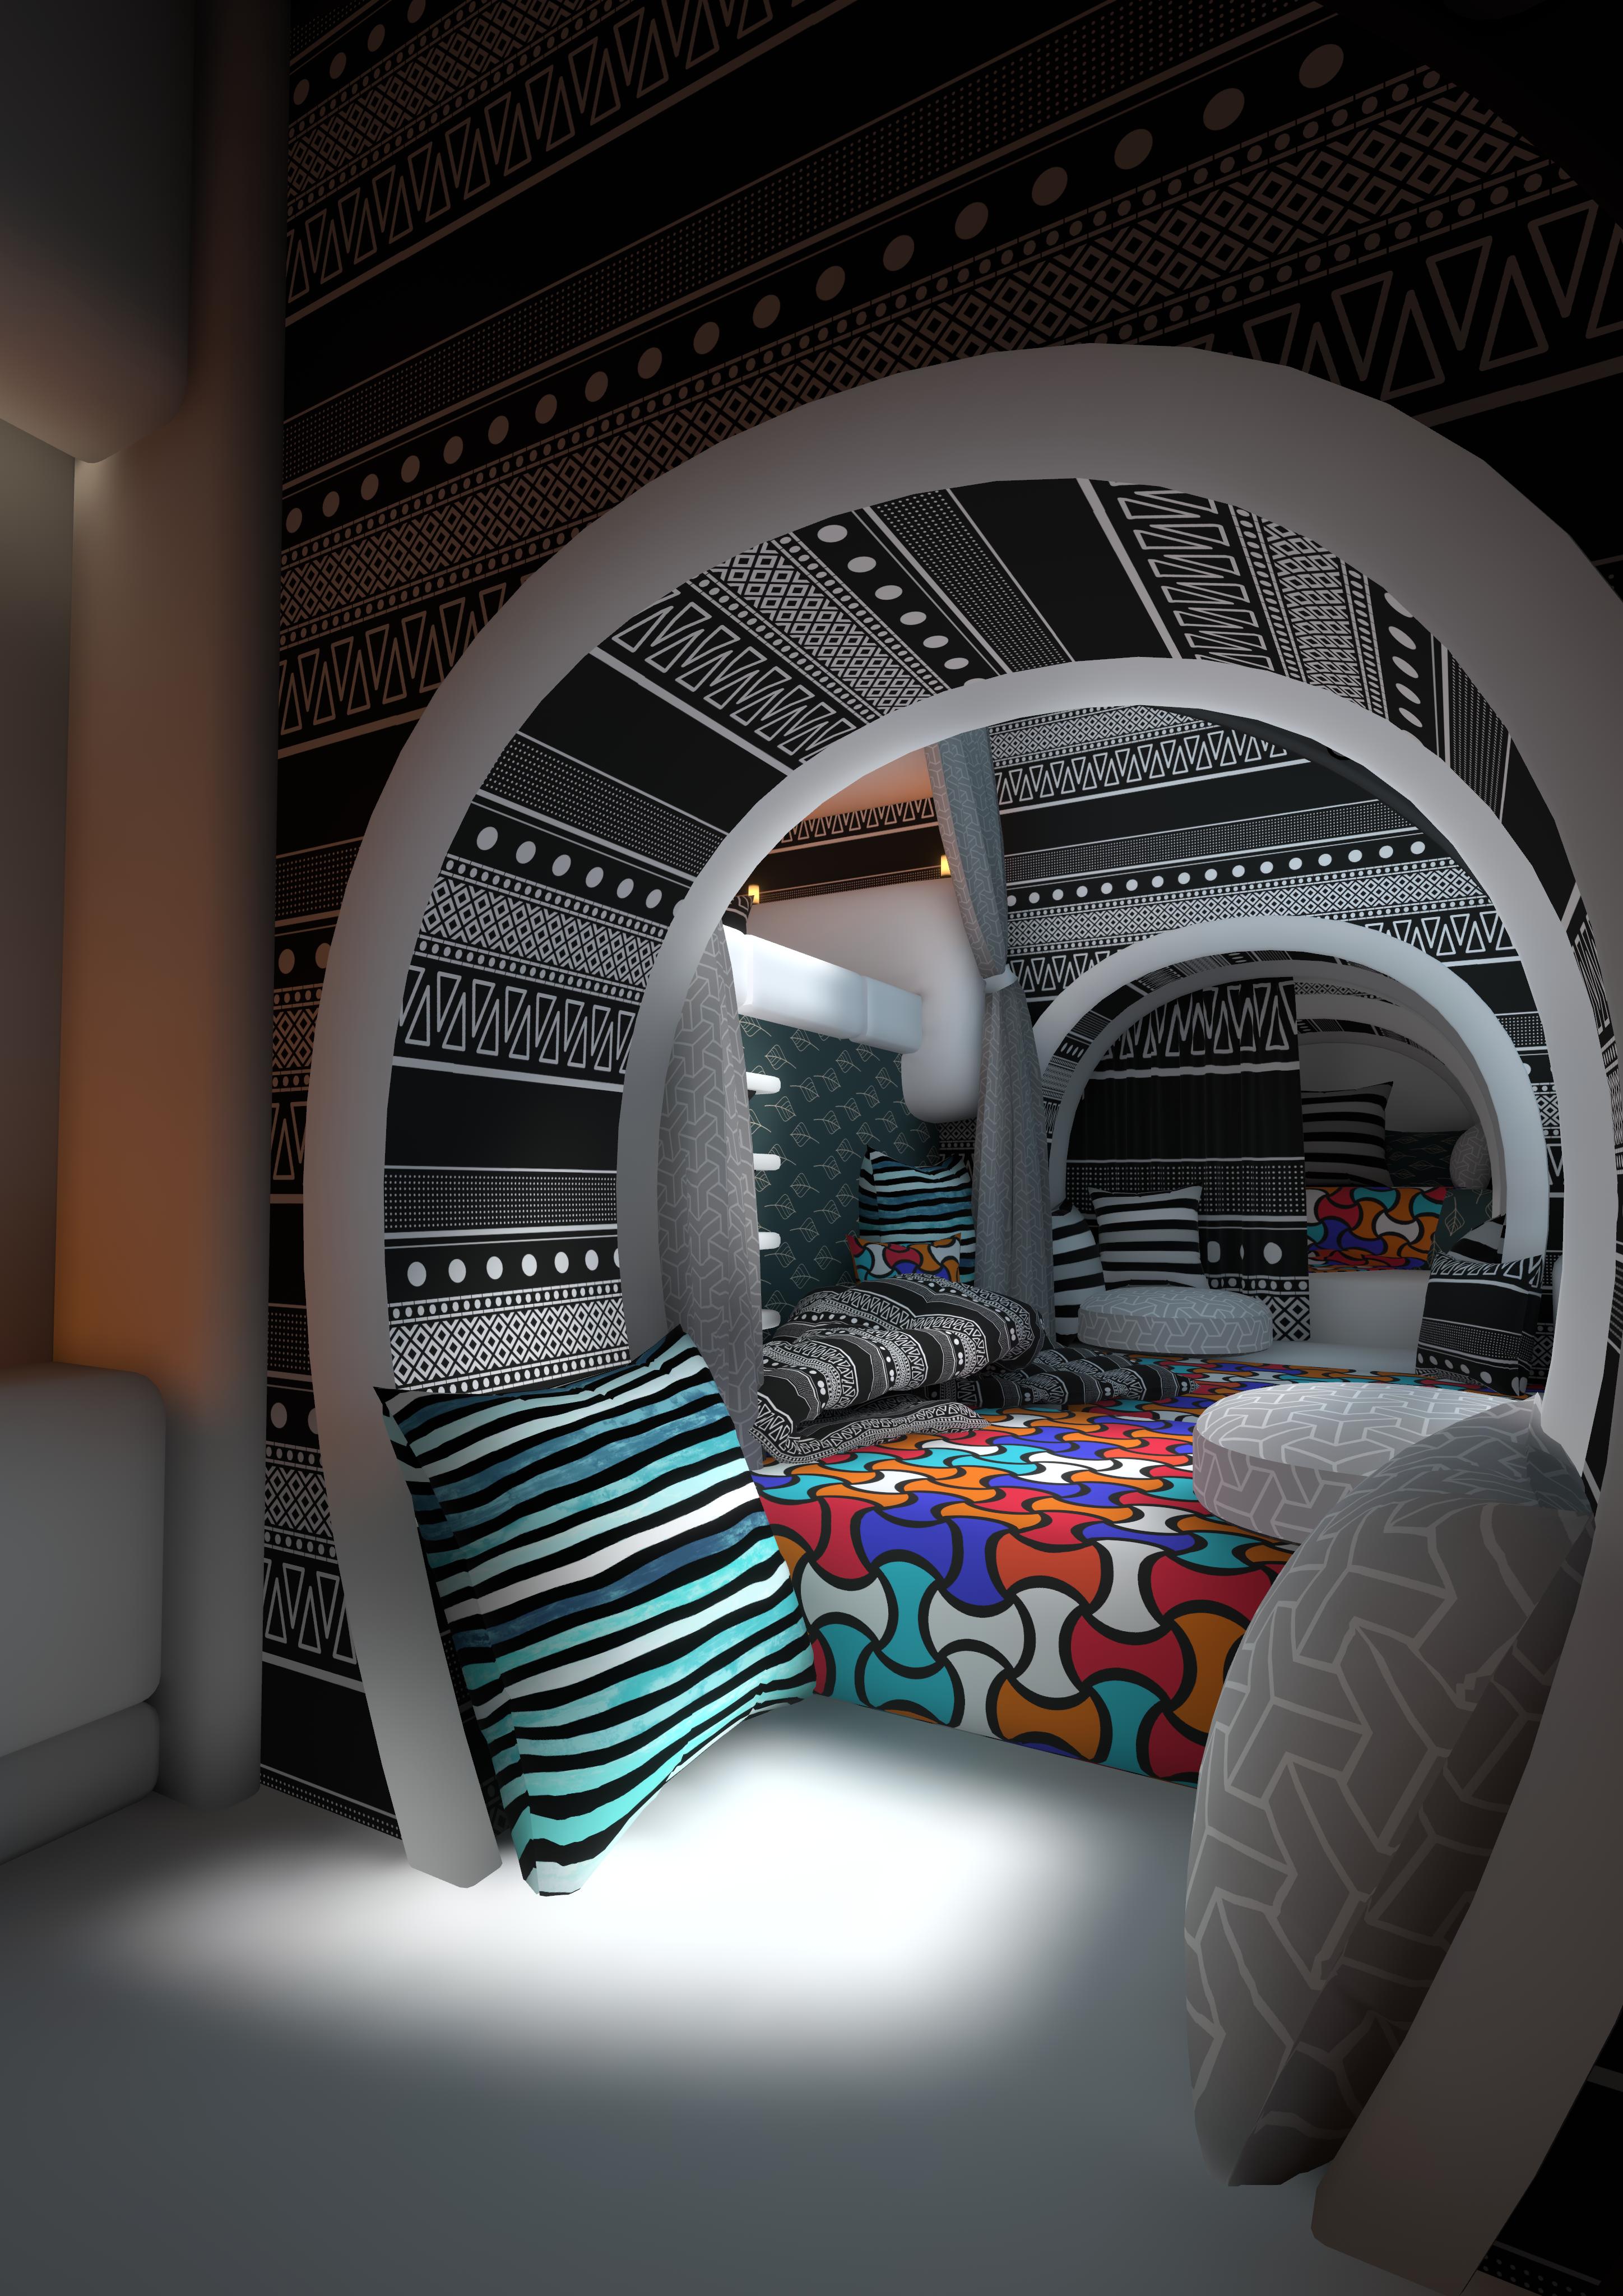
For "Floating Airship," which has been visited by over 2.8 million people, I used cloth extensively to create a soft and relaxing atmosphere. I aimed for a design that would feel reassuring in VR, as like to “remove the sharp edges.”
I am always conscious of creating "a space that doesn't become uncomfortable even after spending a long time." I am particularly focusing on lighting, to emphasize a calm atmosphere. In VR, users can observe objects at very close range, so I finish my work with a level of precision that avoids any sense of uneasiness.
3. Production Pipeline and Techniques Using Marvelous Designer
[Use Case in World Creation: Floating Airship]
Importing the World Mesh
Since Marvelous Designer allows the creator to import existing world meshes as they are, I imported the space from "Floating Airship" to work with.
Image of Floating Airship imported into Marvelous Designer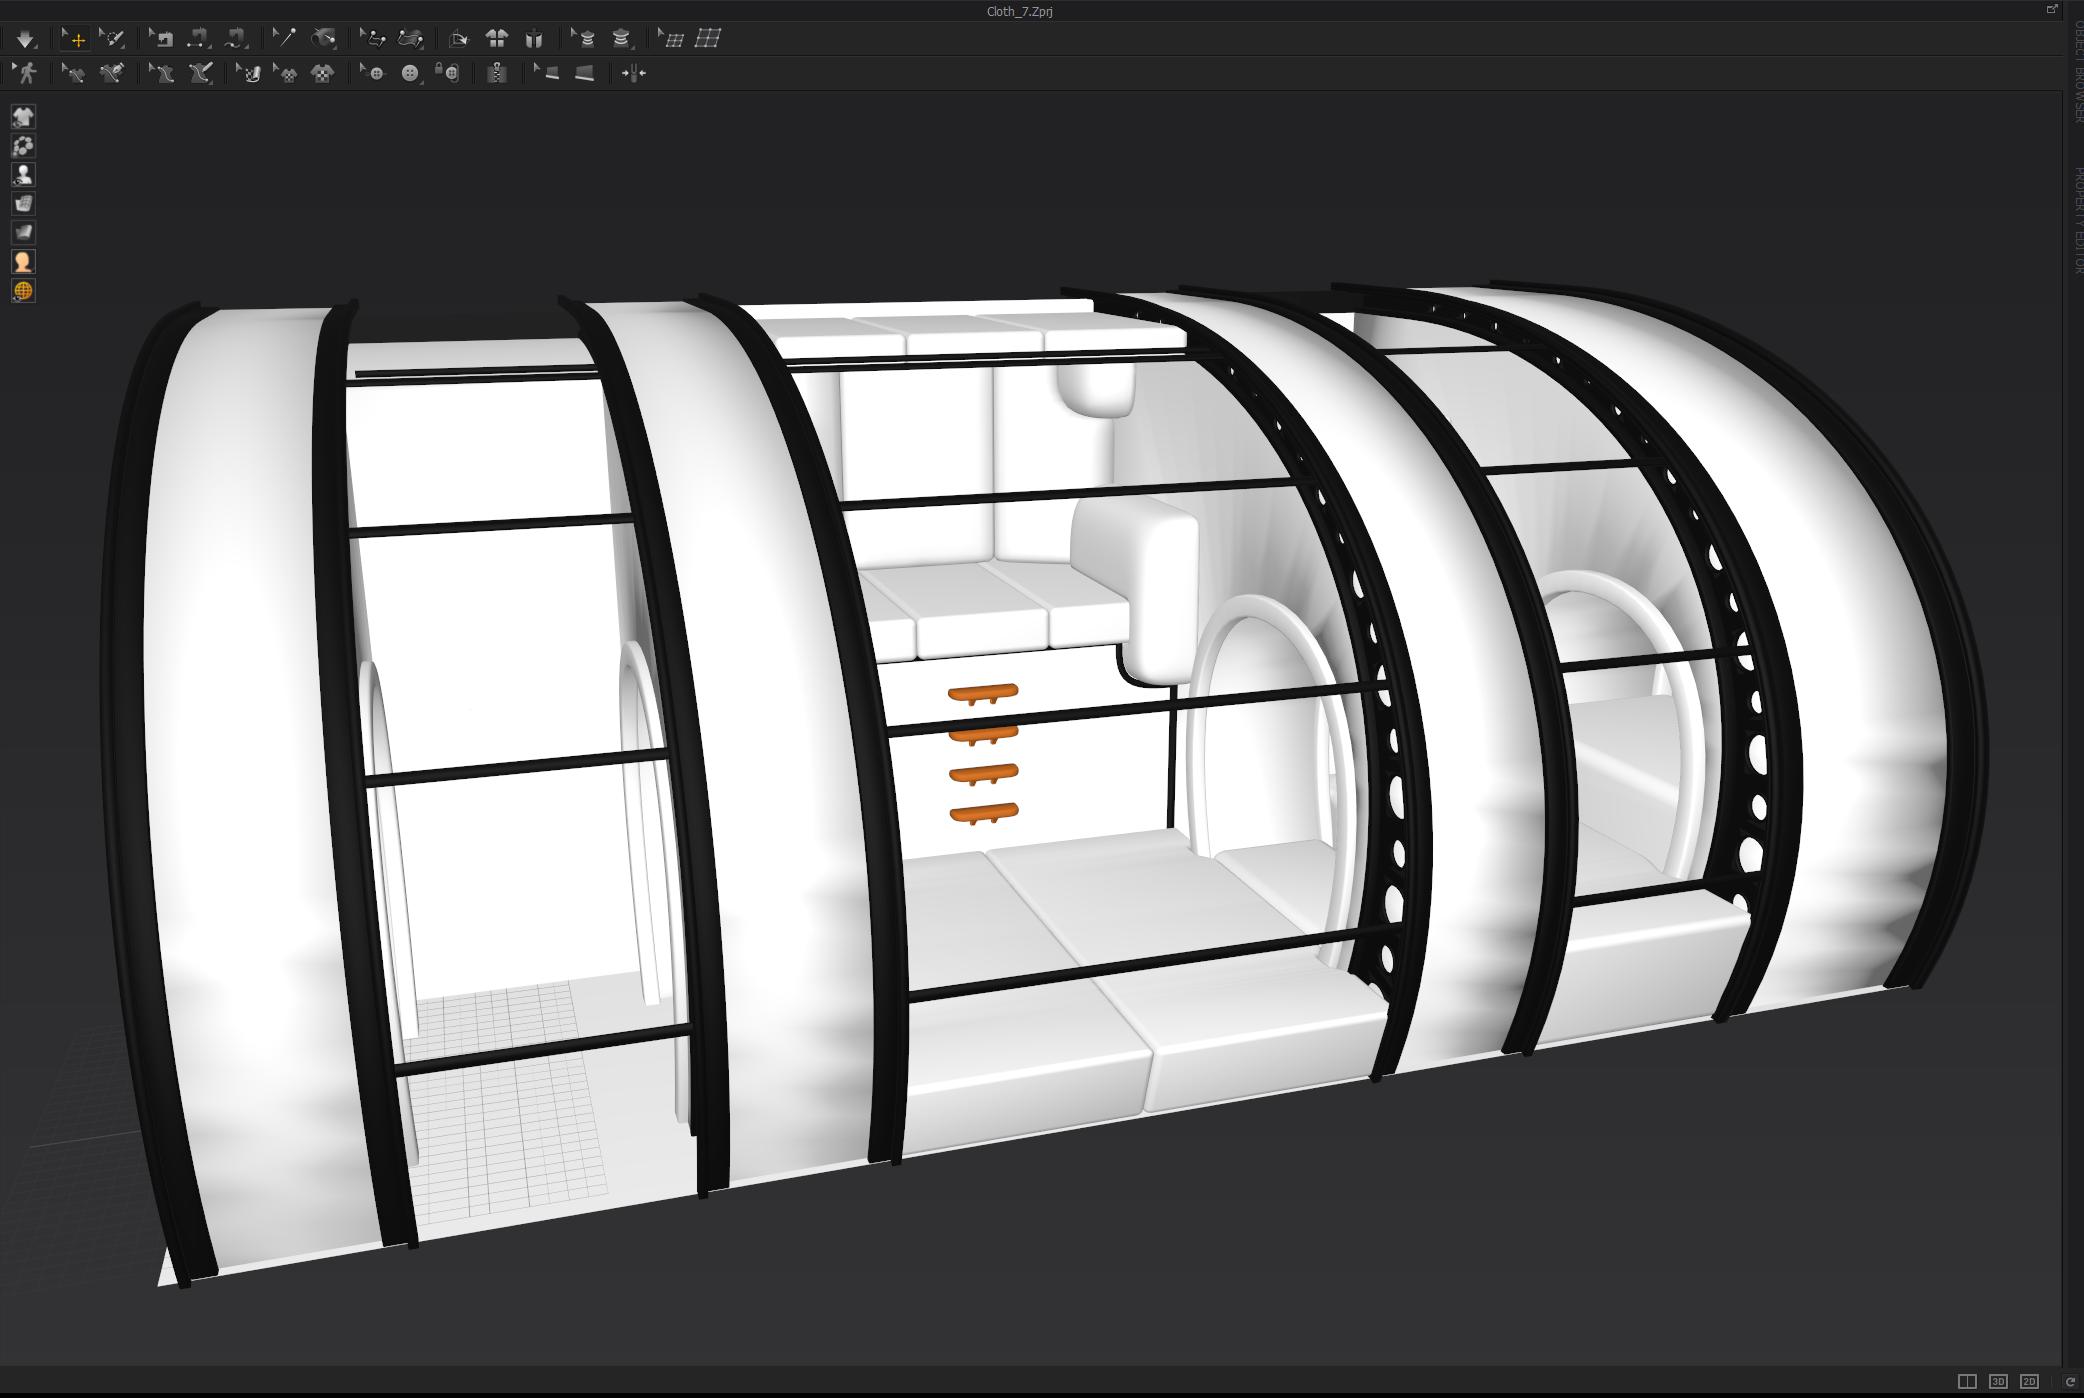
Physics-Based Placement of Cloth and Futon mattresses
By using physics simulations to naturally arrange cloth and futons within the imported space, I was able to achieve a soft and relaxing atmosphere.
Image of cloth and futons being placed in the space with physics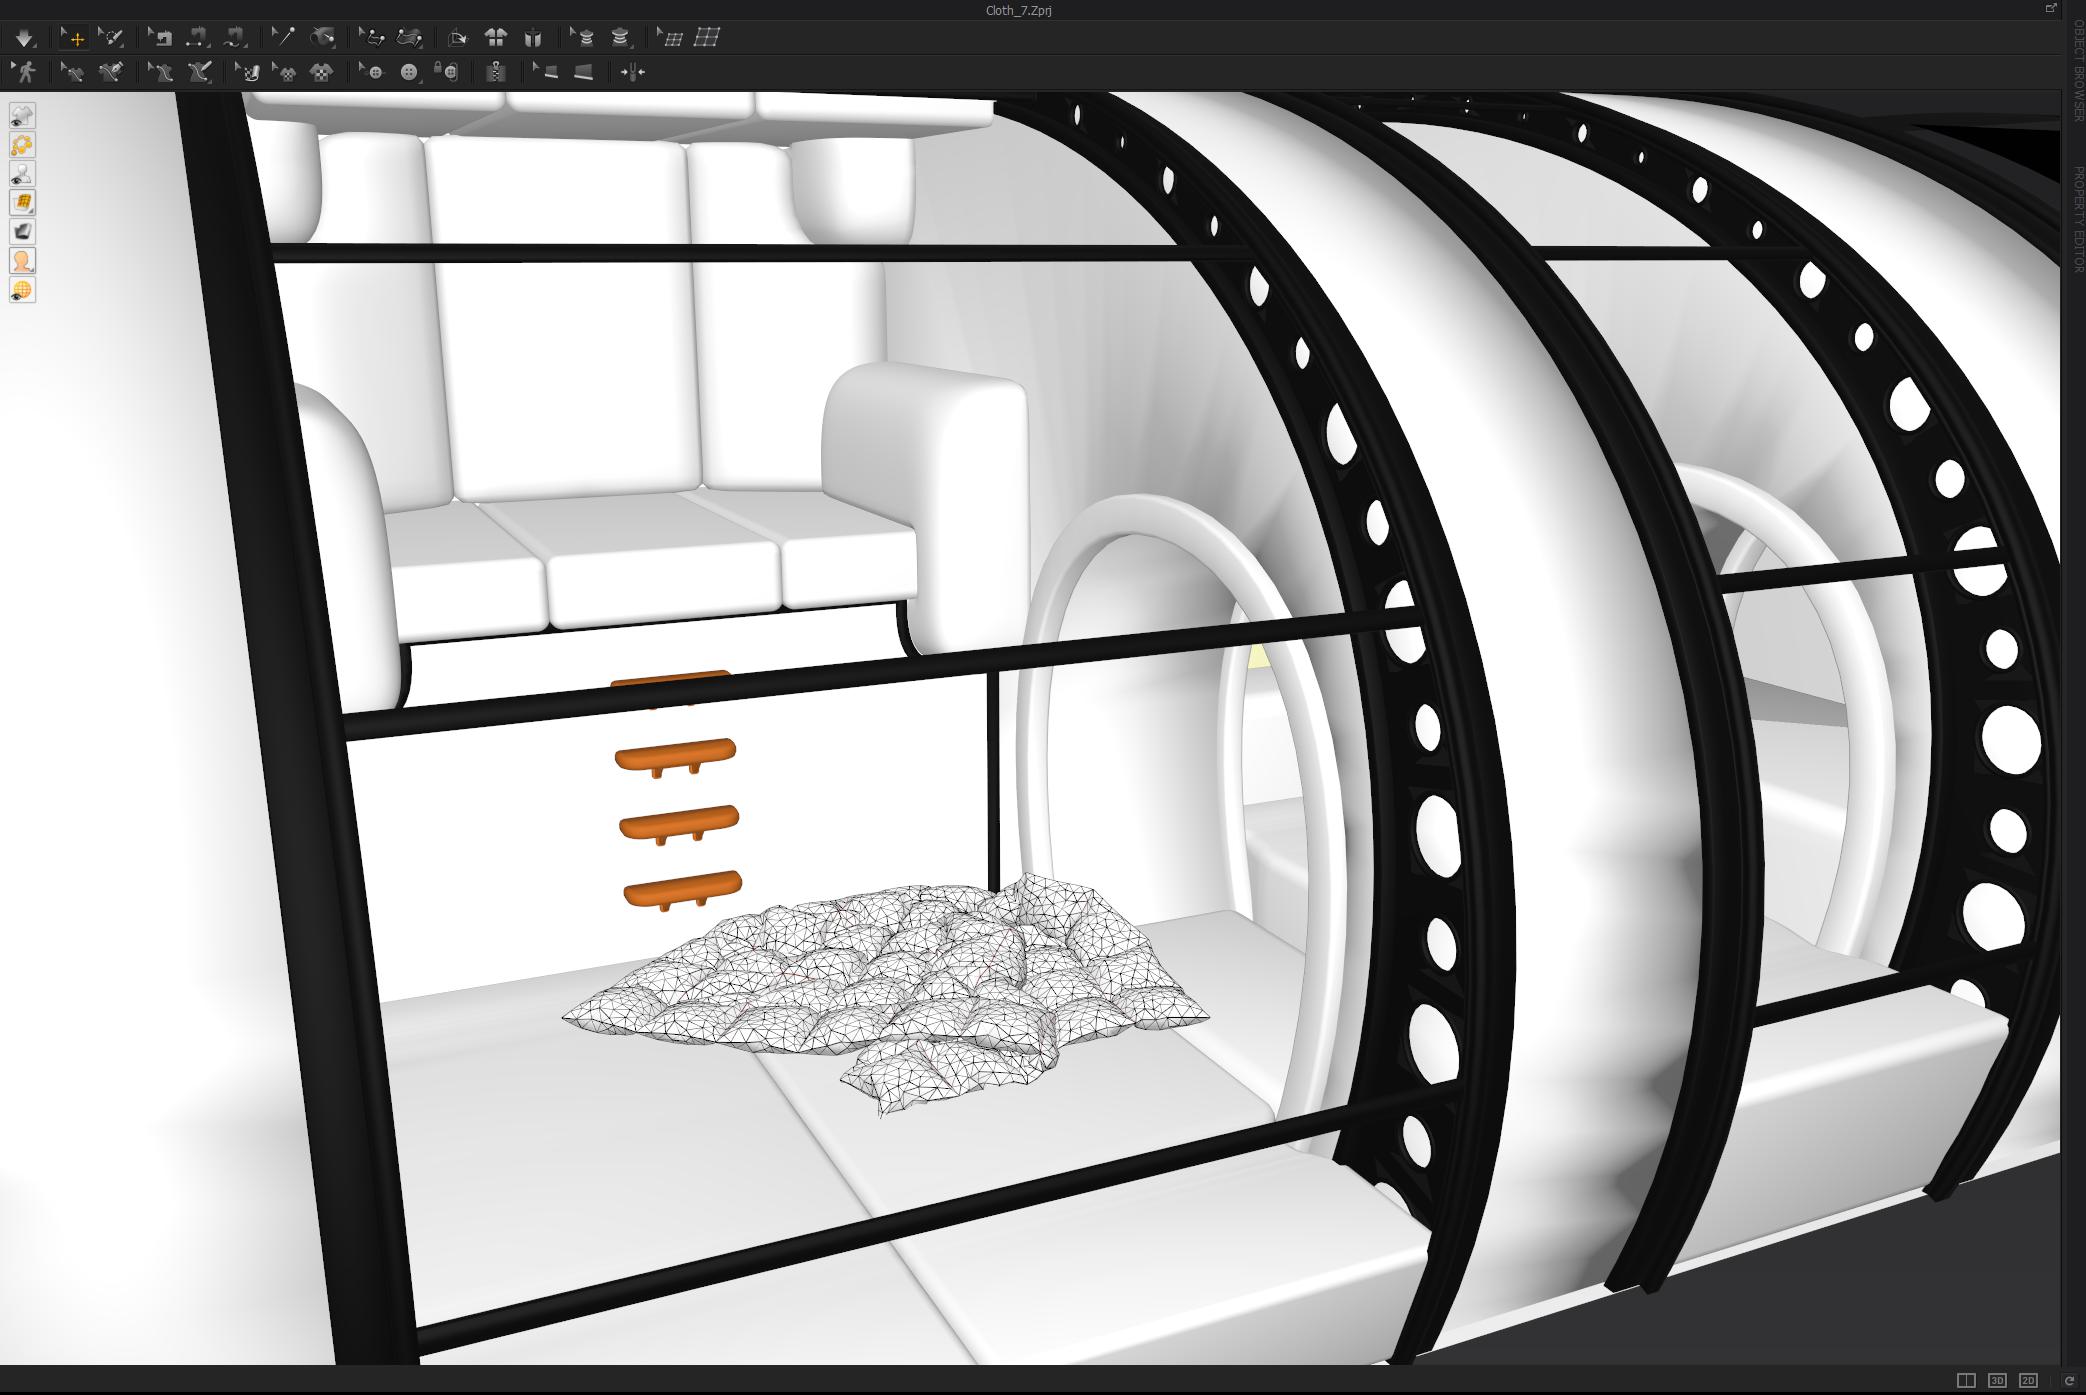
Completed Form
In the completed space, the cloth arrangement enhanced the overall atmosphere of the space, resulting in a comfortable and inviting environment.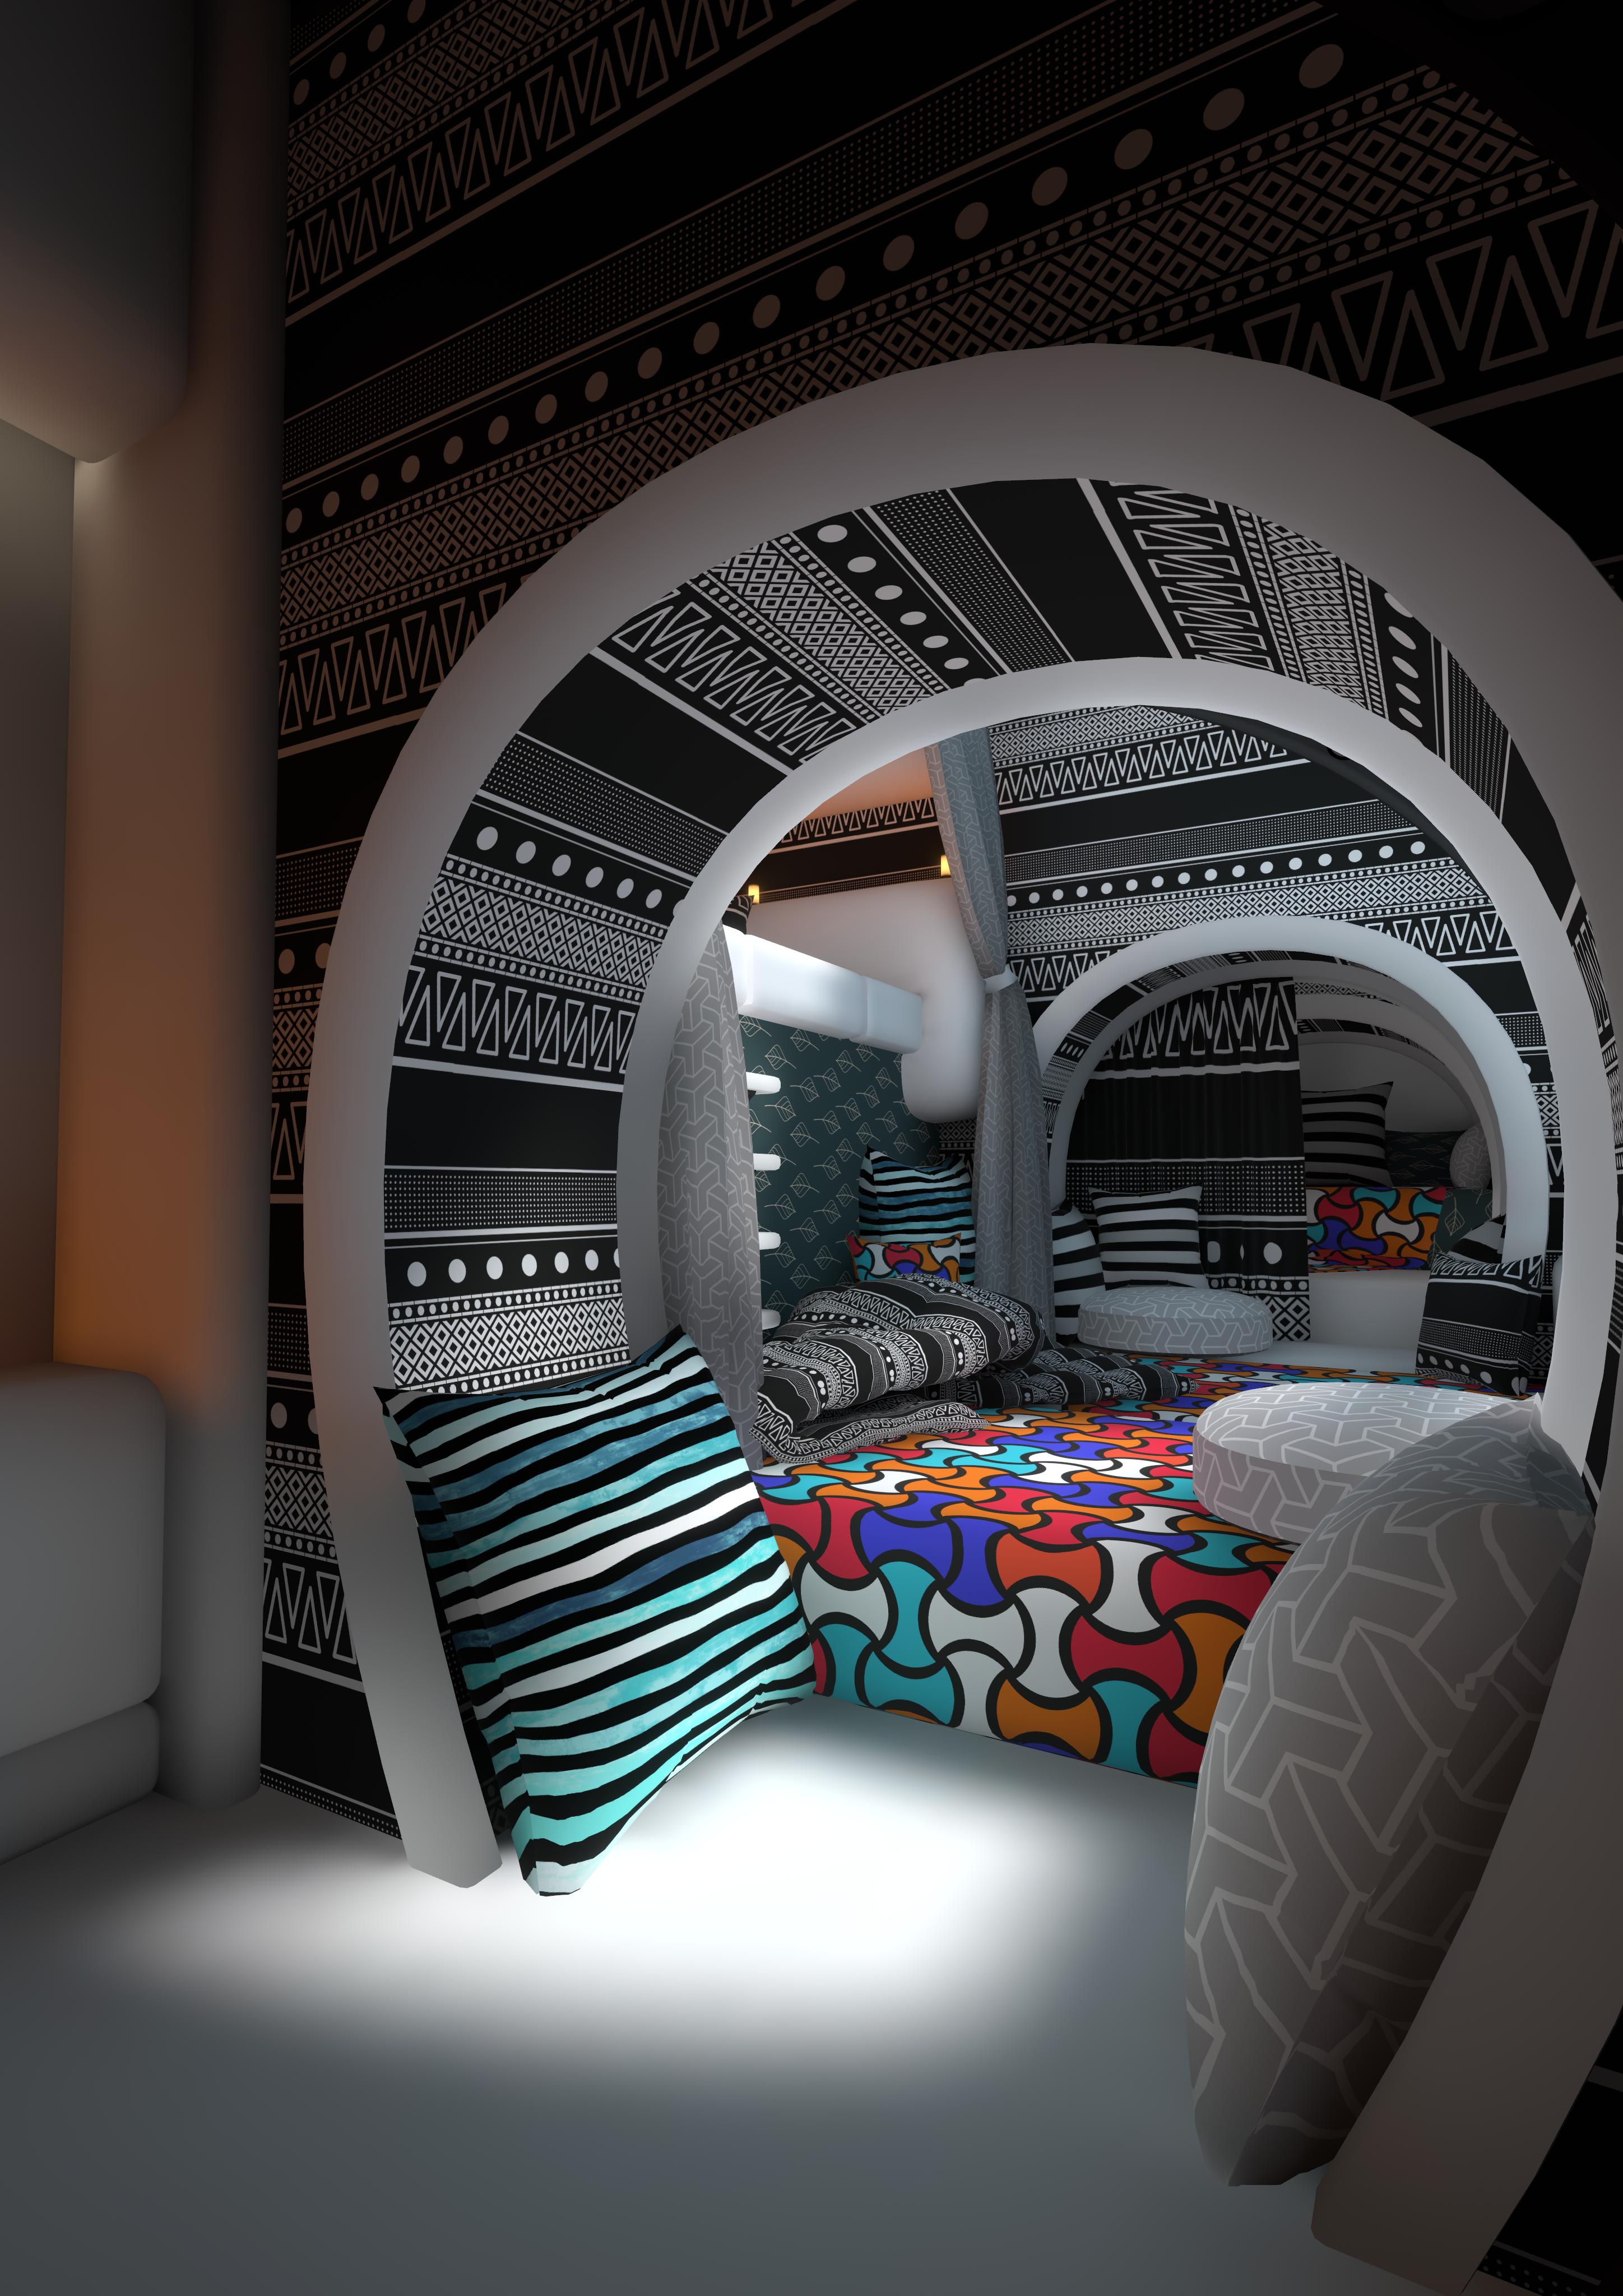
[Use Case in Asset Creation: Backpack]
Modeling in Marvelous Designer
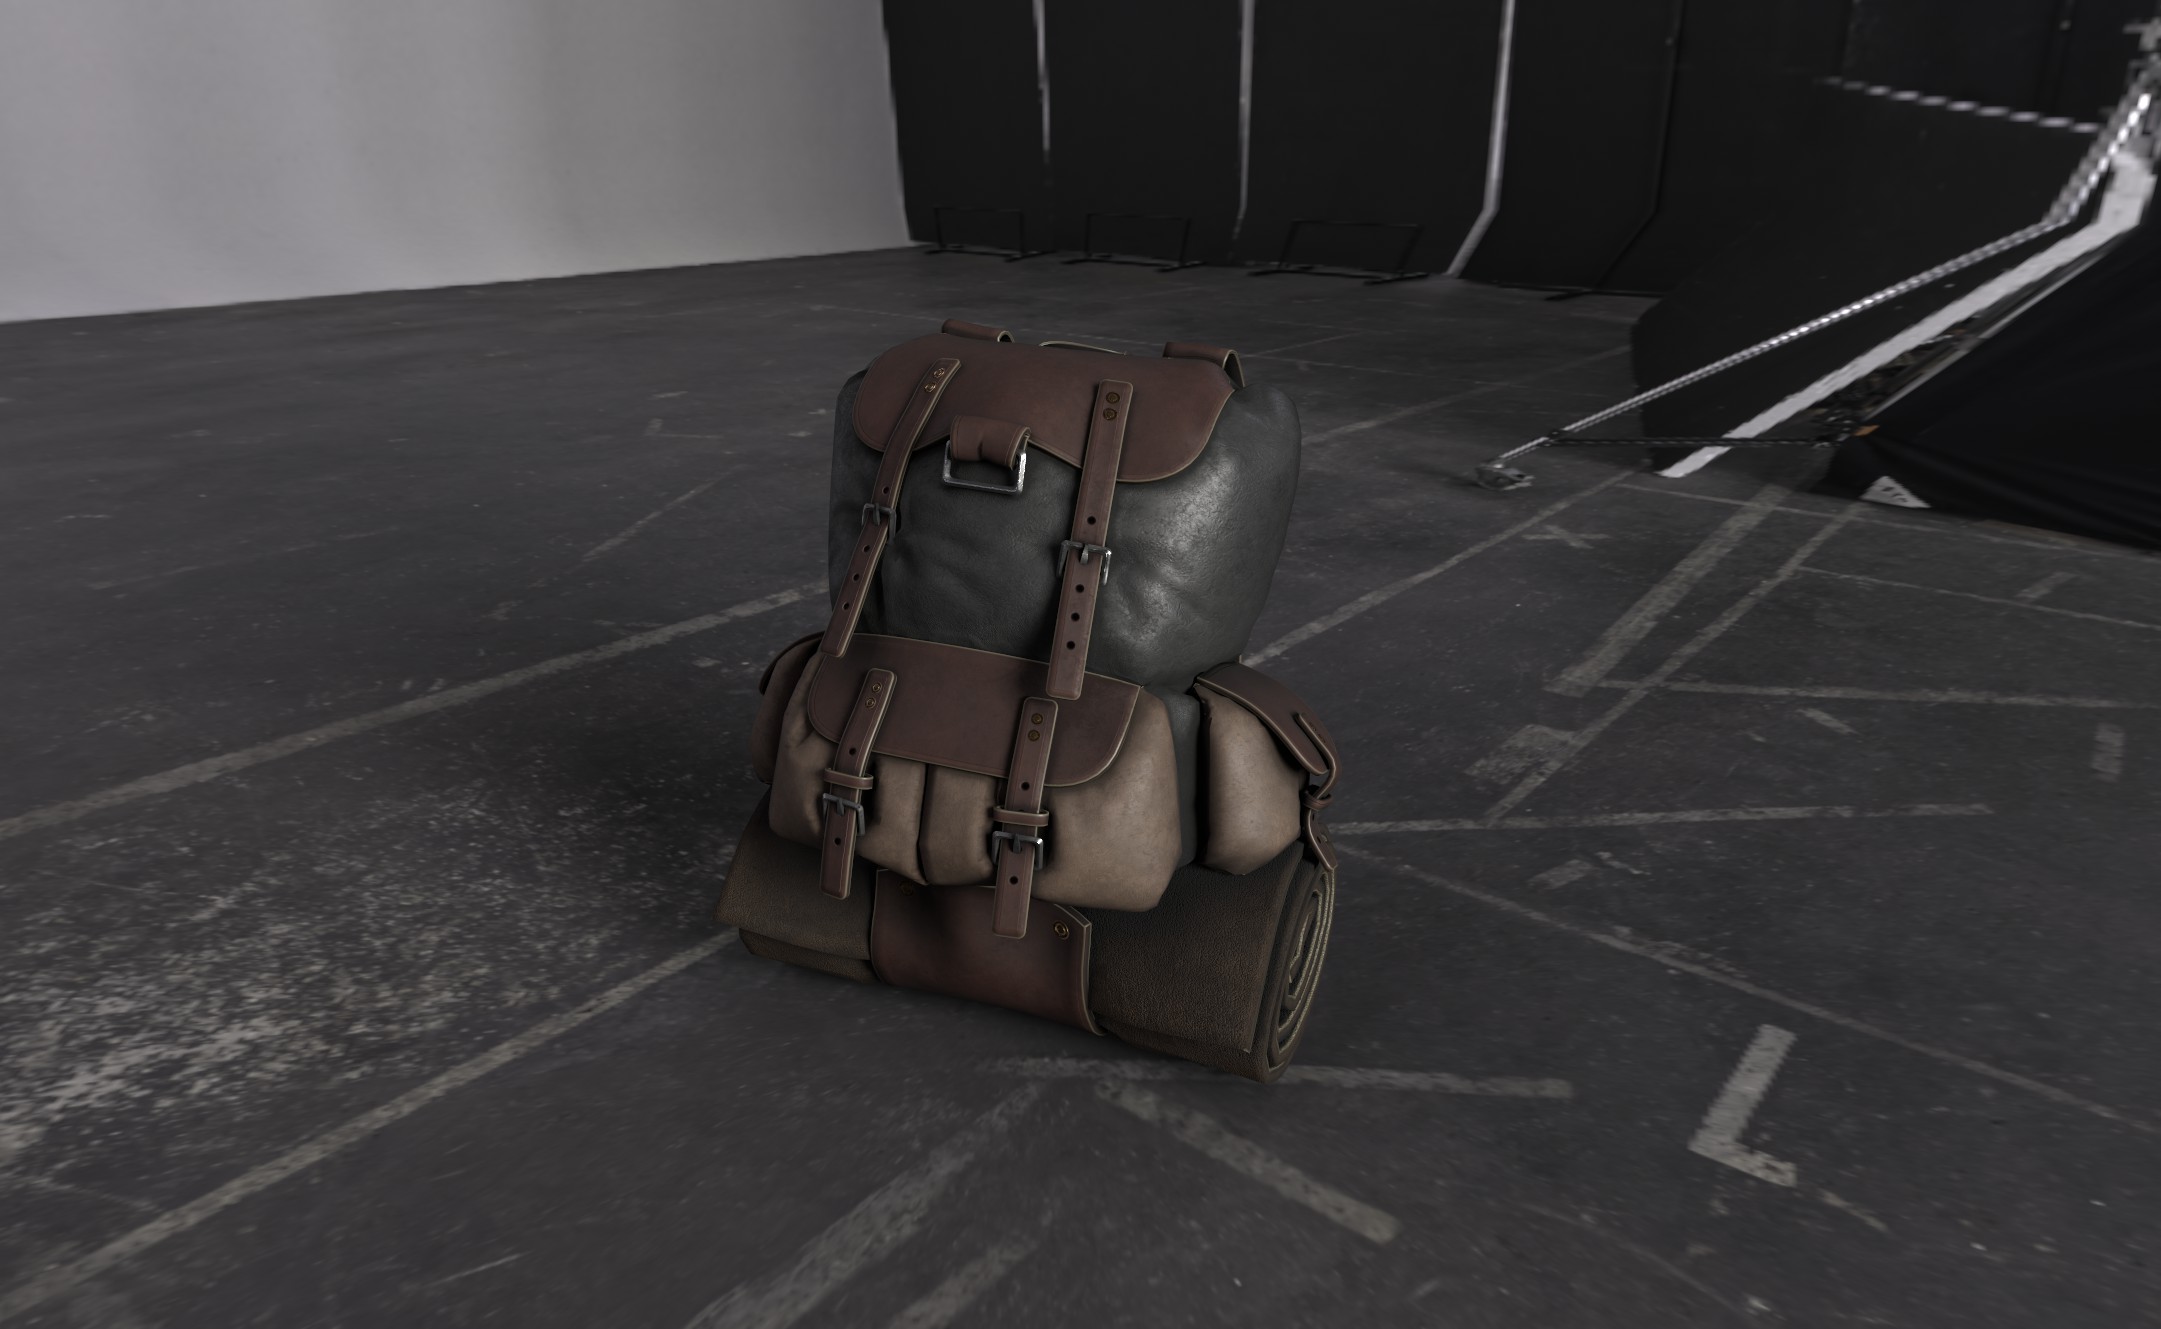
I created a backpack asset using Marvelous Designer. On Marvelous Designer, it's possible to make precise adjustments as if inflating it with air, which allows for the expression of a natural silhouette that looks like it's packed with items.
I did not add thickness at this stage, which I exported directly to Blender.
Completed backpack in Marvelous Designer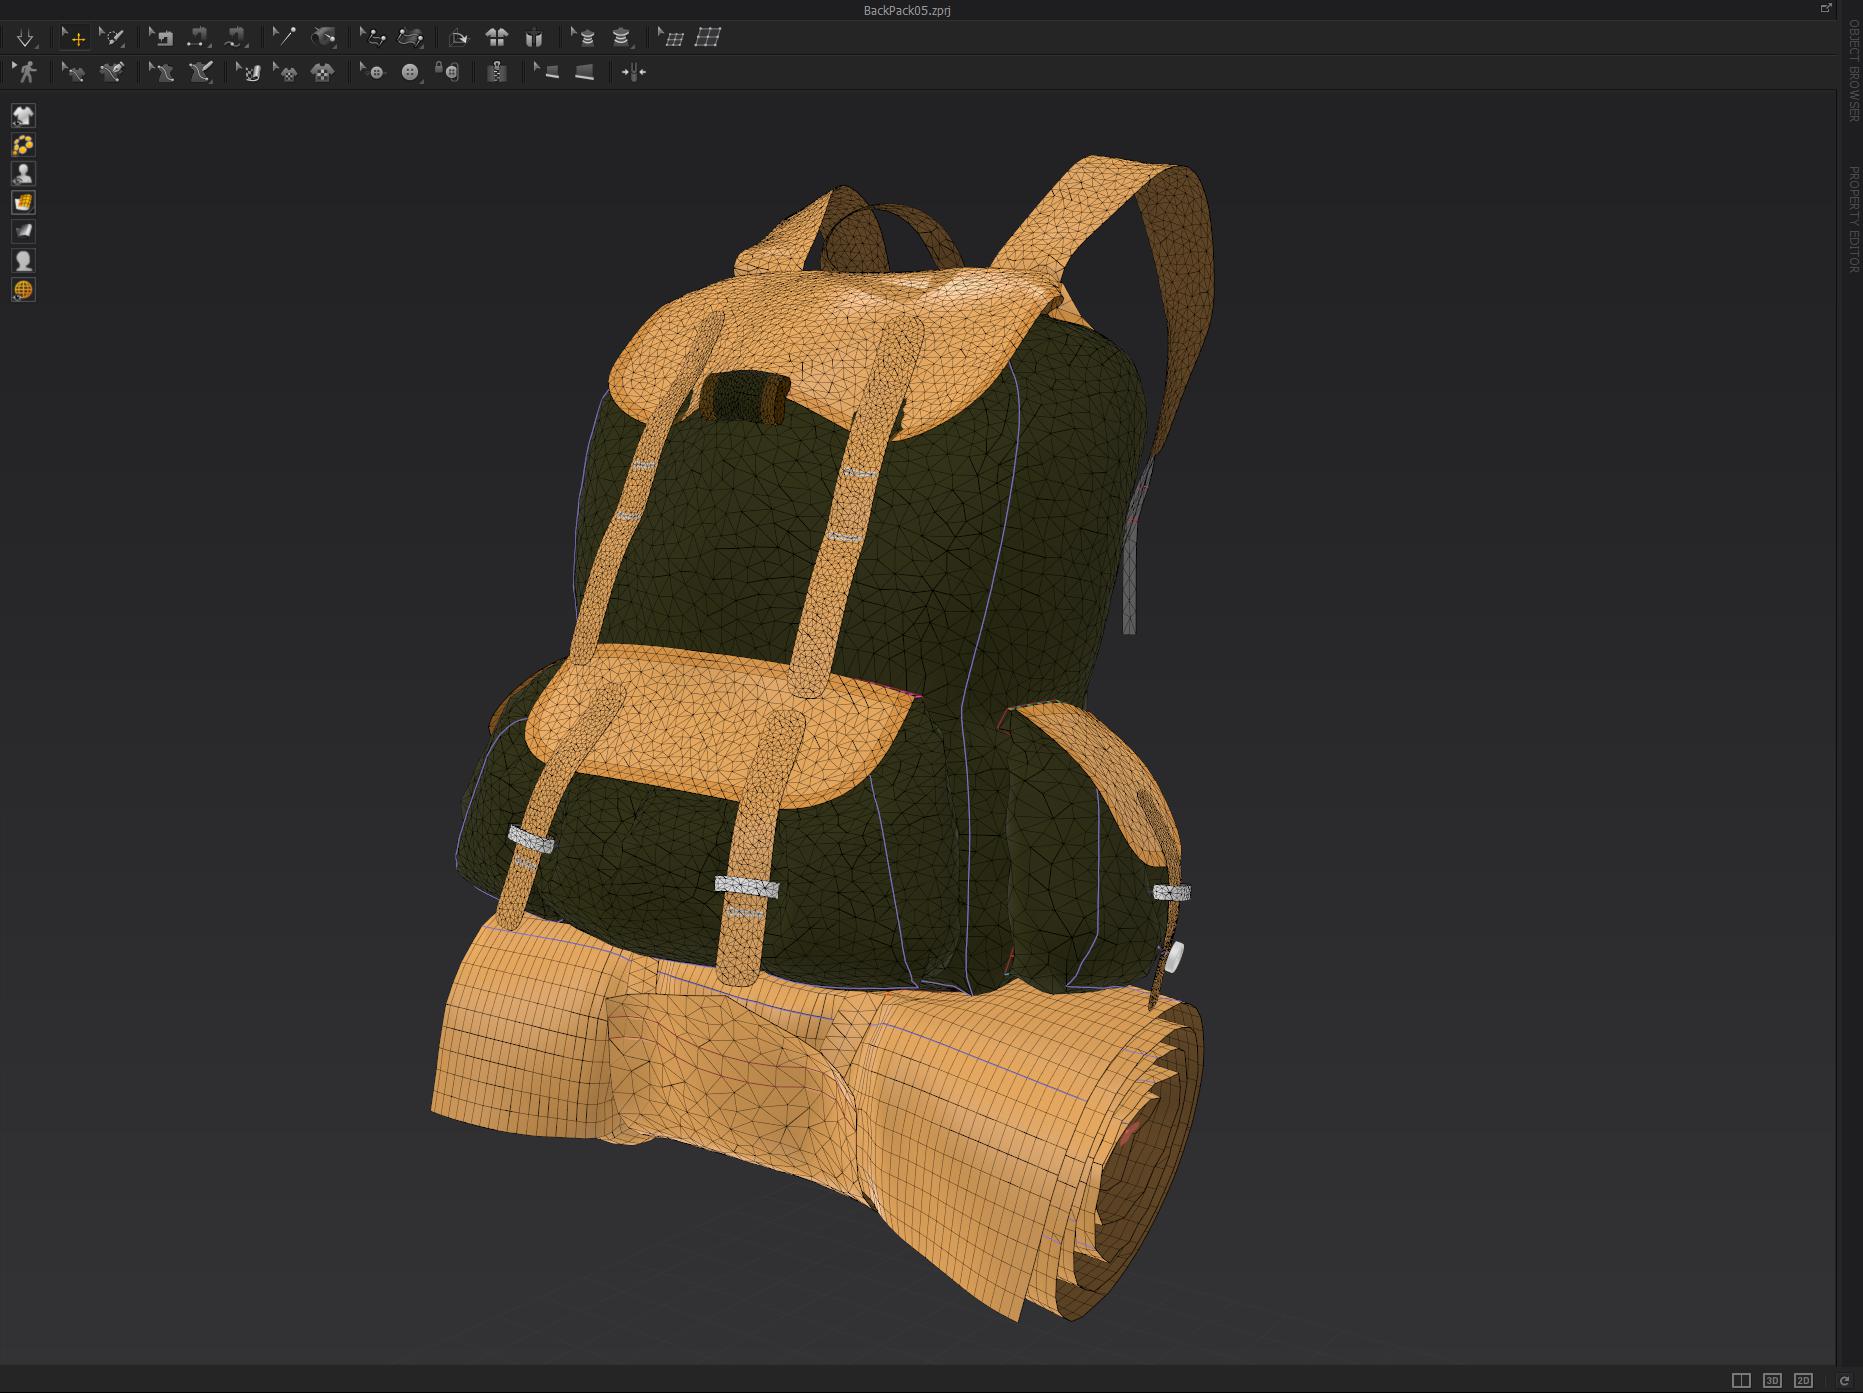
Image of the model imported into Blender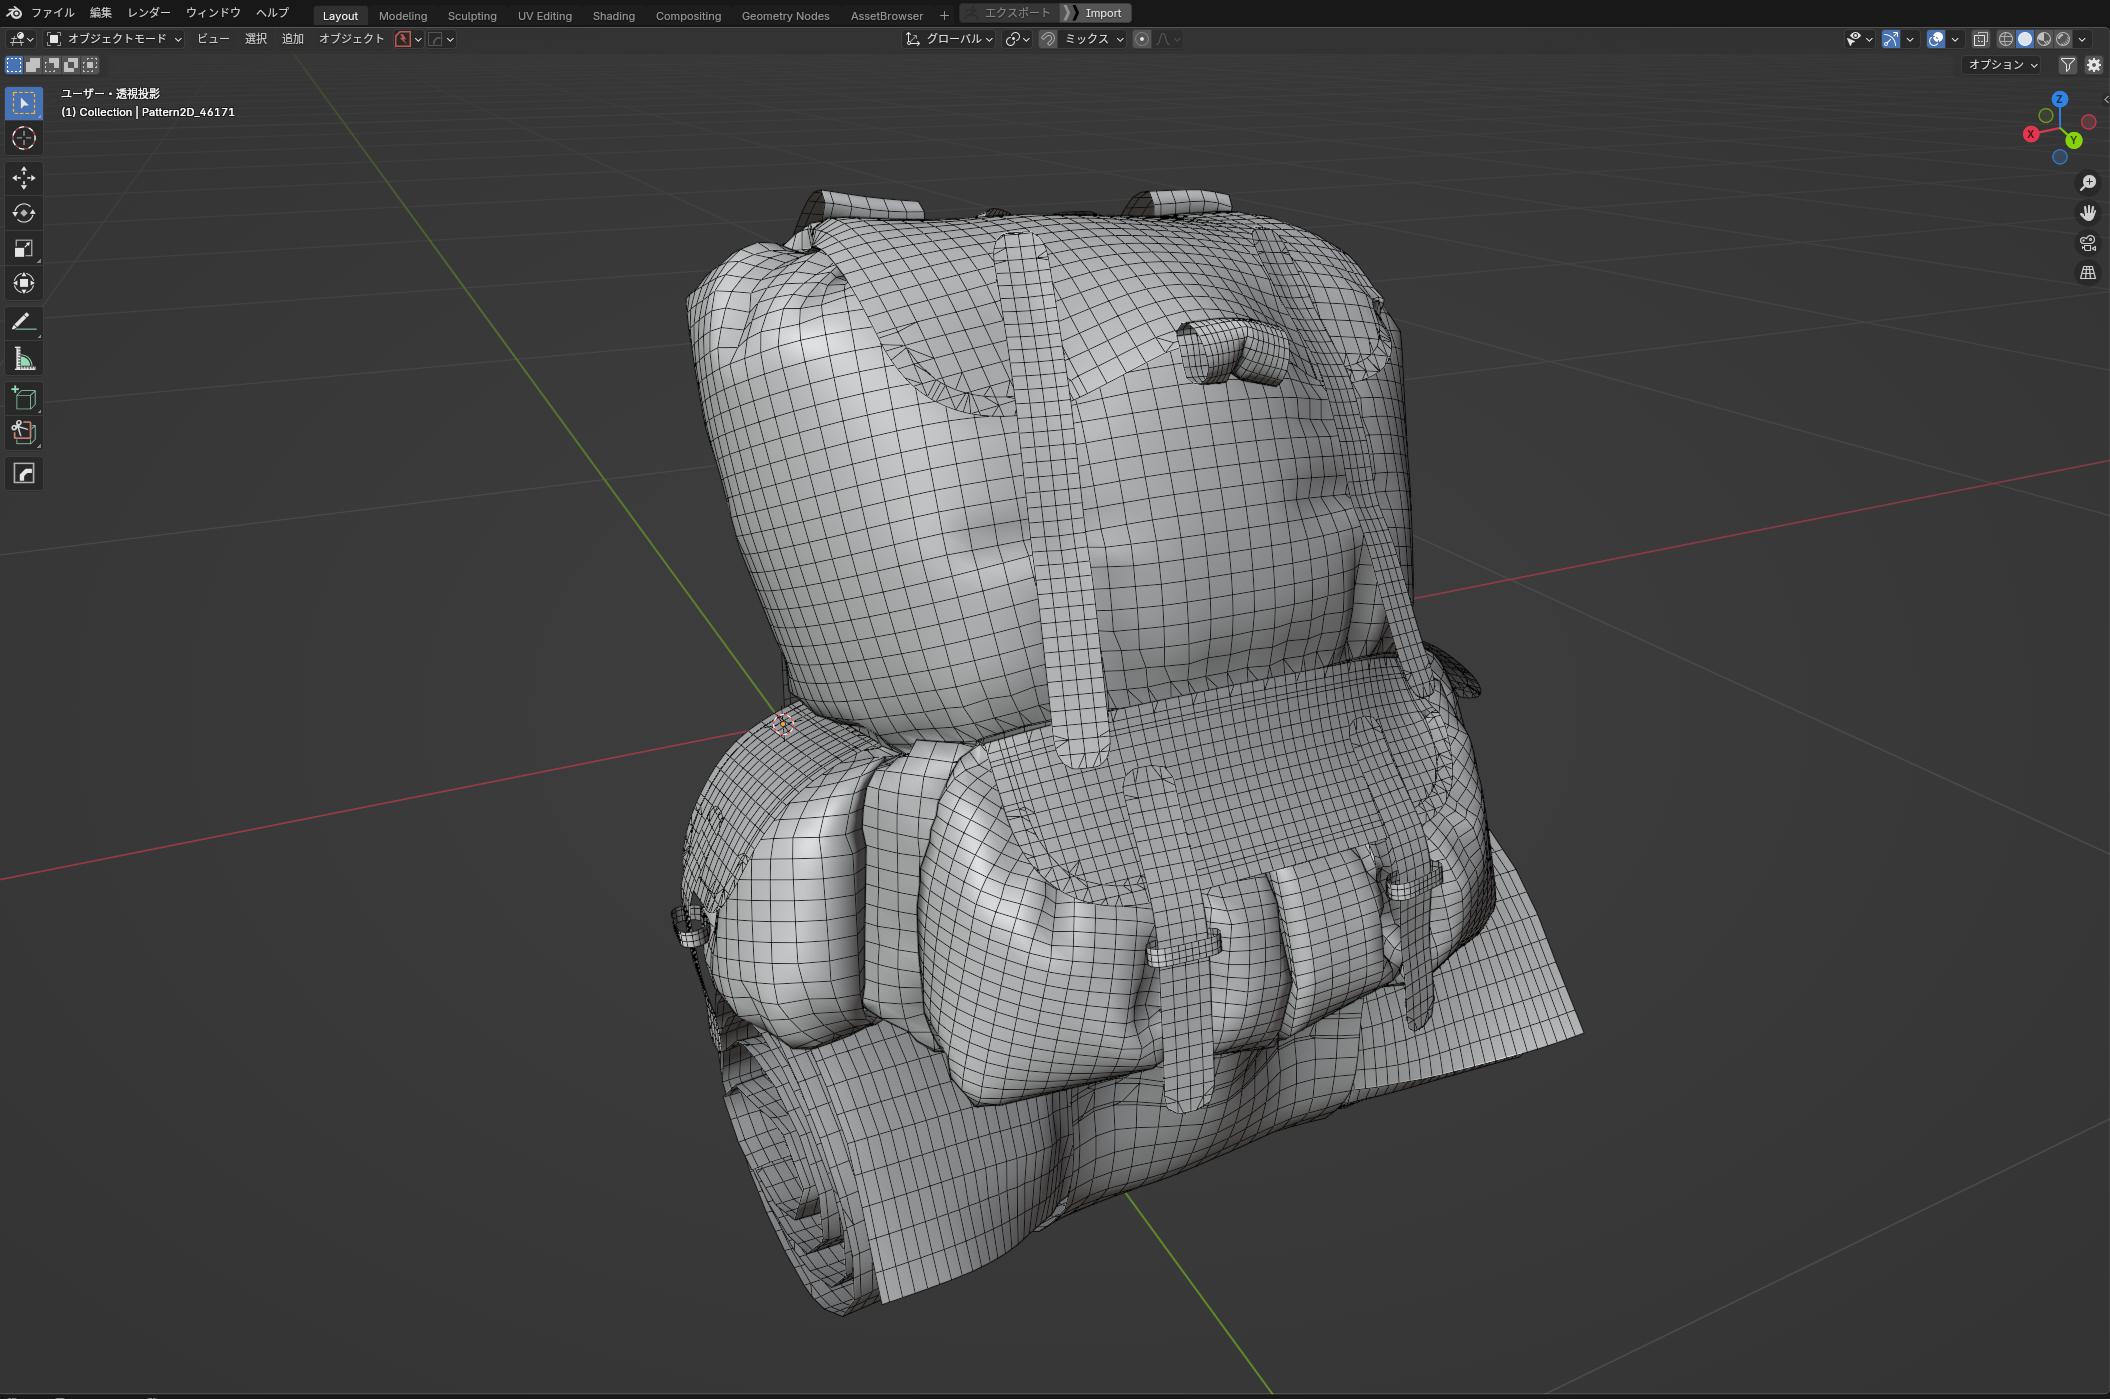
Image after cleaning the topology with QuadRemesher and adding thickness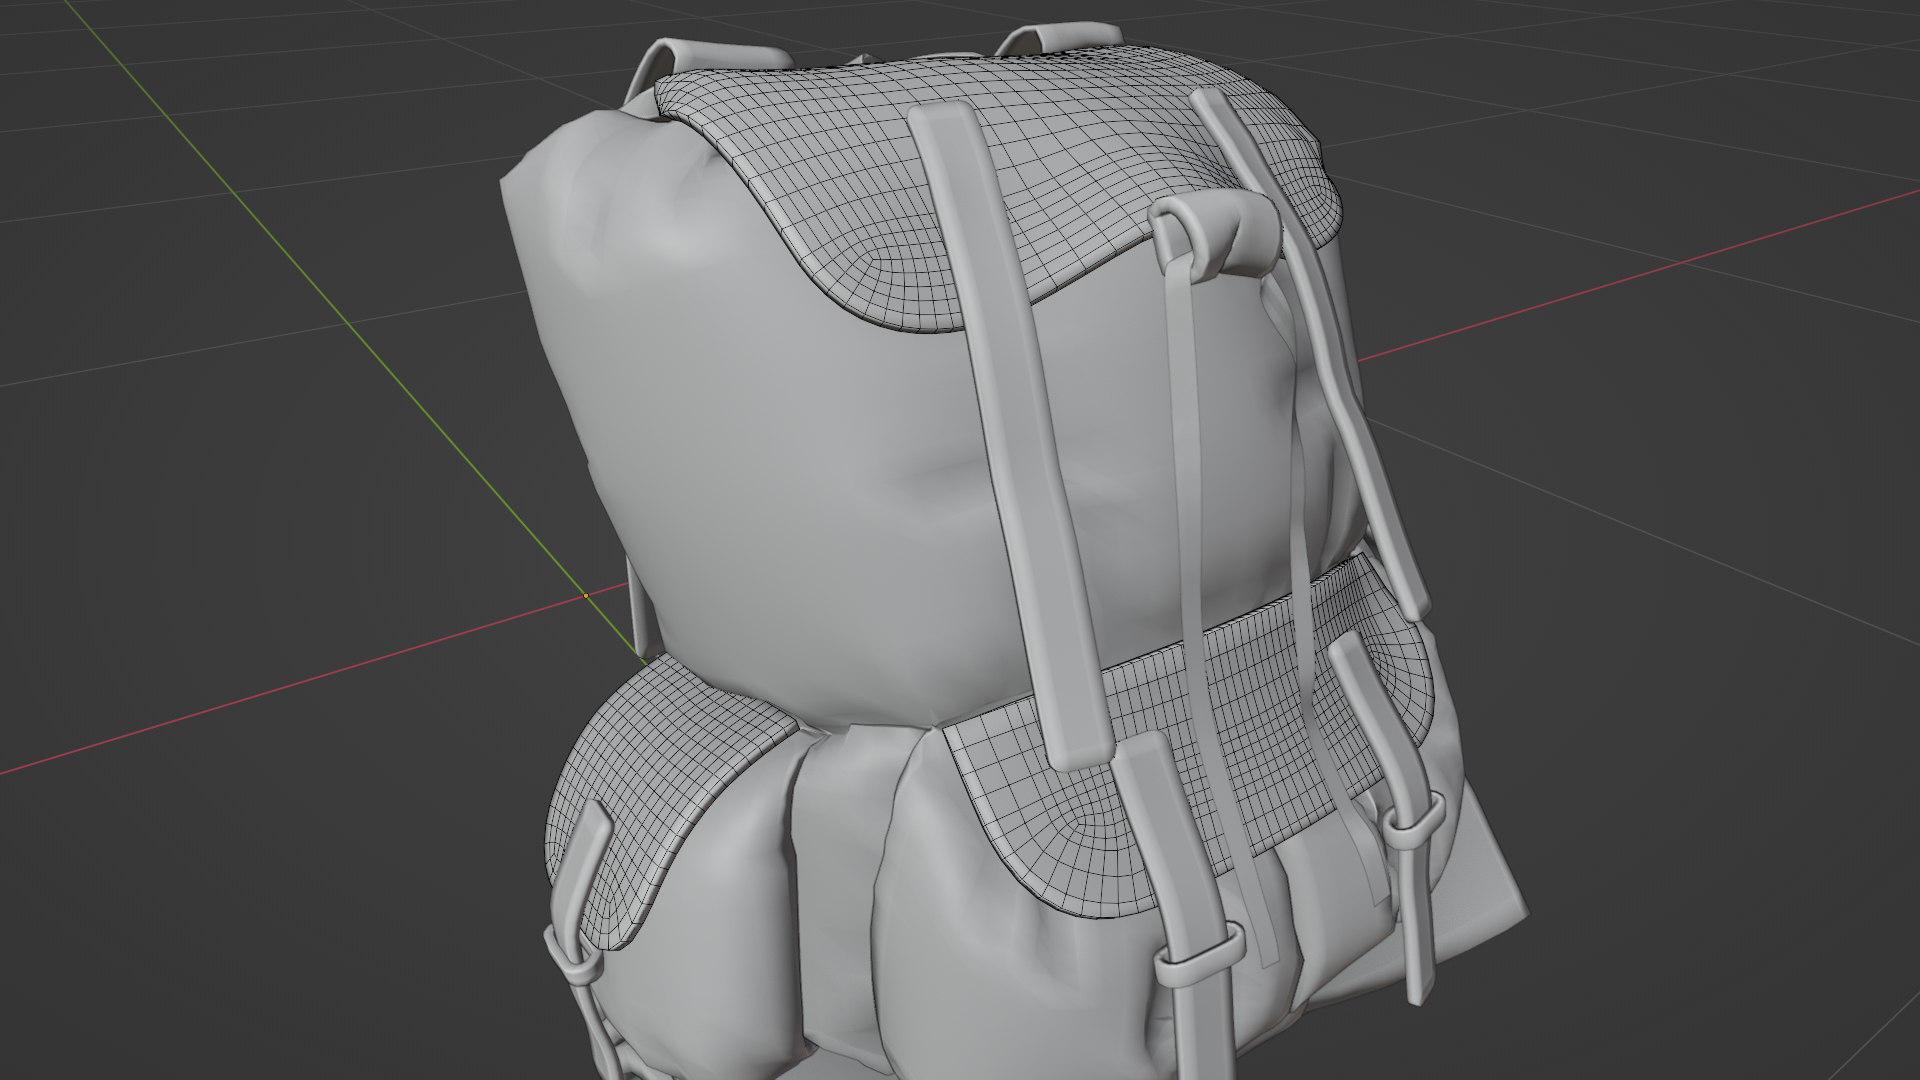
Adjustments in Blender
I imported the model into Blender without any thickness and first cleaned up the topology. Rounding the corners of patterns in Marvelous Designer tends to complicate the topology, so I run QuadRemesher on it while it's still a flat plane to ensure a clean topology. Afterward, I use the Solidify modifier to add thickness where needed.
Image of the model imported into Blender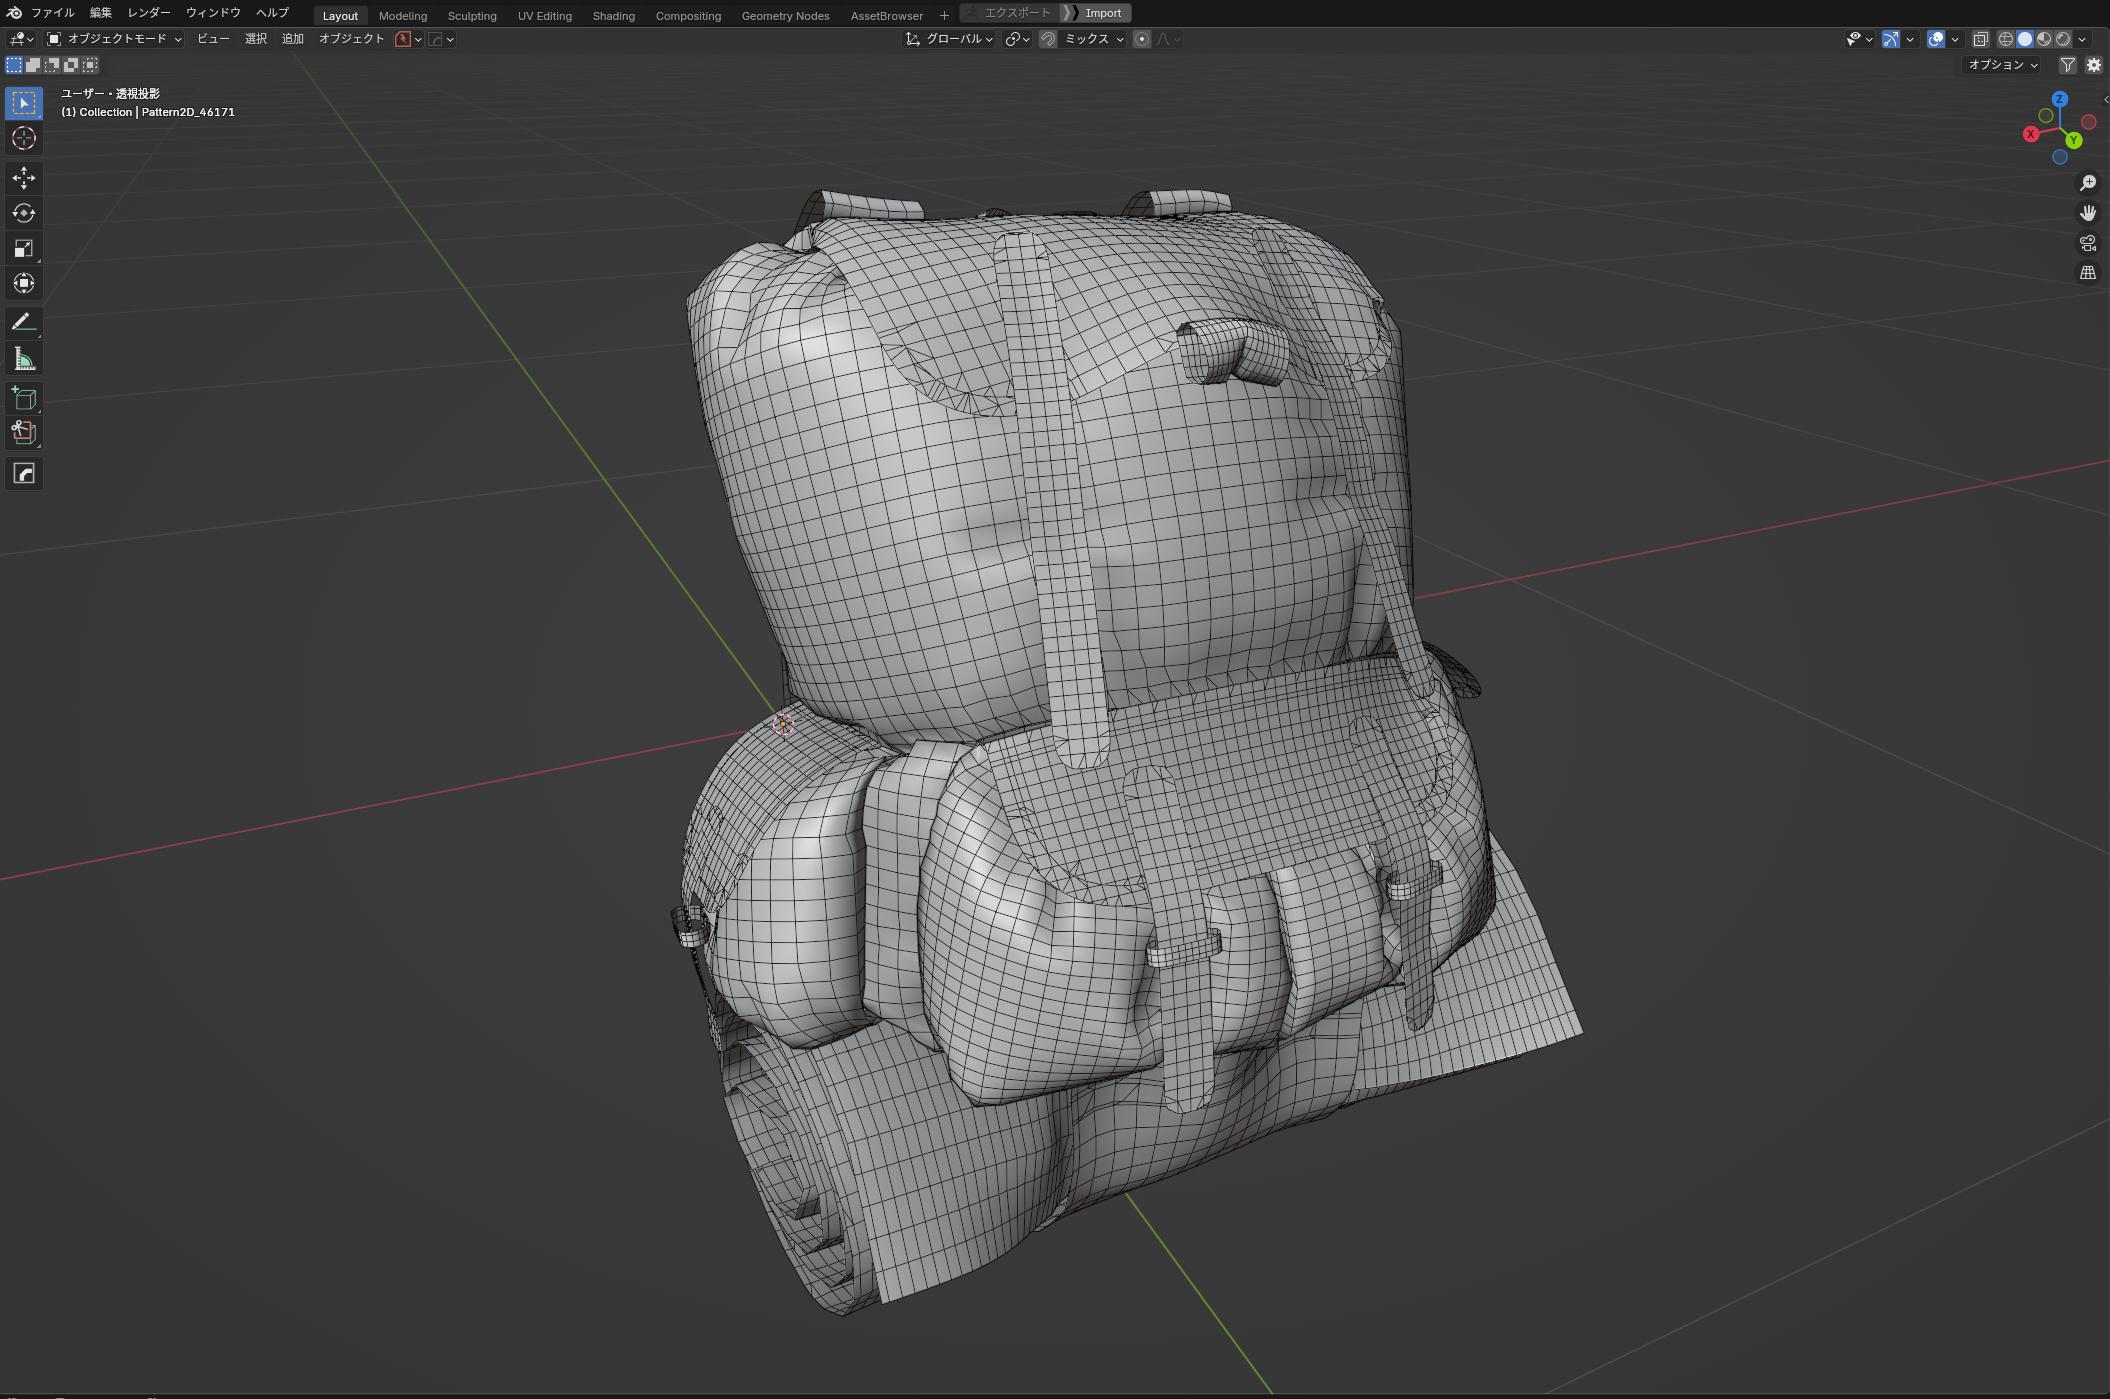
Image after cleaning the topology with QuadRemesher and adding thickness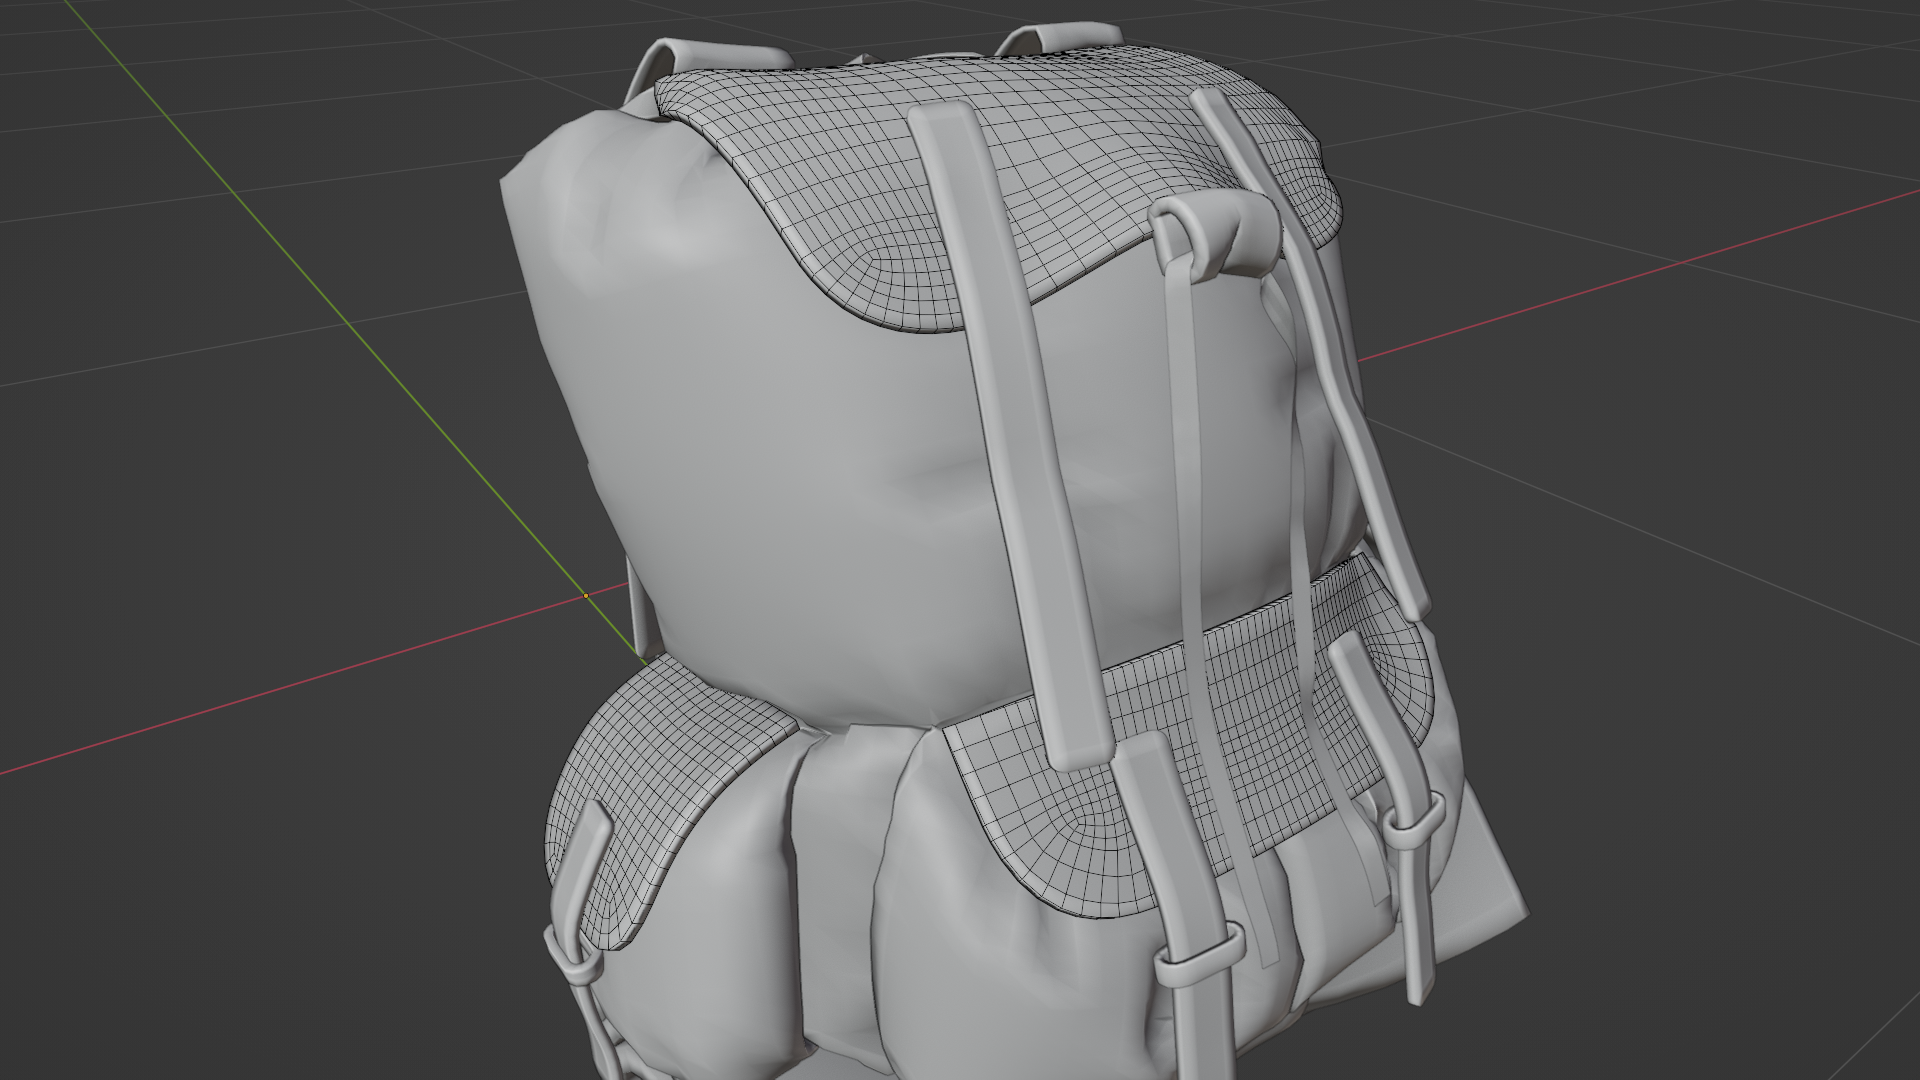
UV Unwrapping
By cleaning up the topology beforehand, the UV unwrapping process after adding thickness becomes much smoother.
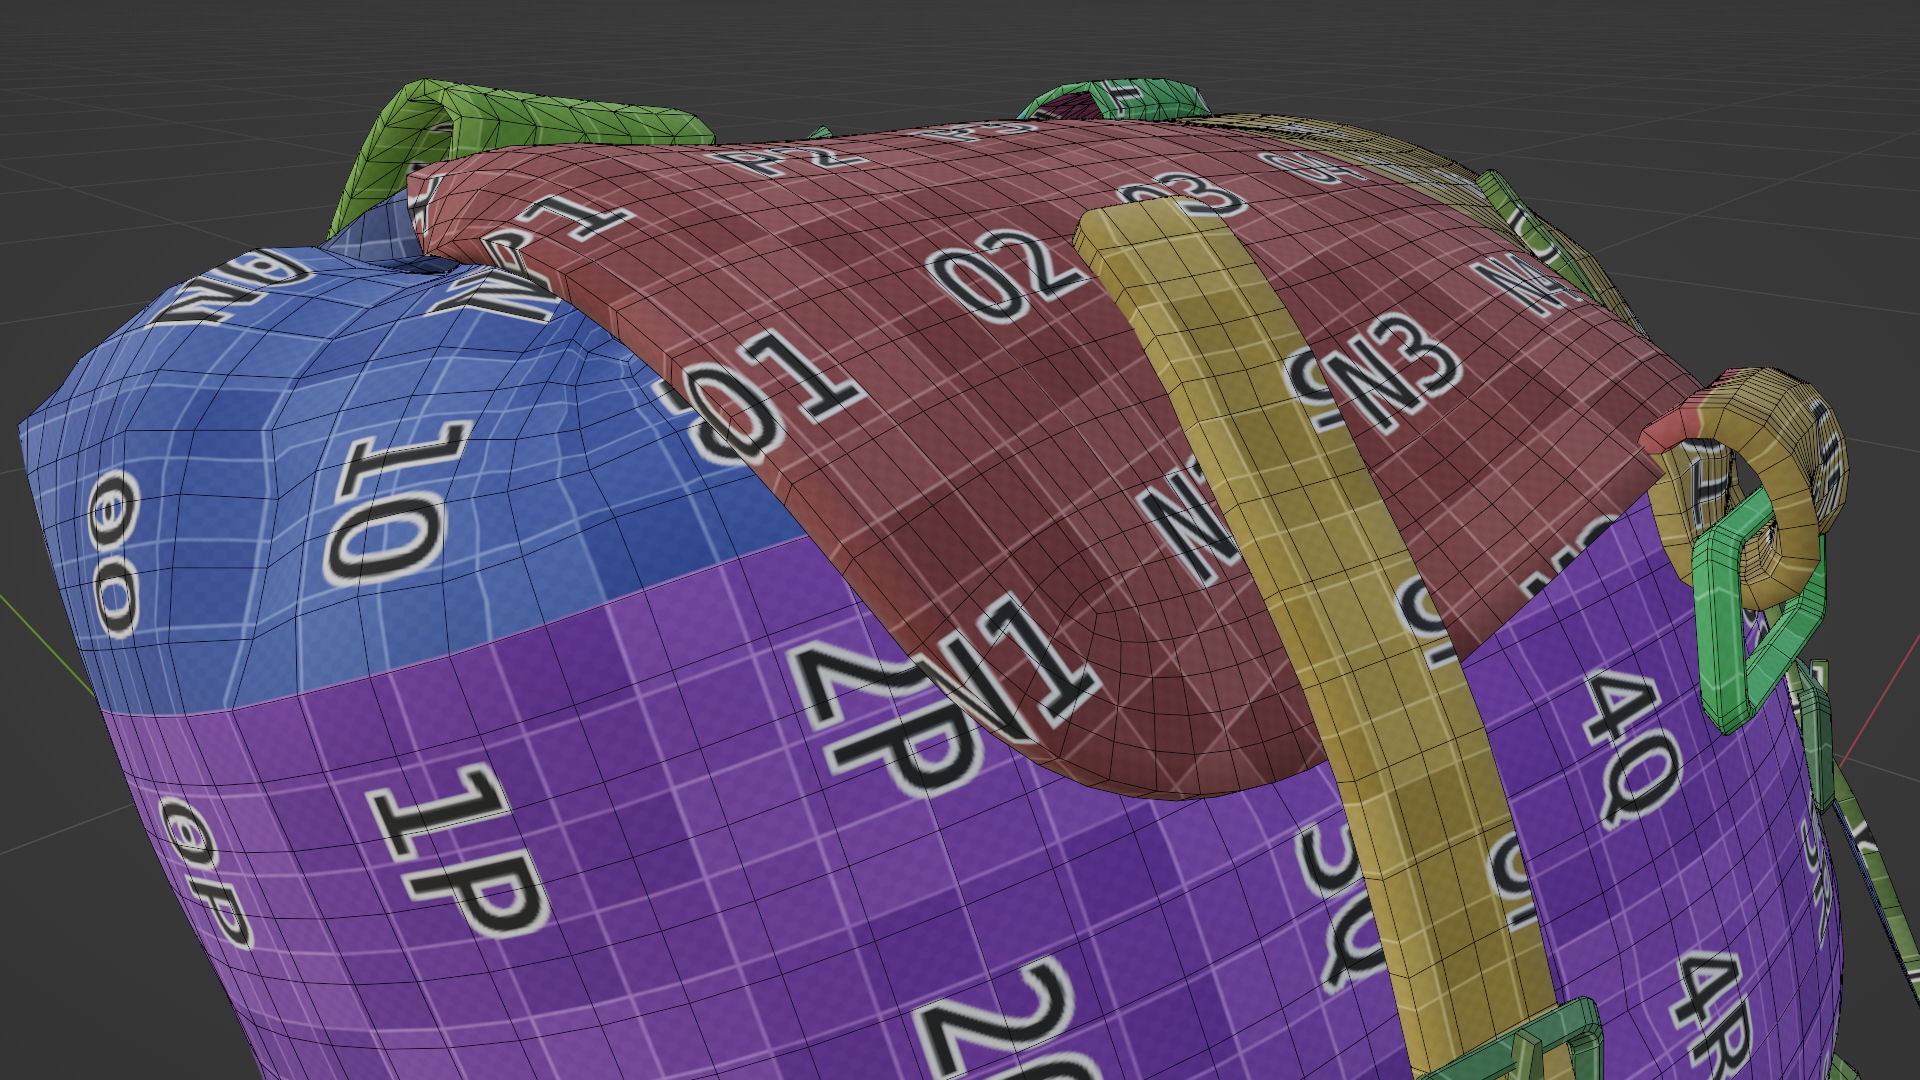
Overall image of the UV layout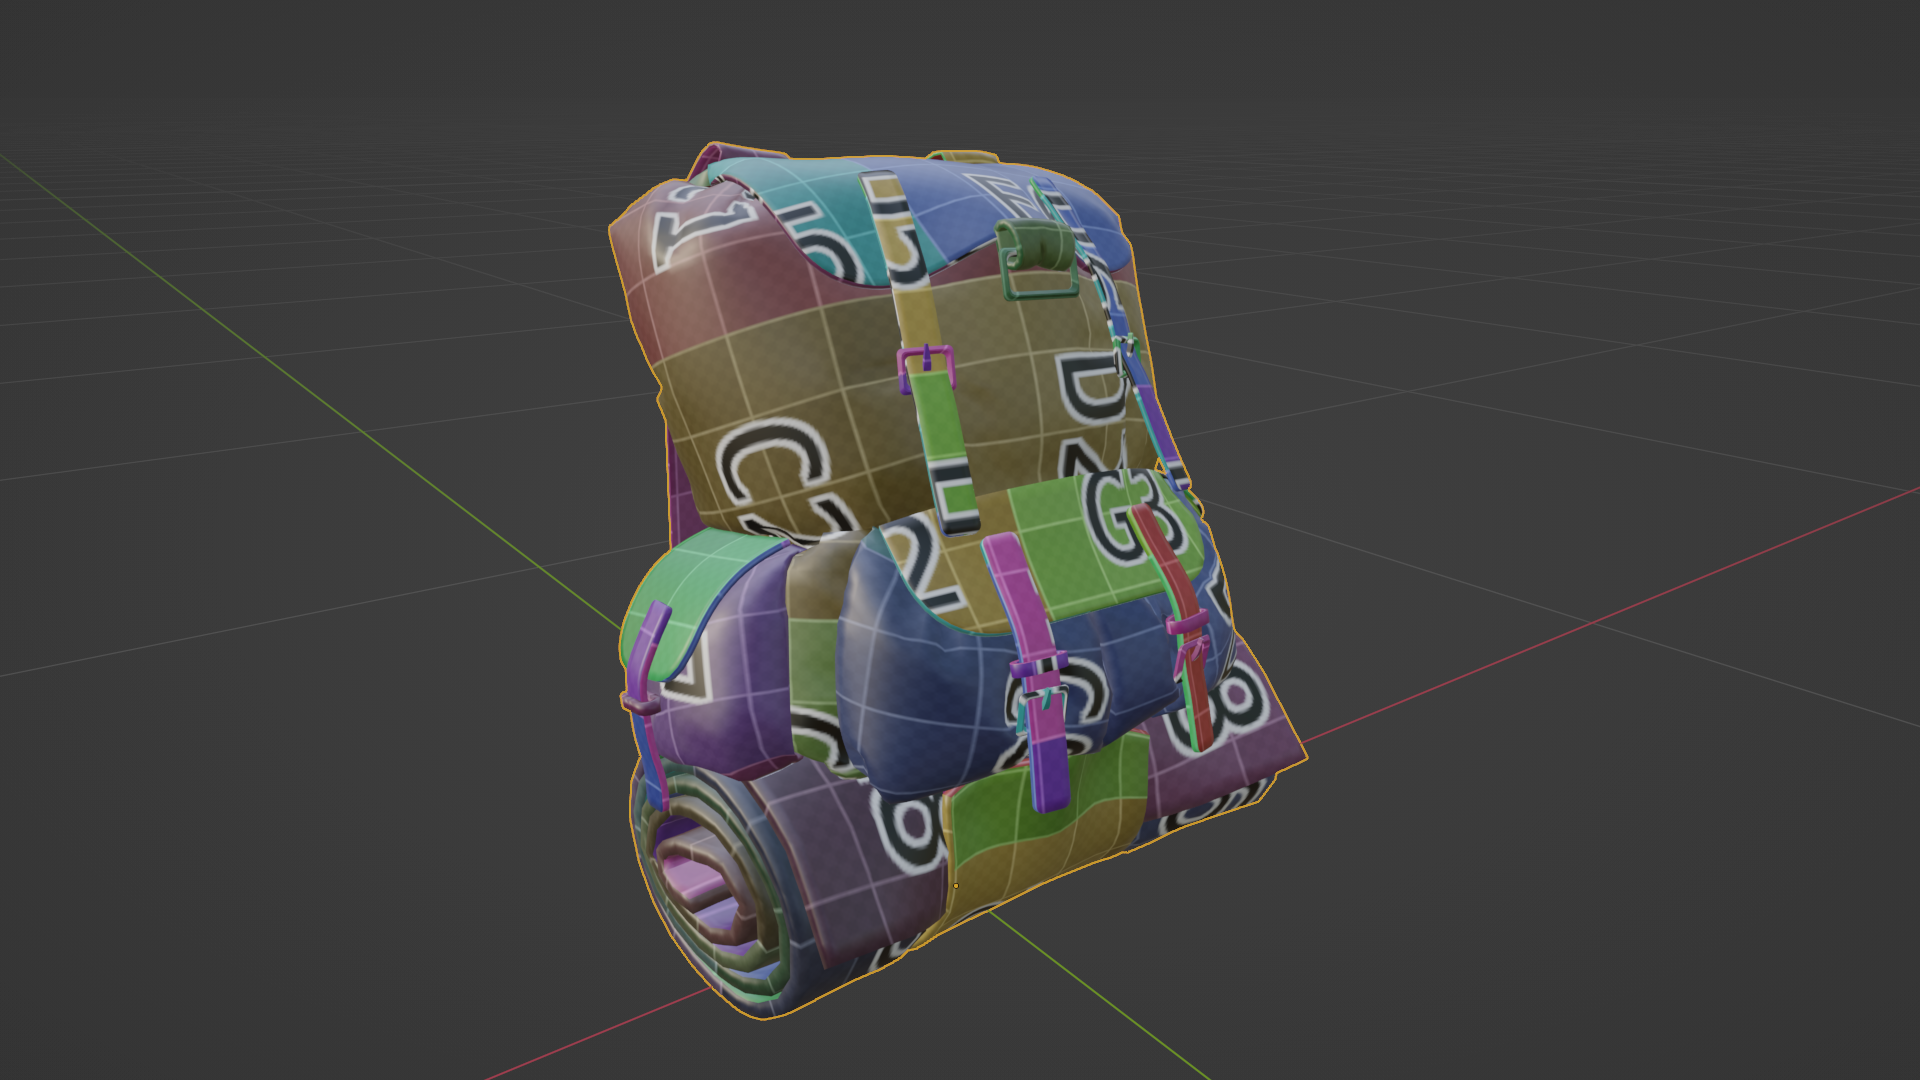
For creating this backpack, I clearly divided the roles between UV1 and UV2.
UV1 (For Textures)
Purpose: To ensure proper texture expression in Substance Painter.
Method: Separate the cloth faces from the thickness-added parts. Specifically, unwrap the thickness parts to be "straight."
Advantage: This allows curvature and edge maps to work cleanly, making it possible to naturally add dirt in the seams or wear on the corners. Straightening the thickness parts also prevents distortion during painting.
UV1 (Unwrap with cloth faces + straightened thickness parts)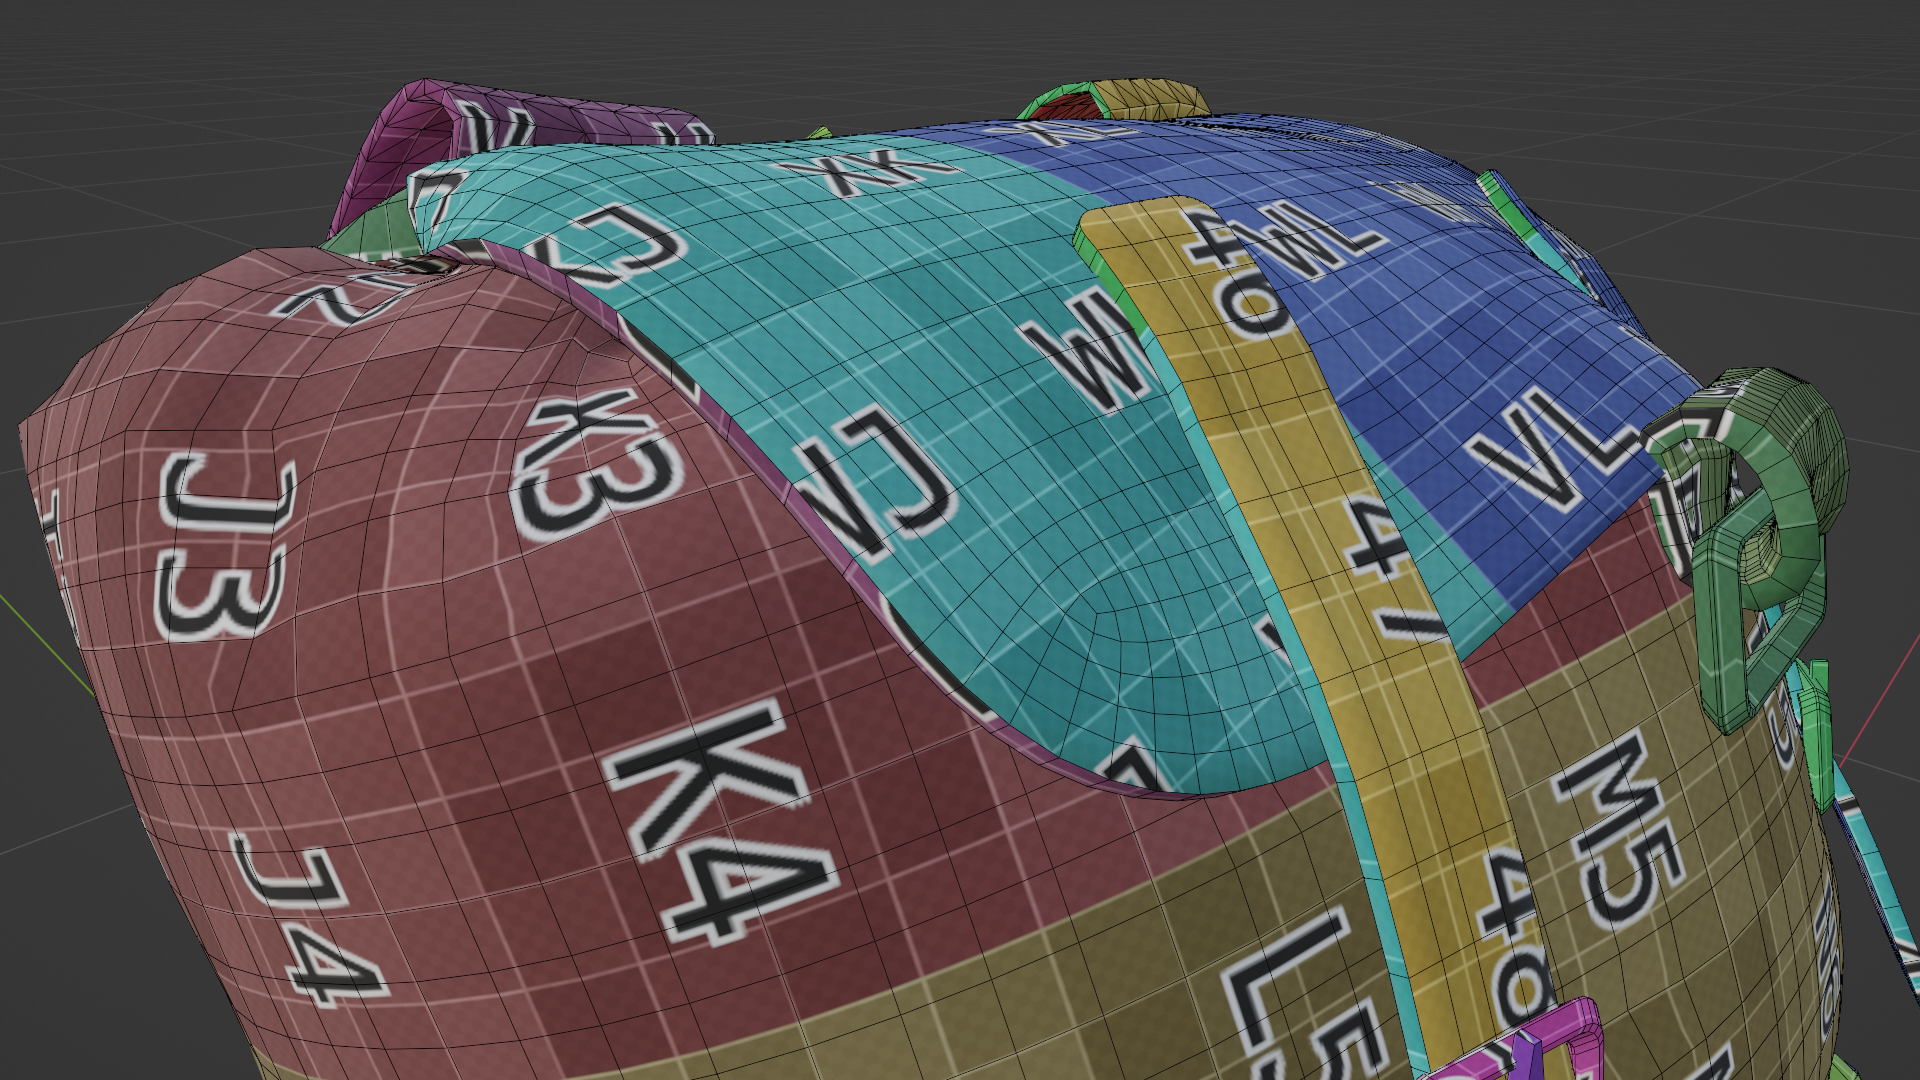
■ UV2 (For Lightmaps)
Purpose: To prevent artifacts when baking lightmaps in Unity.
Method: Unwrap the cloth faces and thickness parts as connected pieces to make seams less noticeable.
Advantage: Separating them like in UV1 can lead to shadows and noise appearing in the seams due to insufficient resolution. Therefore, for UV2, I unwrap them as continuously as possible. A little stretching is acceptable as it tends to look natural in the final lighting.
UV2 (Unwrap with cloth faces and side parts connected)
Texturing (Substance Painter)
By carefully unwrapping UV1, the curvature map functions correctly. This allows me to significantly enhance the texture by adding dirt and color variations to the edges.
Image from Substance Painter (Front)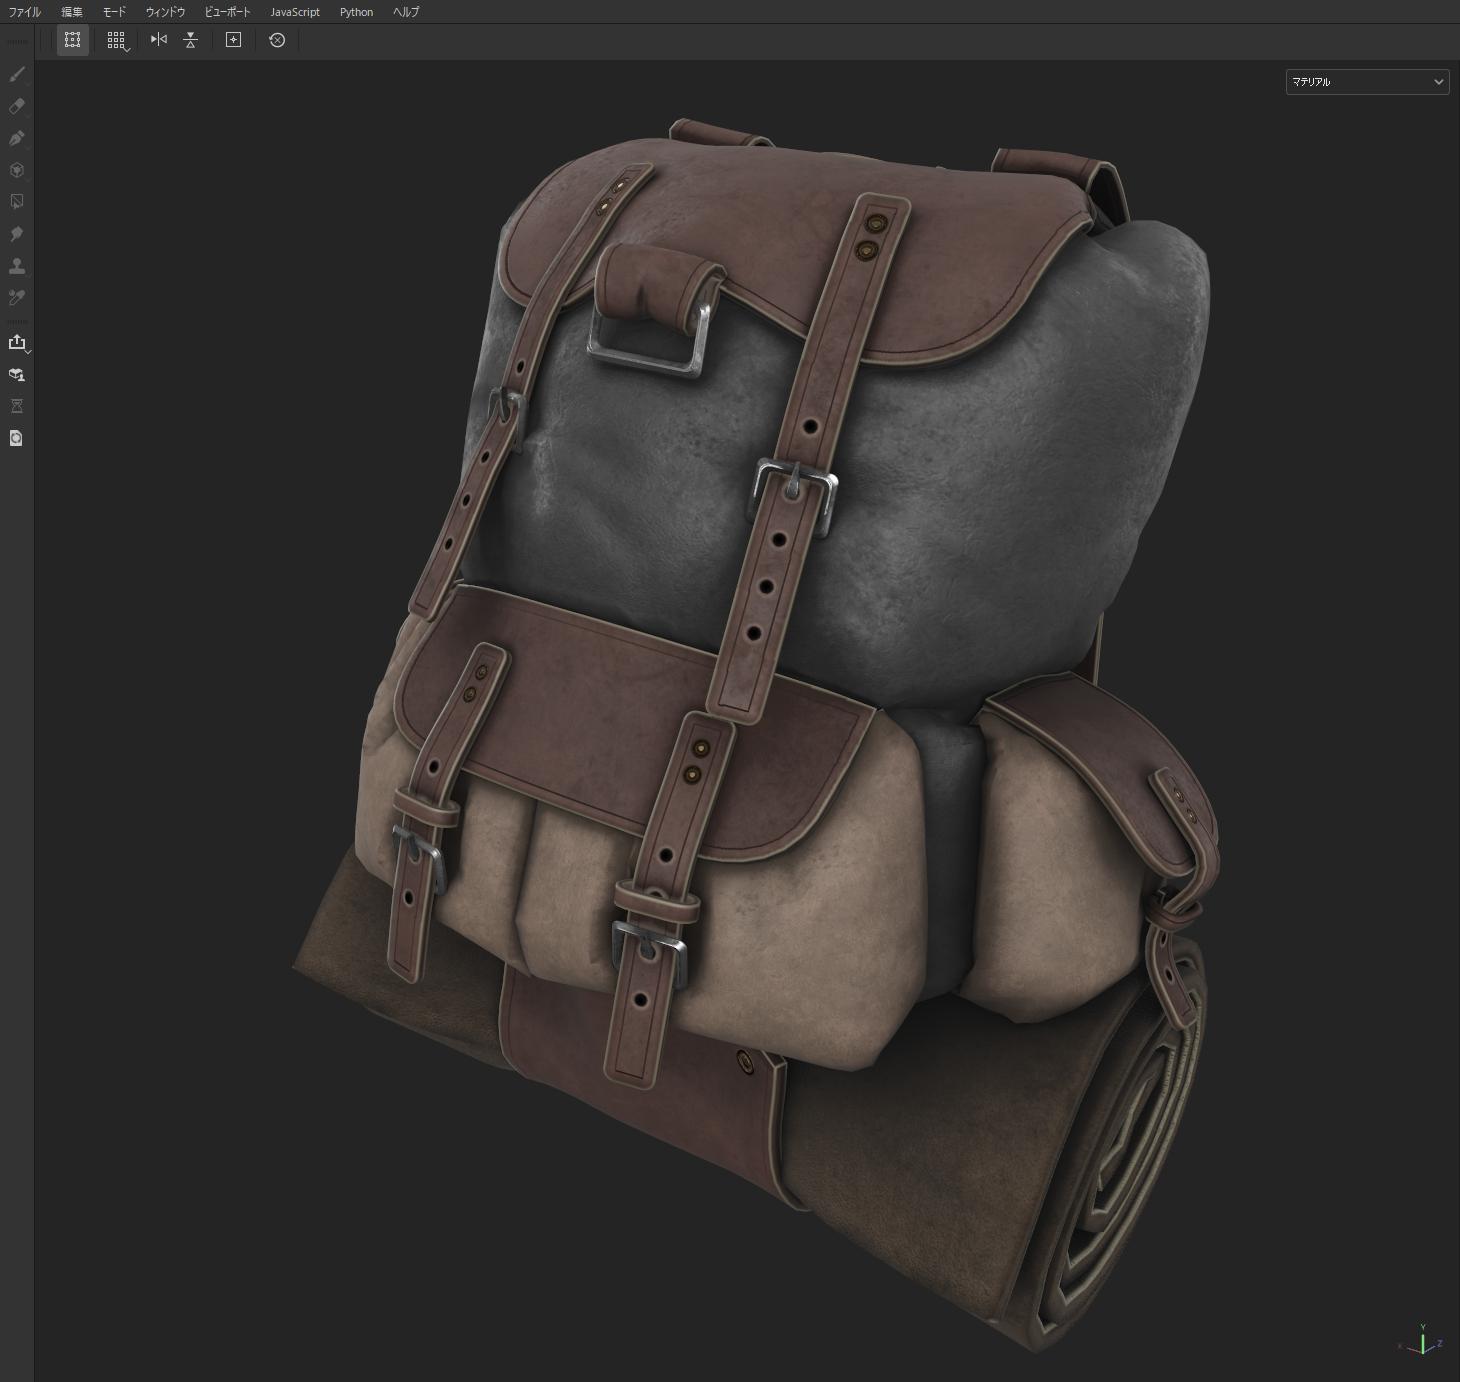
Image from Substance Painter (Back)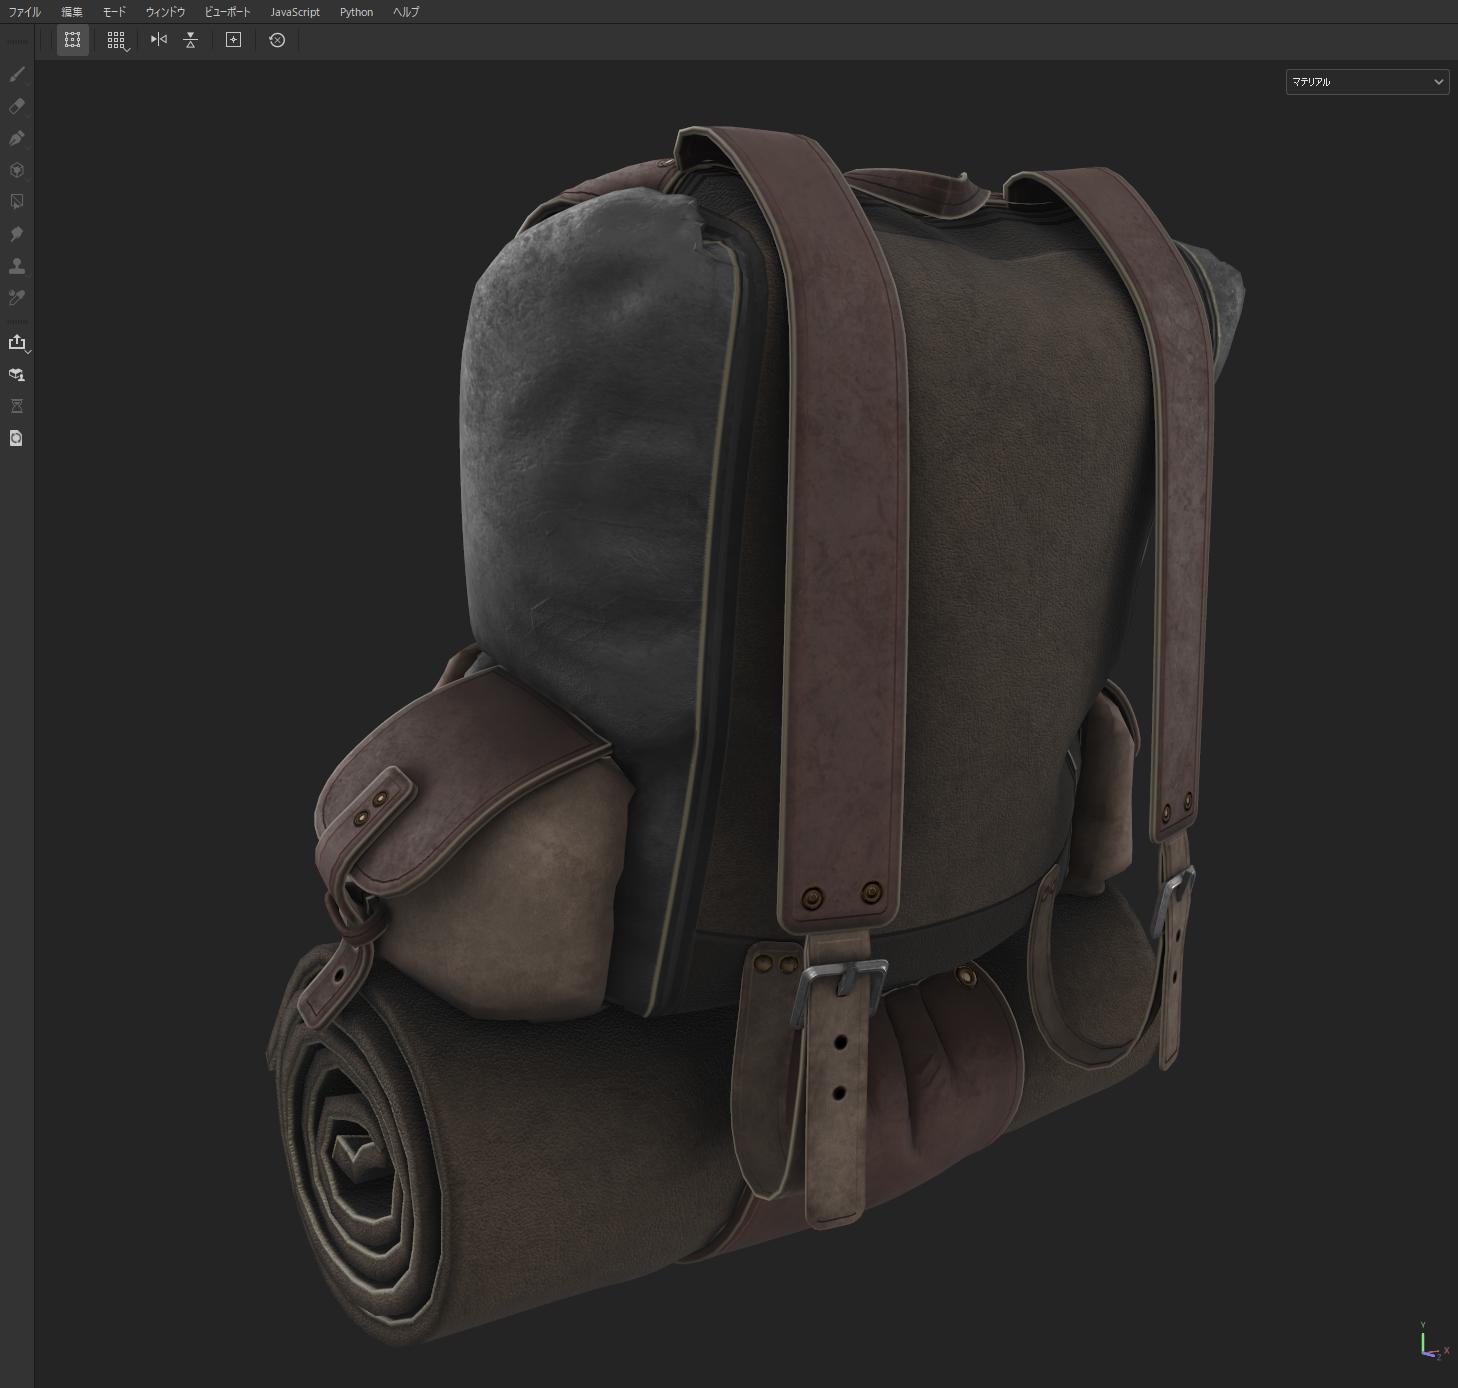
When using Marvelous Designer for real-time environments, it is crucial to proceed with production while keeping these subsequent steps in mind.
이 작업은 Blender, Substance, Unity, VRChat, VR, EnvironmentalArt 등의 기술로 제작되었습니다.
Marvelous Designer로 이와 같은 3D 의상·캐릭터 작업을 직접 만들어볼 수 있습니다.