Mariée de Kumya — Recreating Lolita Dress in Marvelous Designer 🎀
Ever wondered how a highly detailed Lolita dress is made in 3D?
From layered frills to hand-crafted bows, 3D Character Artist Honghui Qiu shares how he brought "Mariée de Kumya" Lolita dress to life with Marvelous Designer — and the challenges that came with it.
Interview with Honghui Qiu | Mariée de Kumya Lolita Dress | 3D Character Artist
Please introduce yourself to the Marvelous Designer community.
Hello everyone! My name is Qiu Honghui, a 3D character artist from China. I've been working in the game industry for two and a half years.
I was first introduced to 3D during a university course and found it incredibly fascinating. That initial spark led me to dive deeper into self-learning. However, I soon realized that 3D creation was far more complex than I had imagined. After graduating, I spent six months in a professional training program, which helped me gain the skills needed to enter the game industry.
What inspired you to create this piece? Could you share the story behind it?
The inspiration came from a Lolita fashion show I stumbled upon on Bilibili. I was struck by how exquisitely detailed each outfit was, which sparked my interest in learning more about Lolita fashion.
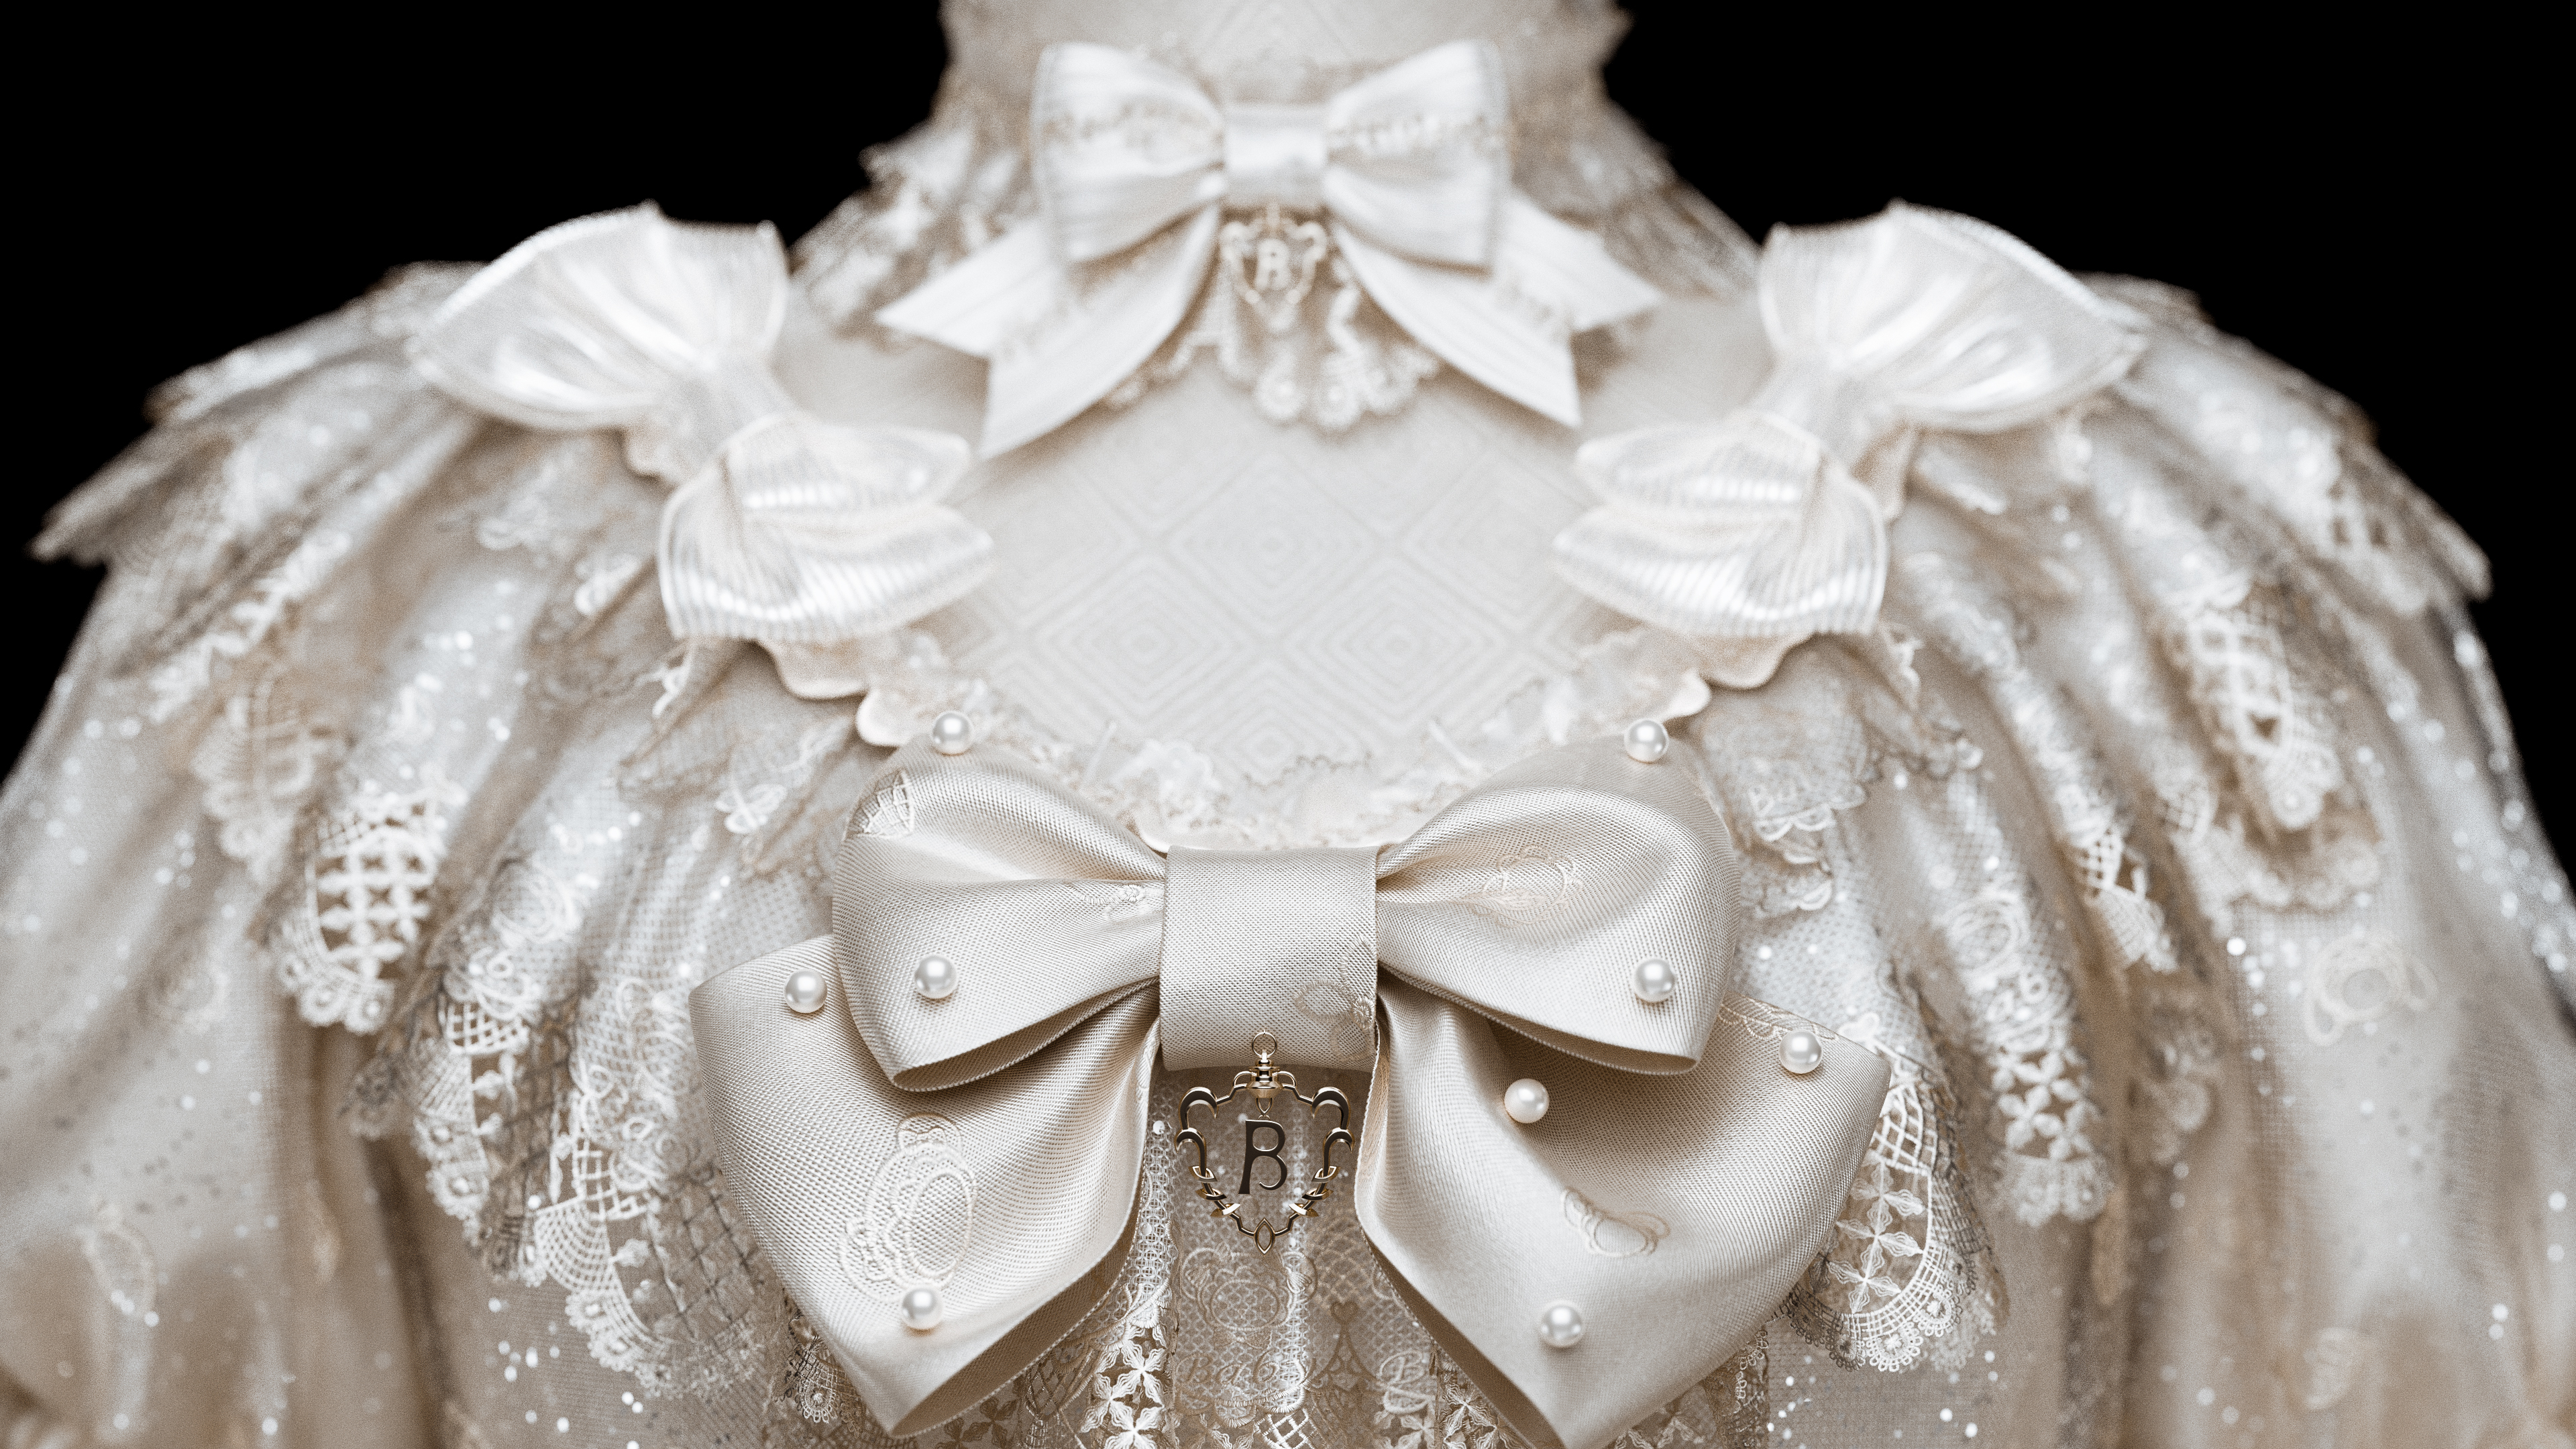
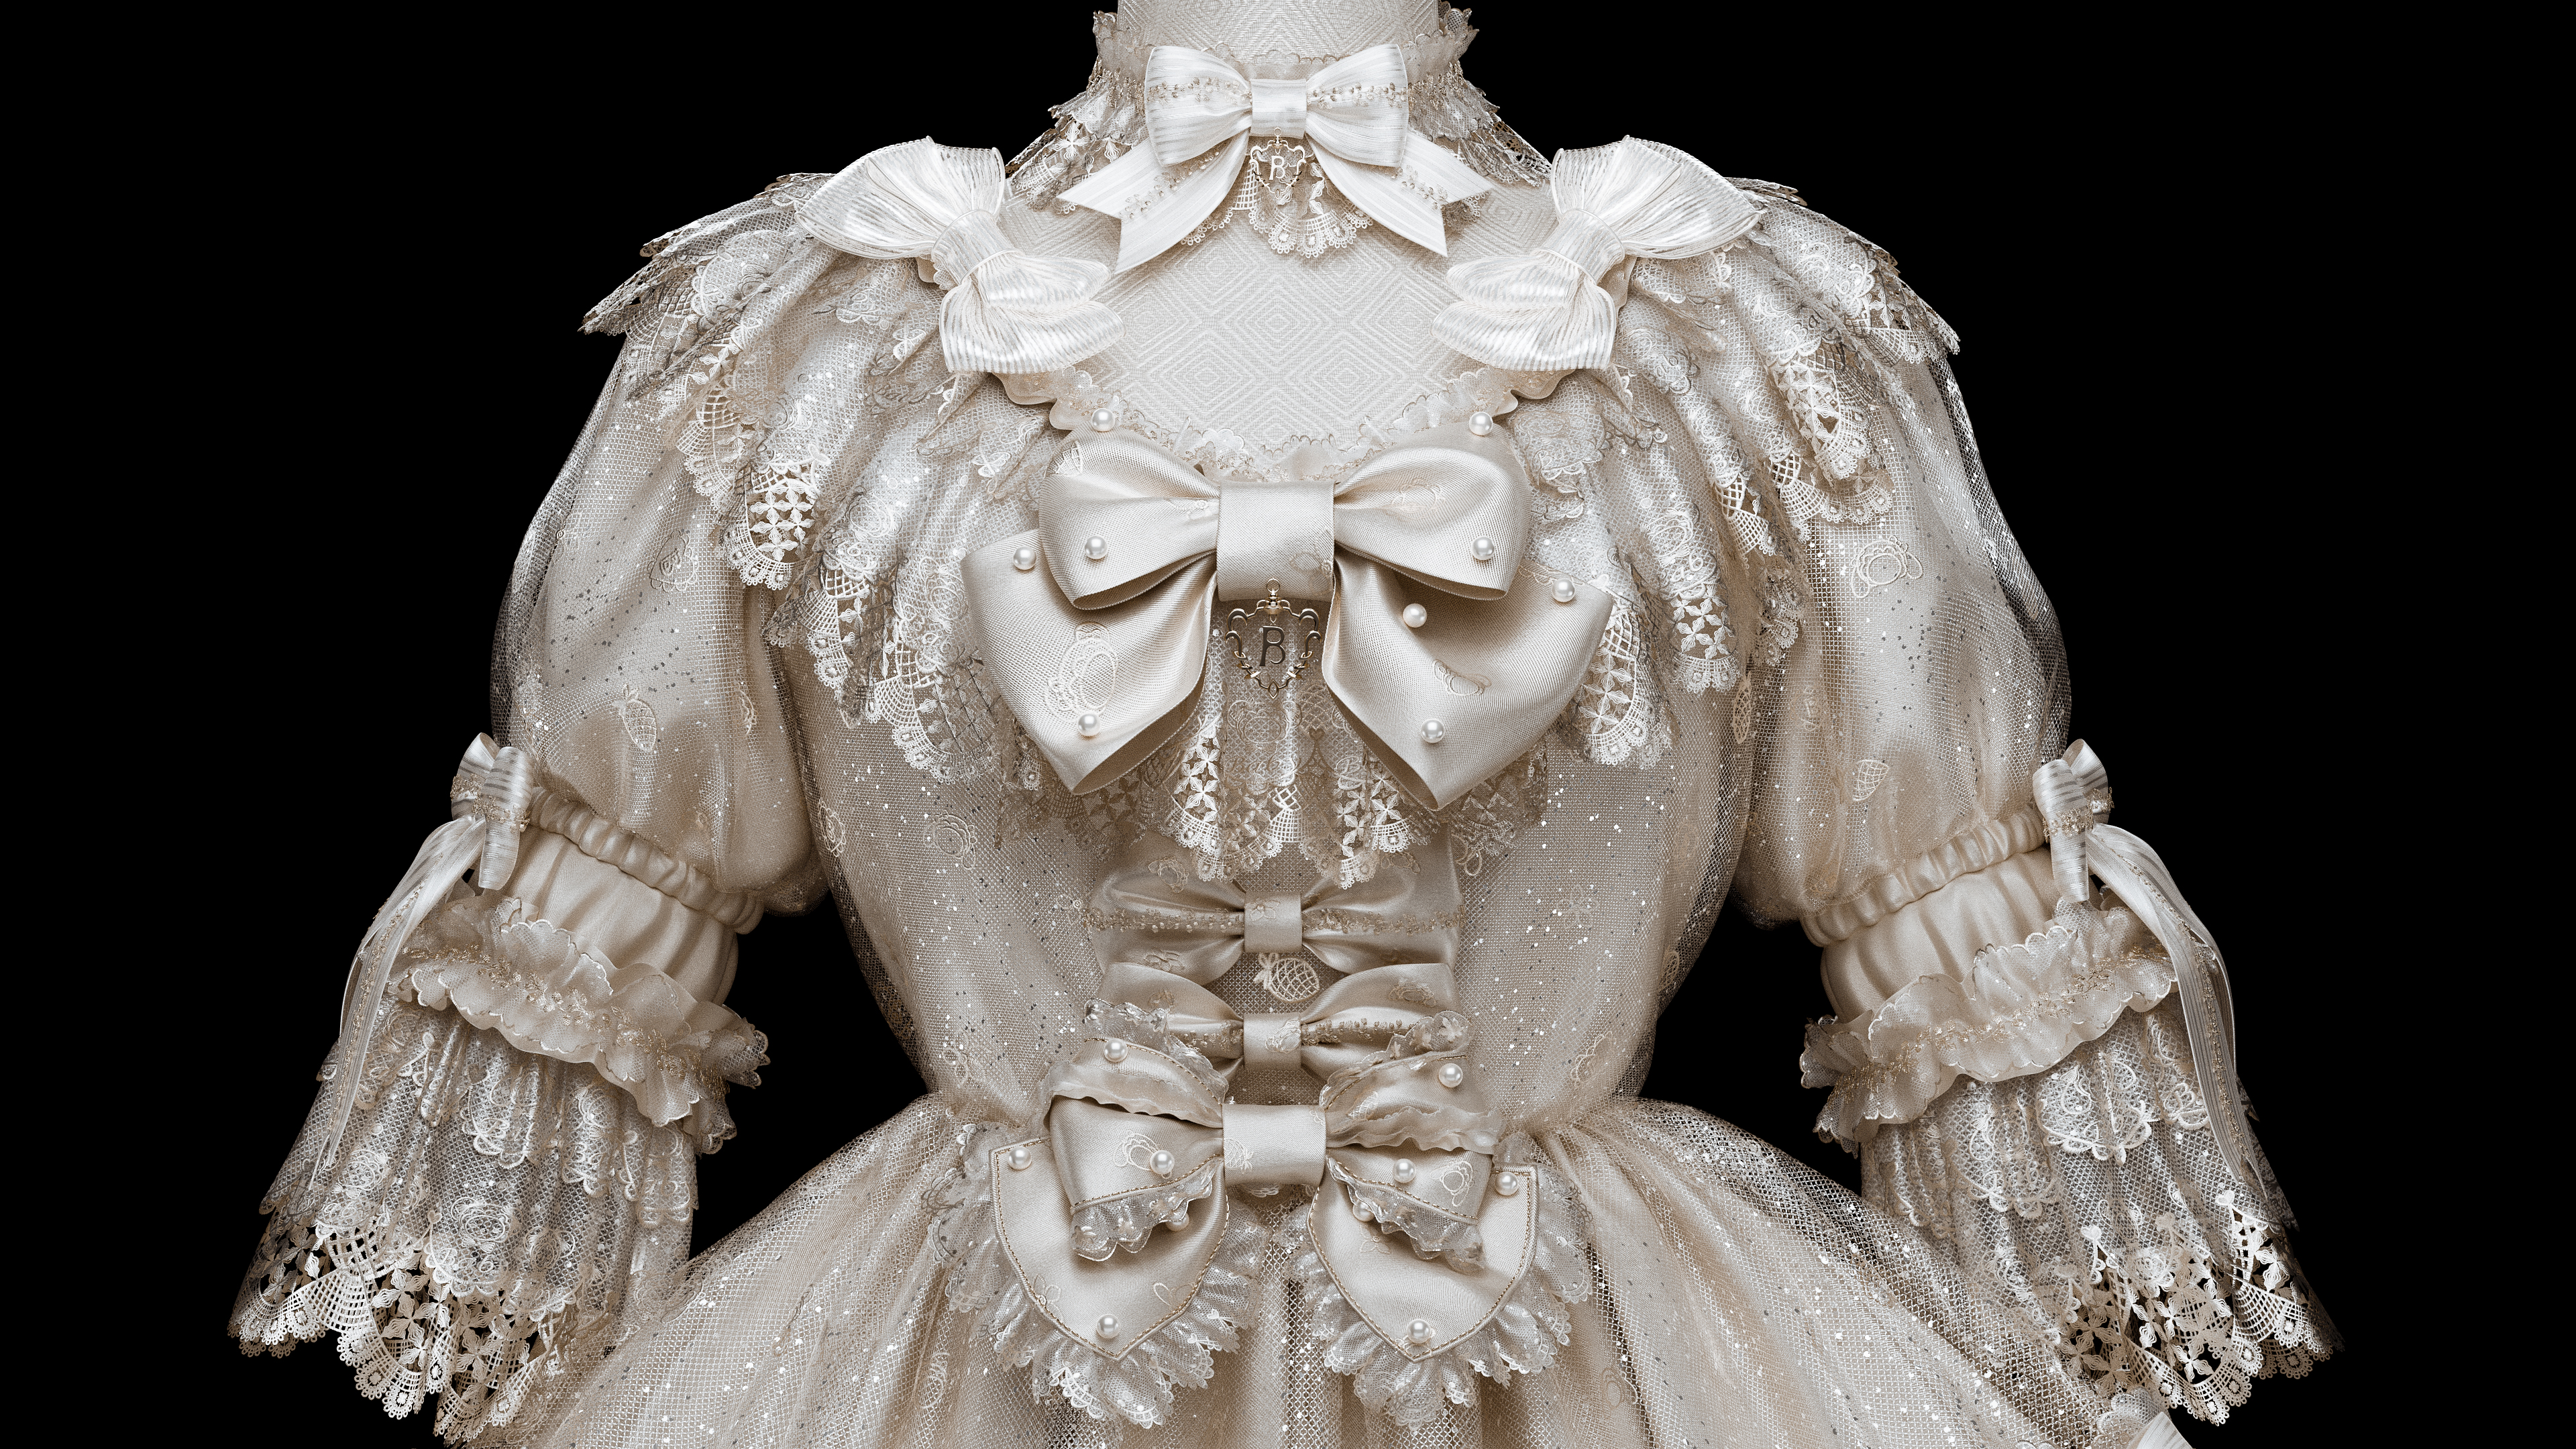
This particular design is based on the 2023 “Mariée de Kumya” (Bear Bride) dress by Baby, The Stars Shine Bright. I was fascinated by its rich design elements — lace, embroidery, pearls, and satin, especially the intricate layering around the neckline, cuffs, and hem. I felt that recreating it in 3D could truly highlight its elegance and craftsmanship.
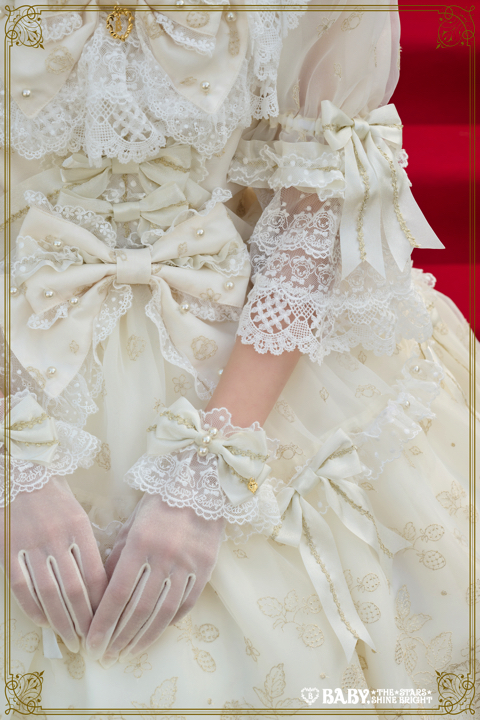
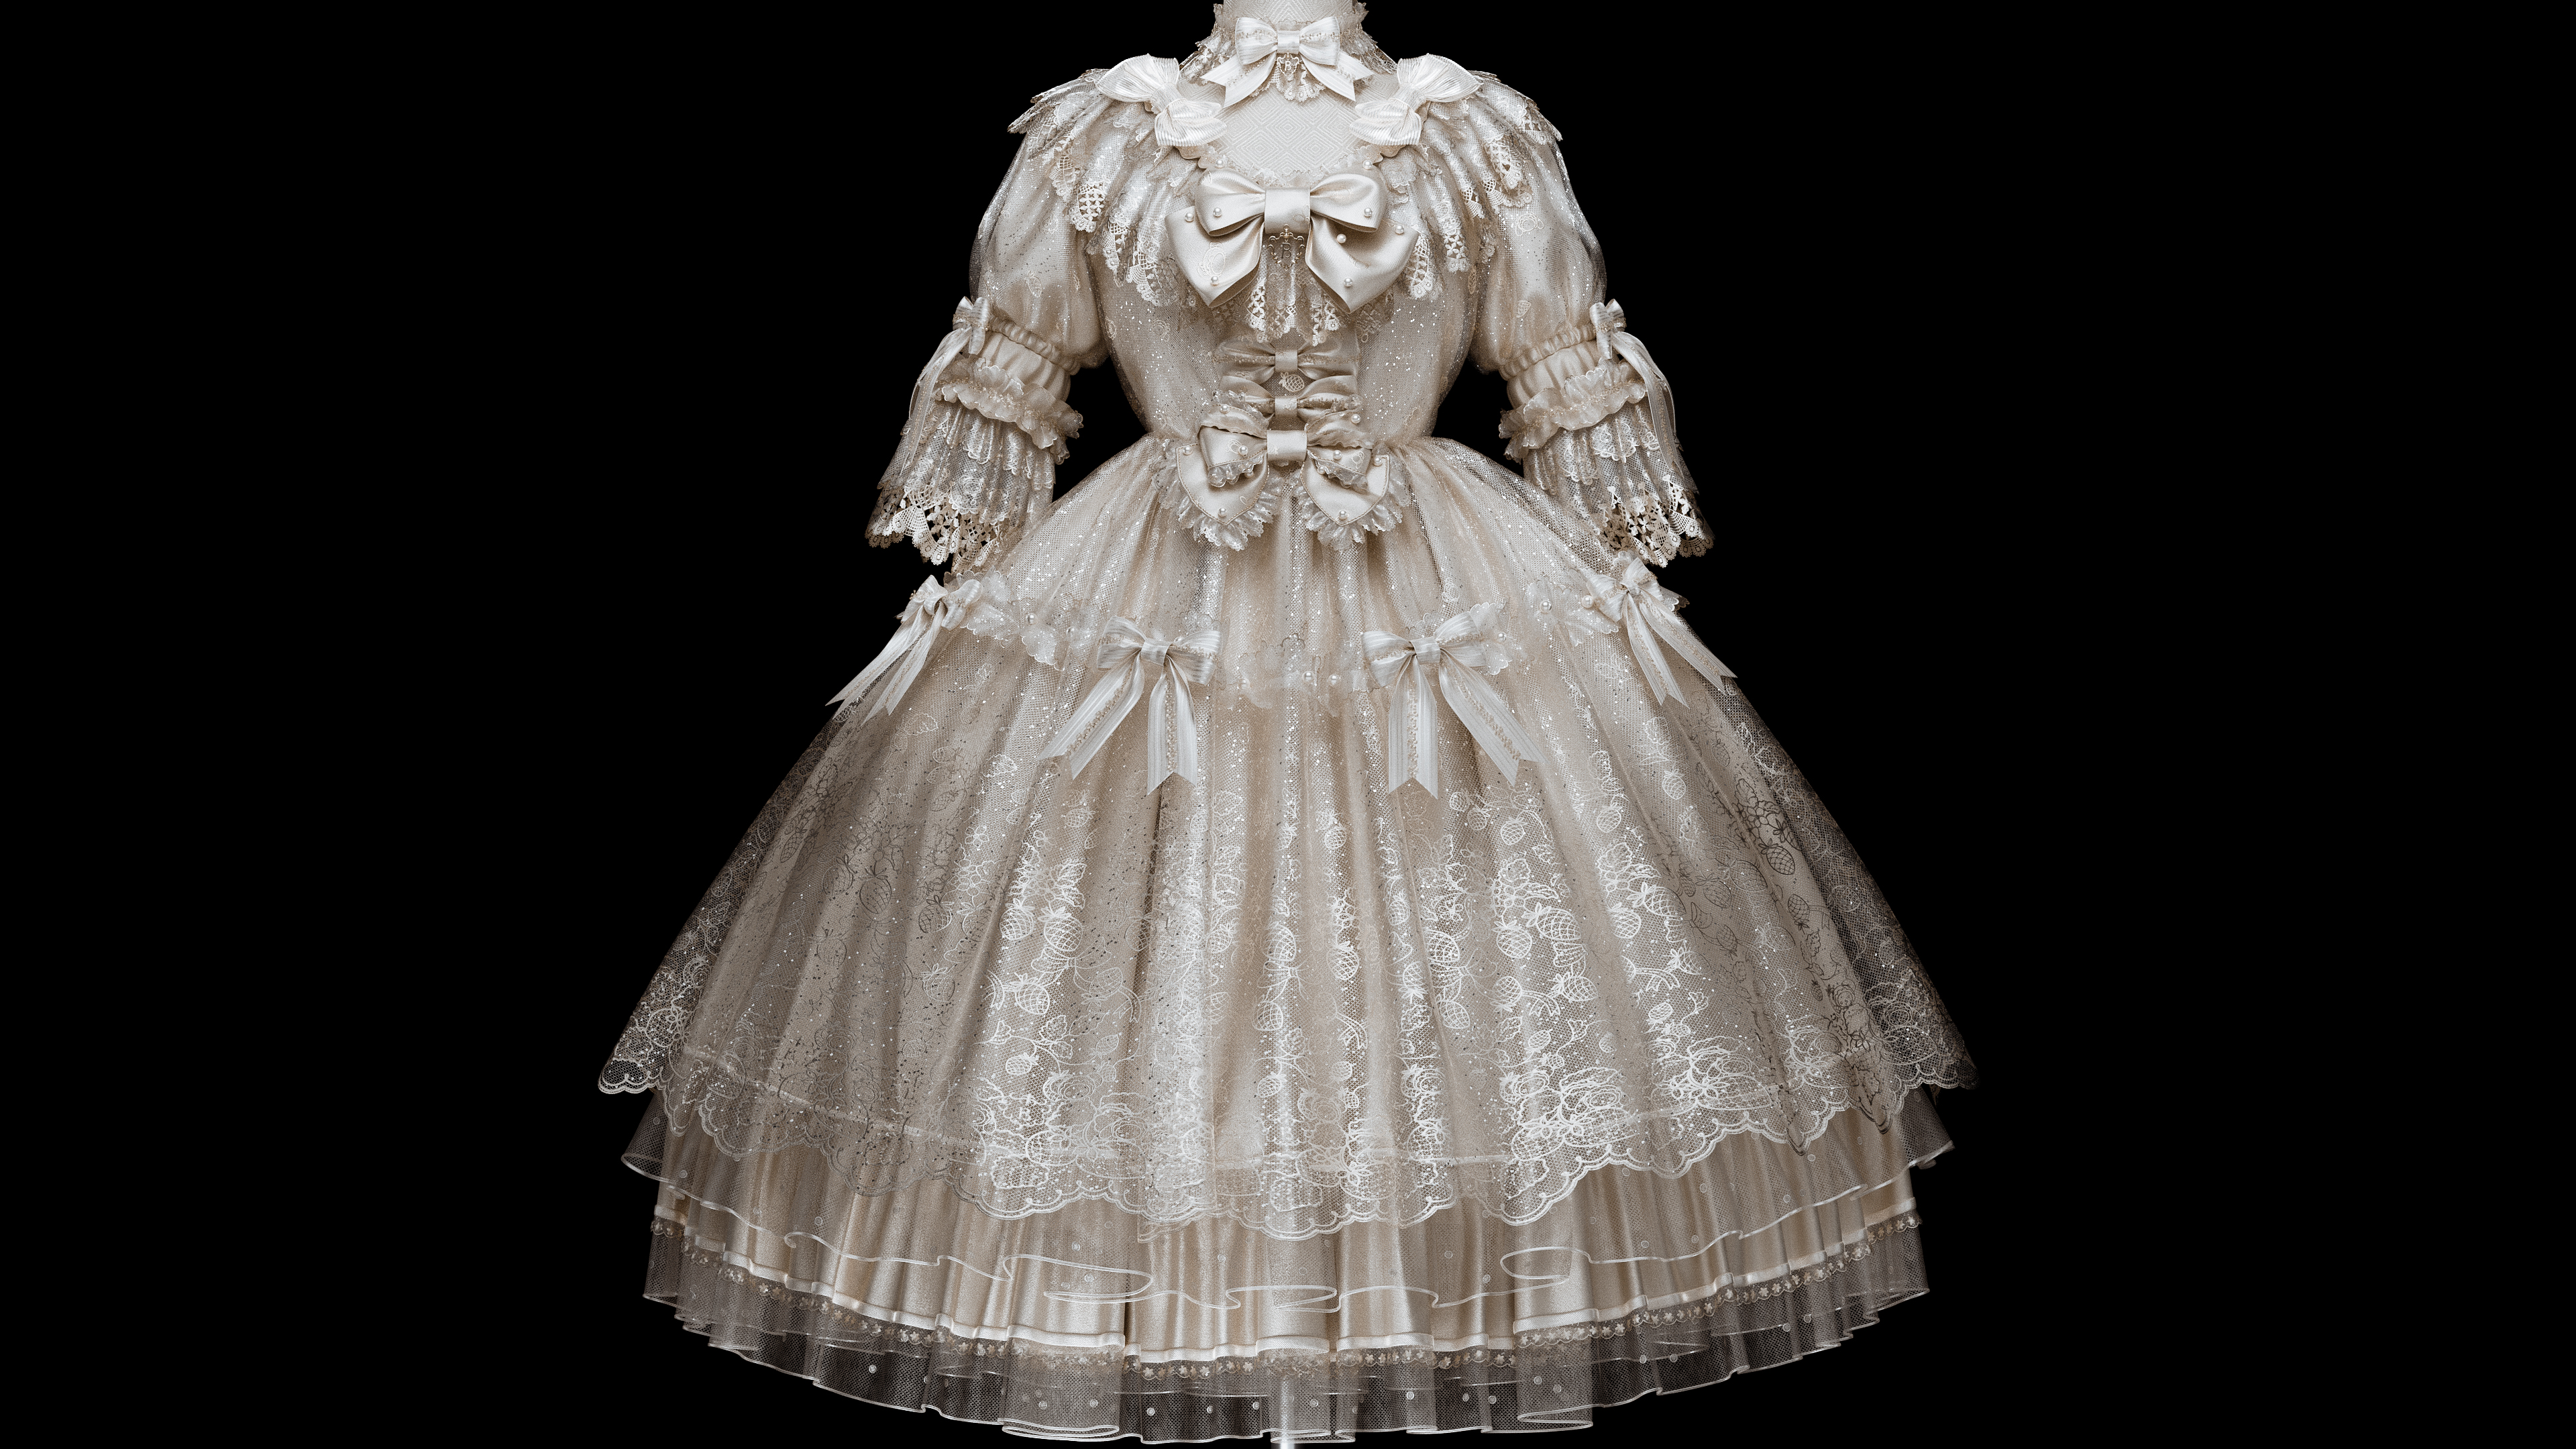
This Lolita design includes many intricate details such as layered patterns, bows, and lace trims. How did Marvelous Designer help improve your workflow or enable unique design effects?
When working with multiple layers in Marvelous Designer, I use the Layer feature to define the hierarchy of each pattern. I also rely on Deactivate and Freeze functions to adjust layers individually.
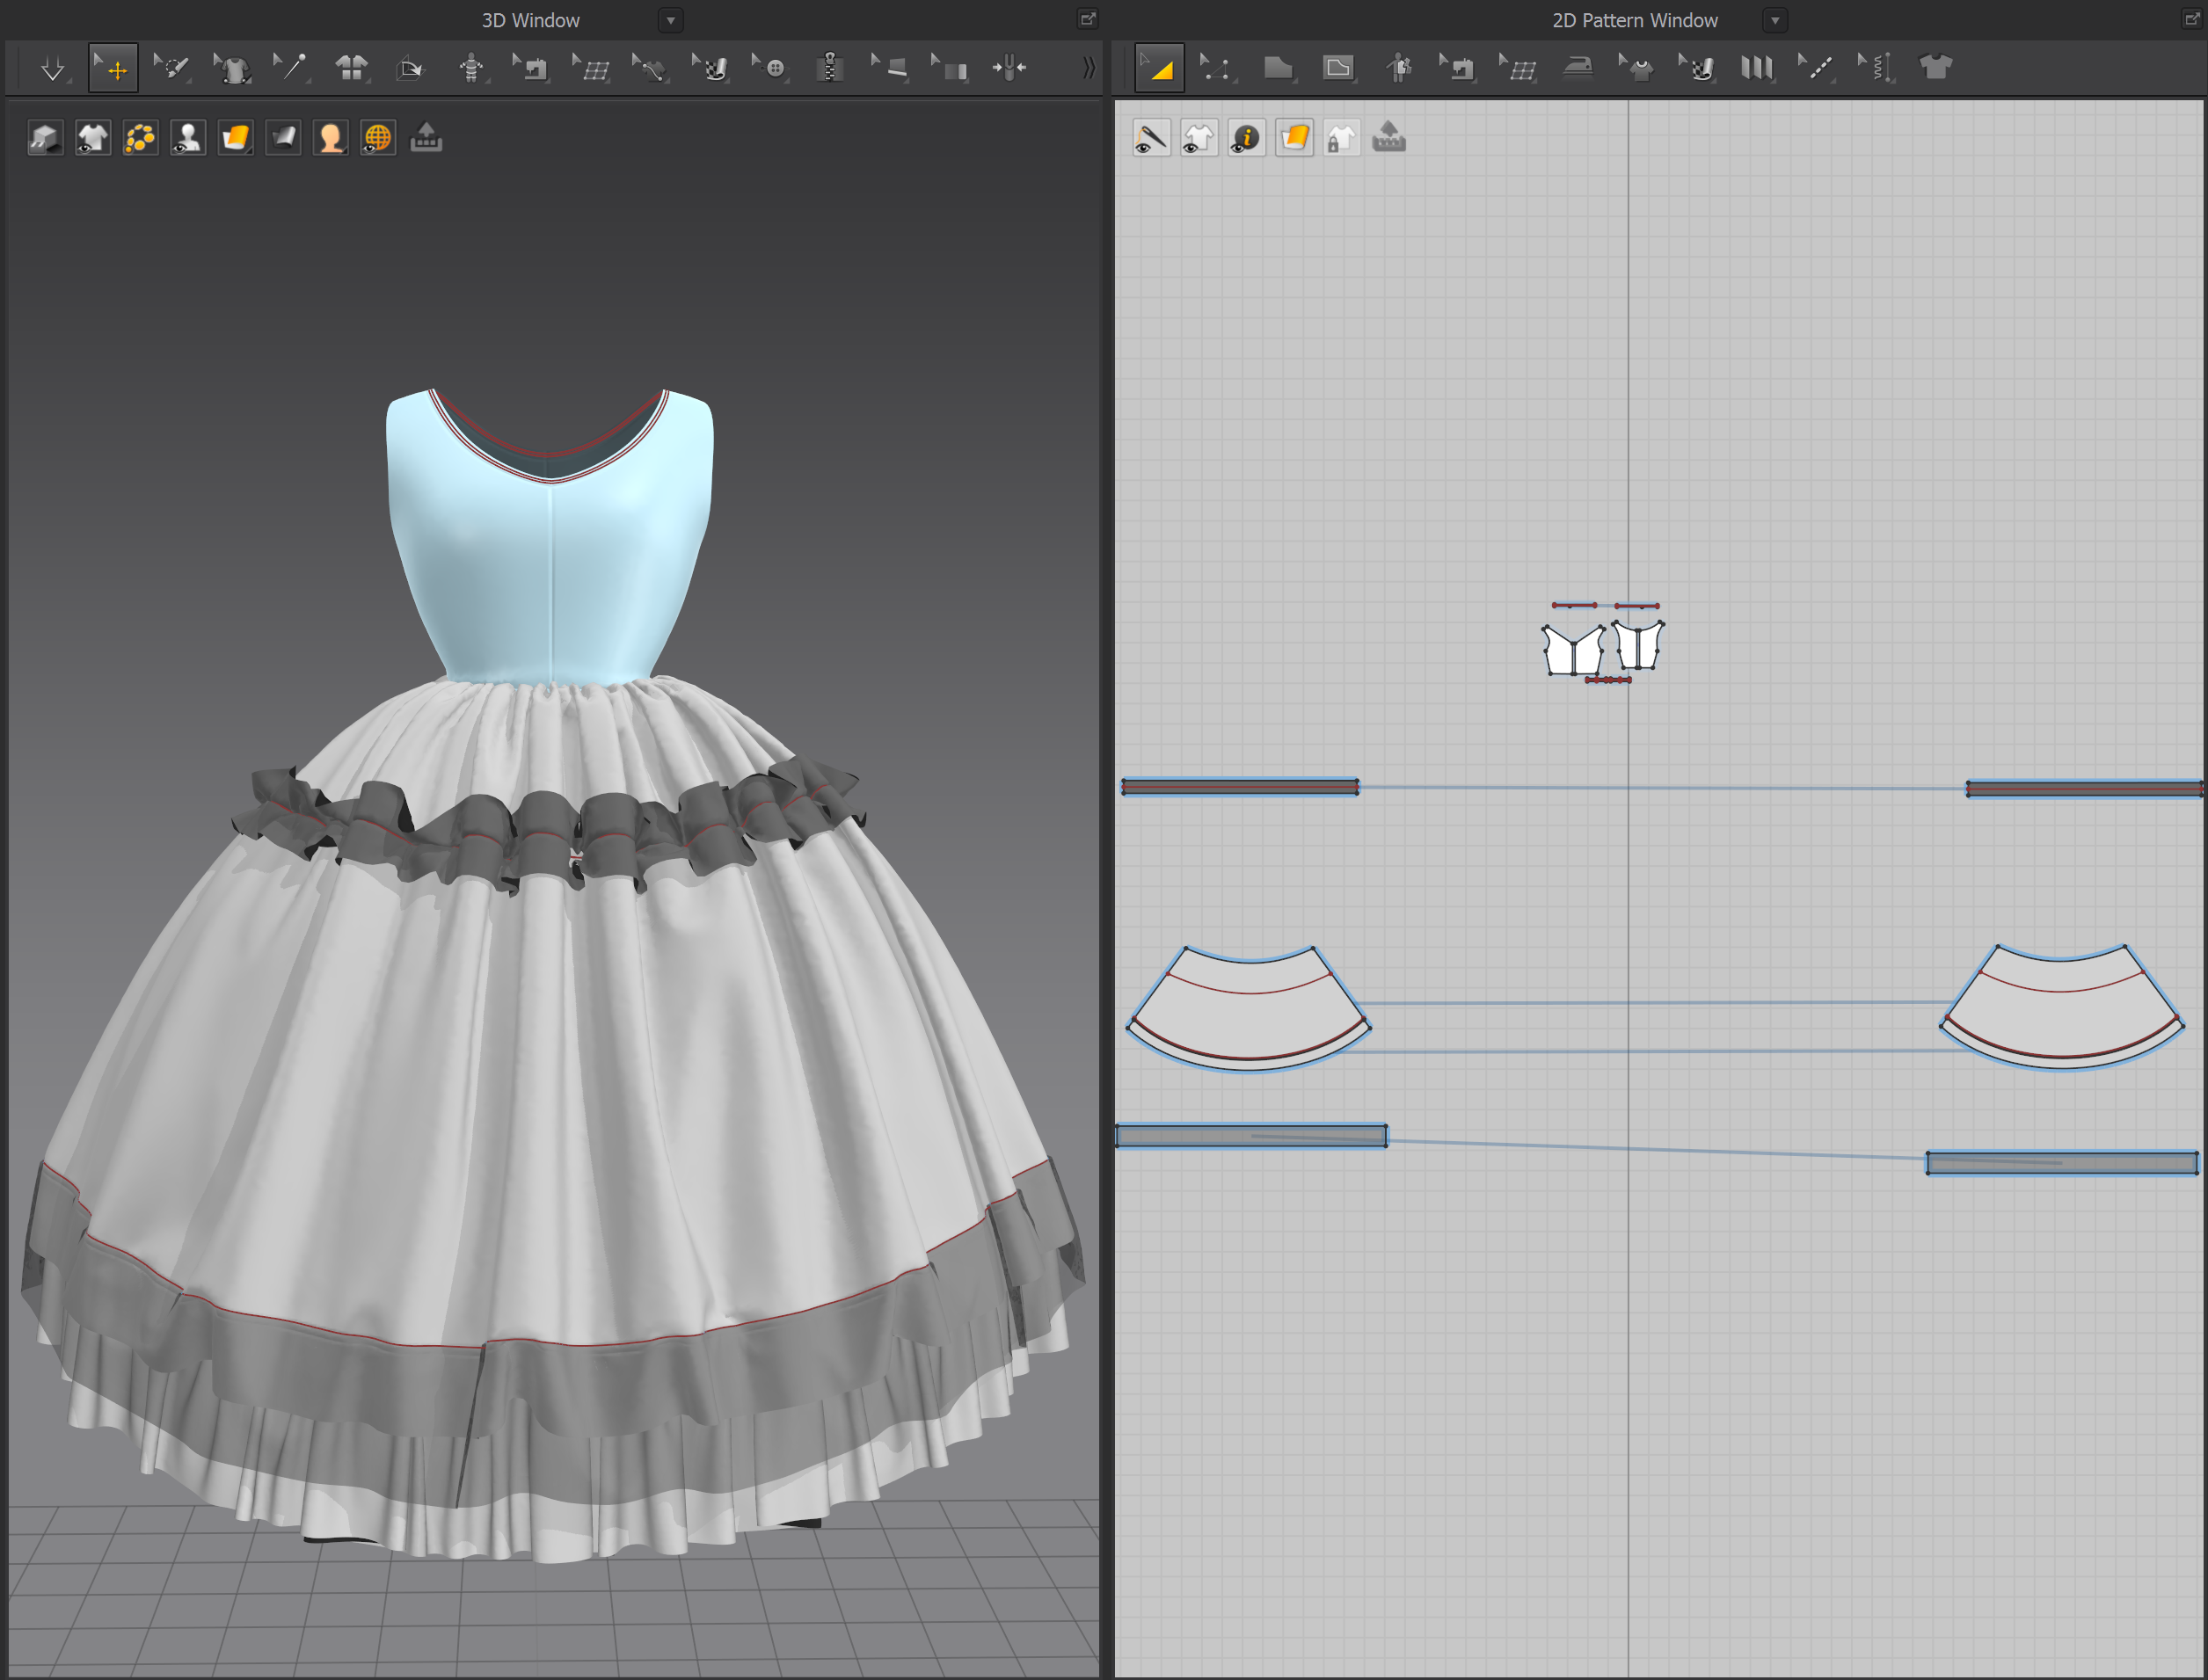
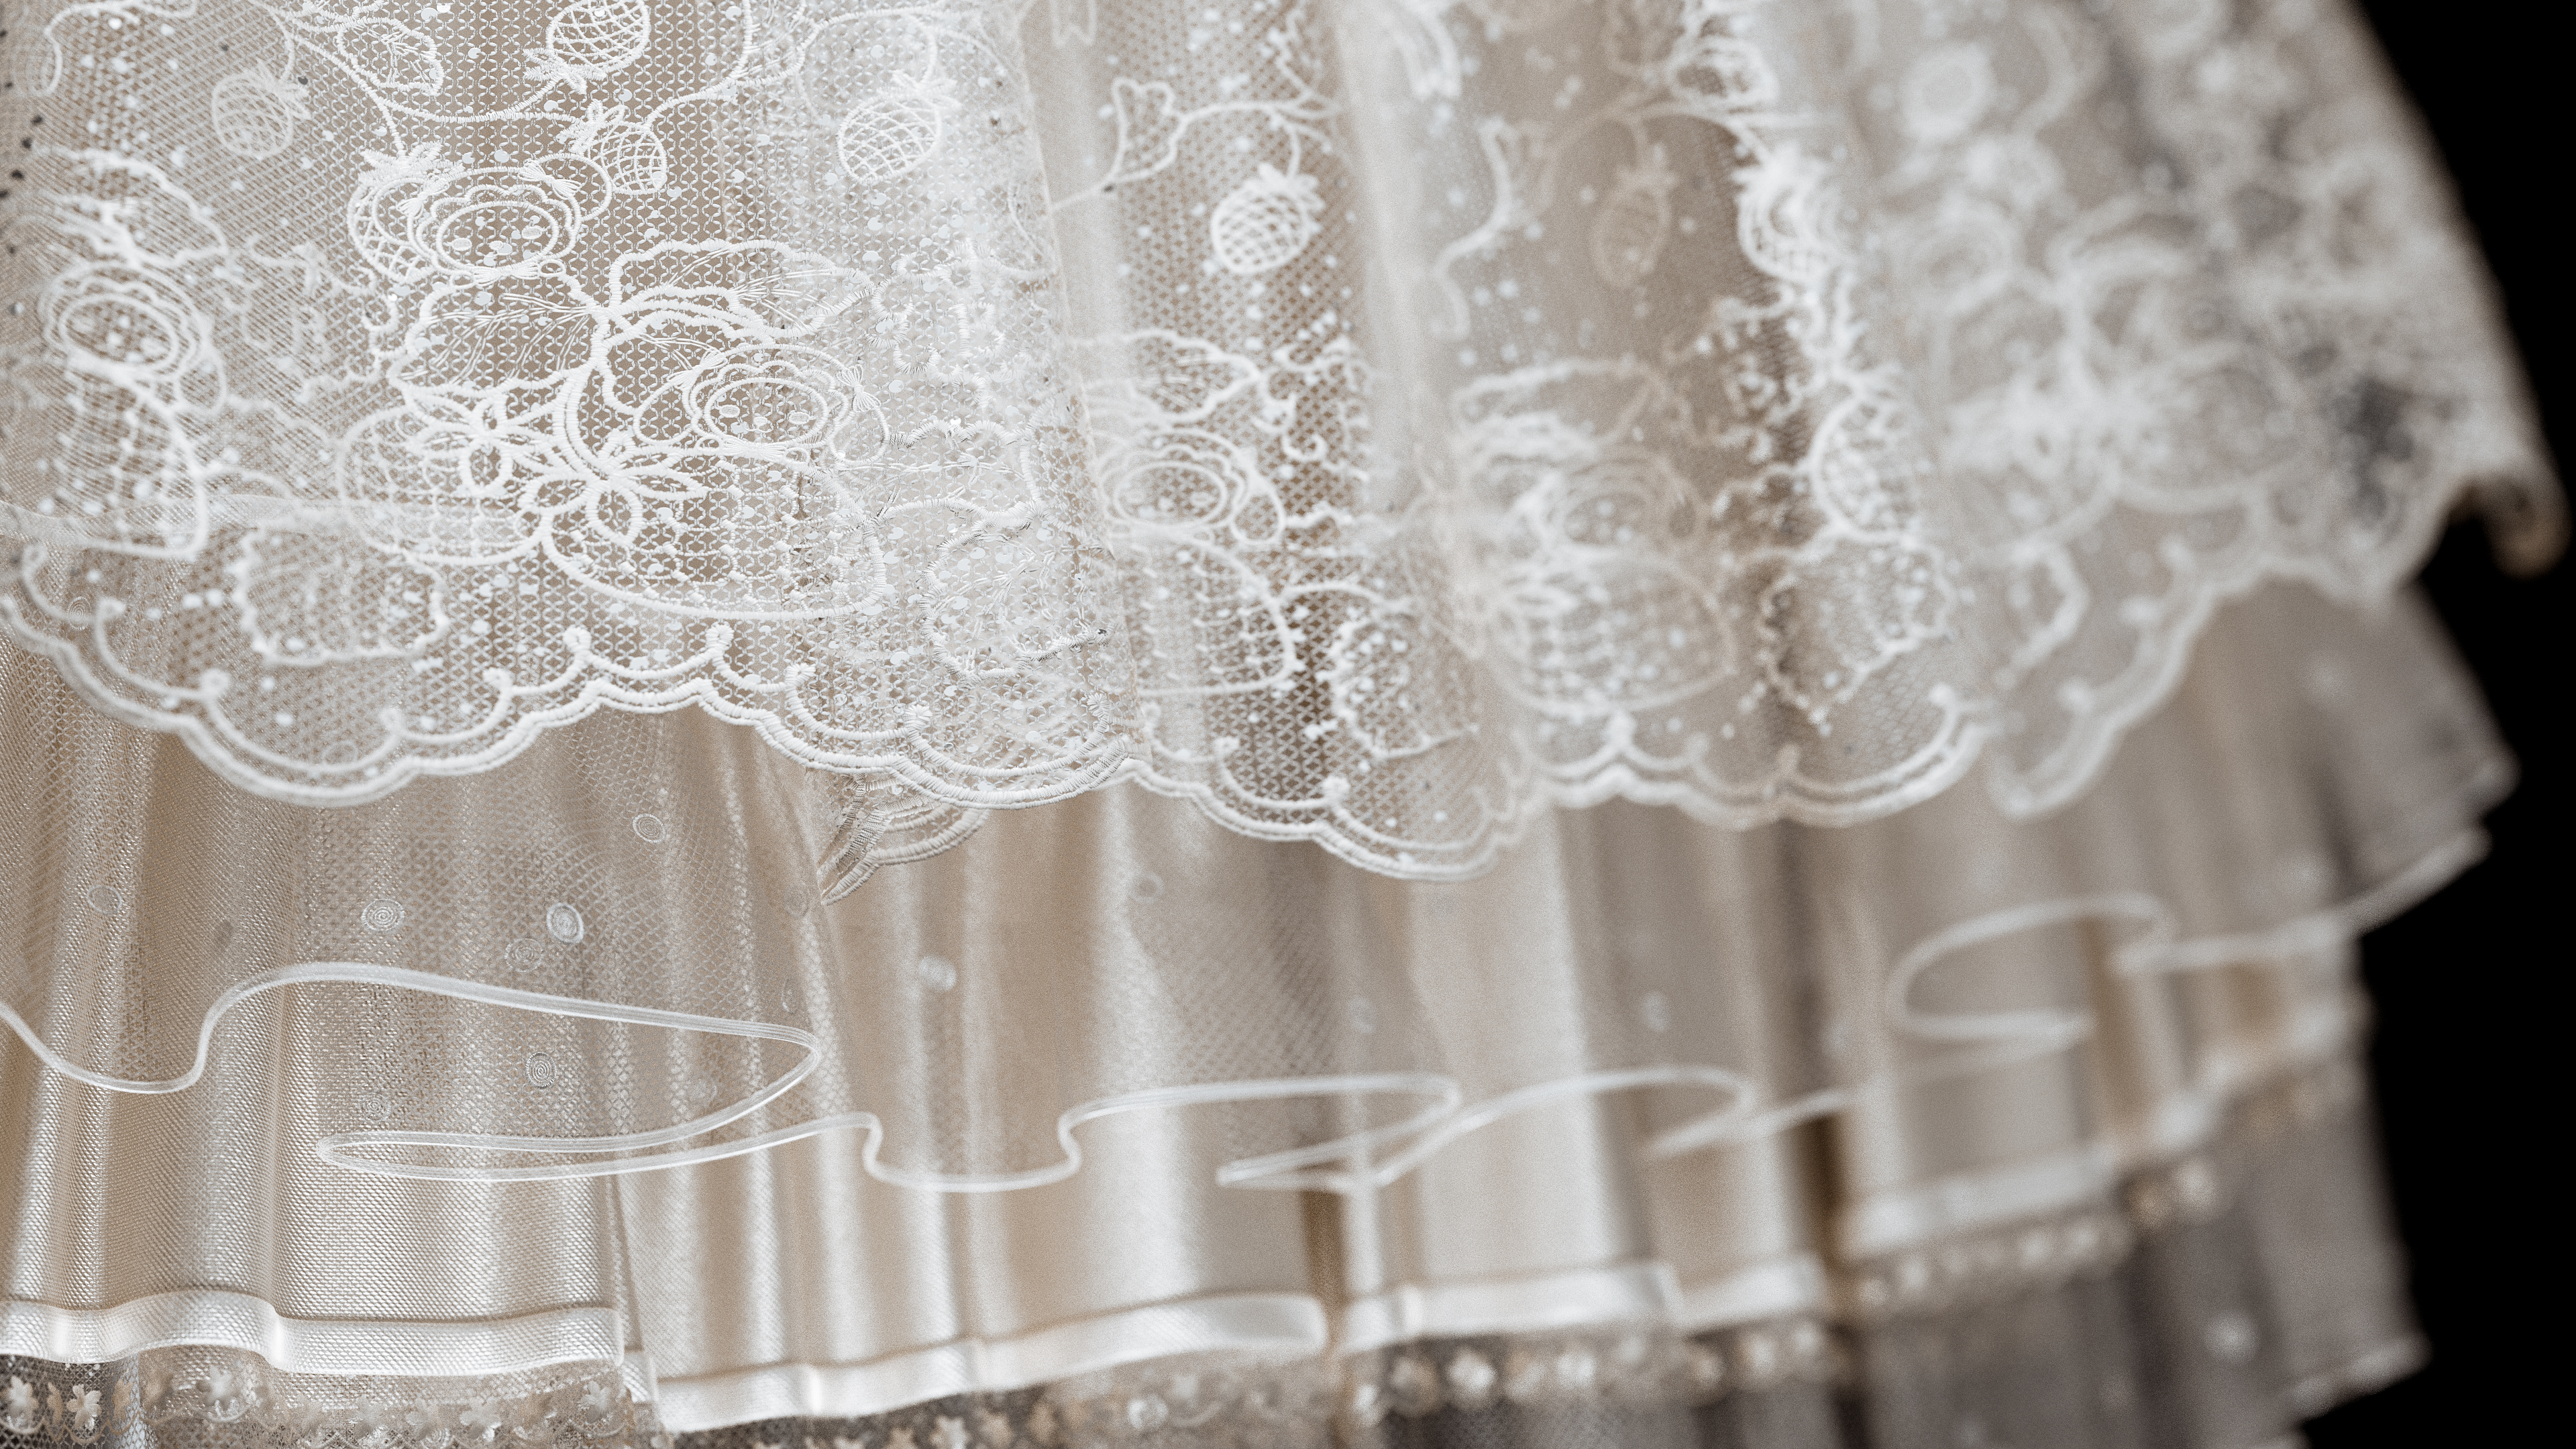
Creating lace trims is also very efficient in Marvelous Designer. I typically adjust the pattern length or modify the weft/warp shrinkage ratio to achieve lace-like effects, and sometimes use the pleats and fold tools to create textures similar to pleated skirts.
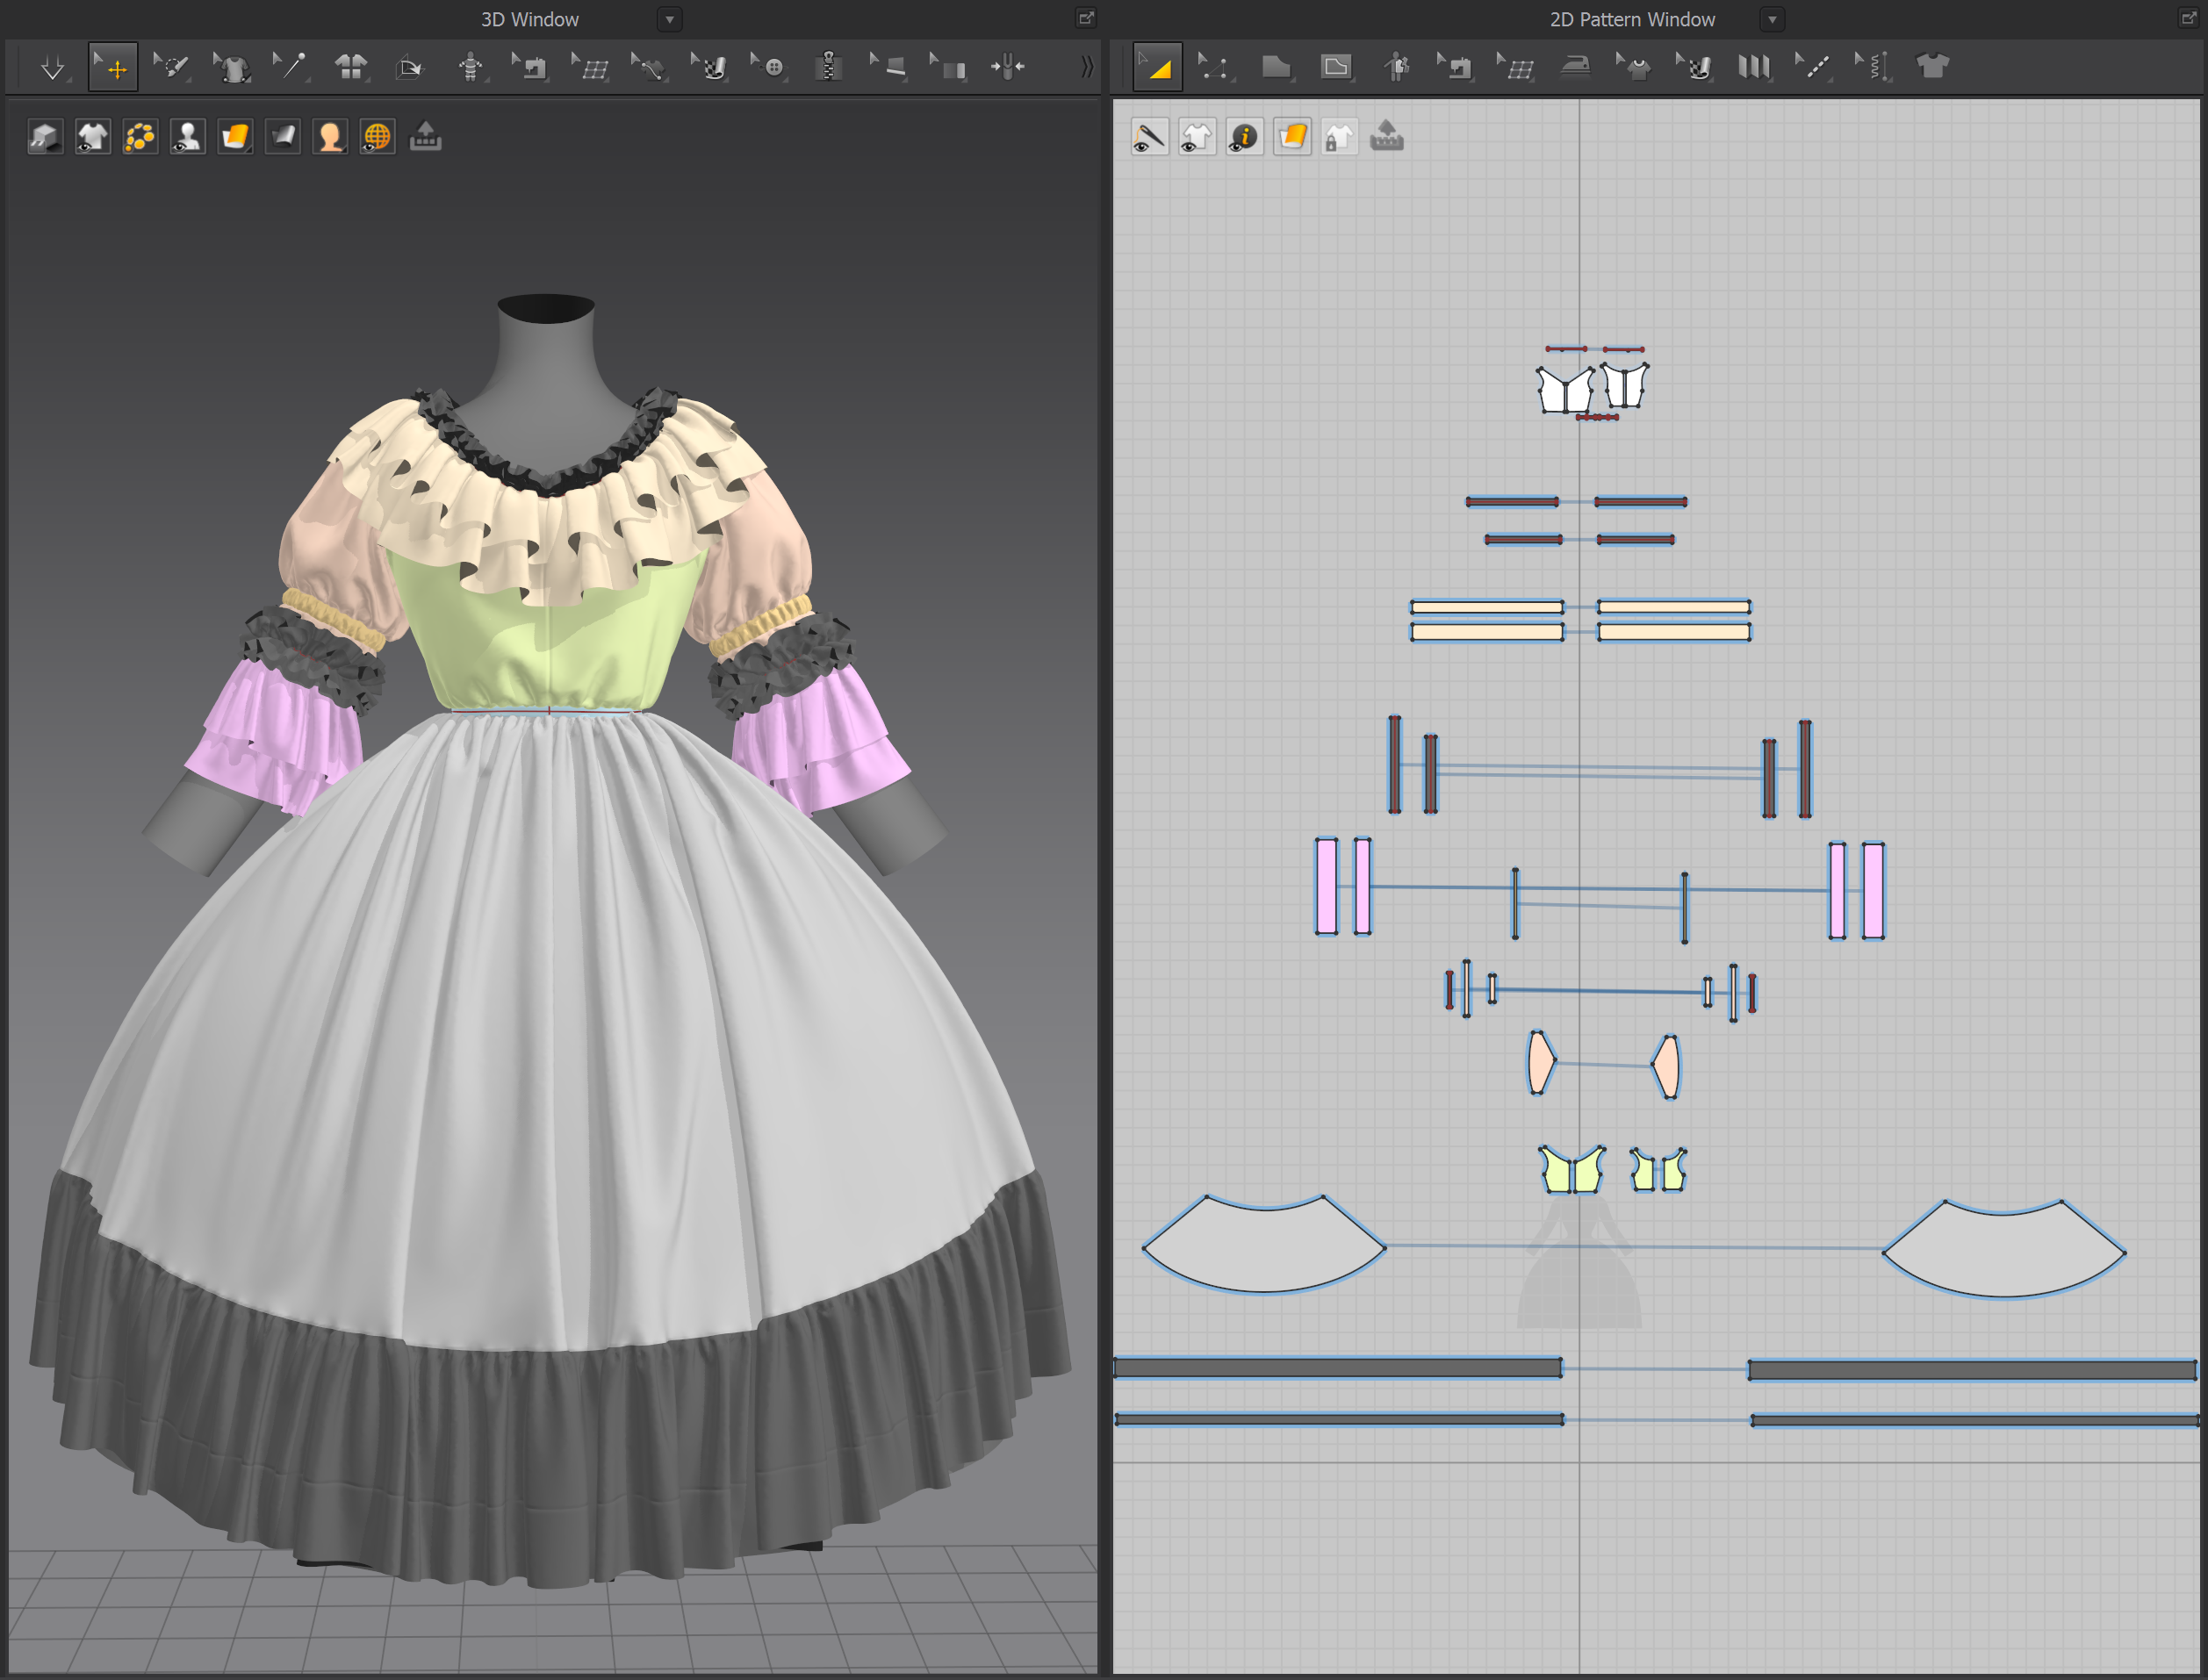
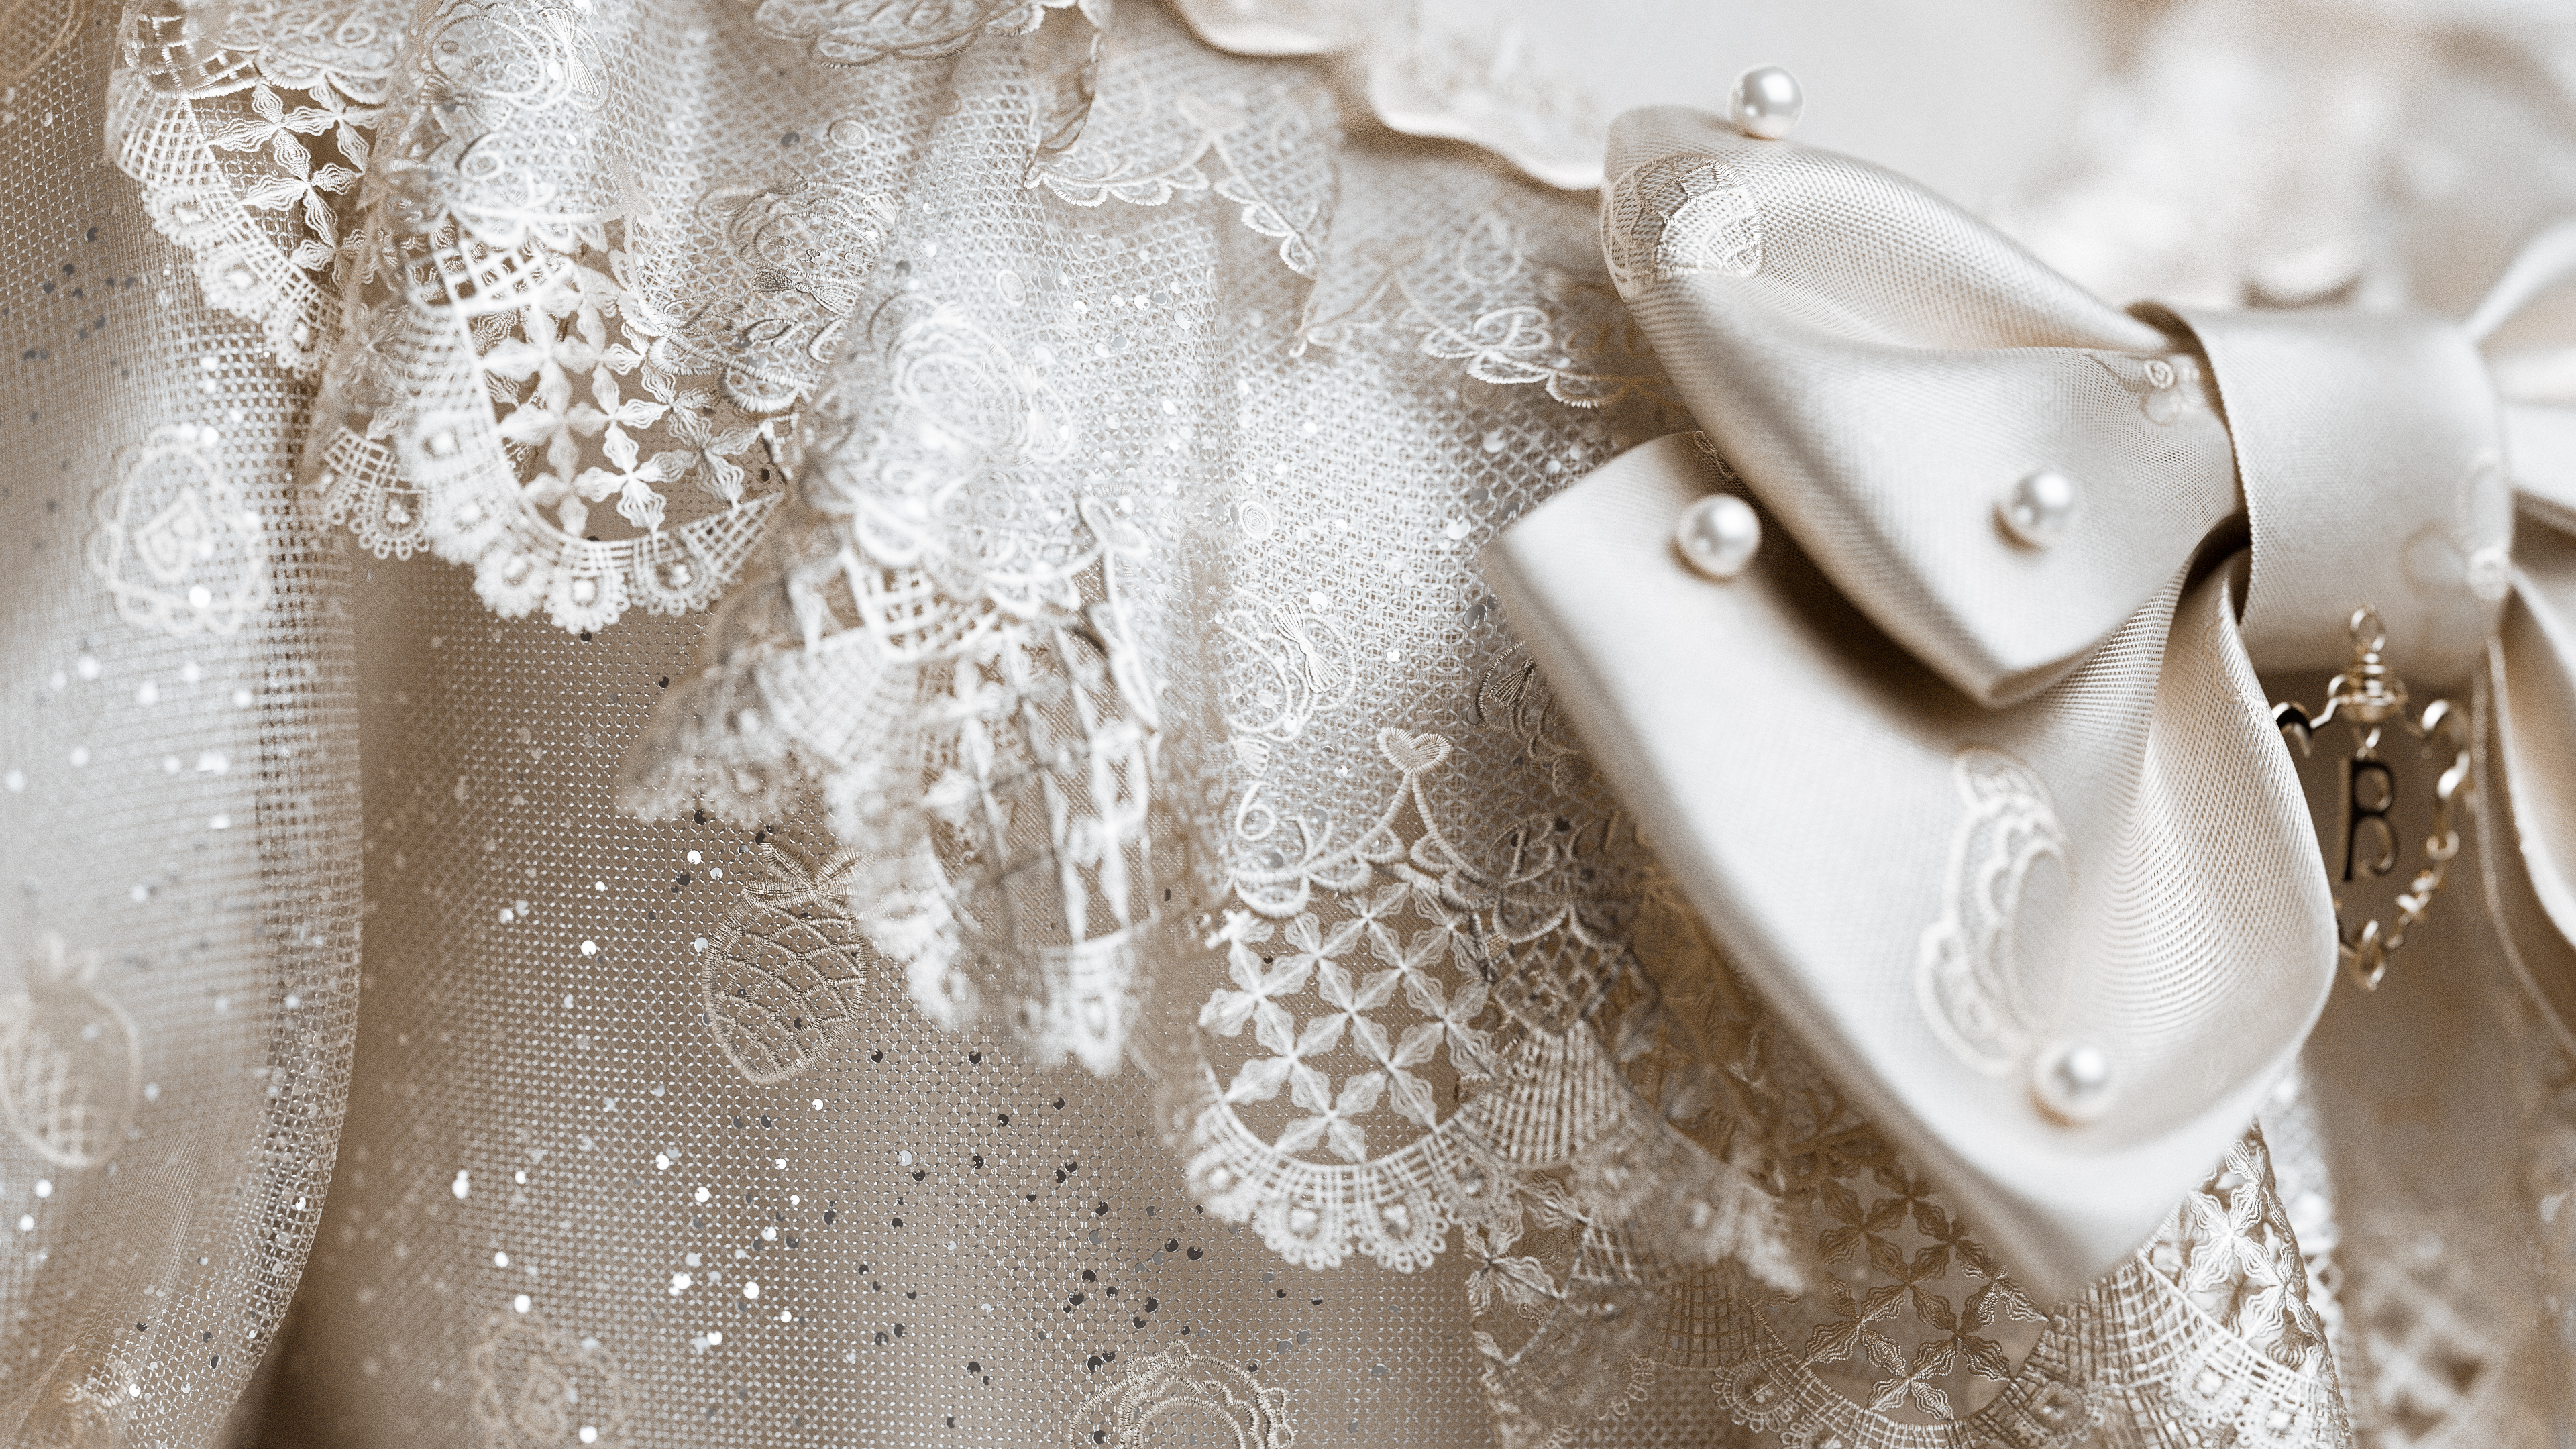
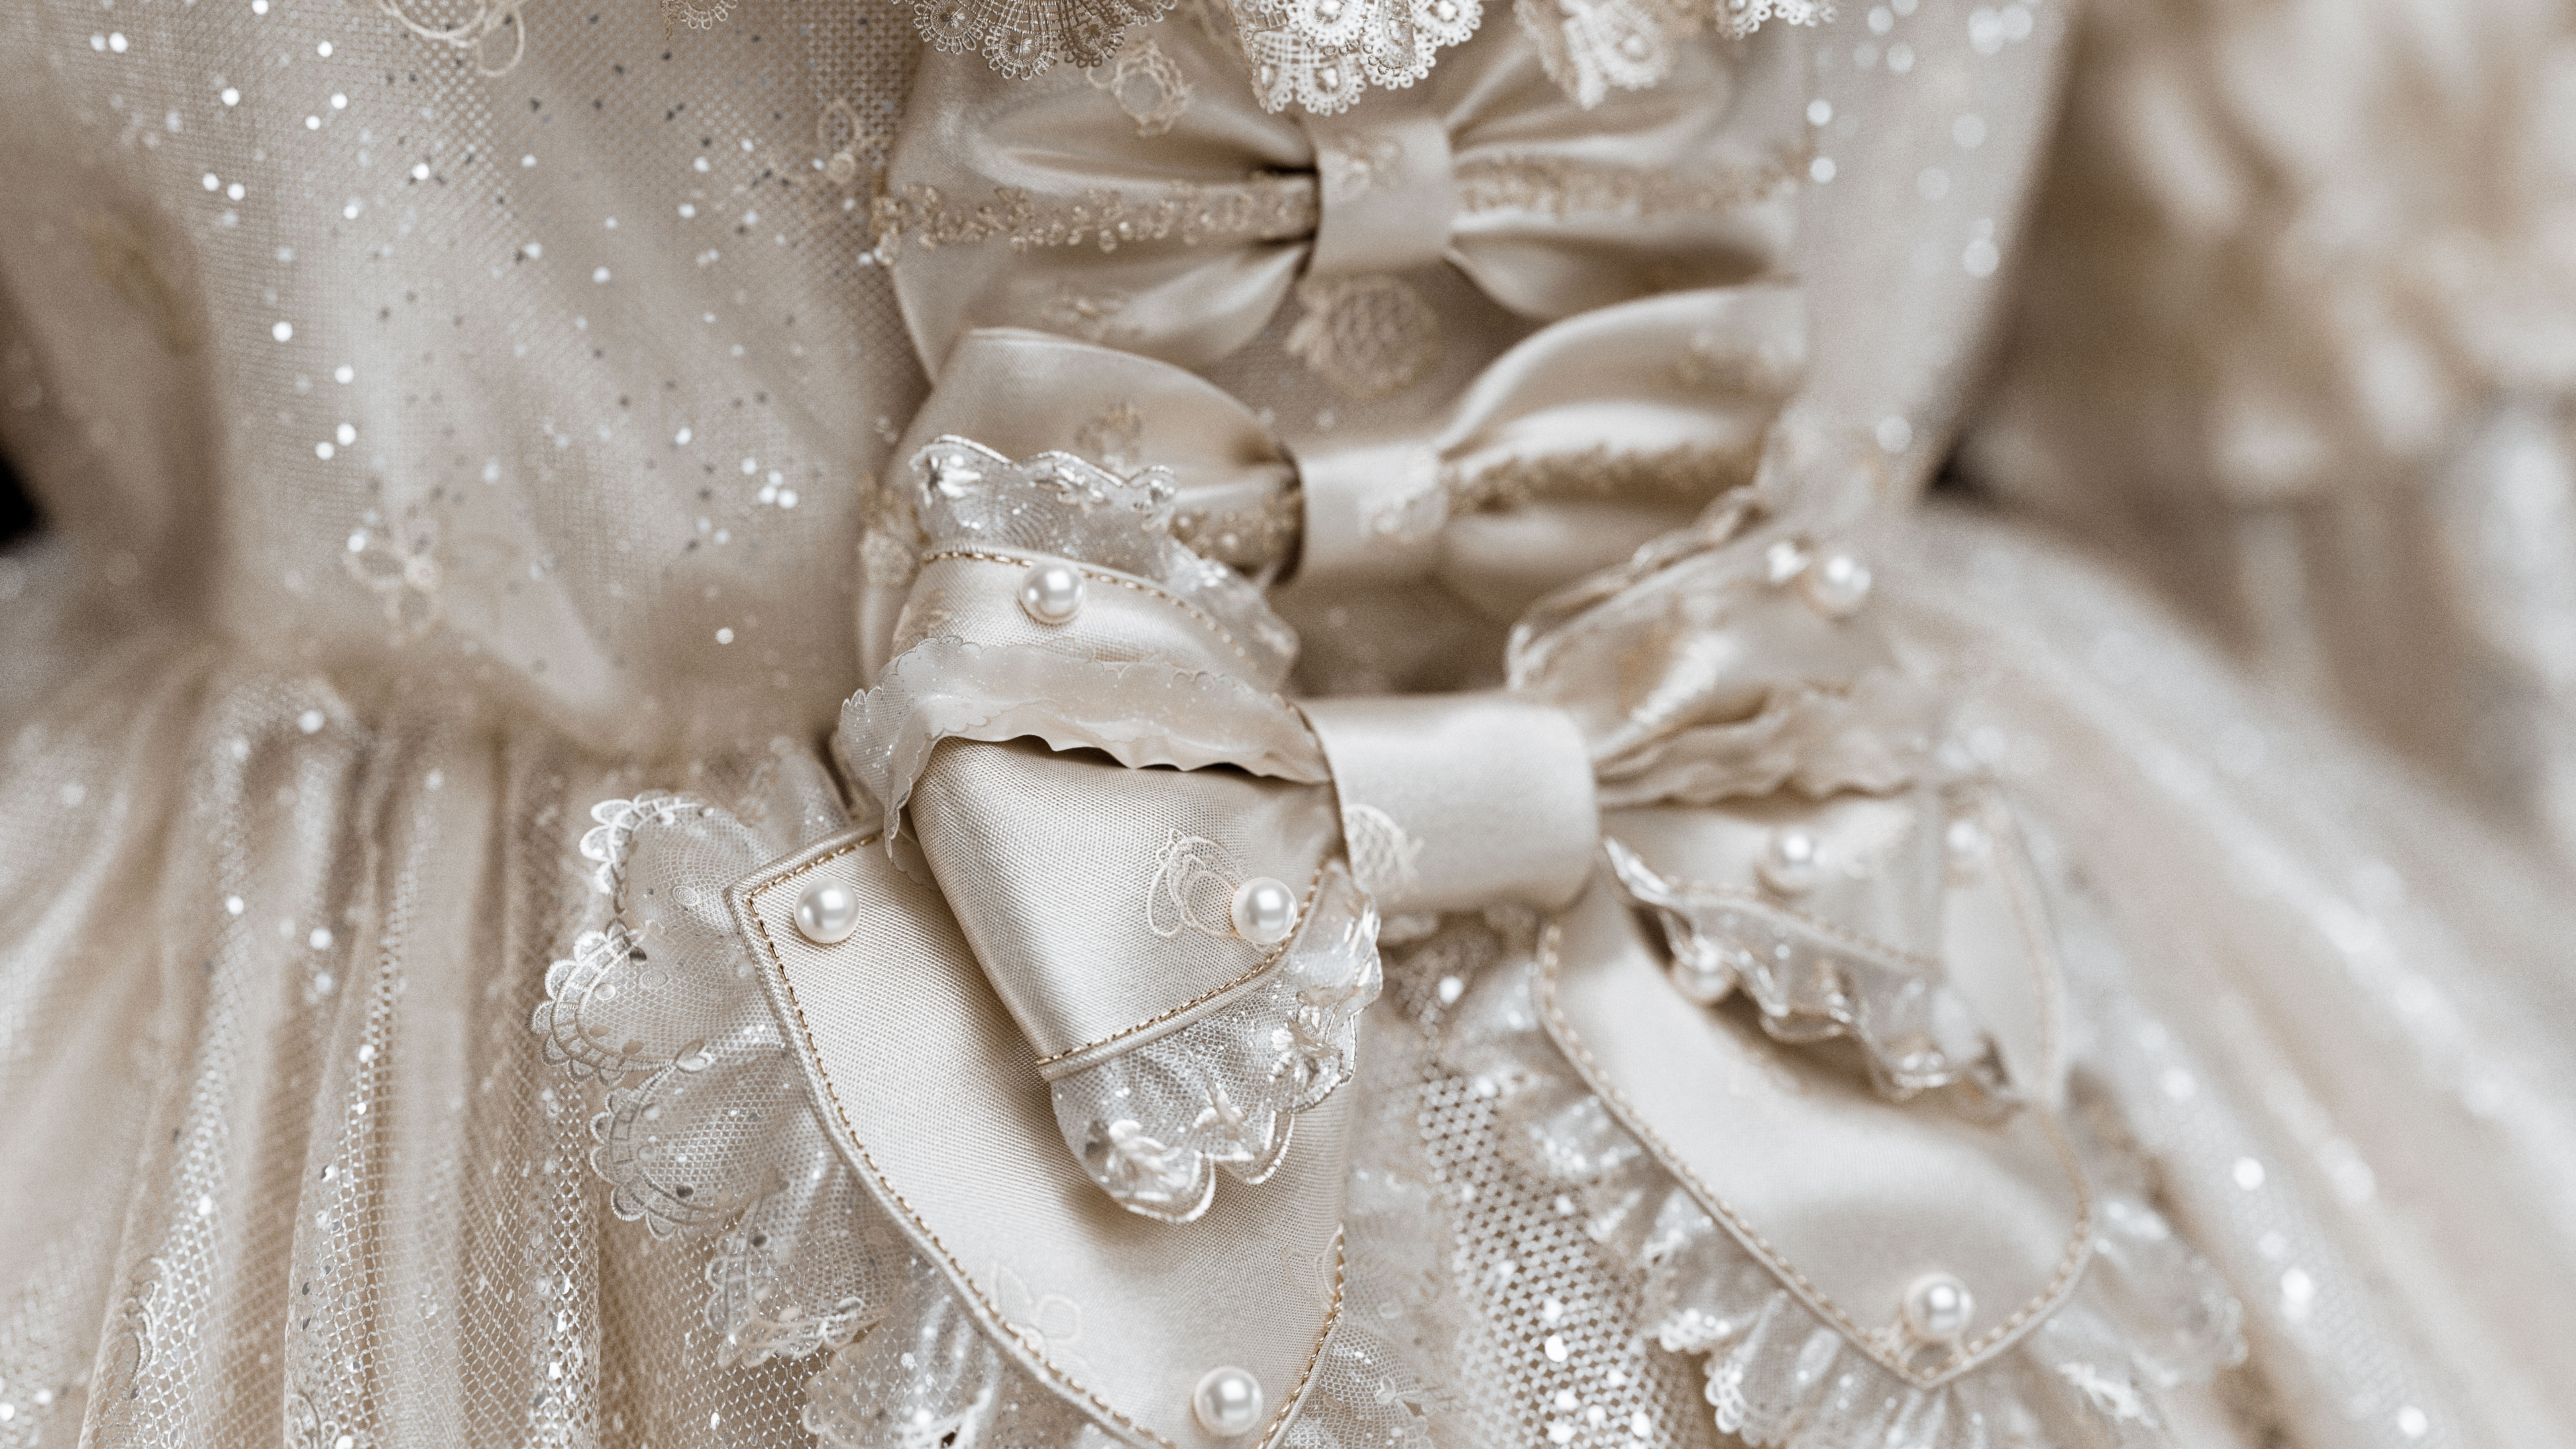
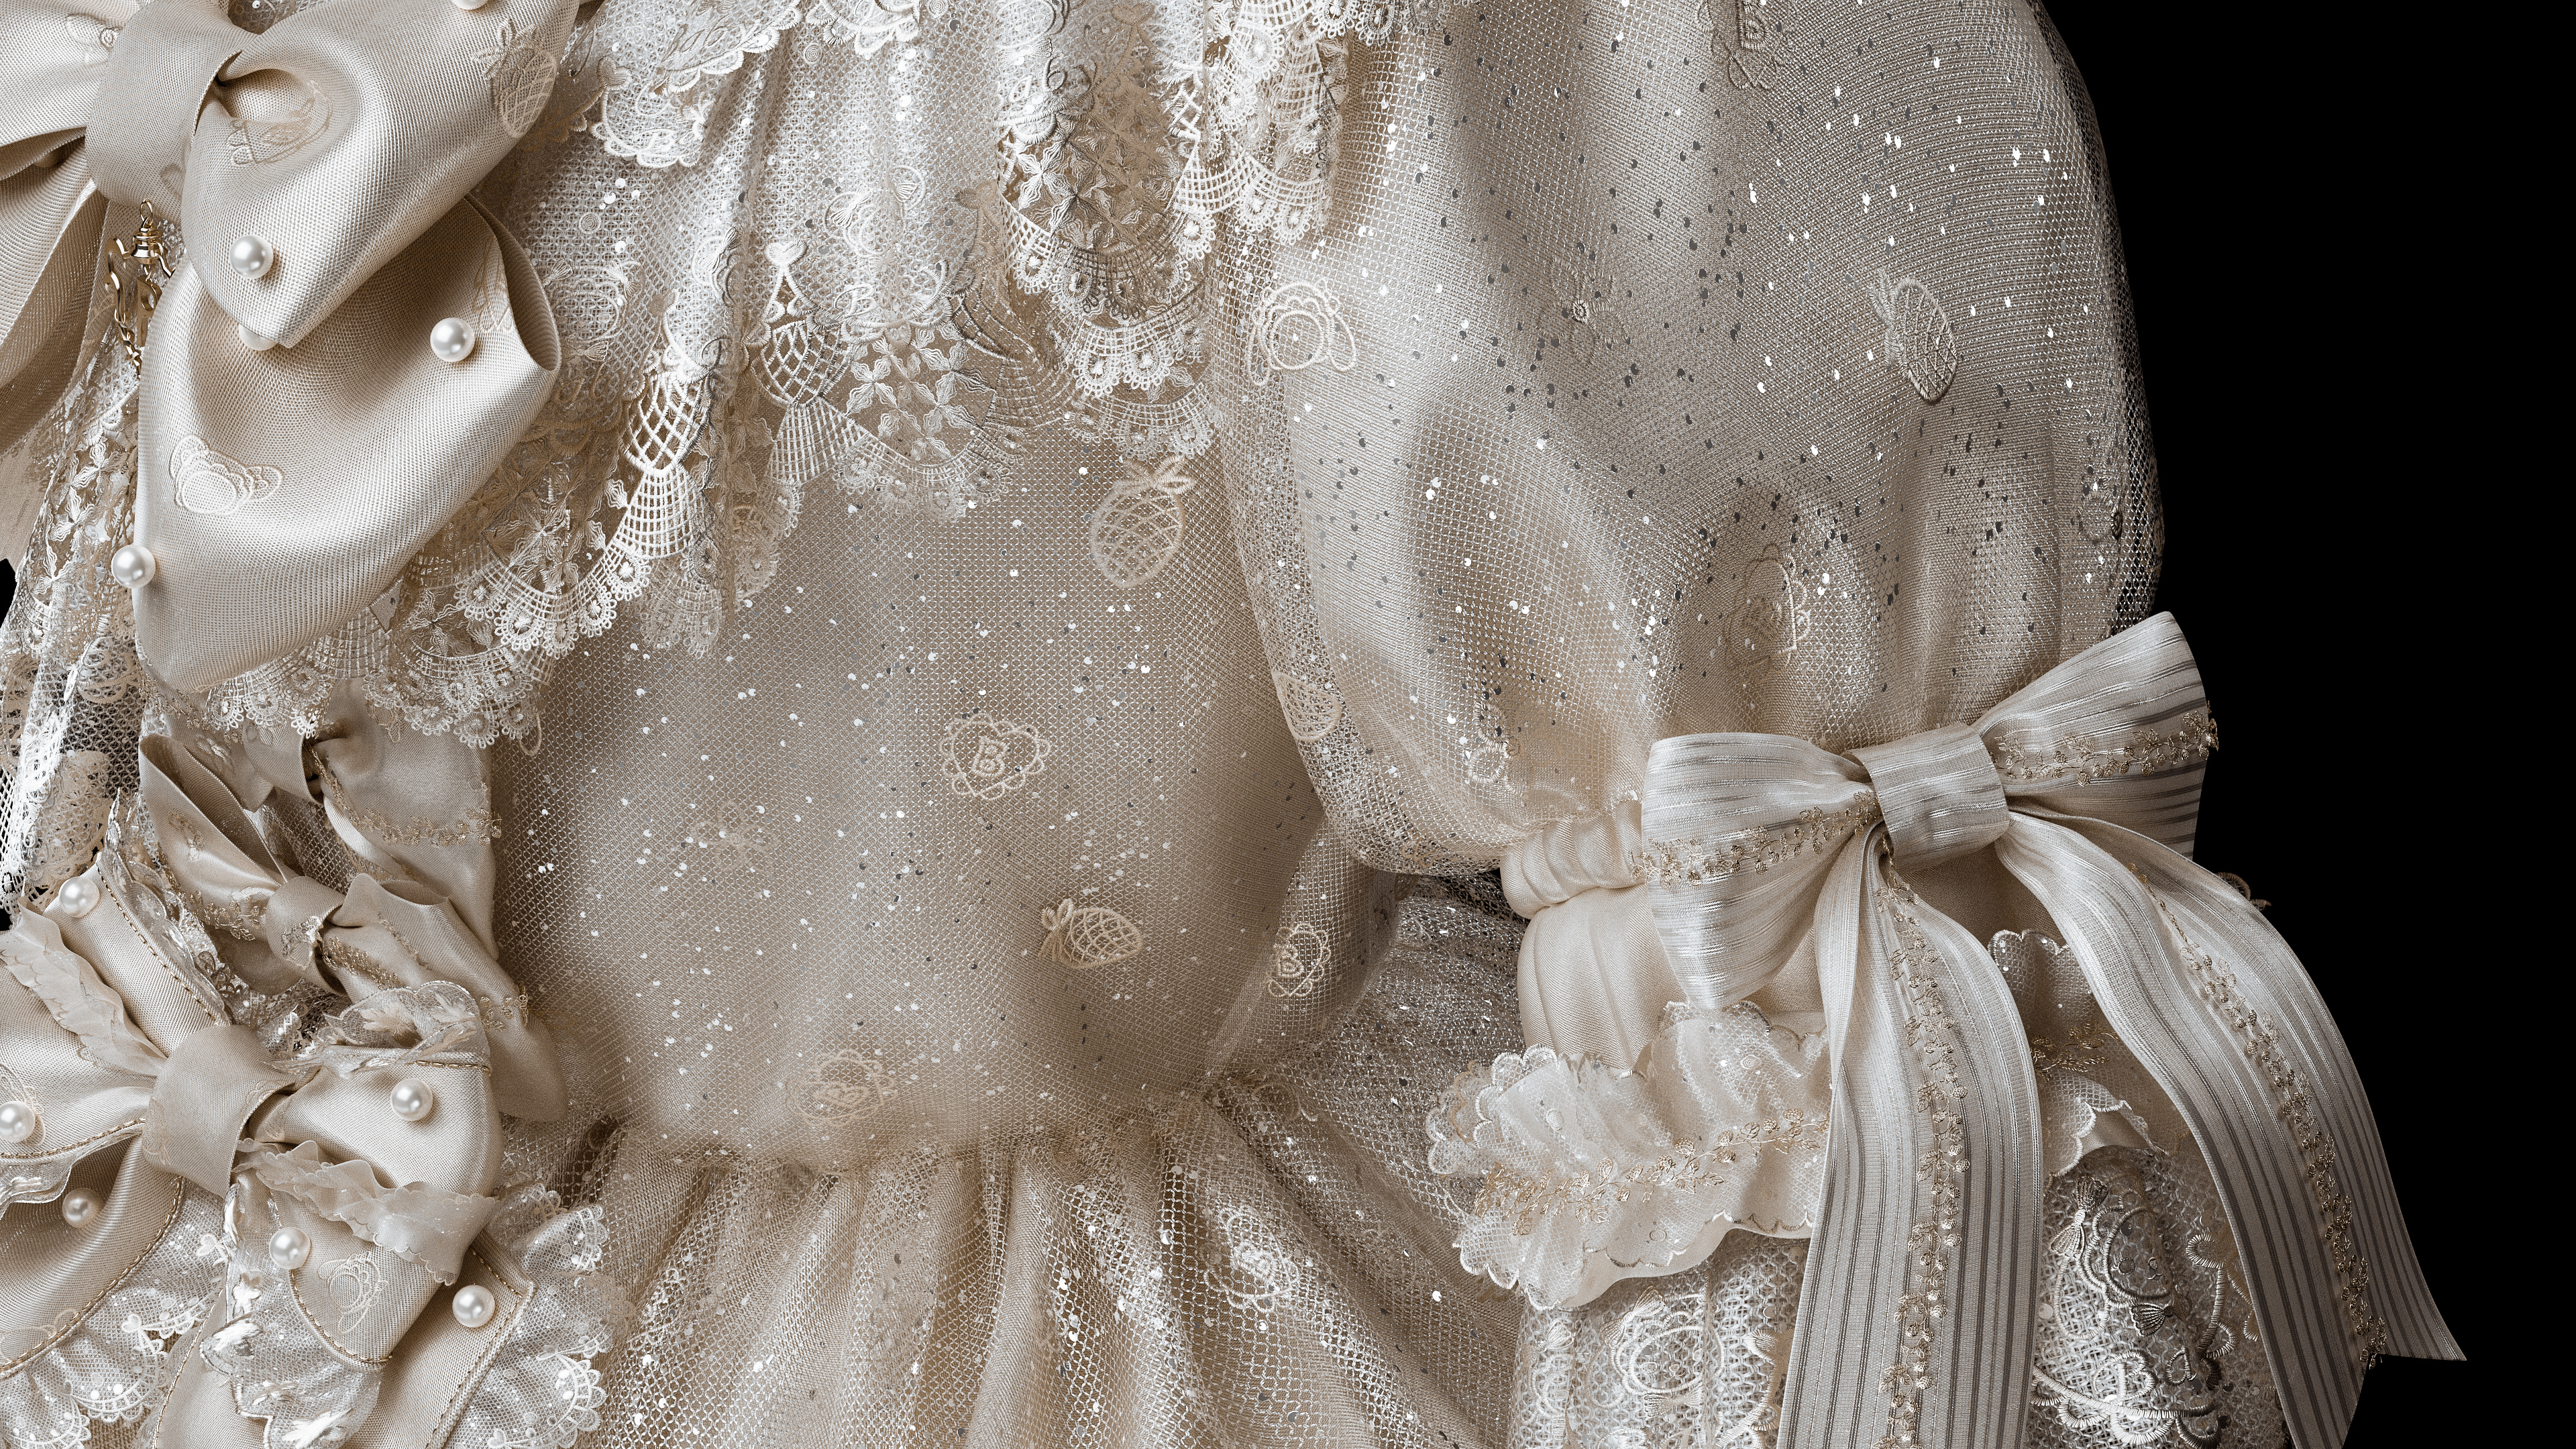
The bows featured on the Lolita dress were all made using Marvelous Designer. One major advantage of using the software for bow creation is the flexibility to quickly model different styles based on your needs. I often use the Fold Arrangement tool and fine-tune details by adjusting the fold angle along internal lines.
Did you encounter any challenges during the creation process? How did you overcome them?
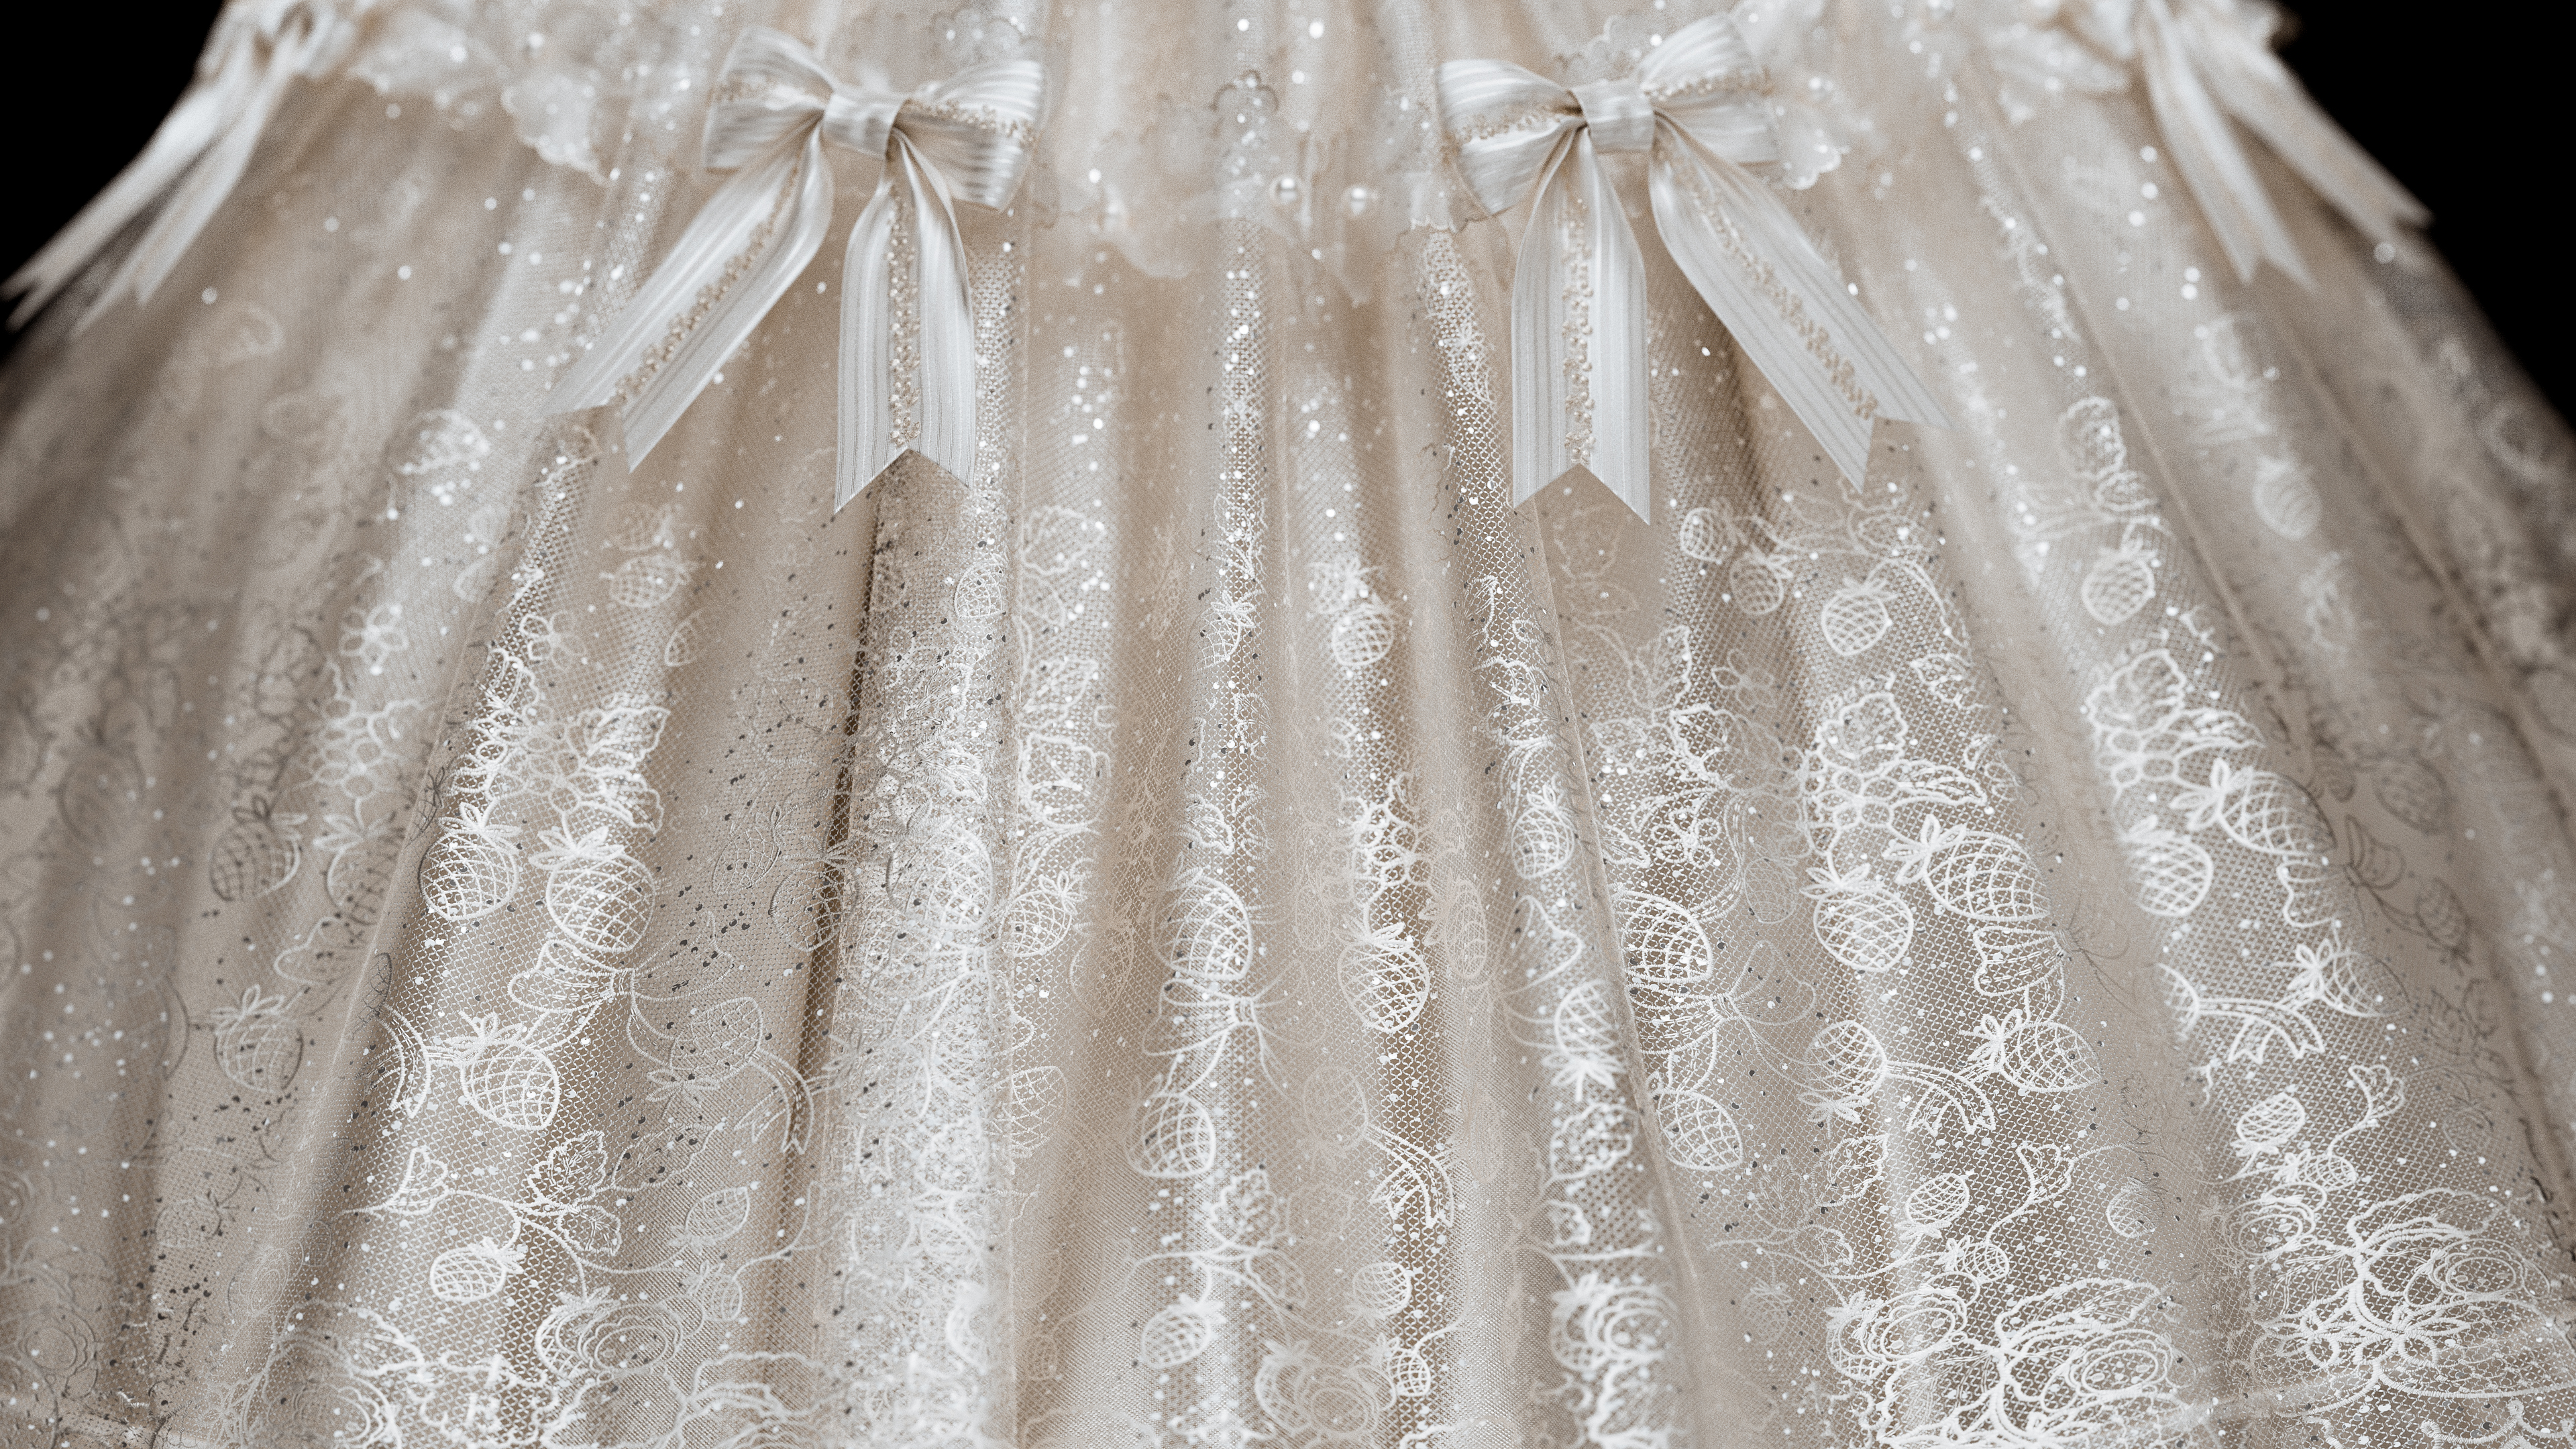
The main challenge I faced was with the skirt. Due to its large surface area and the layering of multiple pattern pieces, the CPU simulation became quite laggy. Additionally, it was difficult to achieve the exact volume and shape I had envisioned for the skirt.
To resolve this, I worked on the skirt separately in a dedicated project file, and went through multiple iterations adjusting the structure of the petticoat. I also fine-tuned the fabric properties for each layered piece individually. These steps eventually helped me reach a satisfying result.
Could you briefly walk us through the tools and software you used during this project? Was Marvelous Designer well integrated into your workflow?
I began with Marvelous Designer to create the garments during the modeling phase. The assets were then imported into Blender, where I performed retopology, added edge bindings, and created accessories.
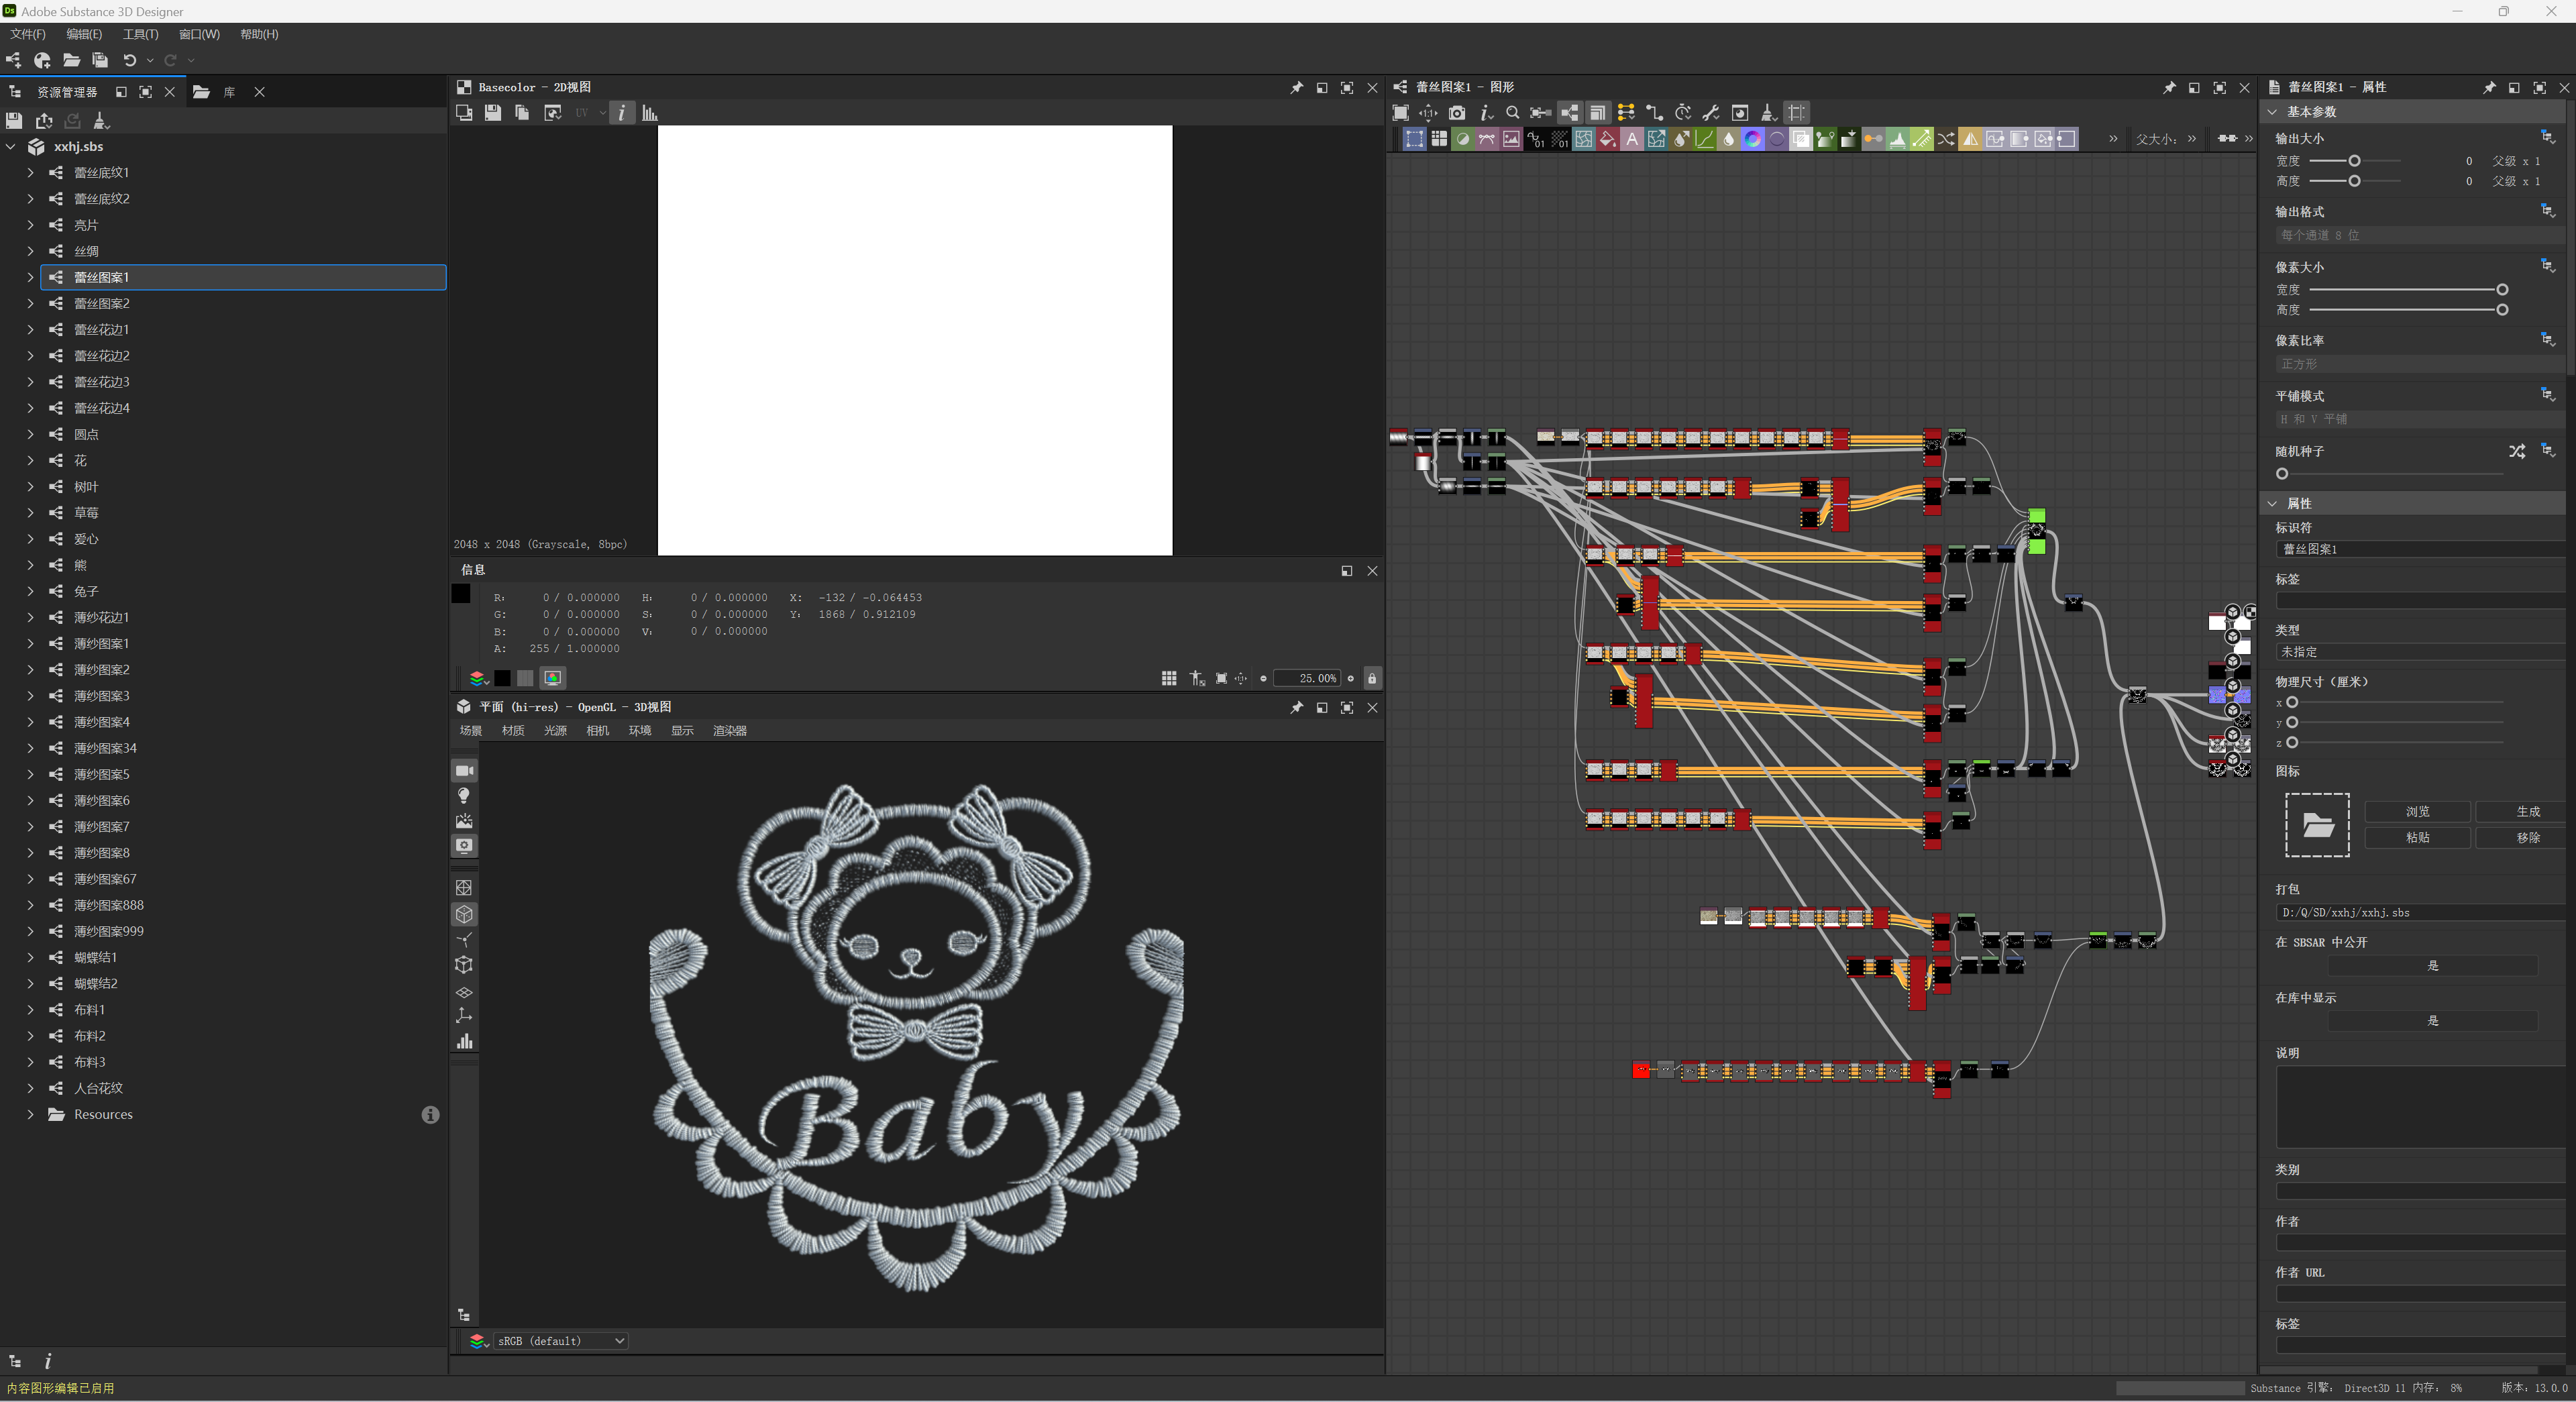
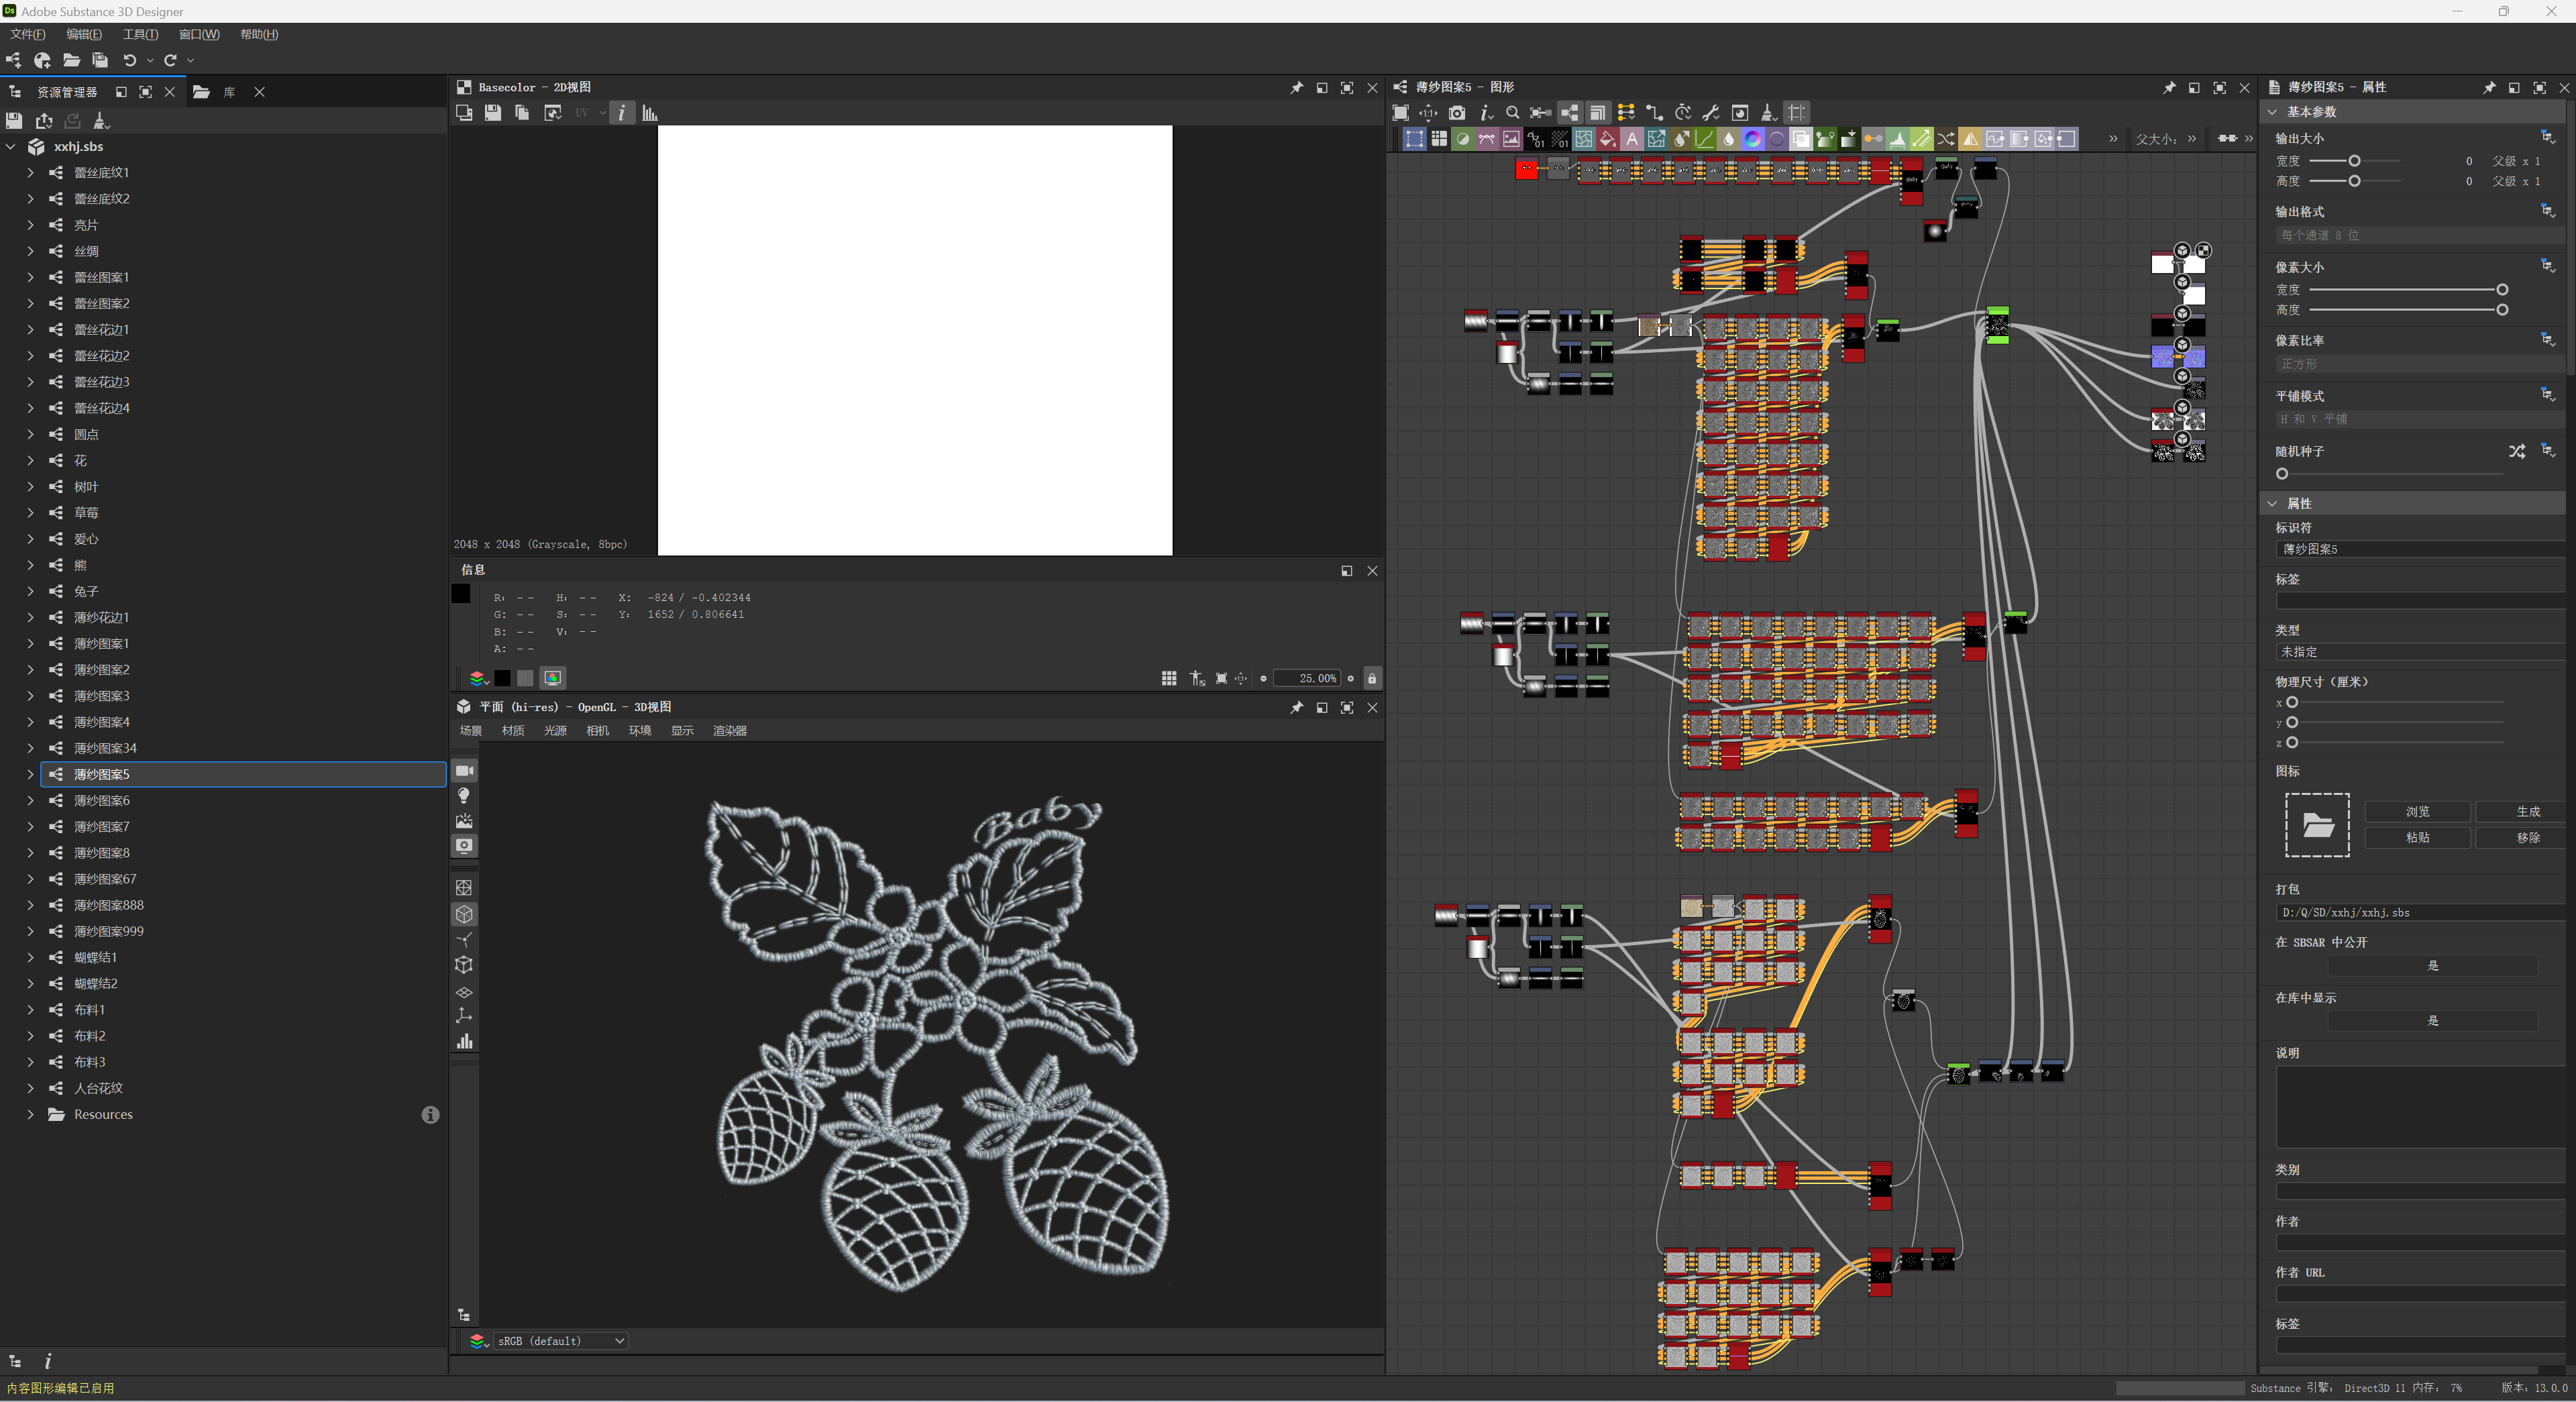
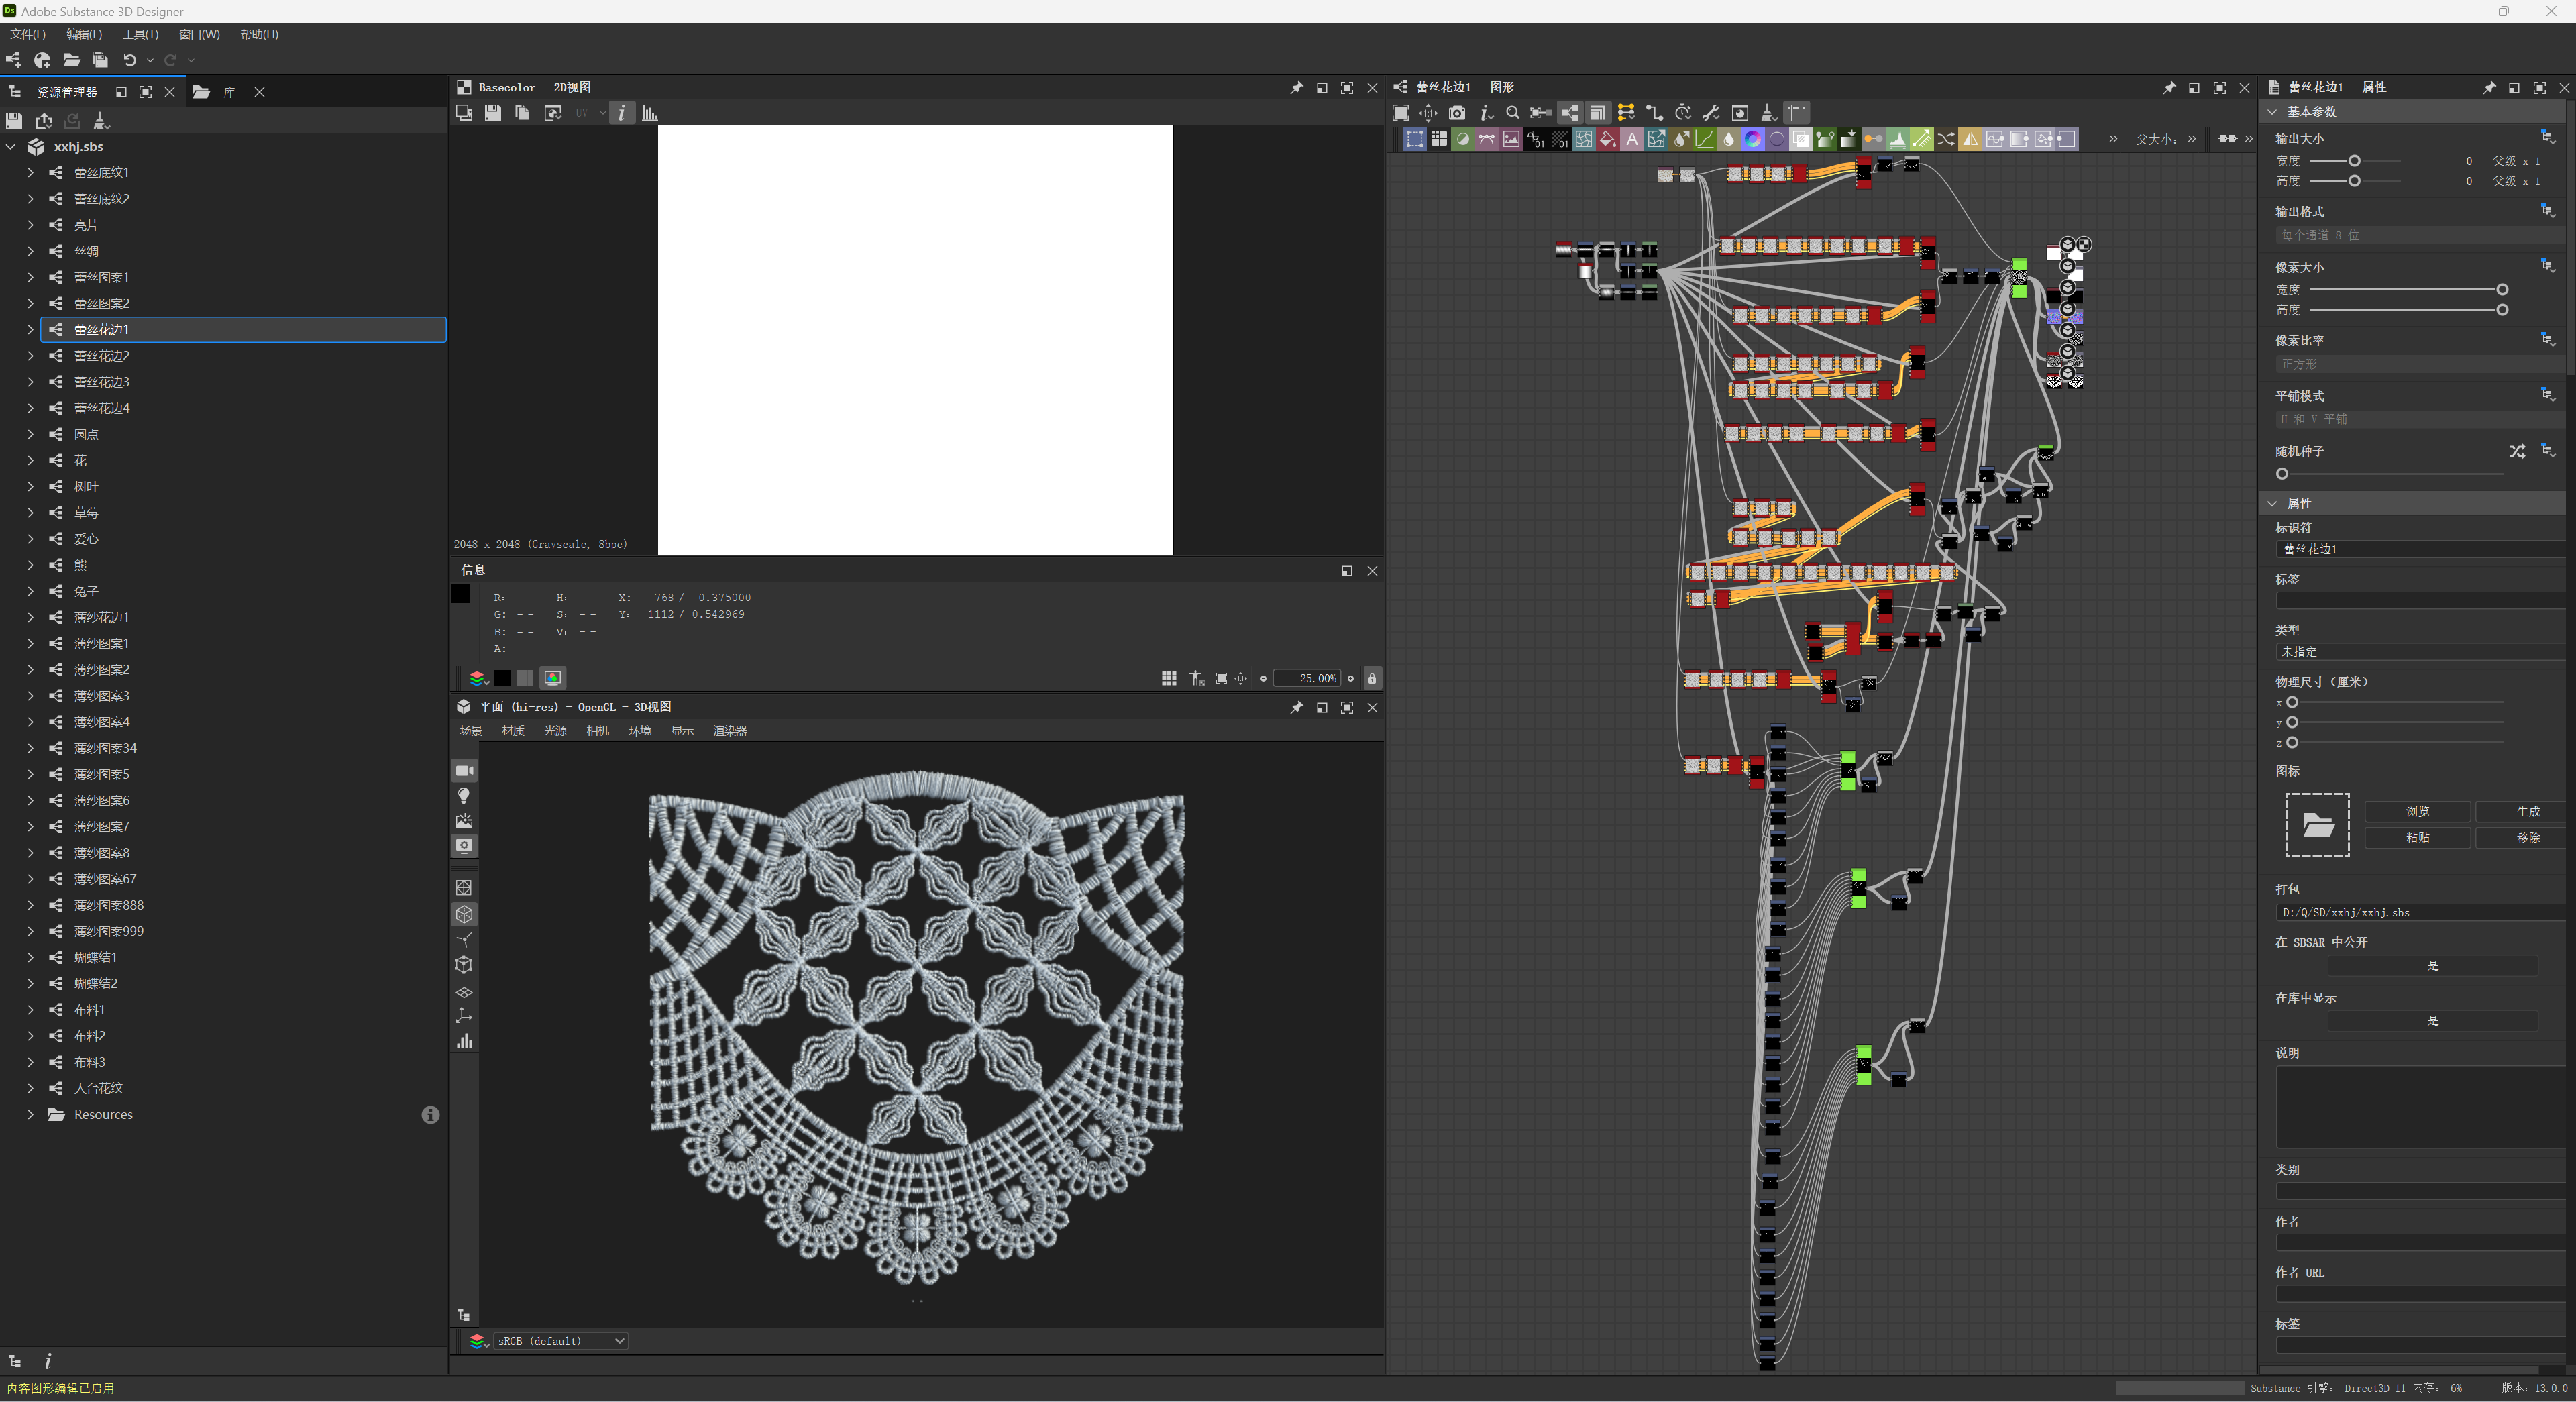
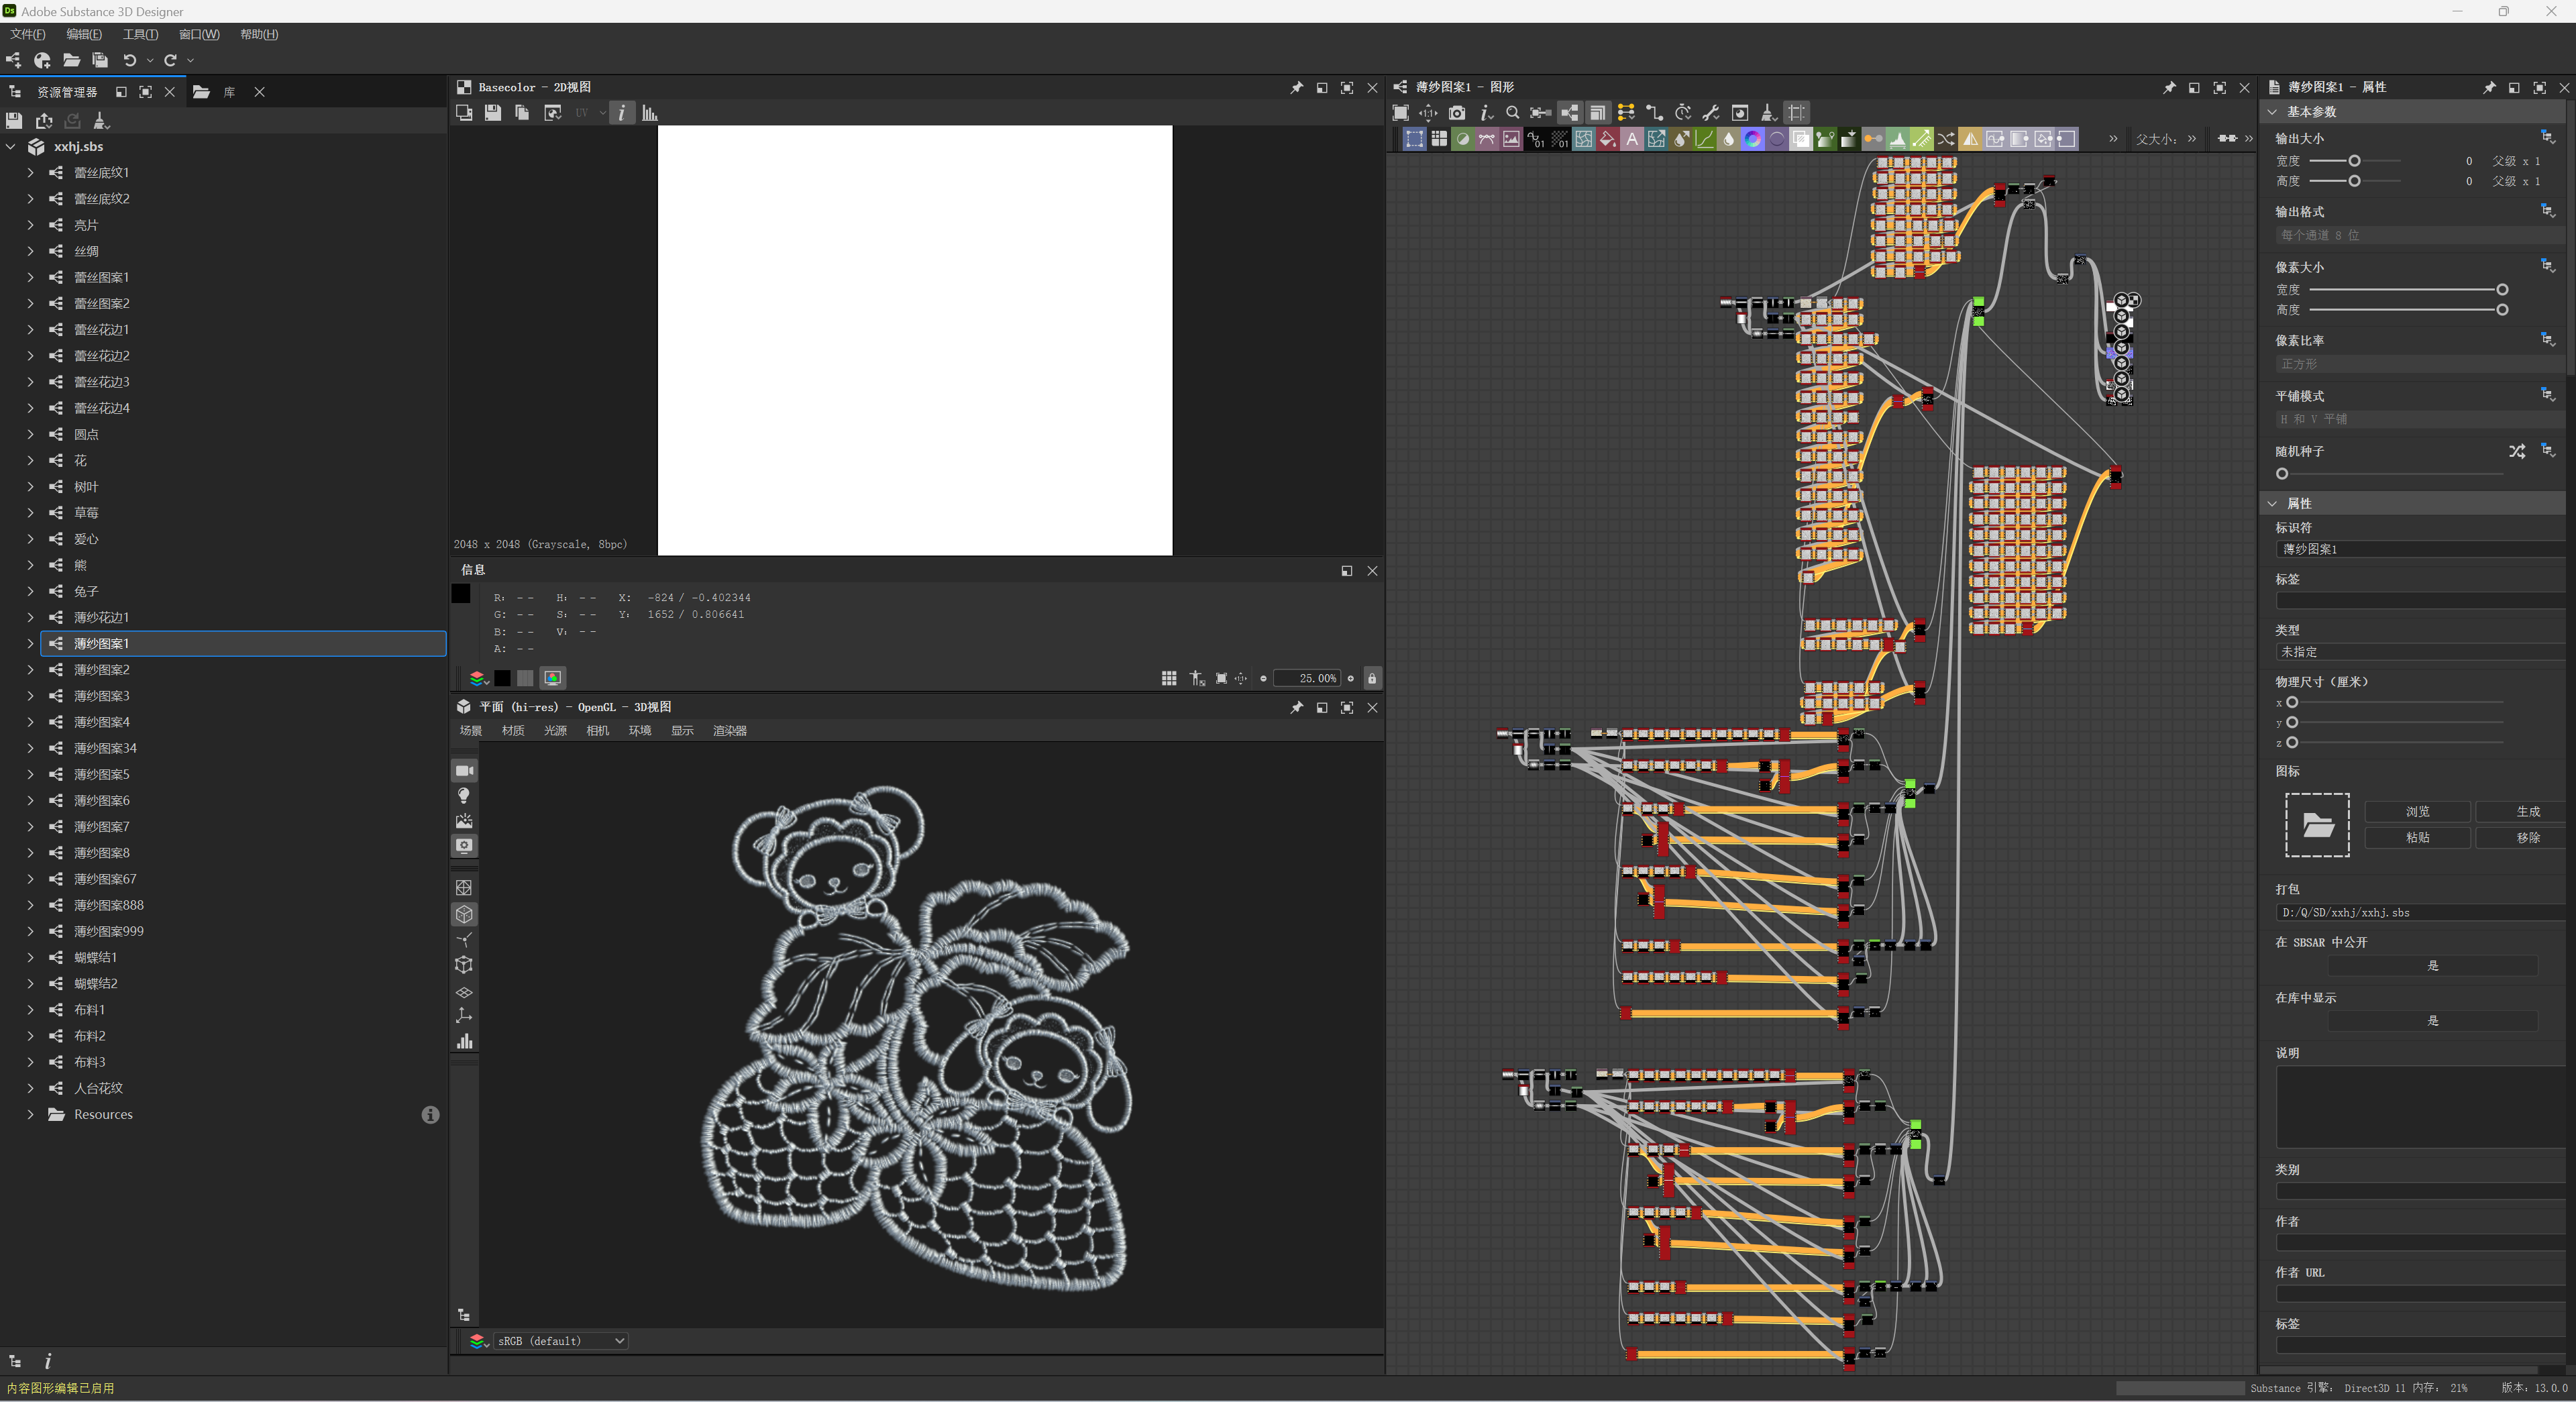
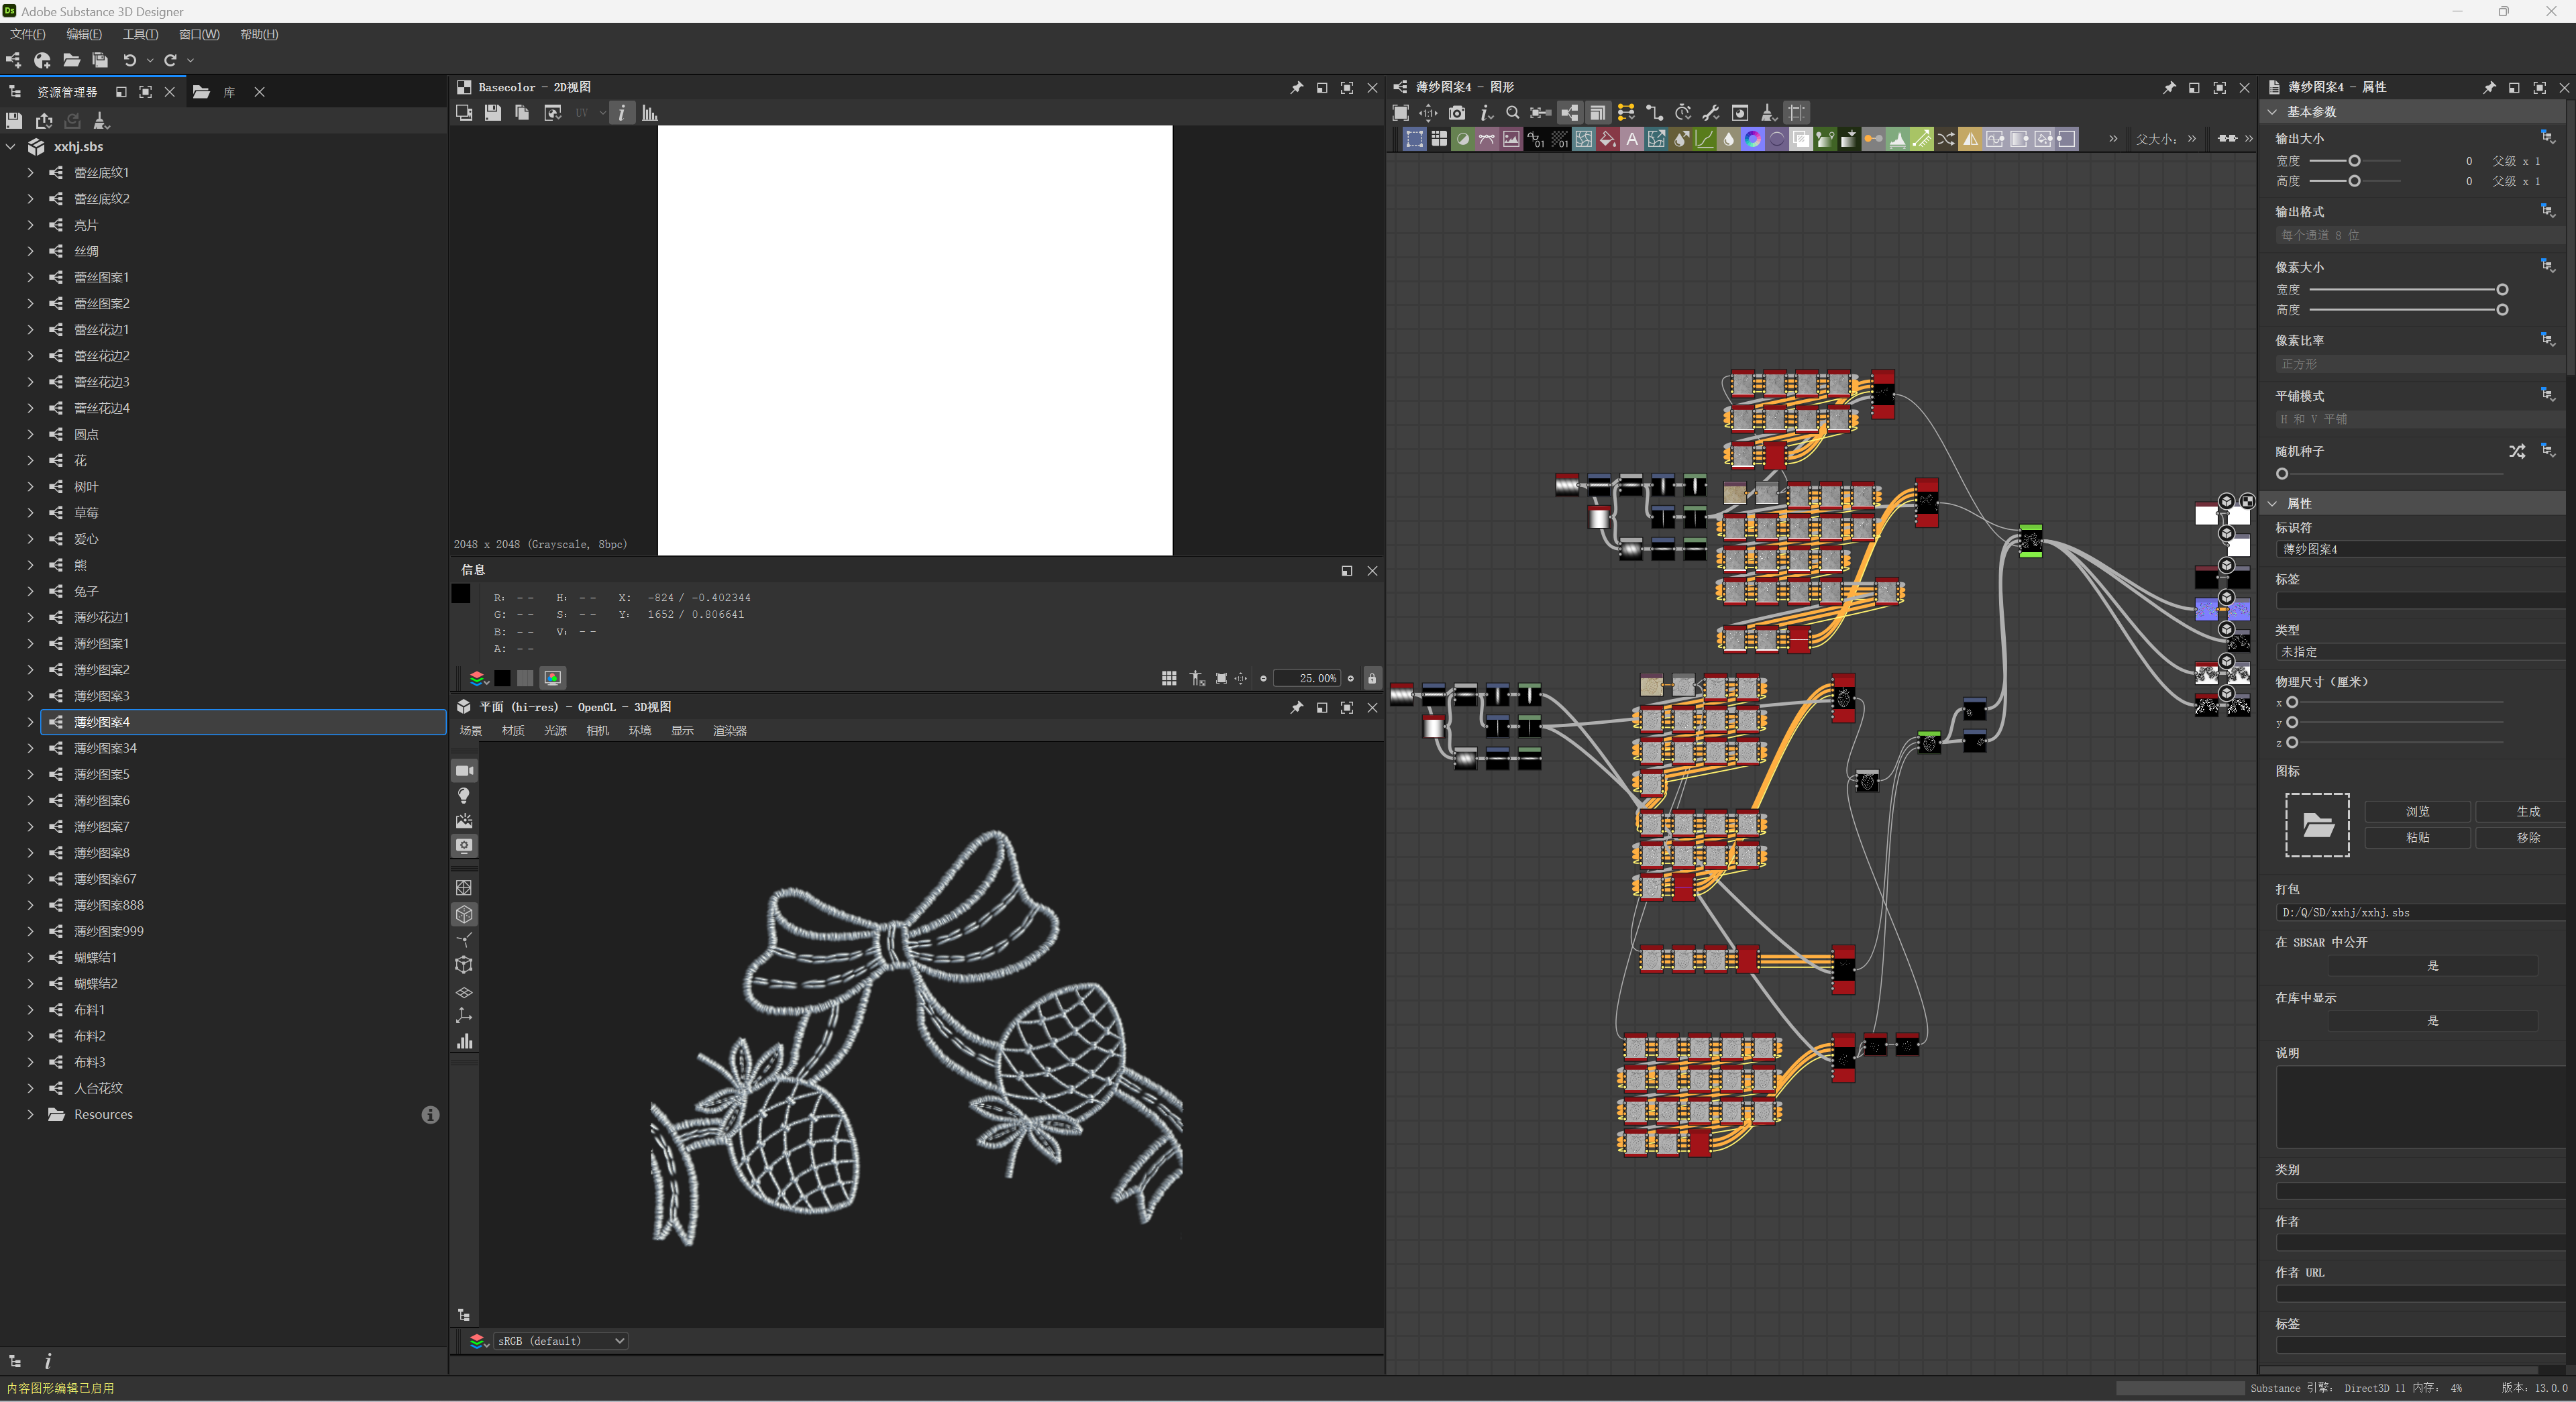
For the texturing process, I used Substance Designer to craft the fabric patterns and materials. Final rendering was done in Blender.
Overall, the workflow between Marvelous Designer and Blender was very smooth and efficient.
Do you have any advice for beginners who want to create a Lolita-style outfit using Marvelous Designer?
My first piece of advice would be to use a higher-spec computer, as creating detailed Lolita garments can be quite demanding on system performance, especially when dealing with multiple layers and heavy simulations.
Also, it’s very helpful to collect high-quality references of Lolita designs. I’d like to recommend my mentor, JueFei Kay20000 — you can check out his ArtStation portfolio here:https://kay20000.artstation.com
How has your overall experience with Marvelous Designer been? Are there any improvements or new features you’d like to see in the future?
This piece was created in 2023, when GPU simulation optimization hadn’t been introduced yet — so the process was relatively slow.
However, with continuous updates, Marvelous Designer has made significant improvements in performance. I recently saw the feature highlights for Marvelous Designer 2025.0, and I’m especially looking forward to the redesigned UI and the quick-access asset store, both of which I believe will greatly enhance workflow efficiency.
이 작업은 Substance, Blender, Texture, Trim, Retopology, Pattern 등의 기술로 제작되었습니다.
Marvelous Designer로 이와 같은 3D 의상·캐릭터 작업을 직접 만들어볼 수 있습니다.