PROJECT: SHIN RAMYUN
Gryun Kim, an Emmy-awarded Motion Graphic Designer, creatively utilizes Marvelous Designer for realistic ramen packaging.
Artist introduction
Hello, I'm Gryun Kim, and I work as a Motion Graphic Designer. Currently, I'm based in Los Angeles and primarily focus on creating Title Sequences and TV commercial film projects. My most recent work, "The Last of Us Main Title," received an Emmy Awards nomination. I've also had the opportunity to work on other notable projects, including title sequences for "Men in Black," DC's "Doom Patrol," and HBO's "His Dark Materials." Furthermore, I have experience in conducting seminars at events such as Motion Plus Design, NAB 2022, and Siggraph. Additionally, I am active as an NFT artist on the renowned platform Superrare and have participated in several interviews discussing NFTs across various media outlets. Most recently, I had the privilege of showcasing my NFT artwork at the 2022 LA Art Fair.
Tell us about the project : Shin Ramen
The Shin Ramyun Project developed gradually by responding to questions about 'how to make noodles' from the Cinema4D user group. Initially, it started by creating examples of making noodles, but it eventually expanded into a project by developing packaging and even simulating the boiling process. Since I began working on my personal project, I aimed to make the most of this opportunity. I also considered delving into skills such as Marvelous Designer, UV, and 3D painting, which I had been eager to learn. Moreover, I cannot overlook the fact that, thanks to this project, I had the chance to showcase 'Shin Ramen' at the Maxon Booth during the recent Siggraph event.
It's very interesting to see that you used Marvelous Designer to create the ramen package. How did you decide to use Marvelous Designer for this part and how did it help your project?
Whenever I create realistic works, I approach the “process” with the idea of incorporating creativity into it. I consider the process as an integral part of the artwork.
For instance, when I imagined a ramen package, I investigated the actual process of creating a ramen package and thought it would be fun to replicate the same process. So, I started by making the noodle texture first just like in real production. Then, I used pressure and sewing functions in Marvelous Designer to wrap the paper printed to match the noodle texture around it, gradually decreasing its size with pressure from the top and bottom to create the package in the shape of ramen. I believed that this process could be faithfully reproduced in Marvelous Designer.
Marvelous Designer's sewing and pressure features made it easy to create the ramen package that wraps around the noodles, and since Marvelous Designer starts with 2D pattern design, it was straightforward to create the UV maps as a bonus. Thanks to this, I was able to significantly save time. Furthermore, I used the Pin function to add more details and wrinkles to the ramen bag.
Can you give us a quick overview of the different tools used in your pipeline?
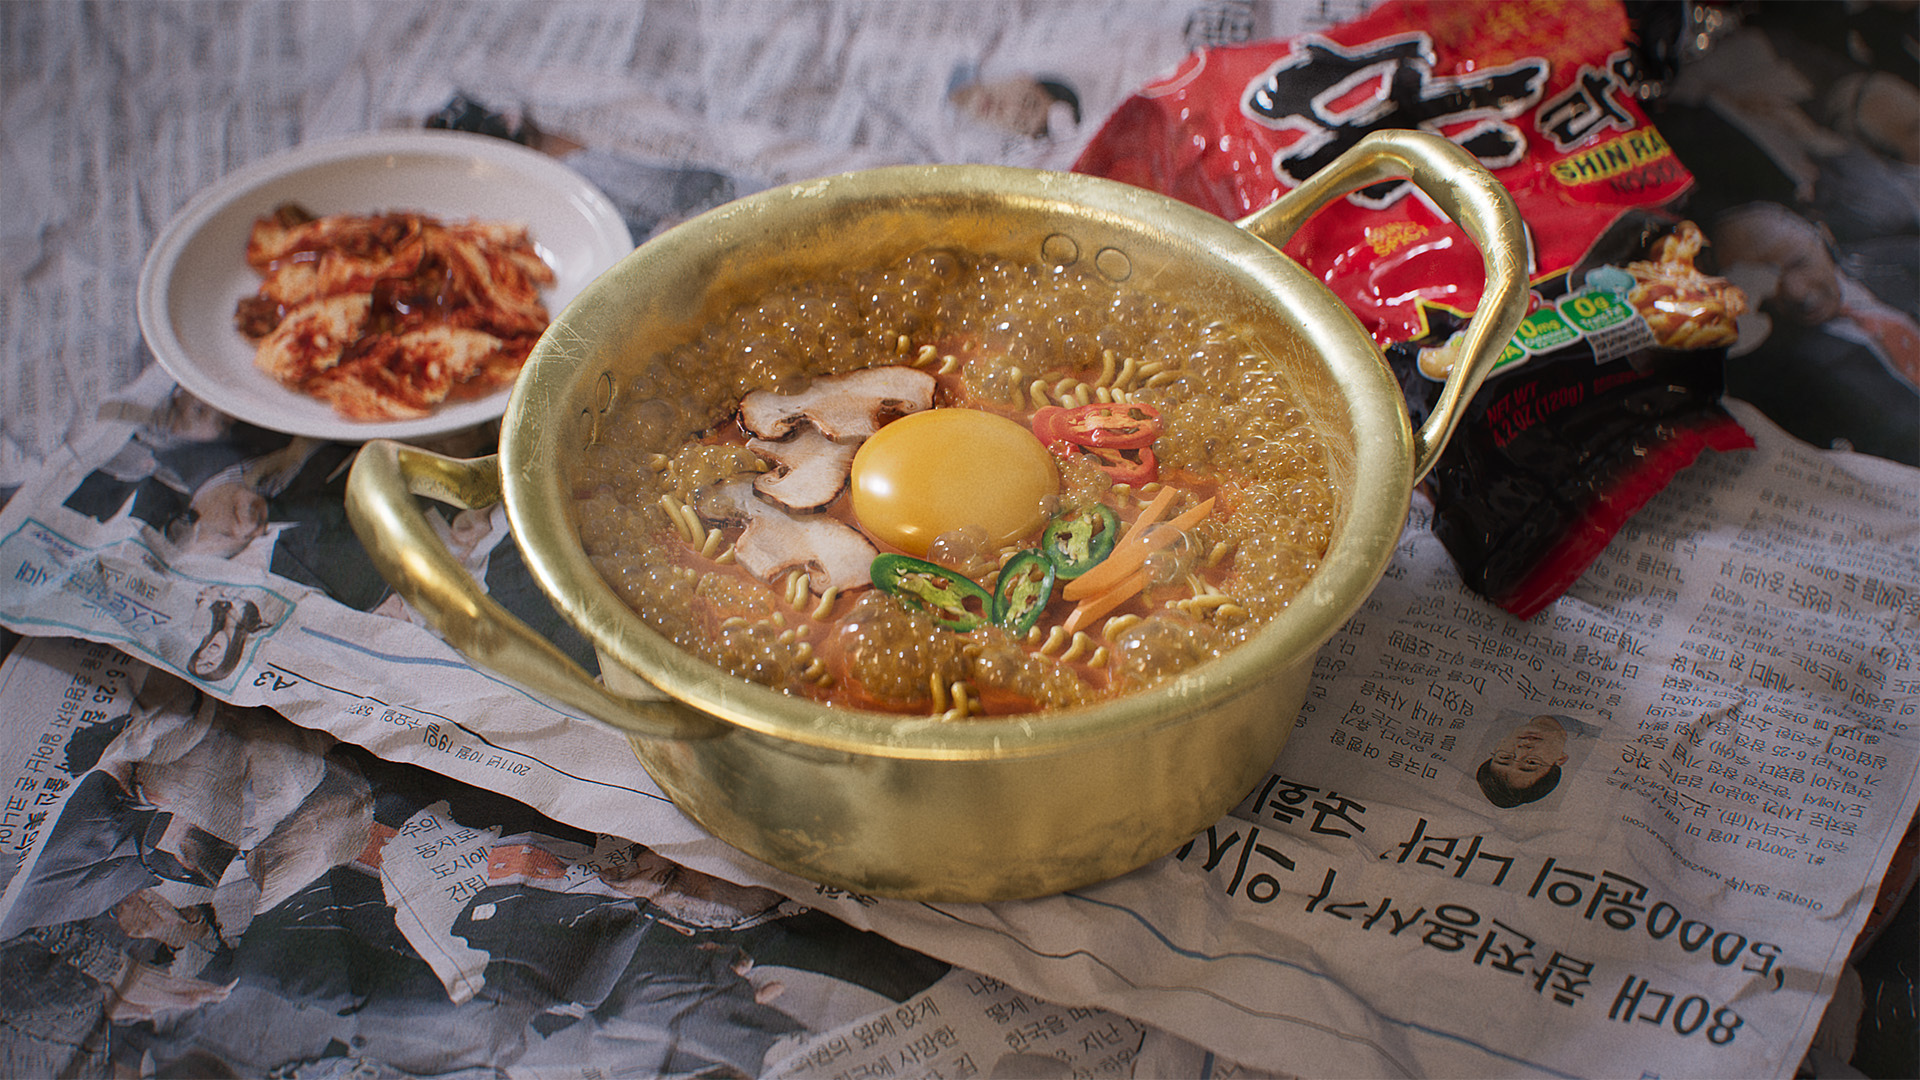
The ramen production is divided into two volumes: Vol.1, which covers package completion, and Vol.2, which focuses on the boiling presentation.
In Vol.1, the process involves
1) Noodle modeling (Cinema 4D)
2) Package design (Marvelous Designer)
3) Package tearing (Cinema 4D)
4) Rendering done using Octane Render.
In Vol.2, it begins
1) Pot modeling (Cinema 4D)
2) UV (RizomUV)
3) Painting (Substance Painter)
4) Decorative materials captured through photography and Cinema 4D.
5) Bubbles and broth effects (Cinema 4D)
Are there any other projects where you used Marvelous Designer in unconventional ways like the example of the ramen package?
I have utilized Marvelous Designer extensively in my personal artwork. In particular, I utilized Marvelous Designer for the vinyl effects in my personal project.
I also used Marvelous Designer for vinyl effects, creating bandates in my work for DC's "Doom Patrol”.
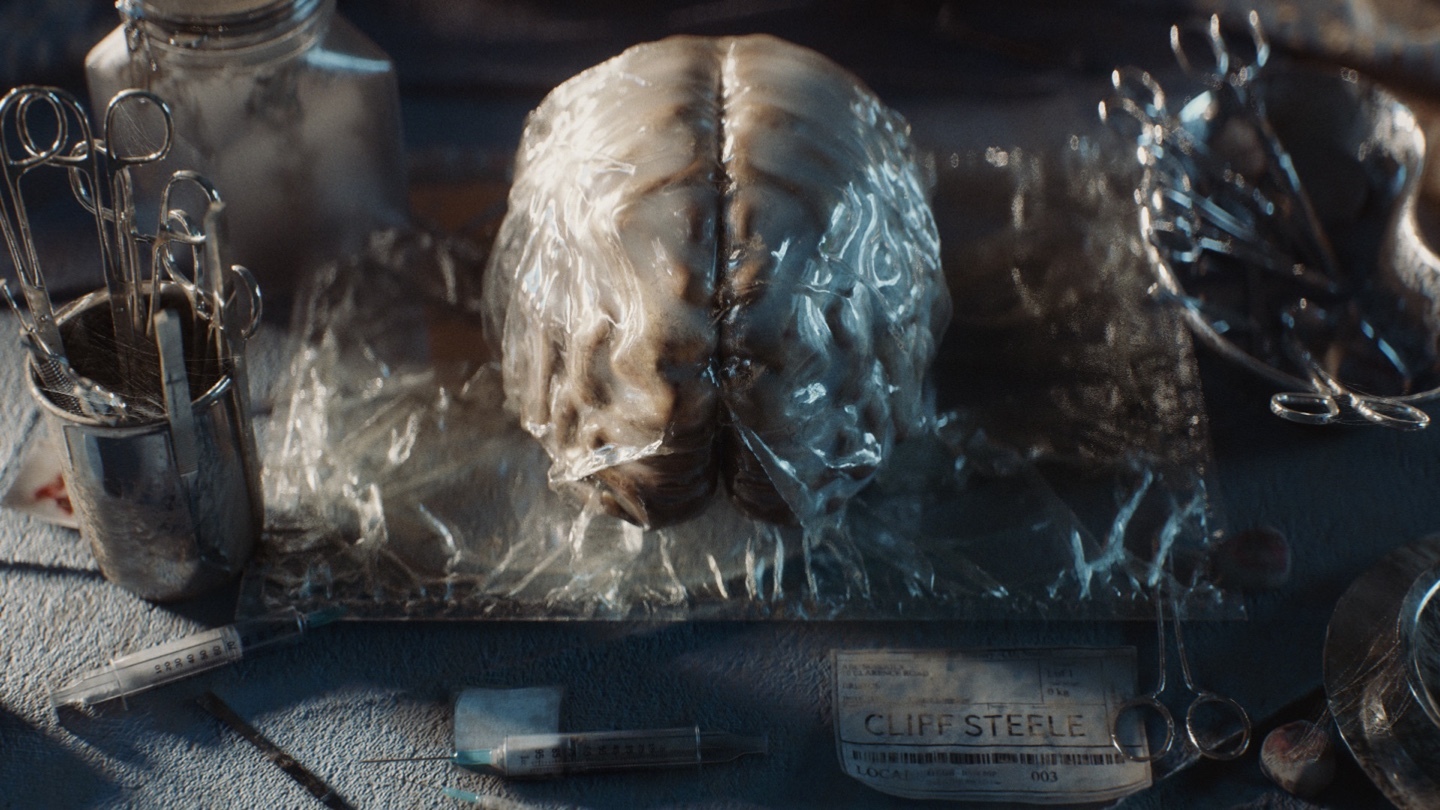
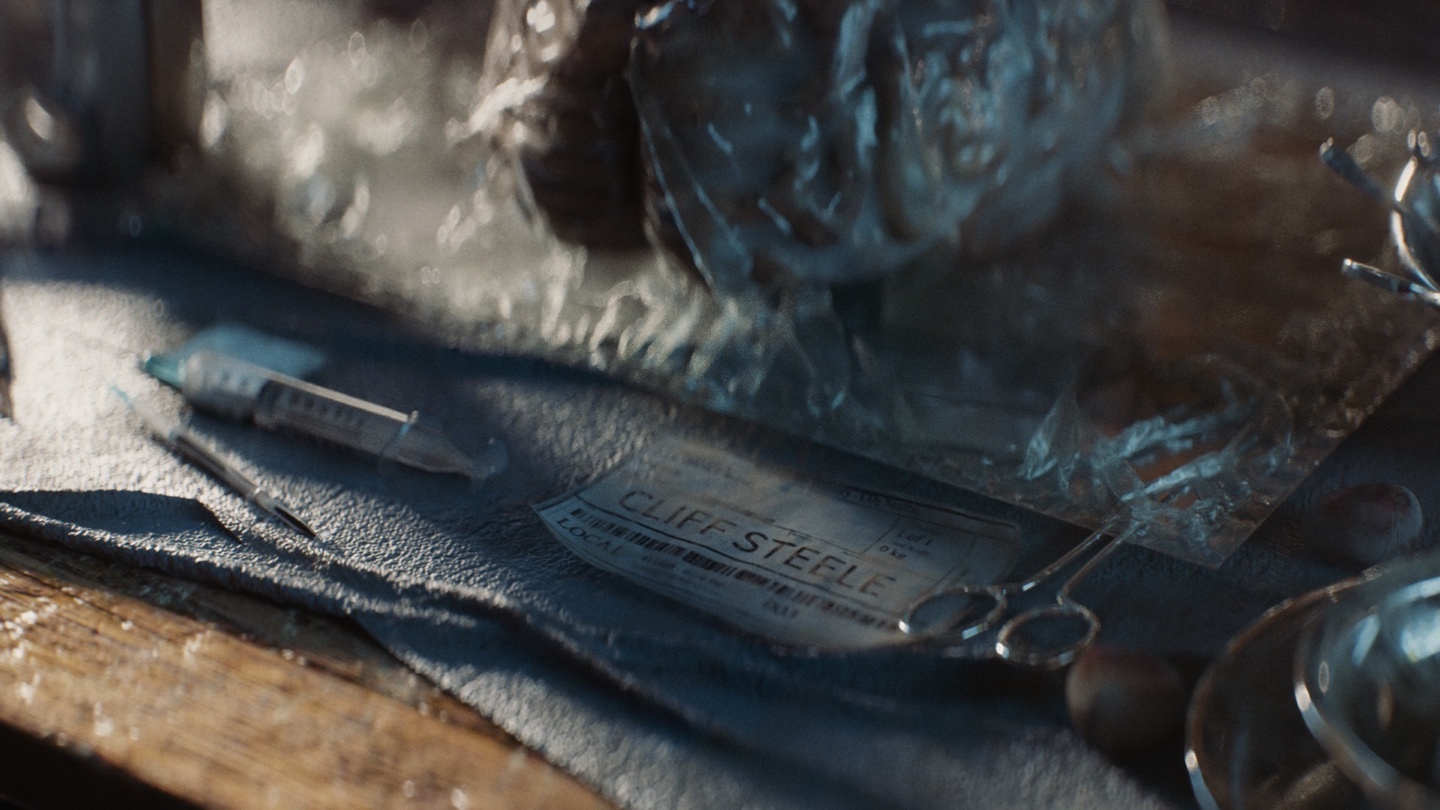
I also used Marvelous Designer in creating the American flag for "The Swamp Main Title" project.
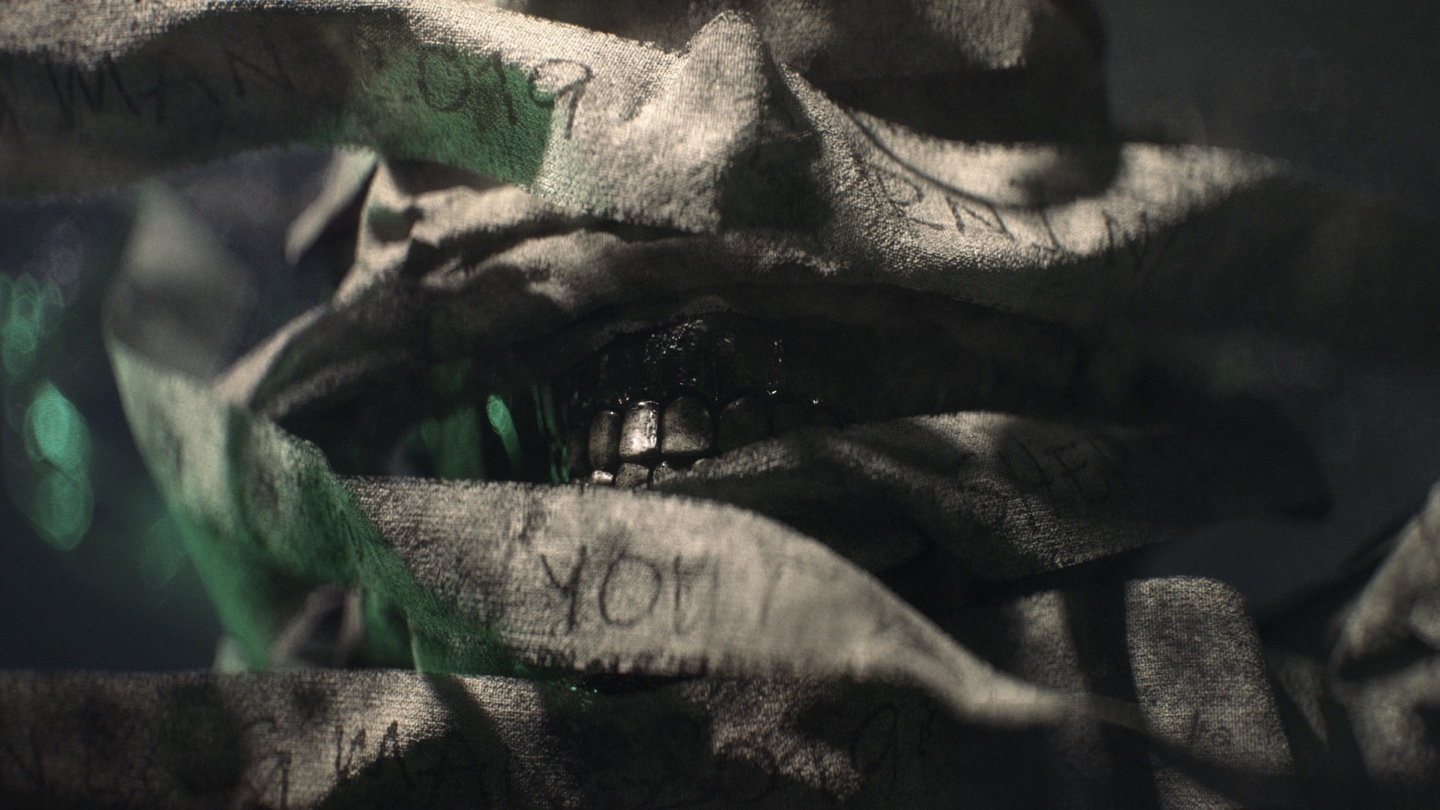
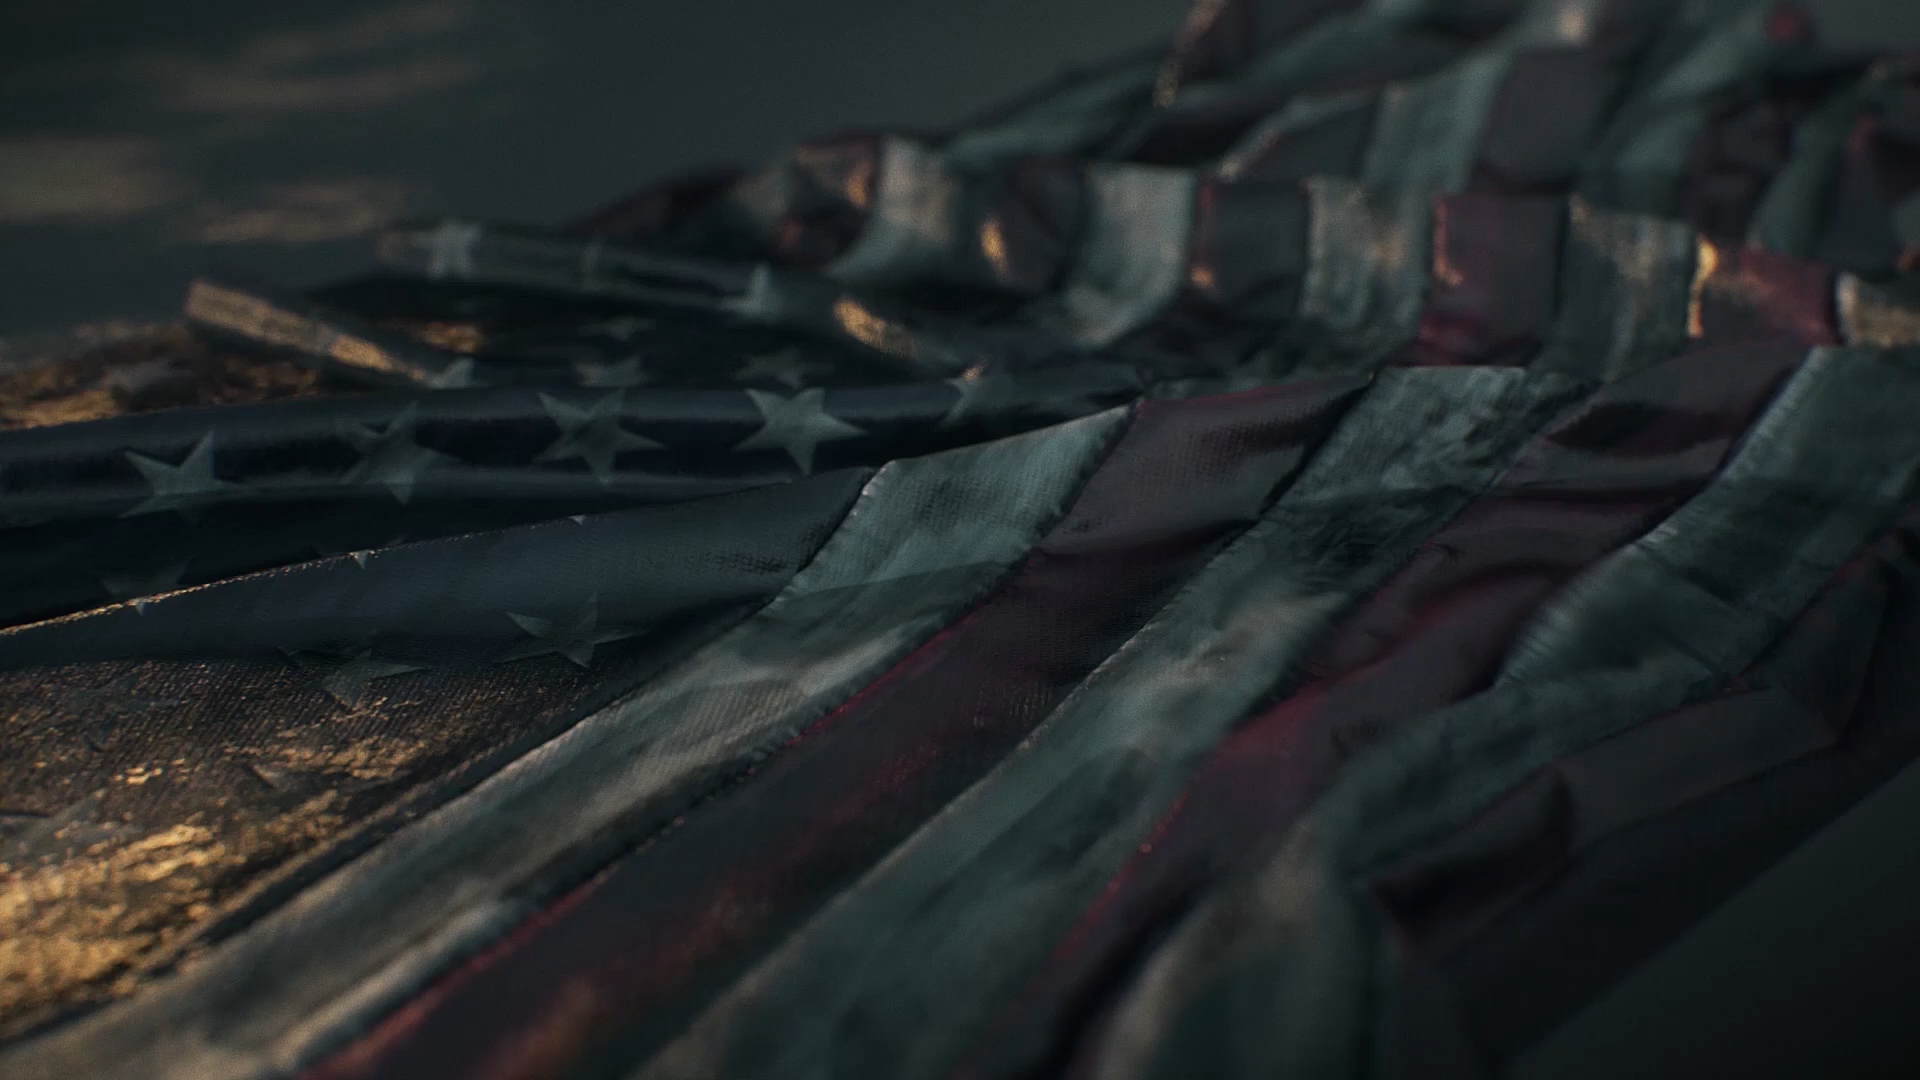
Are there any tips and tricks with Marvelous Designer that you can share with the community as a 3D Motion Graphic Designer?
Marvelous Designer offers incredibly fast GPU simulations, allowing for detailed fabric representation. However, it can sometimes result in heavy file sizes when used for motion graphics. As a tip and trick, I utilize detailed wrinkles created with Marvelous Designer by baking them as textures and then apply them as normal or bump maps. This approach helps me bring in detailed textures without overloading the scene with individual wrinkle meshes, allowing for smooth and efficient work.
How can you describe your overall experience of the use of the Marvelous Designer?
Marvelous Designer has been of tremendous assistance to me in achieving realistic fabric textures. Its real-time feedback and fast simulation speed are especially valuable, enabling me to explore various possibilities in my work efficiently. Additionally, the use of Pin and Sewing functions has provided me with the flexibility to create diverse effects, which has proven to be a significant advantage. I look forward to continuing my artistic endeavors using Marvelous Designer in the future.
이 작업은 Cinema4D, Substance, RizomUV, MotionGraphic 등의 기술로 제작되었습니다.
Marvelous Designer로 이와 같은 3D 의상·캐릭터 작업을 직접 만들어볼 수 있습니다.