XIII - Hard Surface Modeling with Marvelous Designer
Eugene Lemeshko used Marvelous Designer in an unconventional way to create XIII, a gothic armor piece inspired by medieval history and tarot symbolism. His workflow showcases the software’s surprising flexibility for hard surface modeling, especially in AR design.
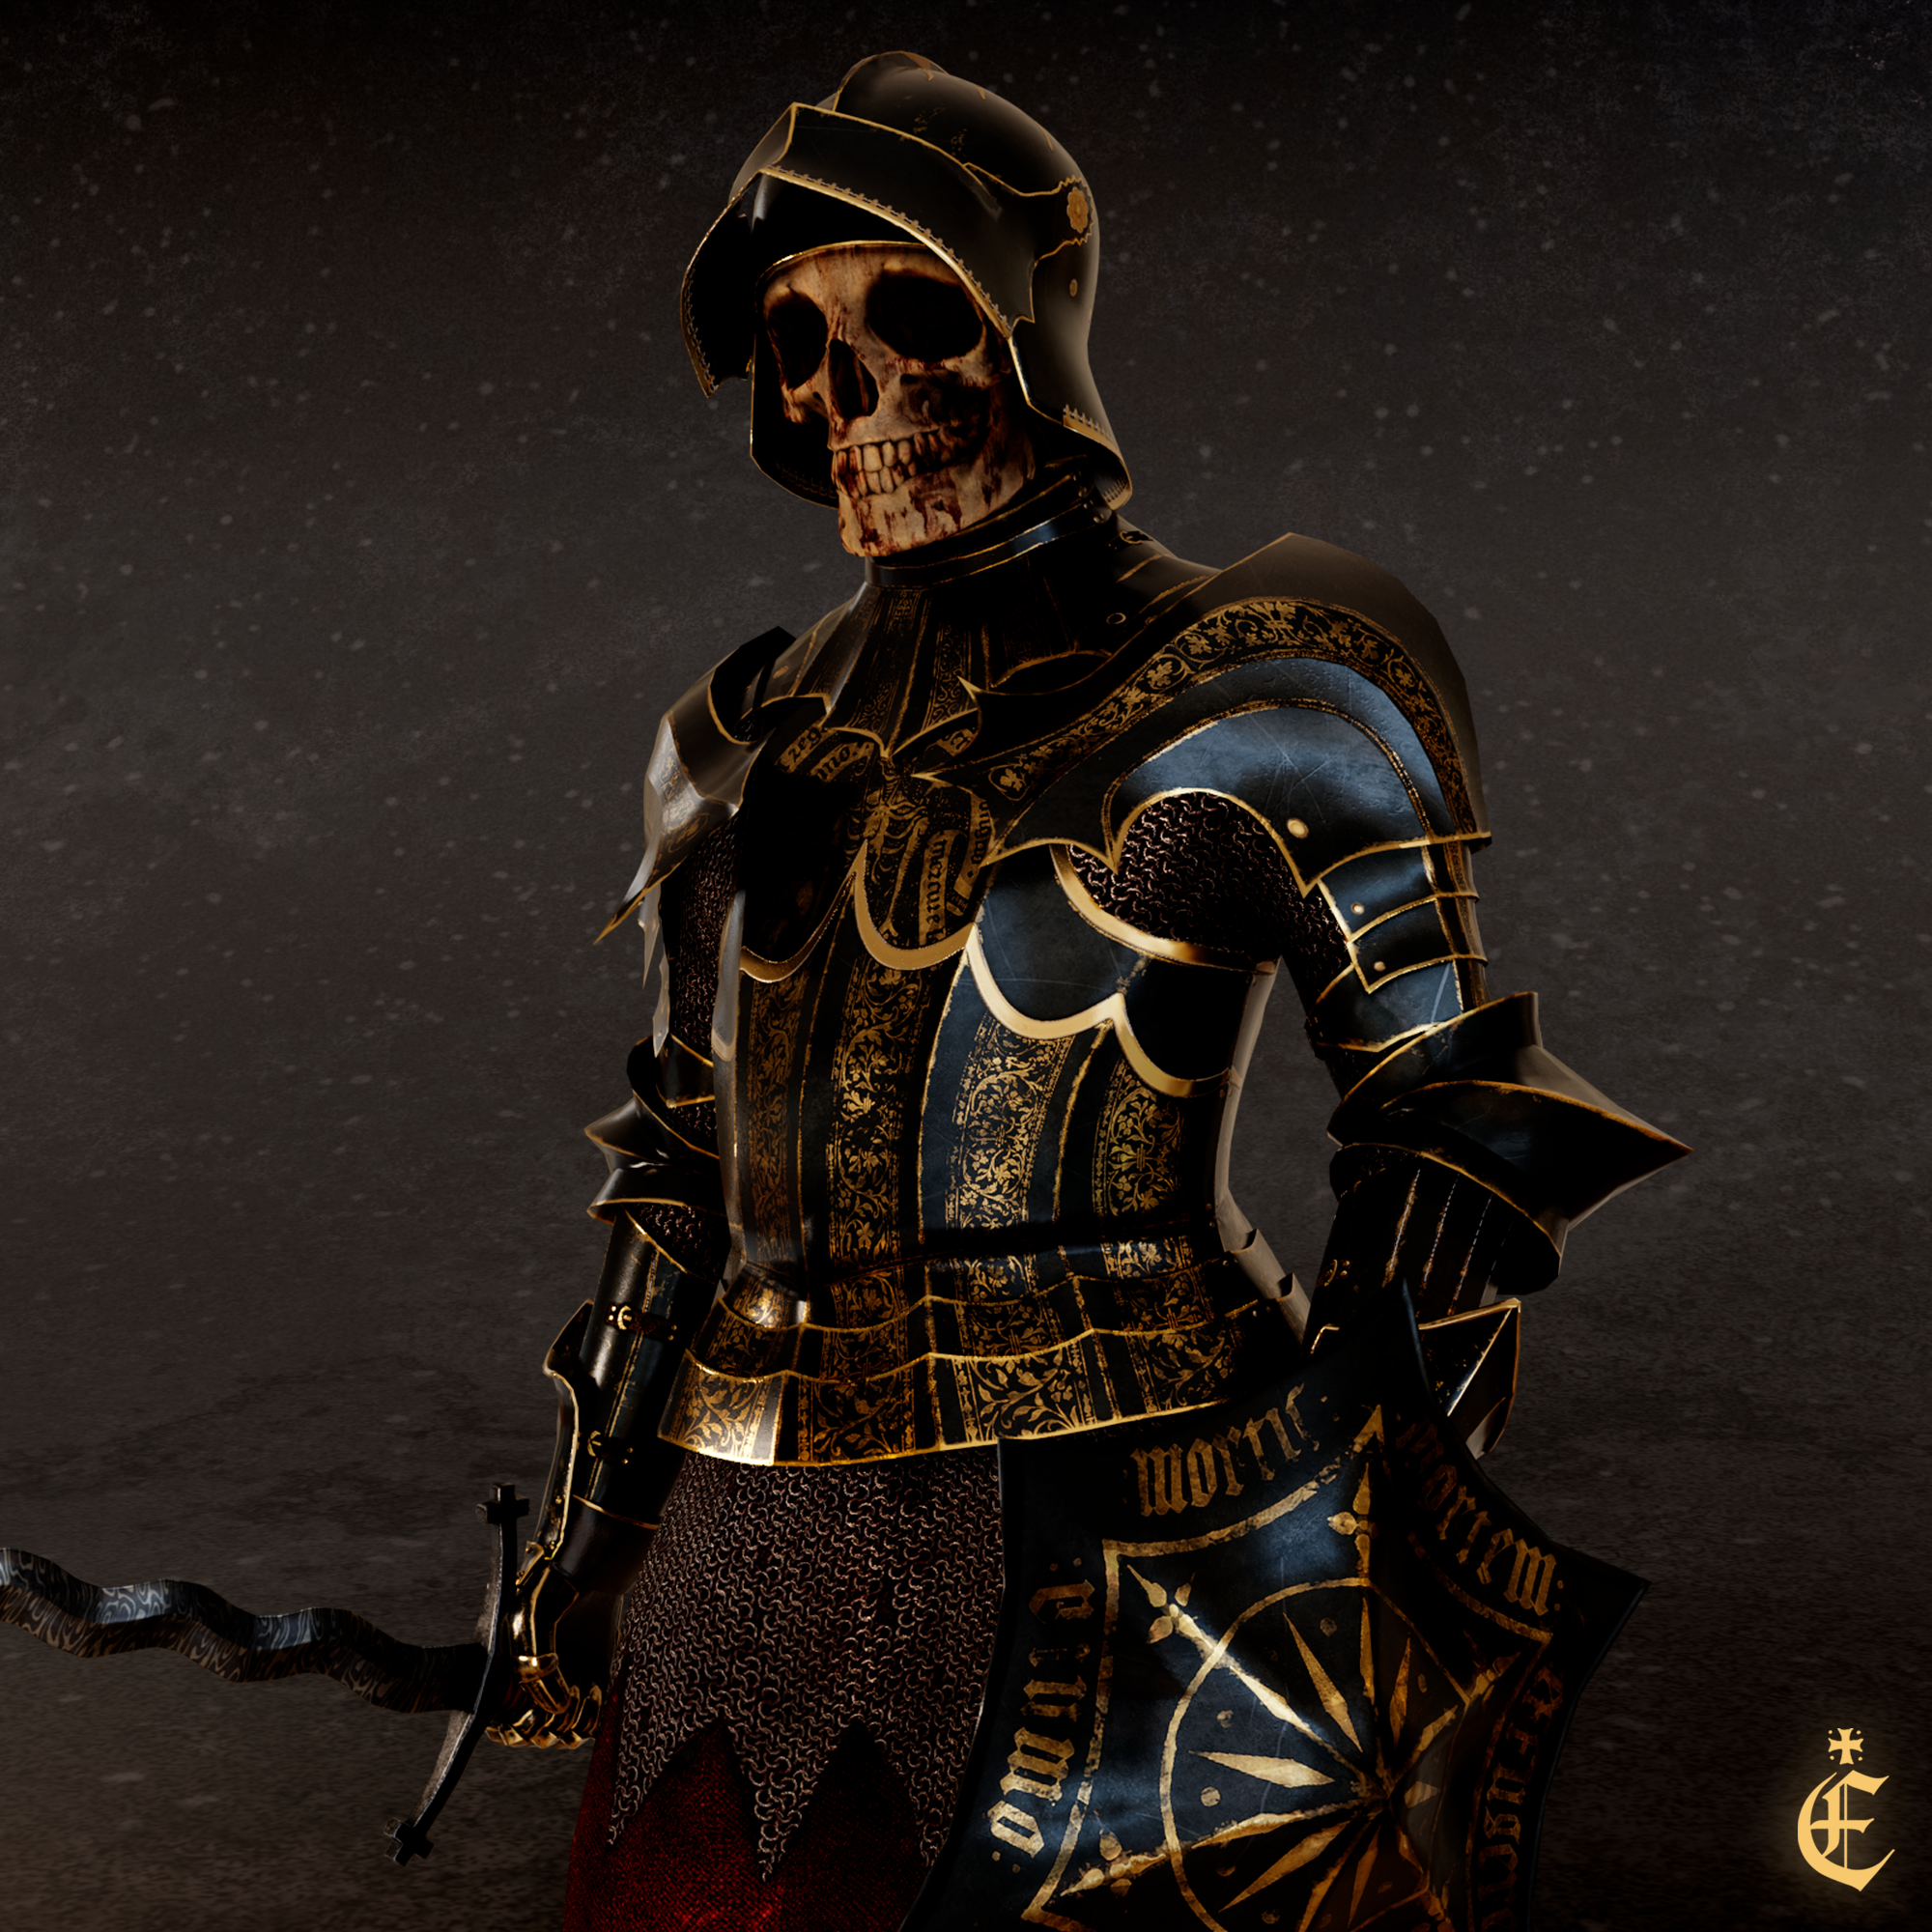
Interview with Eugene Lemeshko | XIII | 3D Character/Cloth/Armor Artist
Introducing the Artist – Can you share a bit about yourself and your project, XIII?
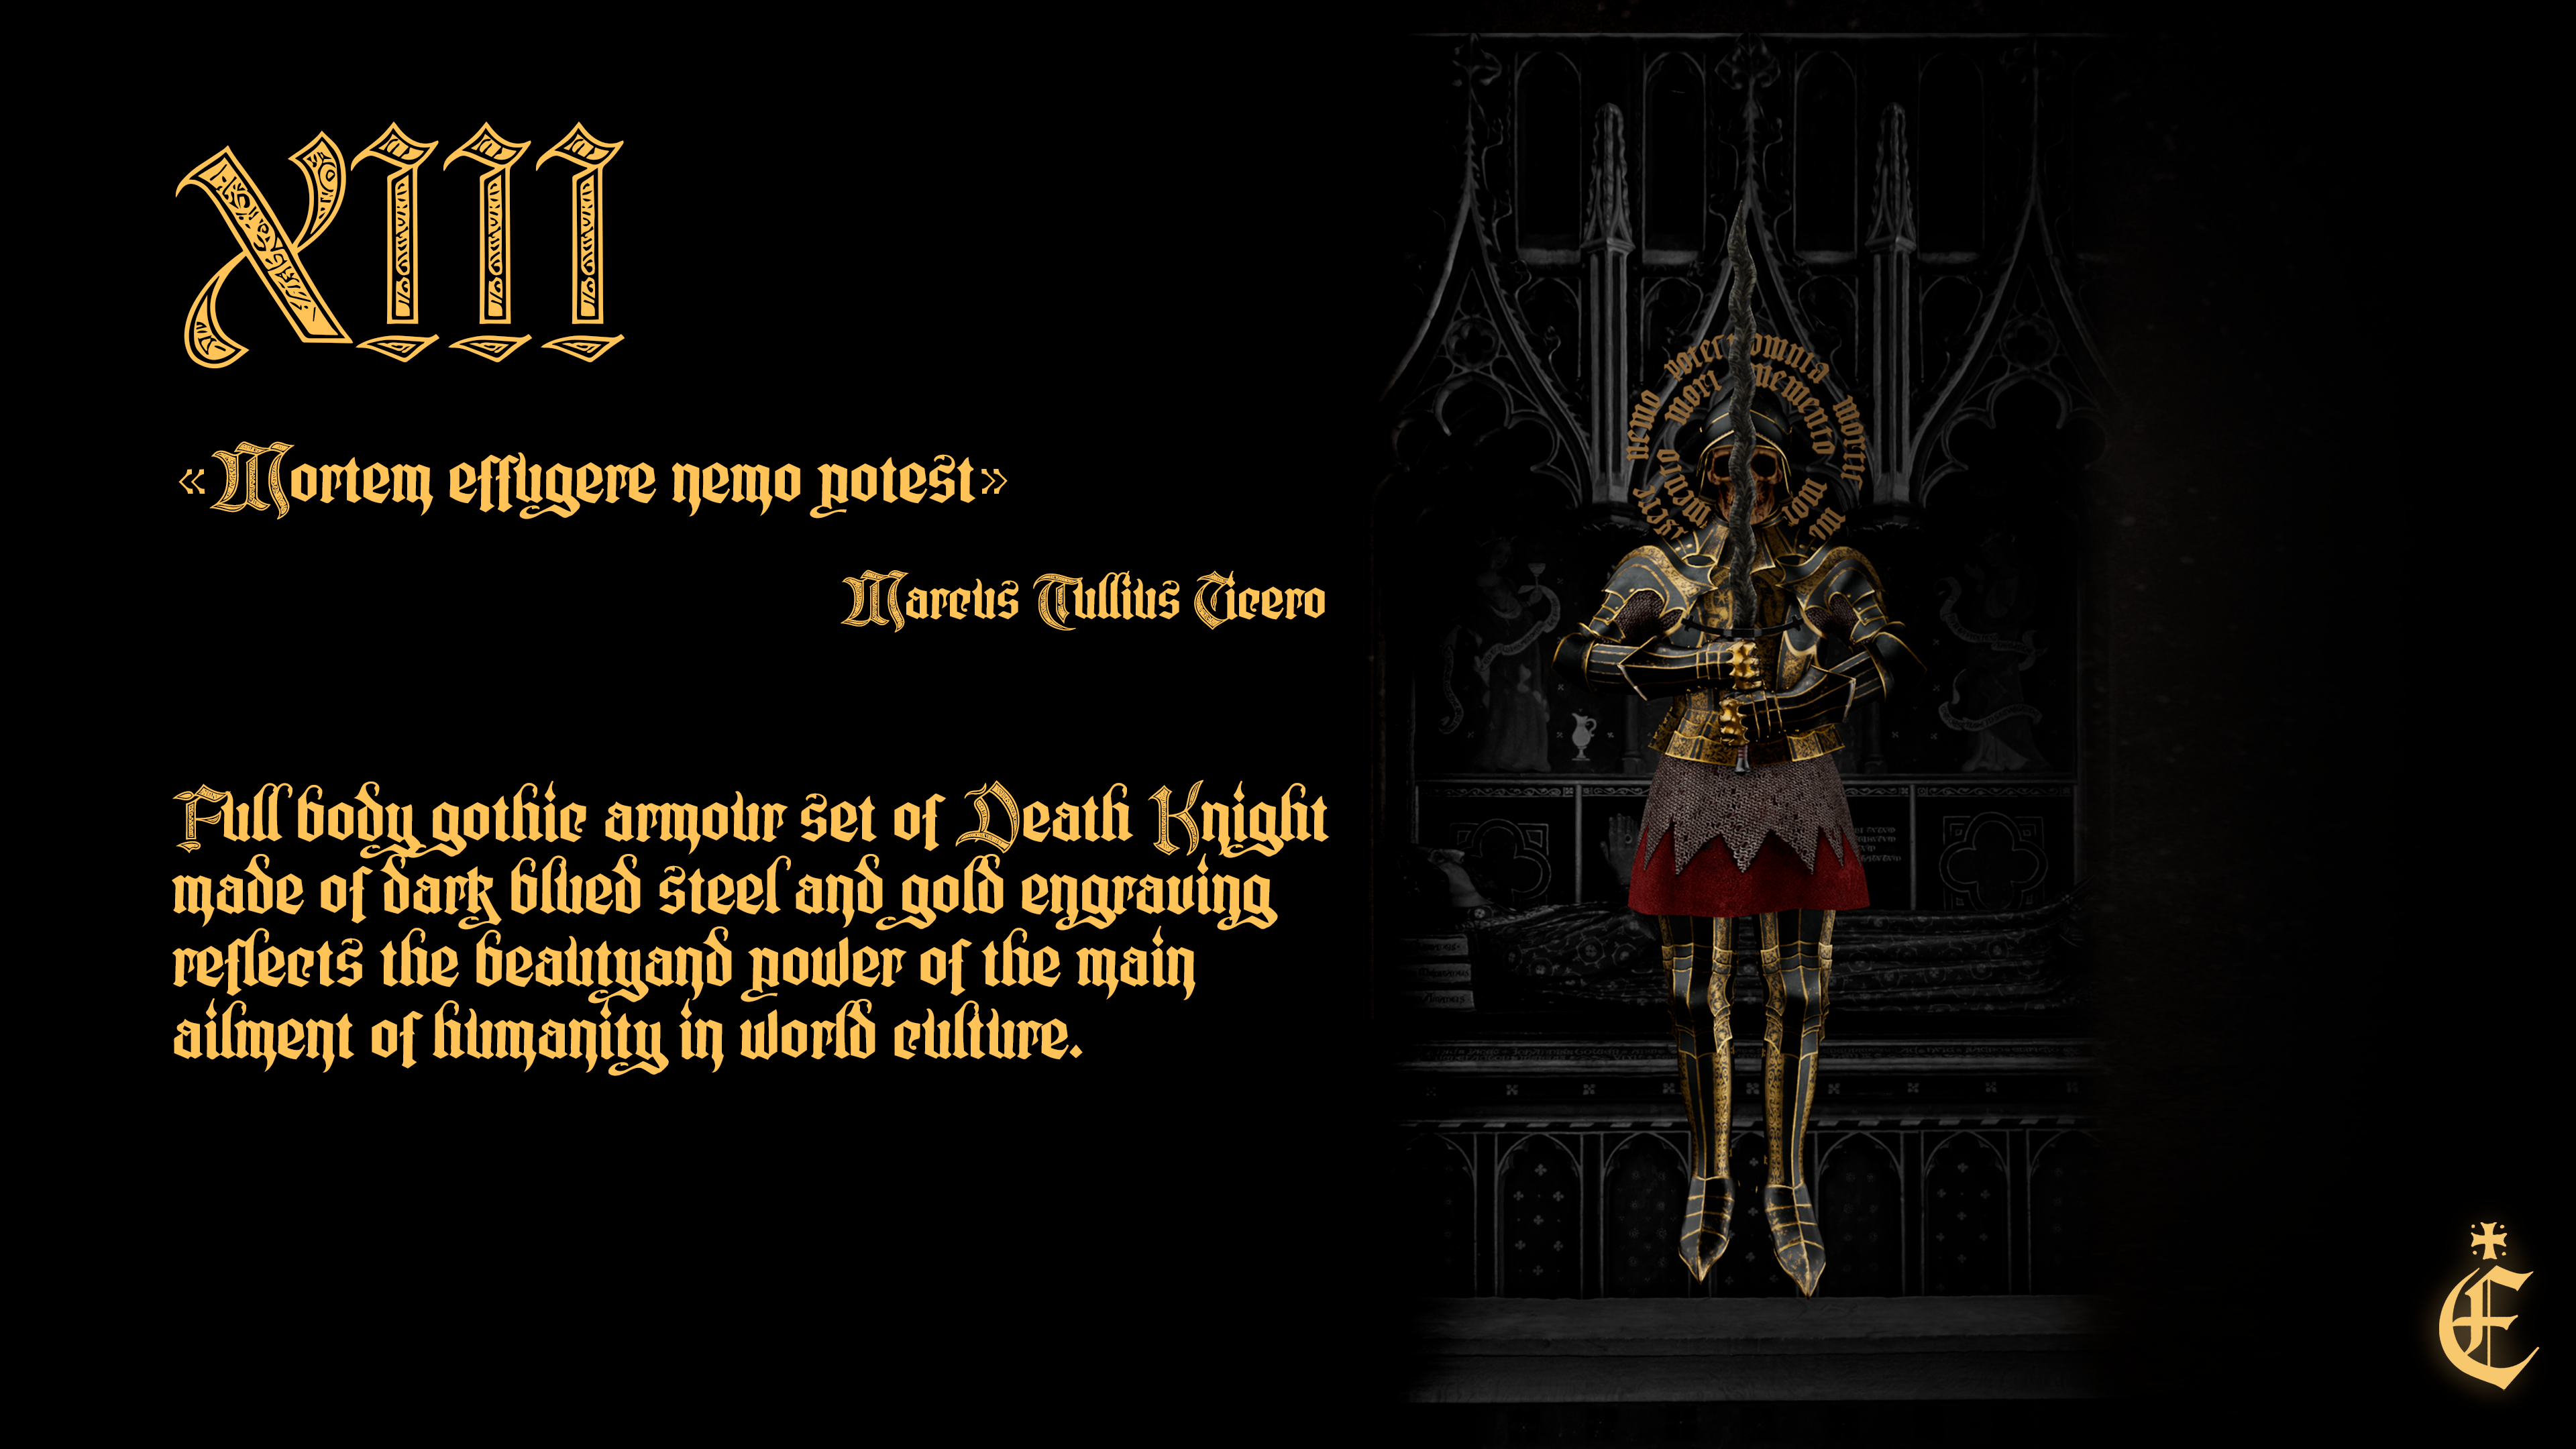
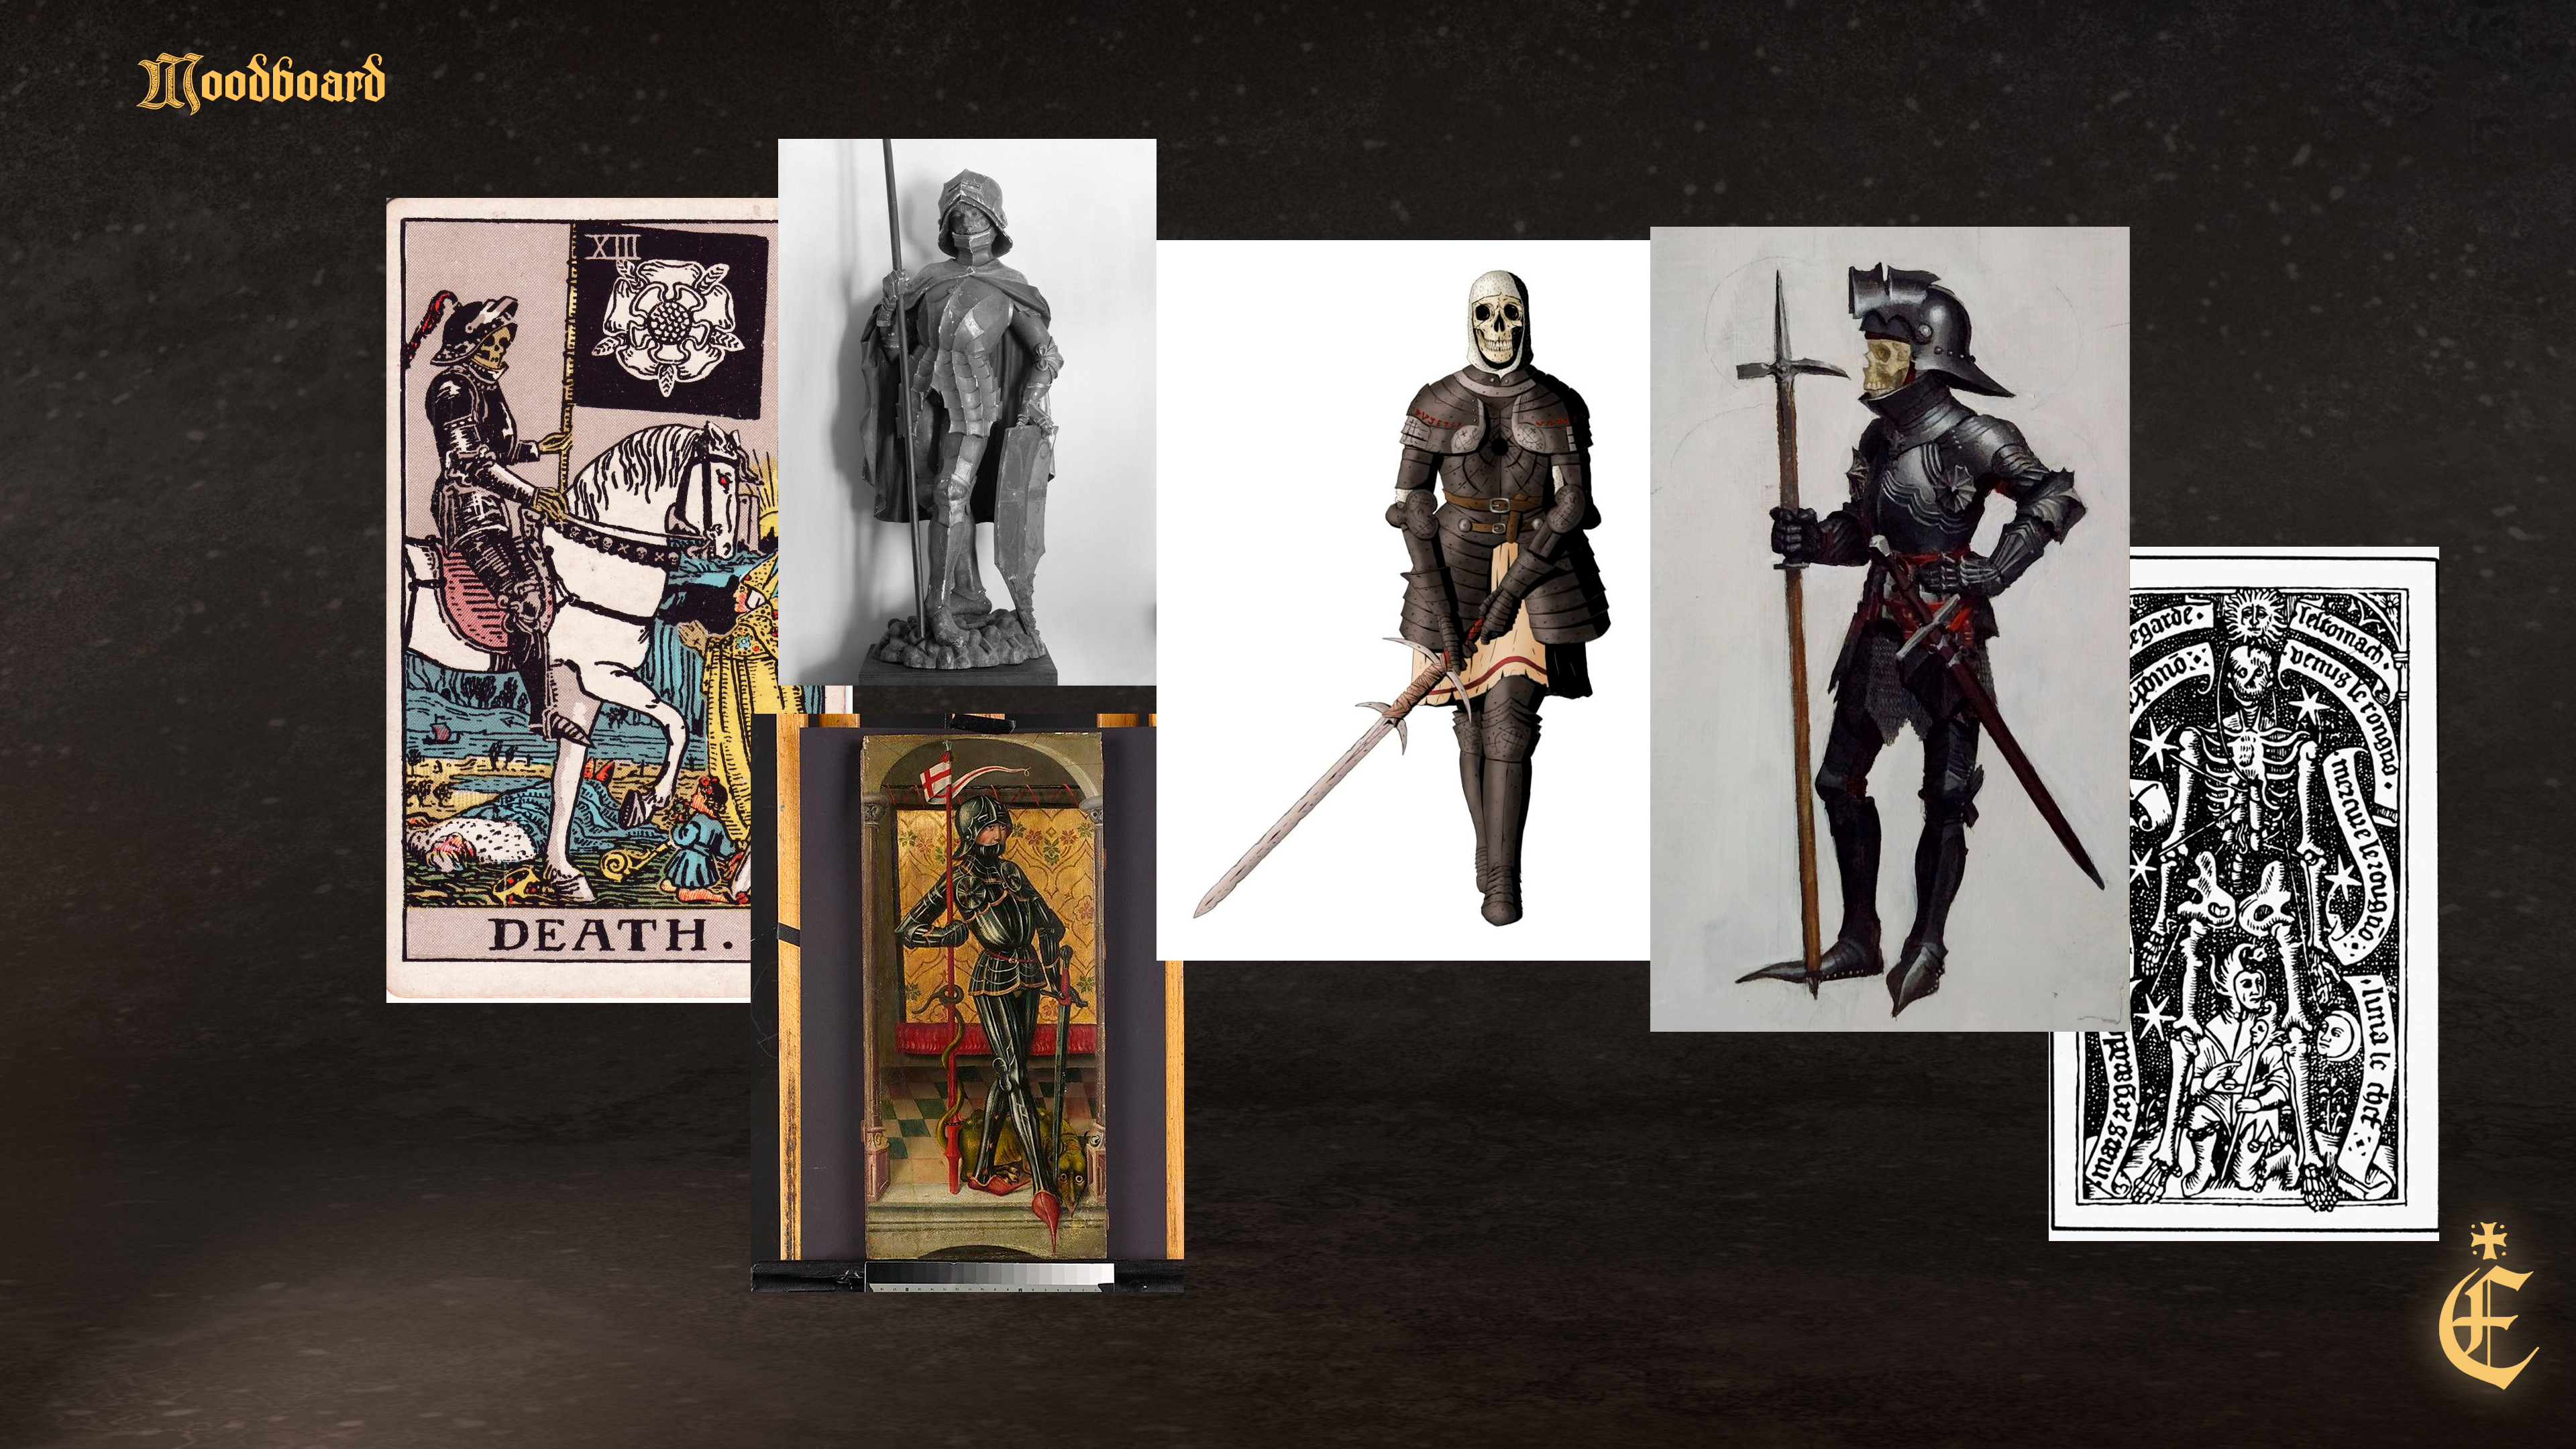
My name is Evgenii, and I’m a 3D artist with over four years of experience creating 3D assets and digital garments for AR platforms - including Instagram filters and digital clothing for Snapchat. Also, I am an award winner in several contests from Meta Inc. and Snapchat, including these contests (Link 1, Link 2)
For a long time, I worked as a 3D designer at ZERO10, where we focused on creating ultra-realistic digital twins of real-life garments and accessories. (I also contributed to asset creation and optimization for a collaboration between CLO and Stanford University.)
My background is quite unique - I previously worked in the tourism industry and spent over ten years involved in historical reenactment of the High Middle Ages (14th–15th centuries). That experience deeply influenced my personal style and love for all things medieval: armor, weapons, culture, and history. One day, in my free time, I wondered - could I create armor in Marvelous Designer?
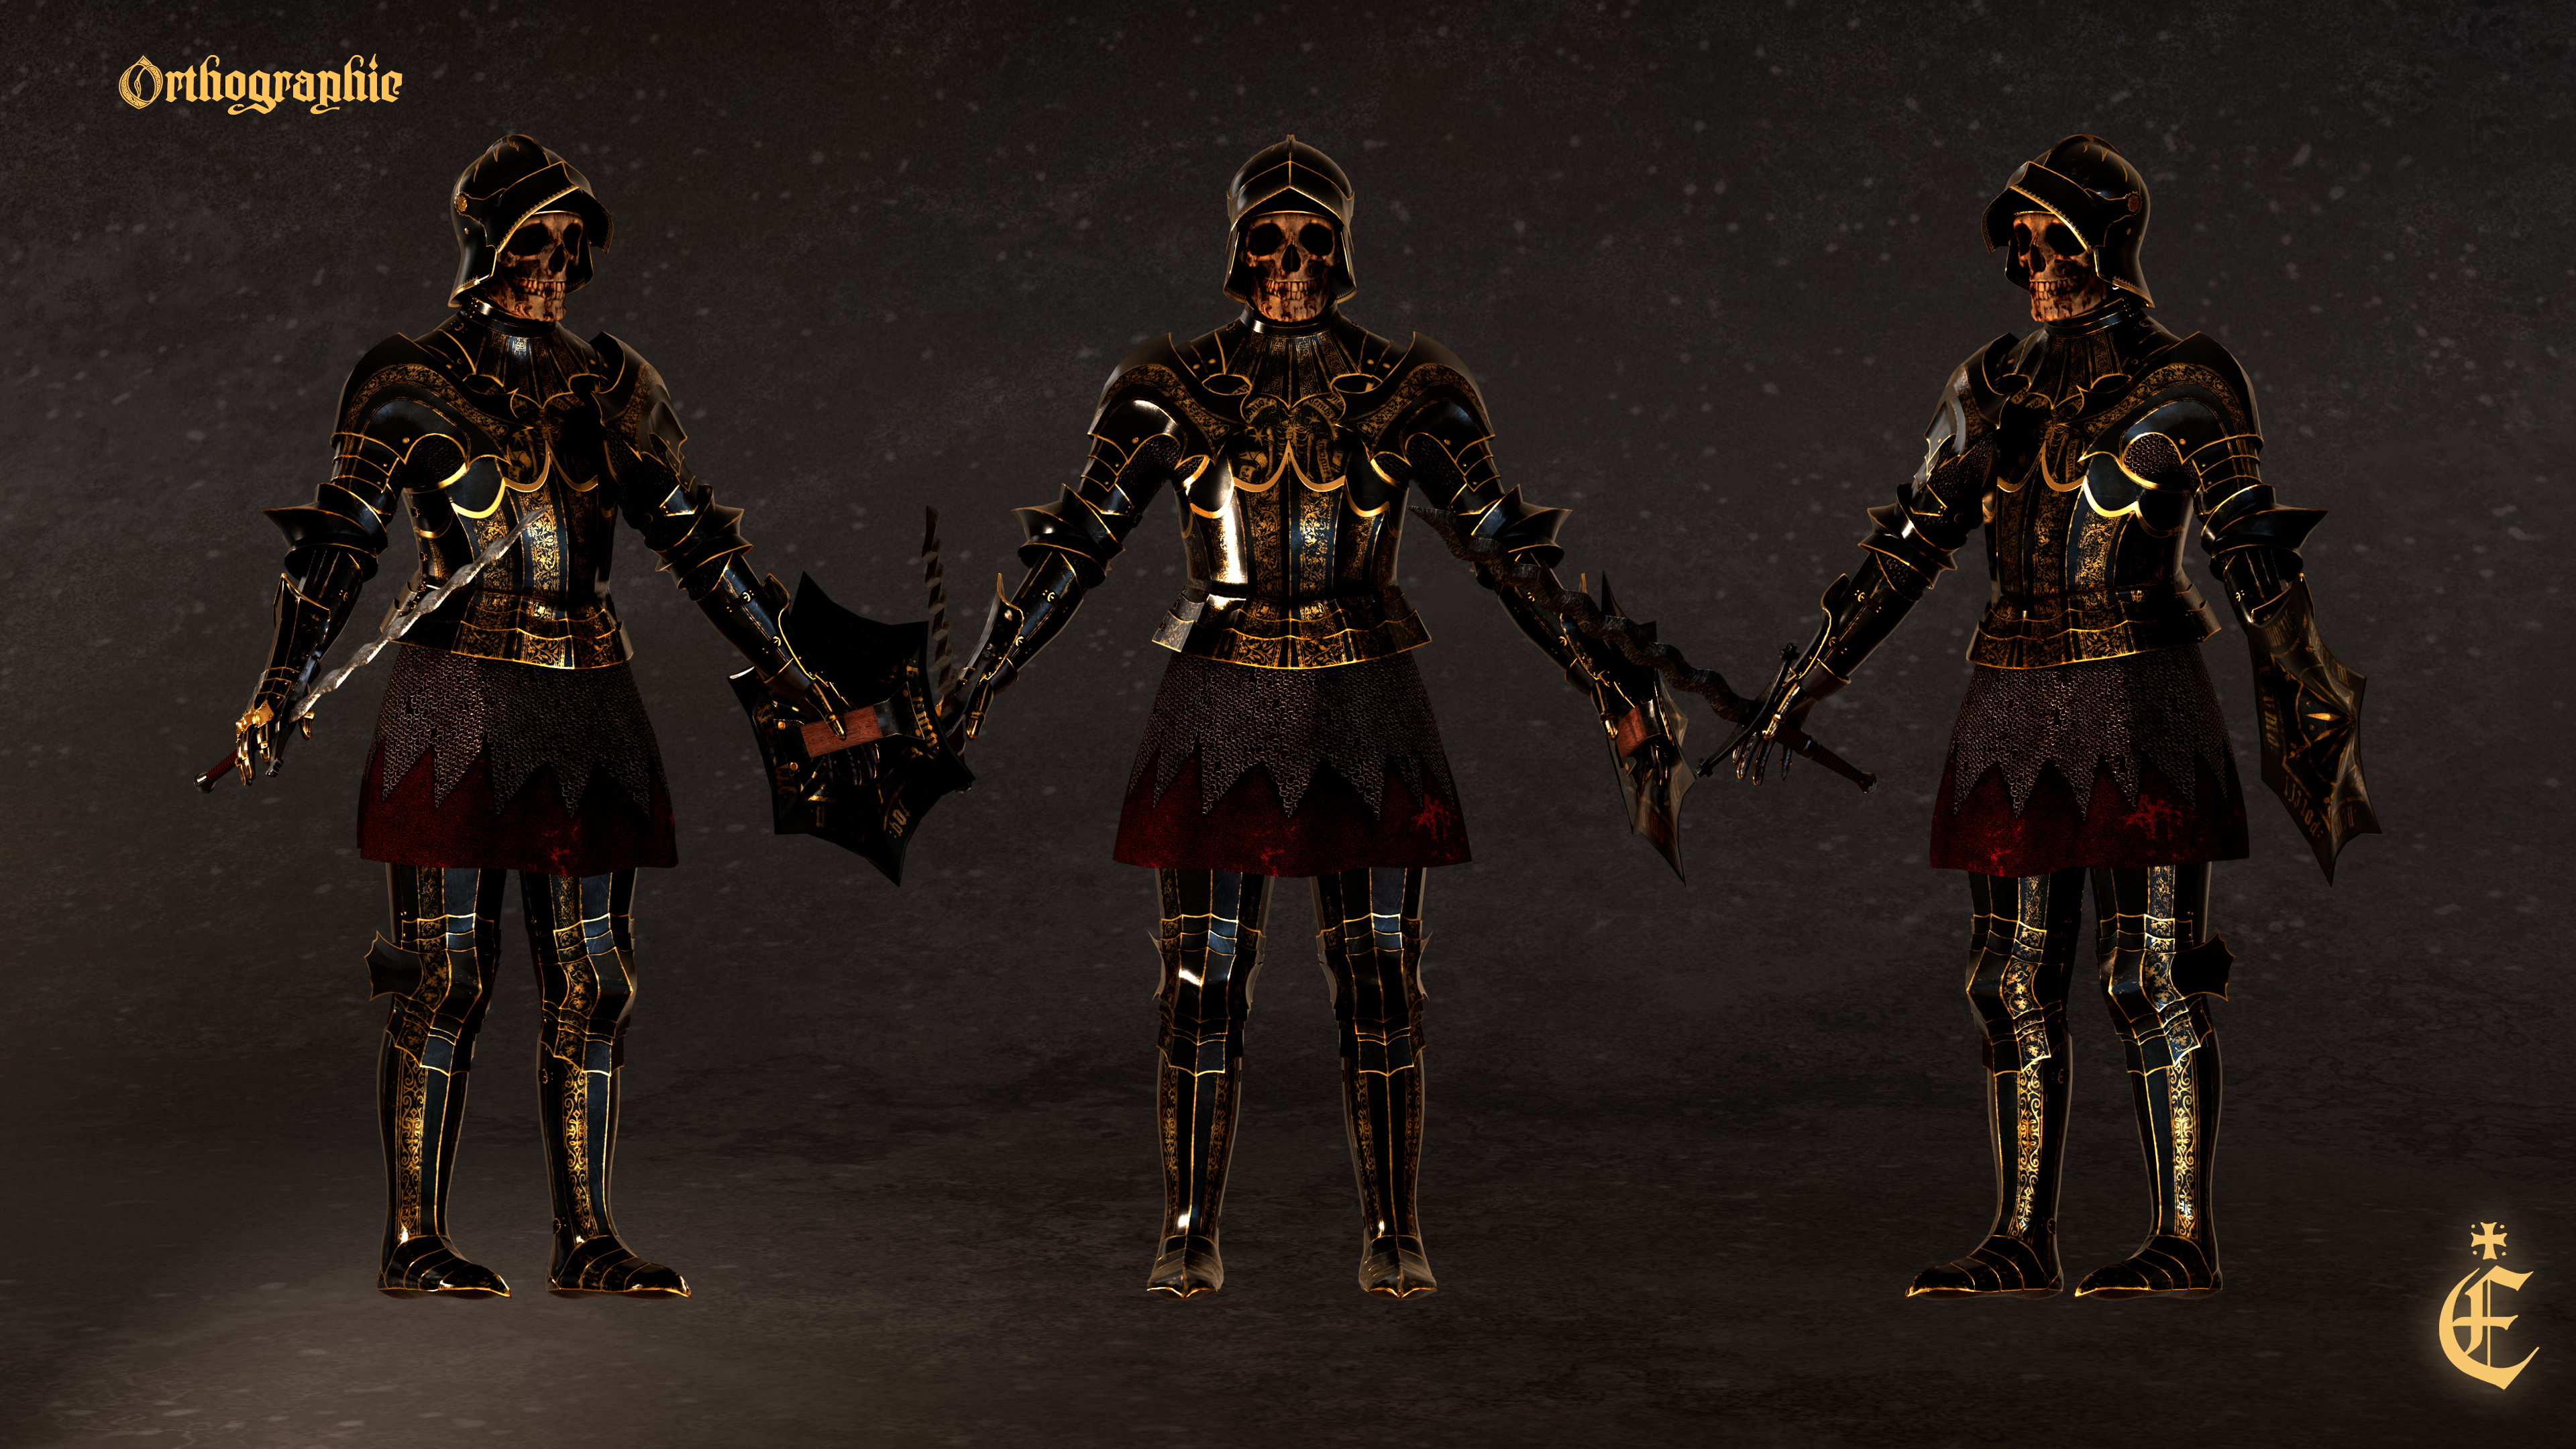
That’s how the project XIII was born - a representation of the "Death" card from the Rider-White Tarot deck, visualized as a black gothic armor with golden elements that echoes medieval aesthetics. I originally created this armor as a personal project during my time at ZERO10. There were specific limitations - the entire model had to be under 10,000 vertices, meaning all the armor had to share a single UV map, one material, one mesh, and all the intricate details had to be hand-painted into the textures.
Final result for AR Try-On is here.
You designed most of your armor pieces using Marvelous Designer, which is quite unique. What was it like working with hard surface modeling in this software?
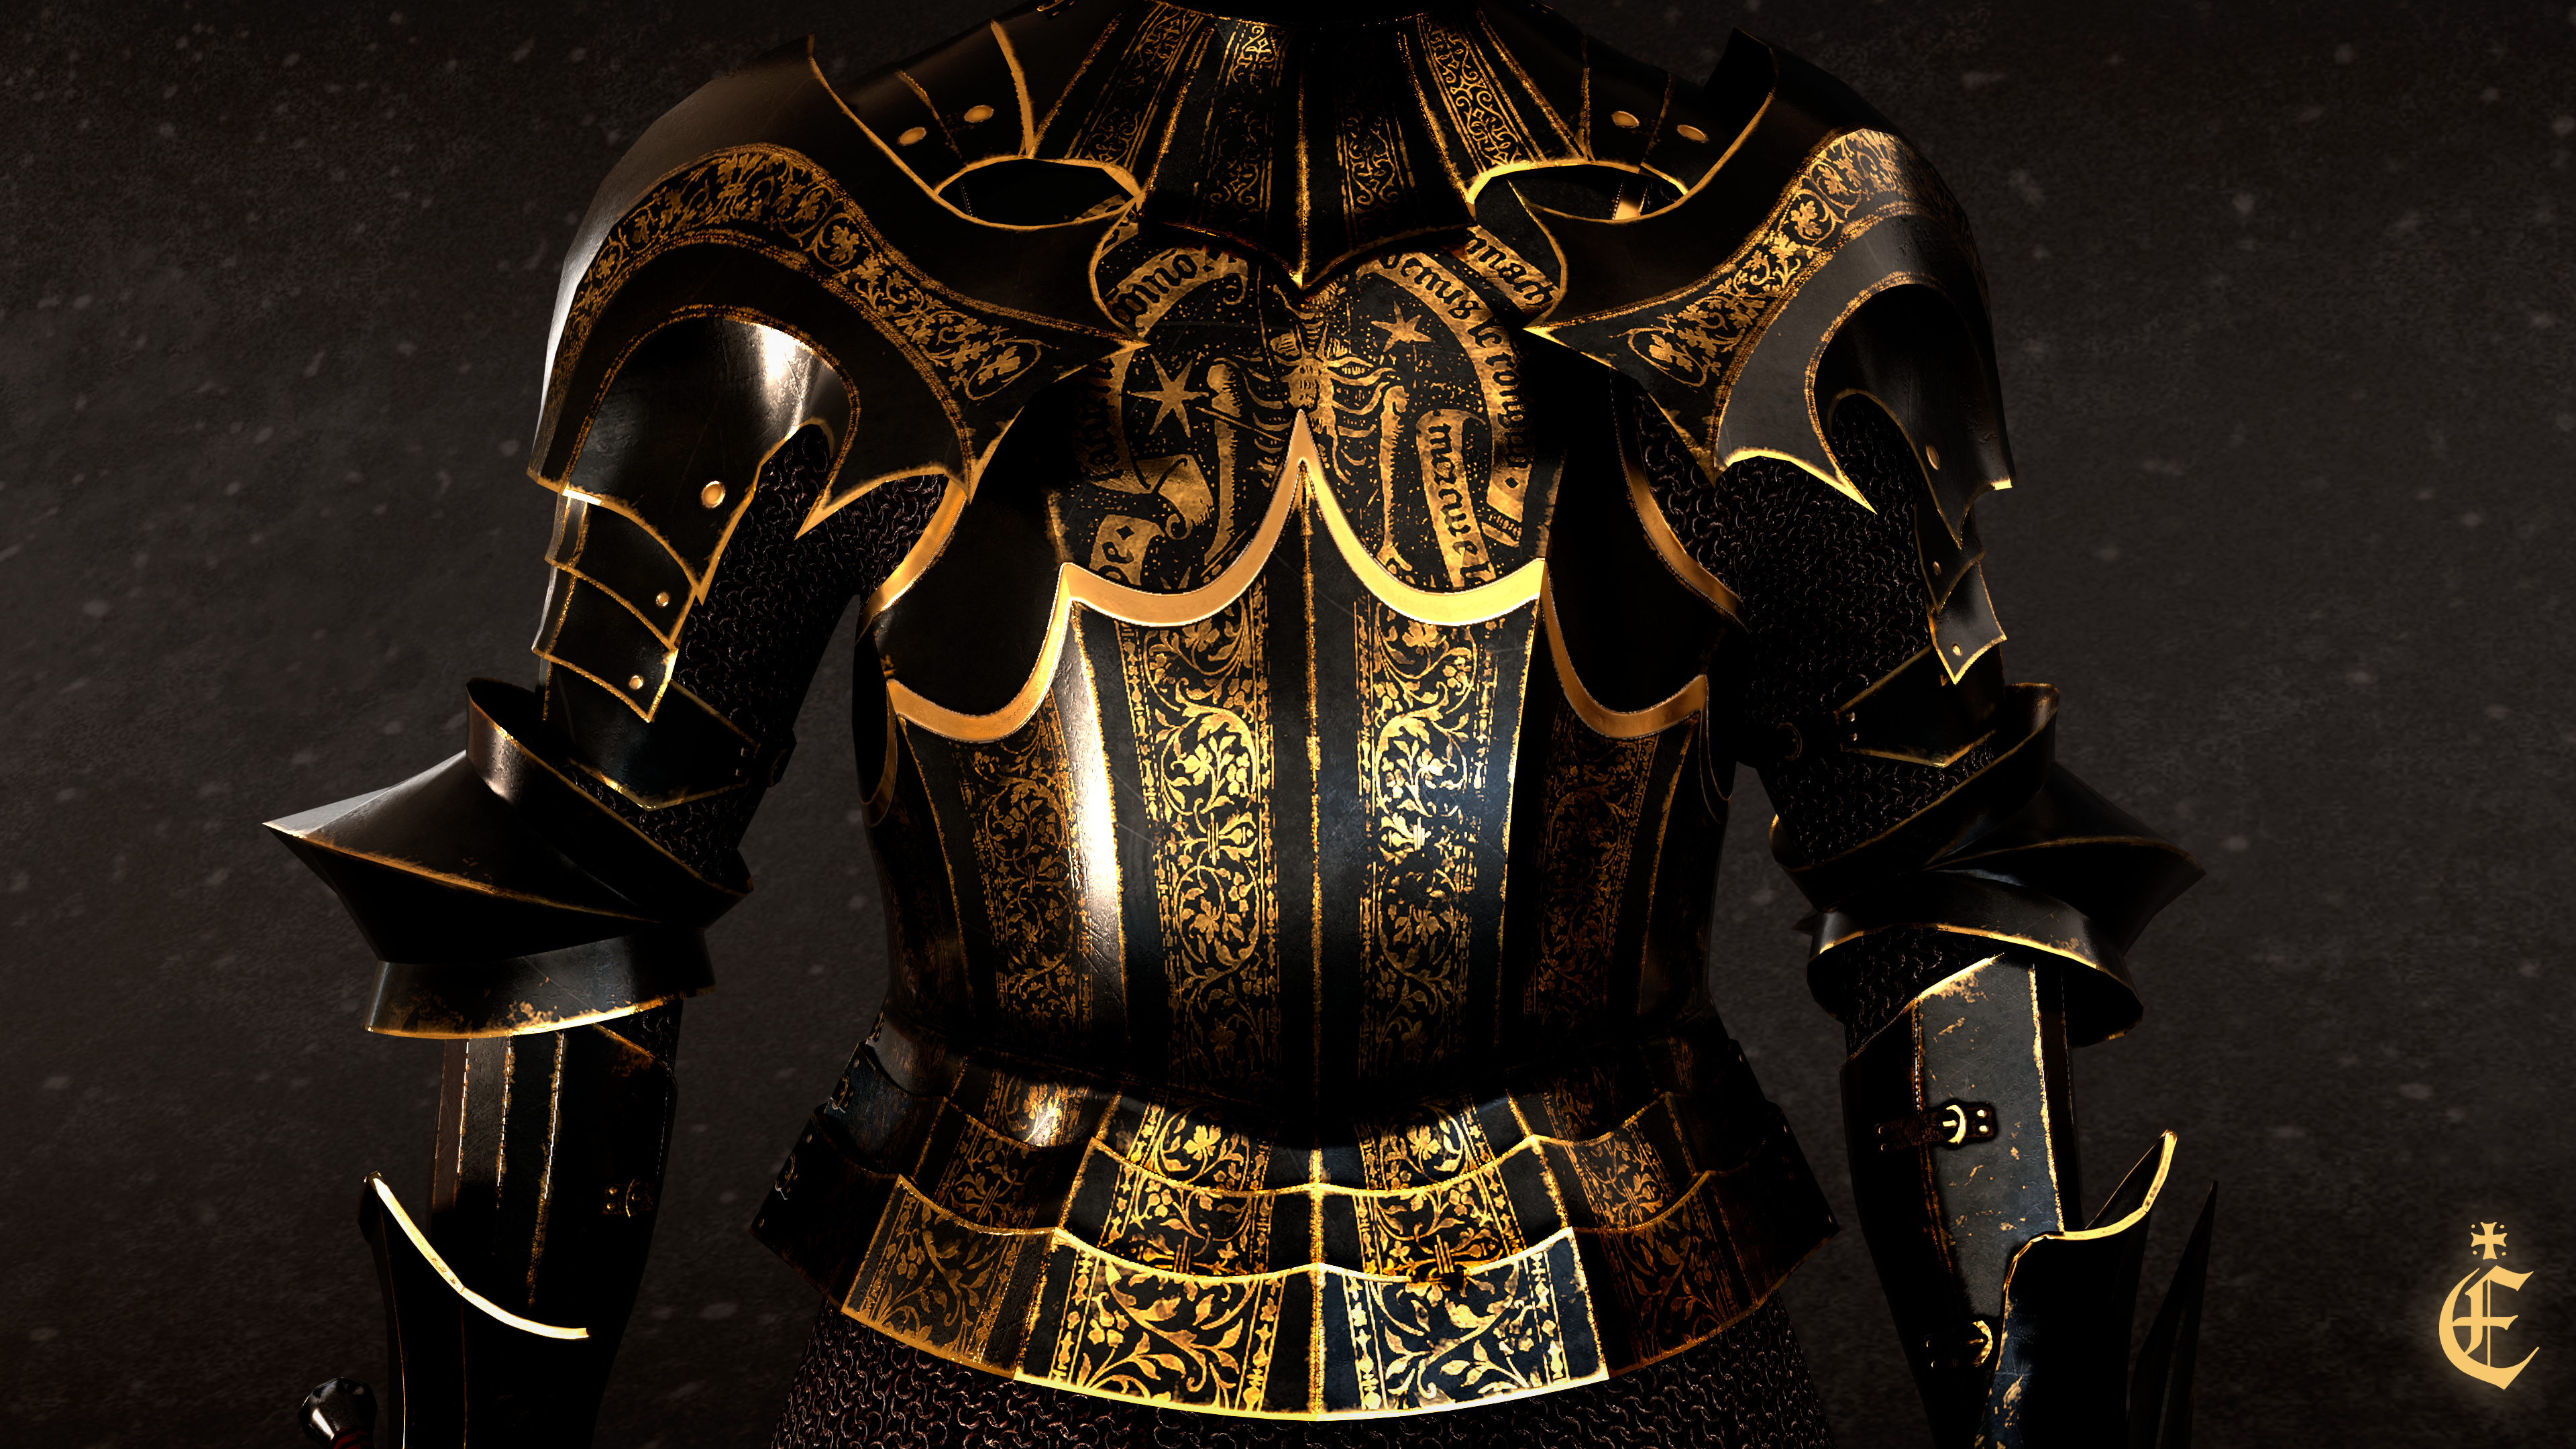
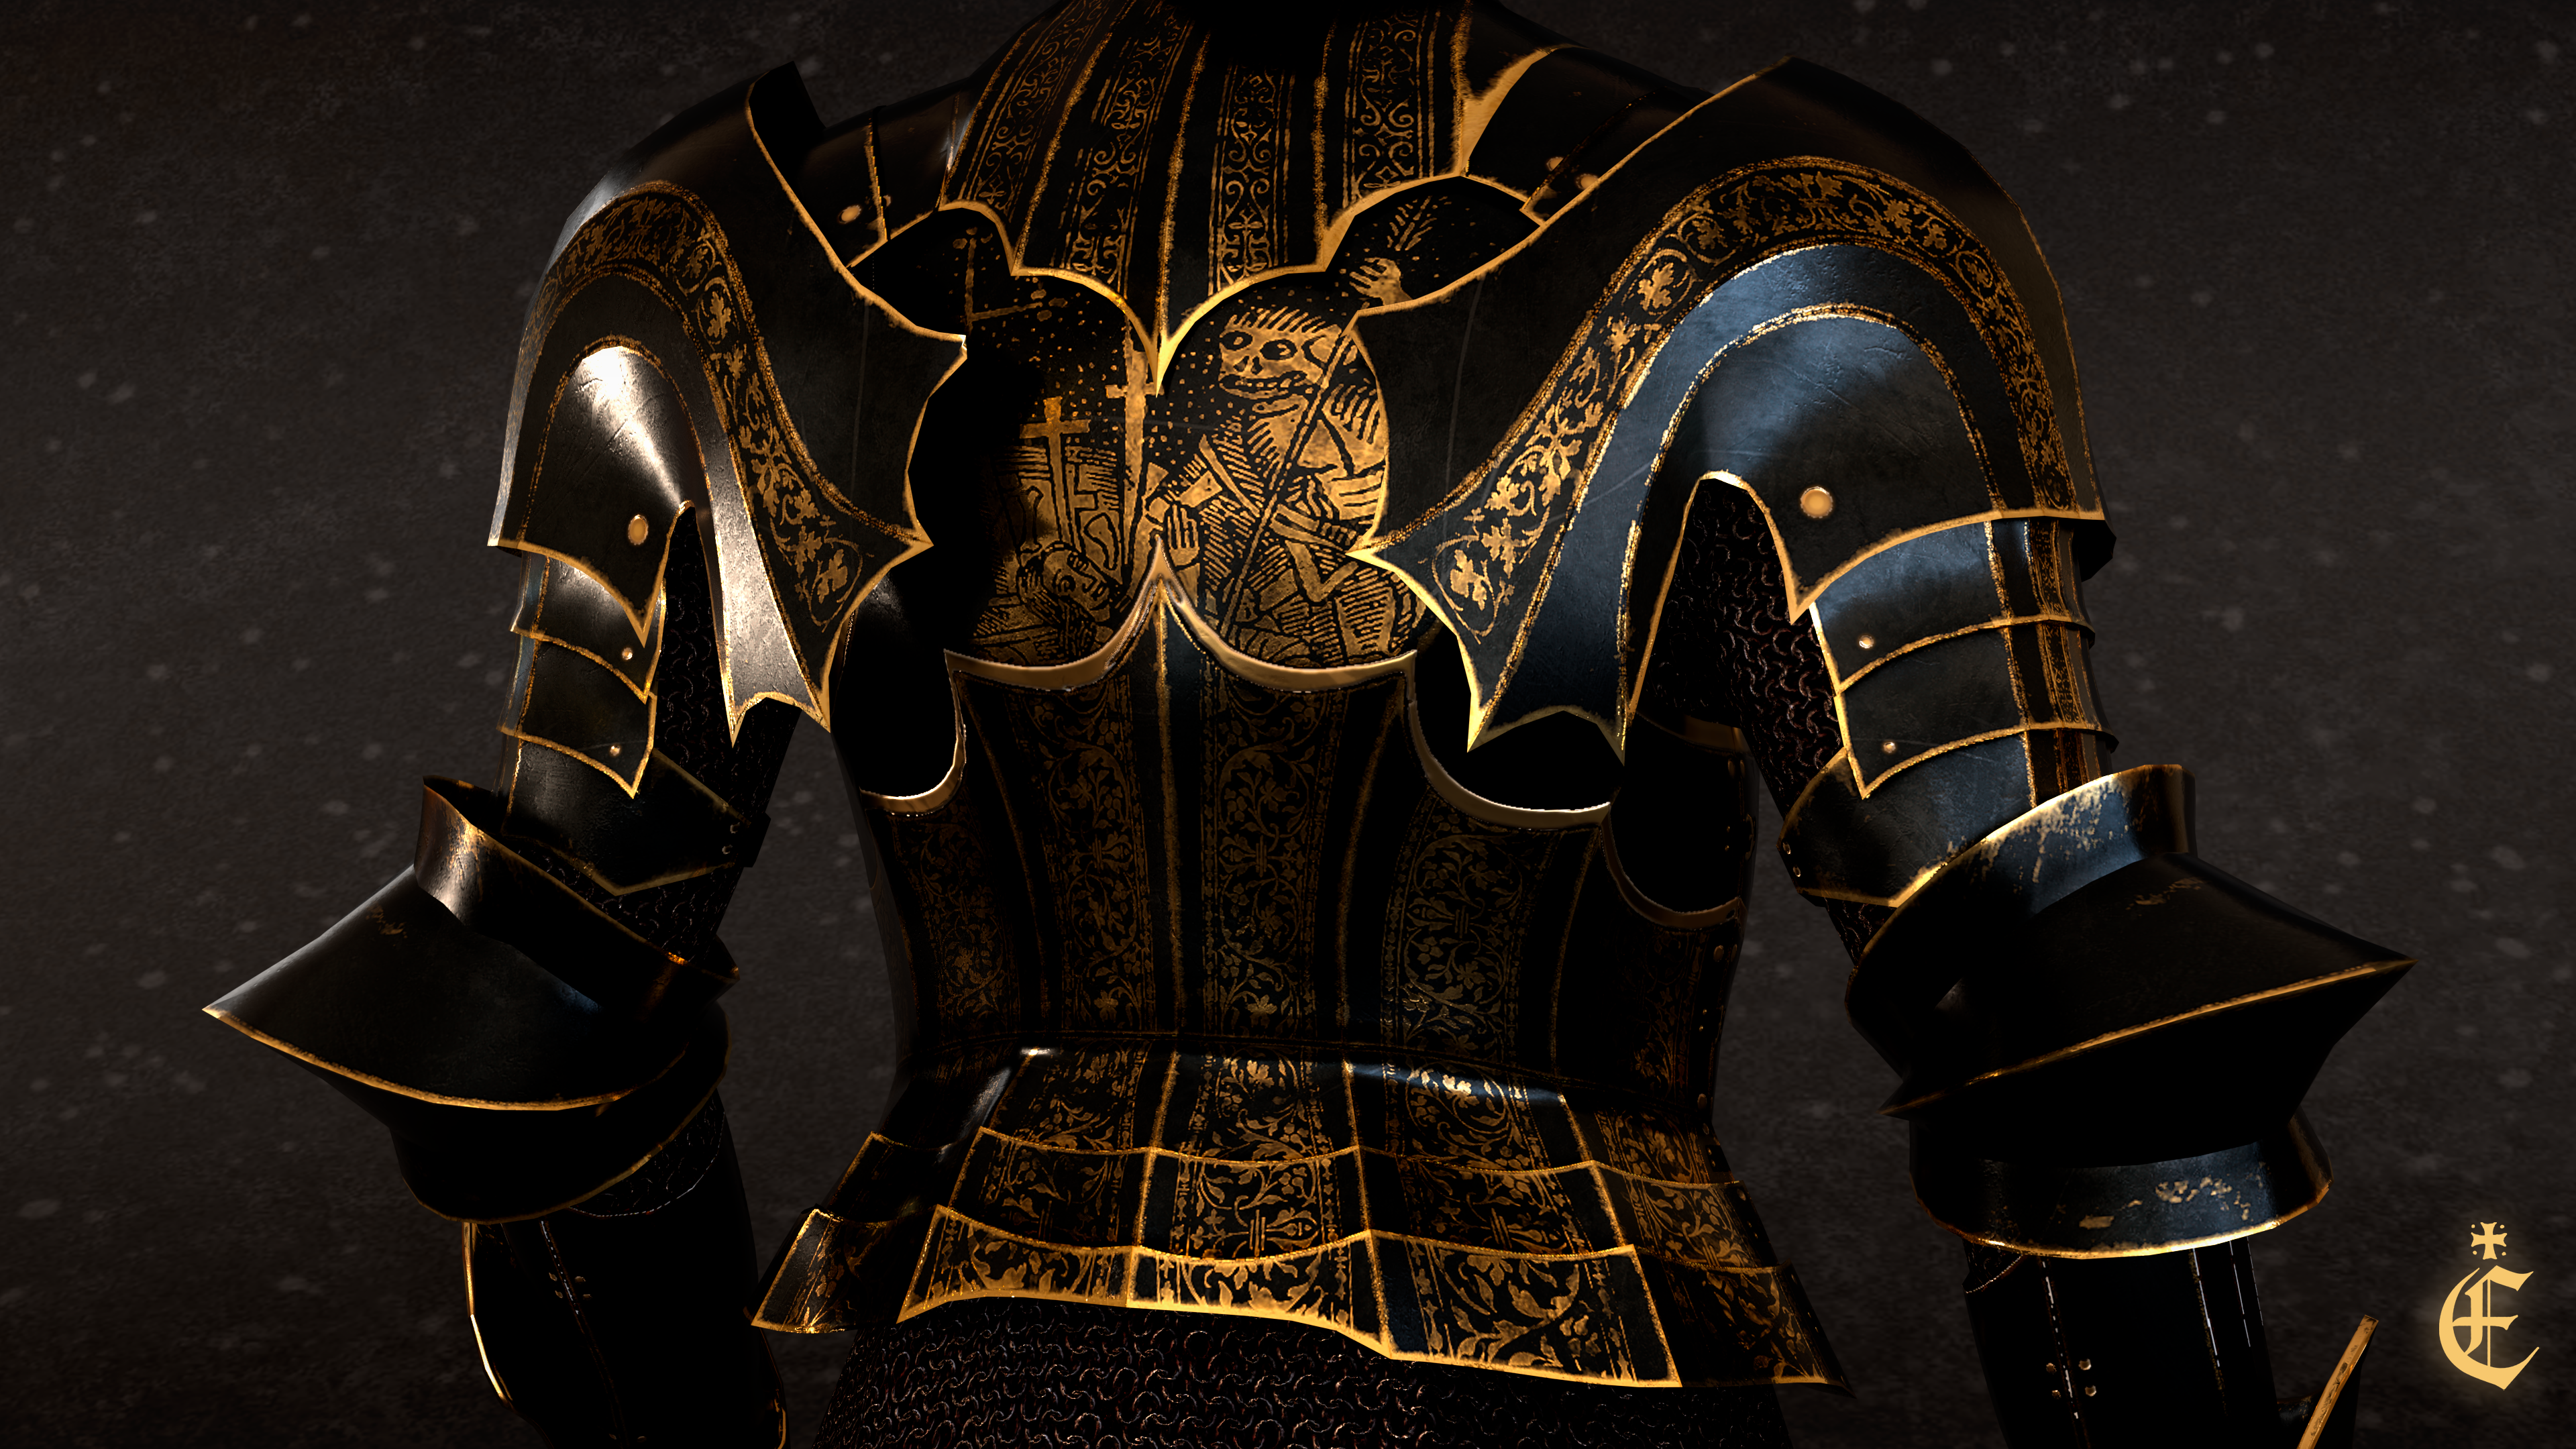
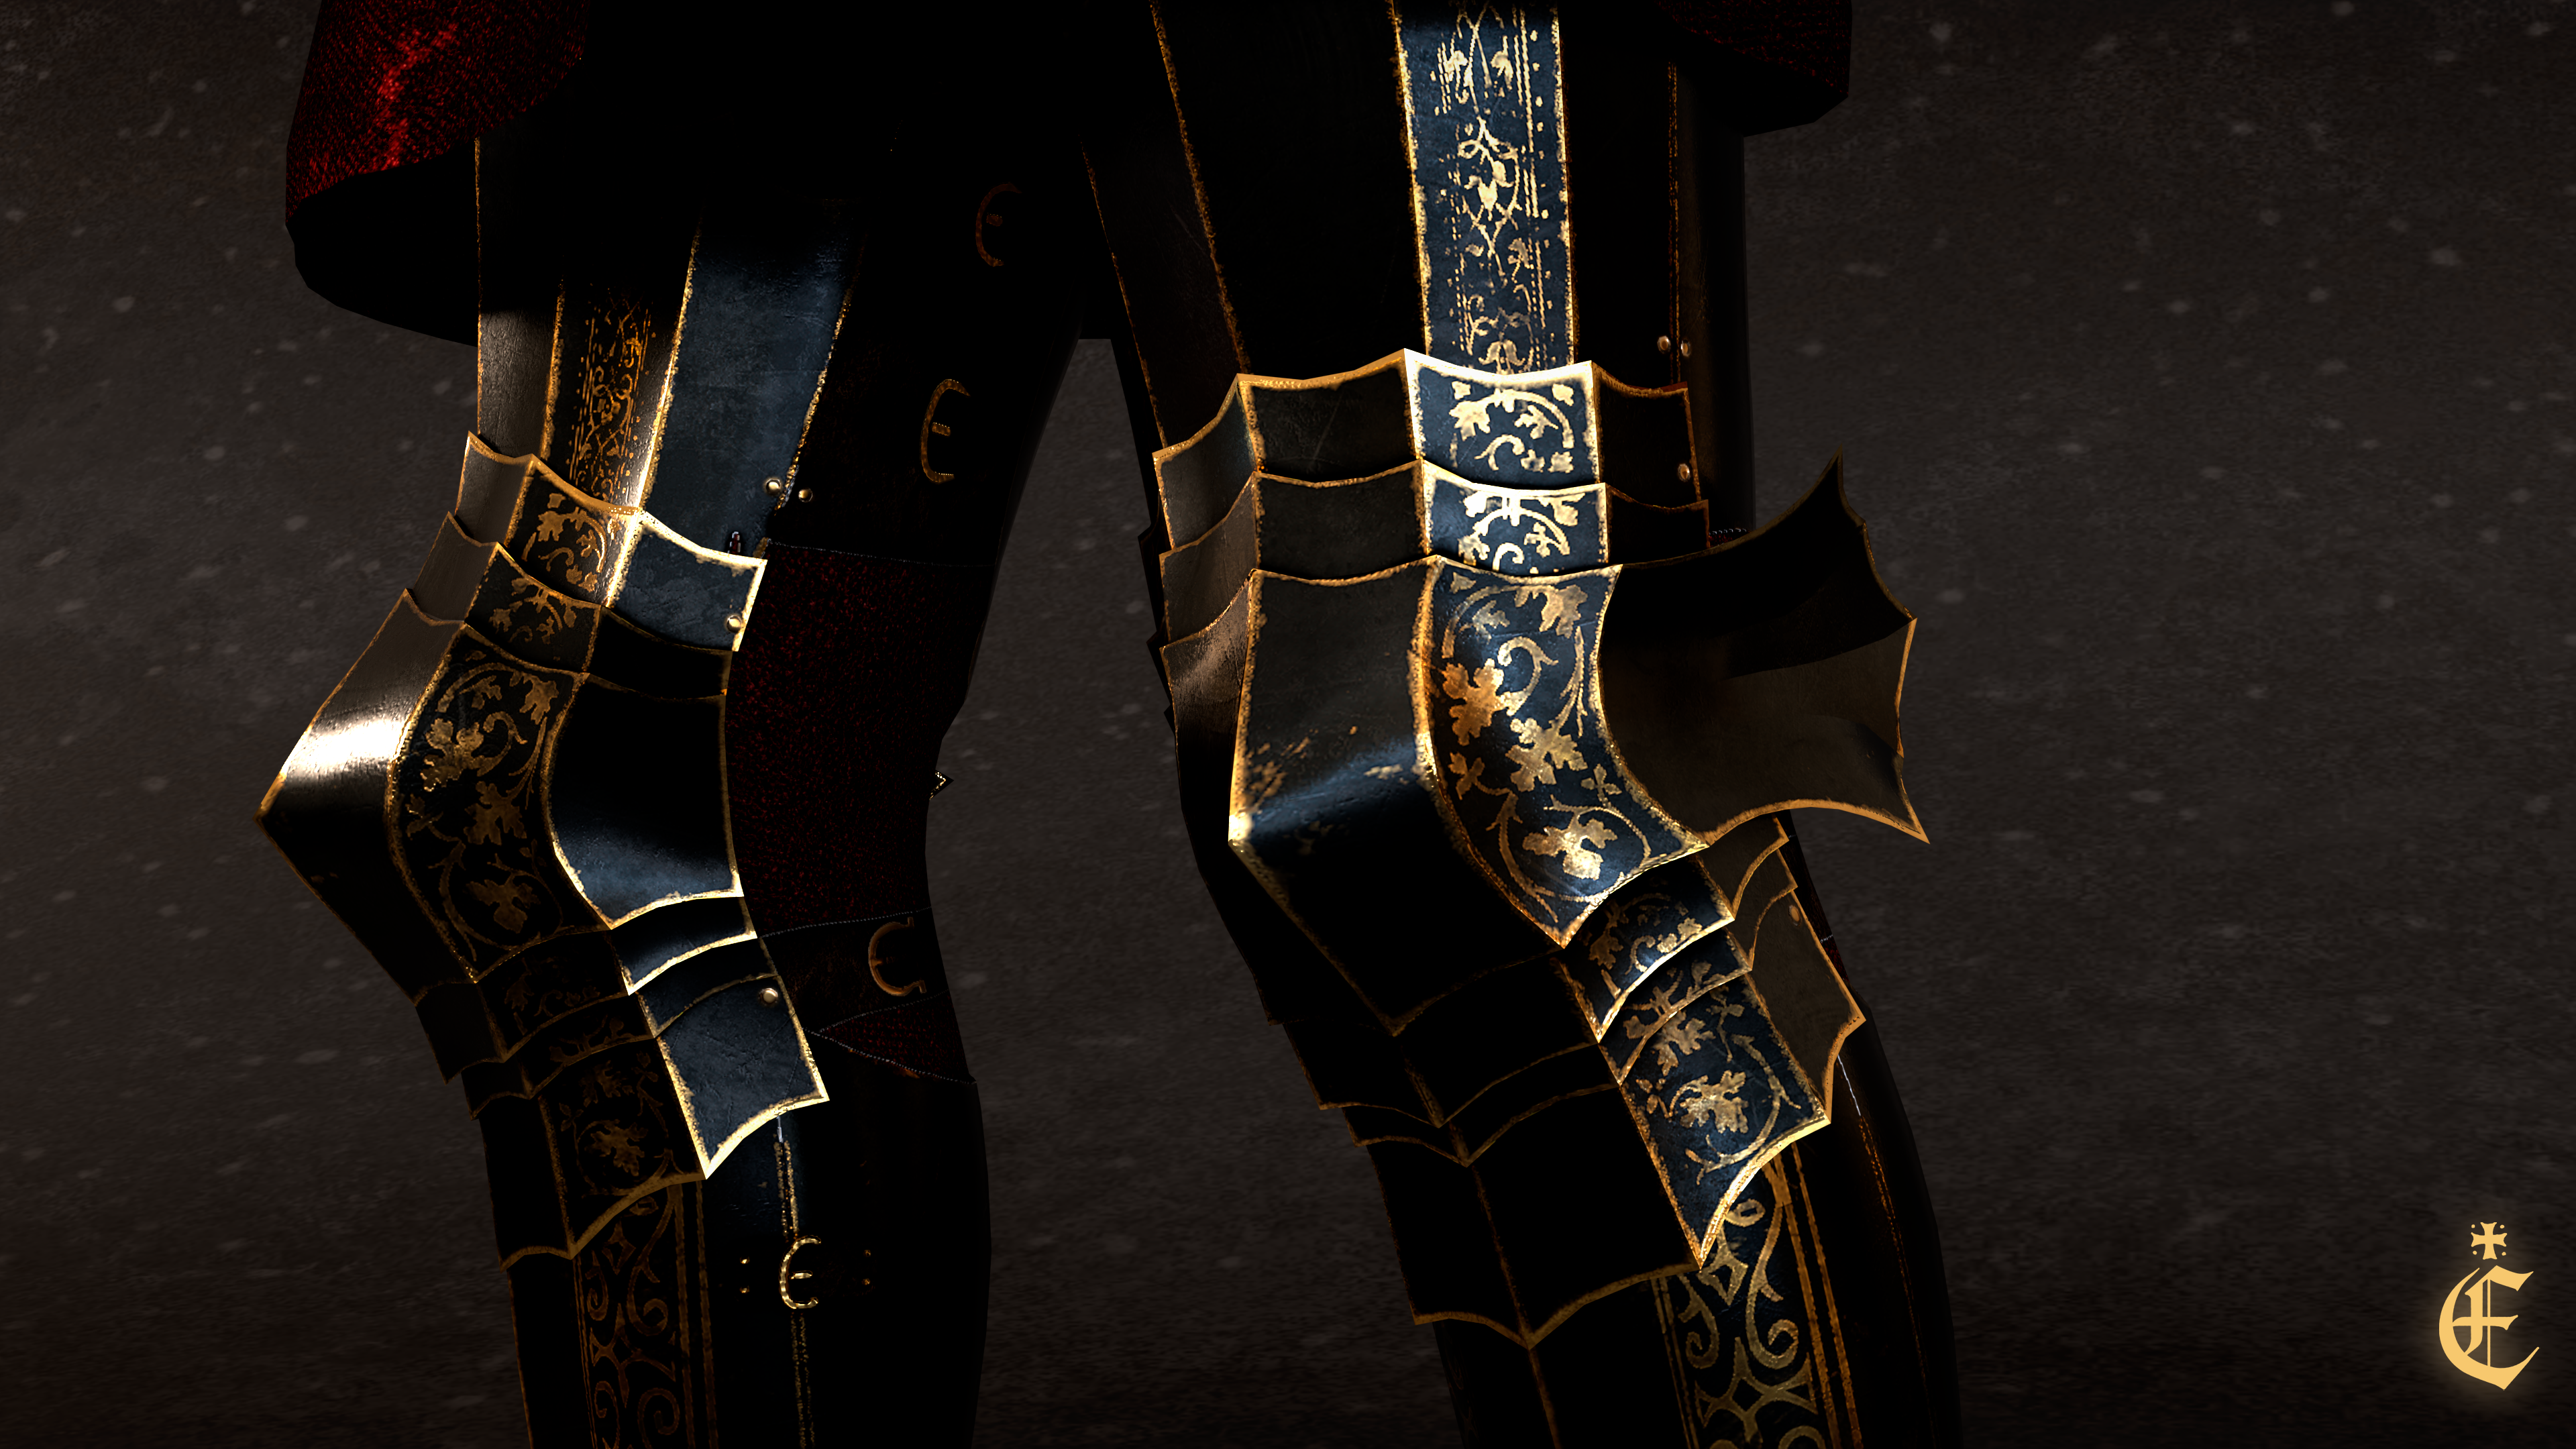
The idea to create armor in Marvelous Designer started as a spontaneous experiment. Honestly, I didn’t expect much from it at first. I had tried to make armor before, but it always looked too soft or plush like this. However, Marvelous Designer has a huge advantage - it lets you work with patterns, much like real-life armorers do. Blacksmiths often use templates just like tailors - the only difference is that metal can be shaped and forged into rigid forms. Marvelous Designer offers a similar flexibility: you create a base pattern, simulate it to get the right shape, freeze it, and then gradually add more details. The key is controlling the deformation of each piece and using pins to lock certain parts together when needed.
Could you give us a brief rundown of the tools and software you used throughout your workflow?
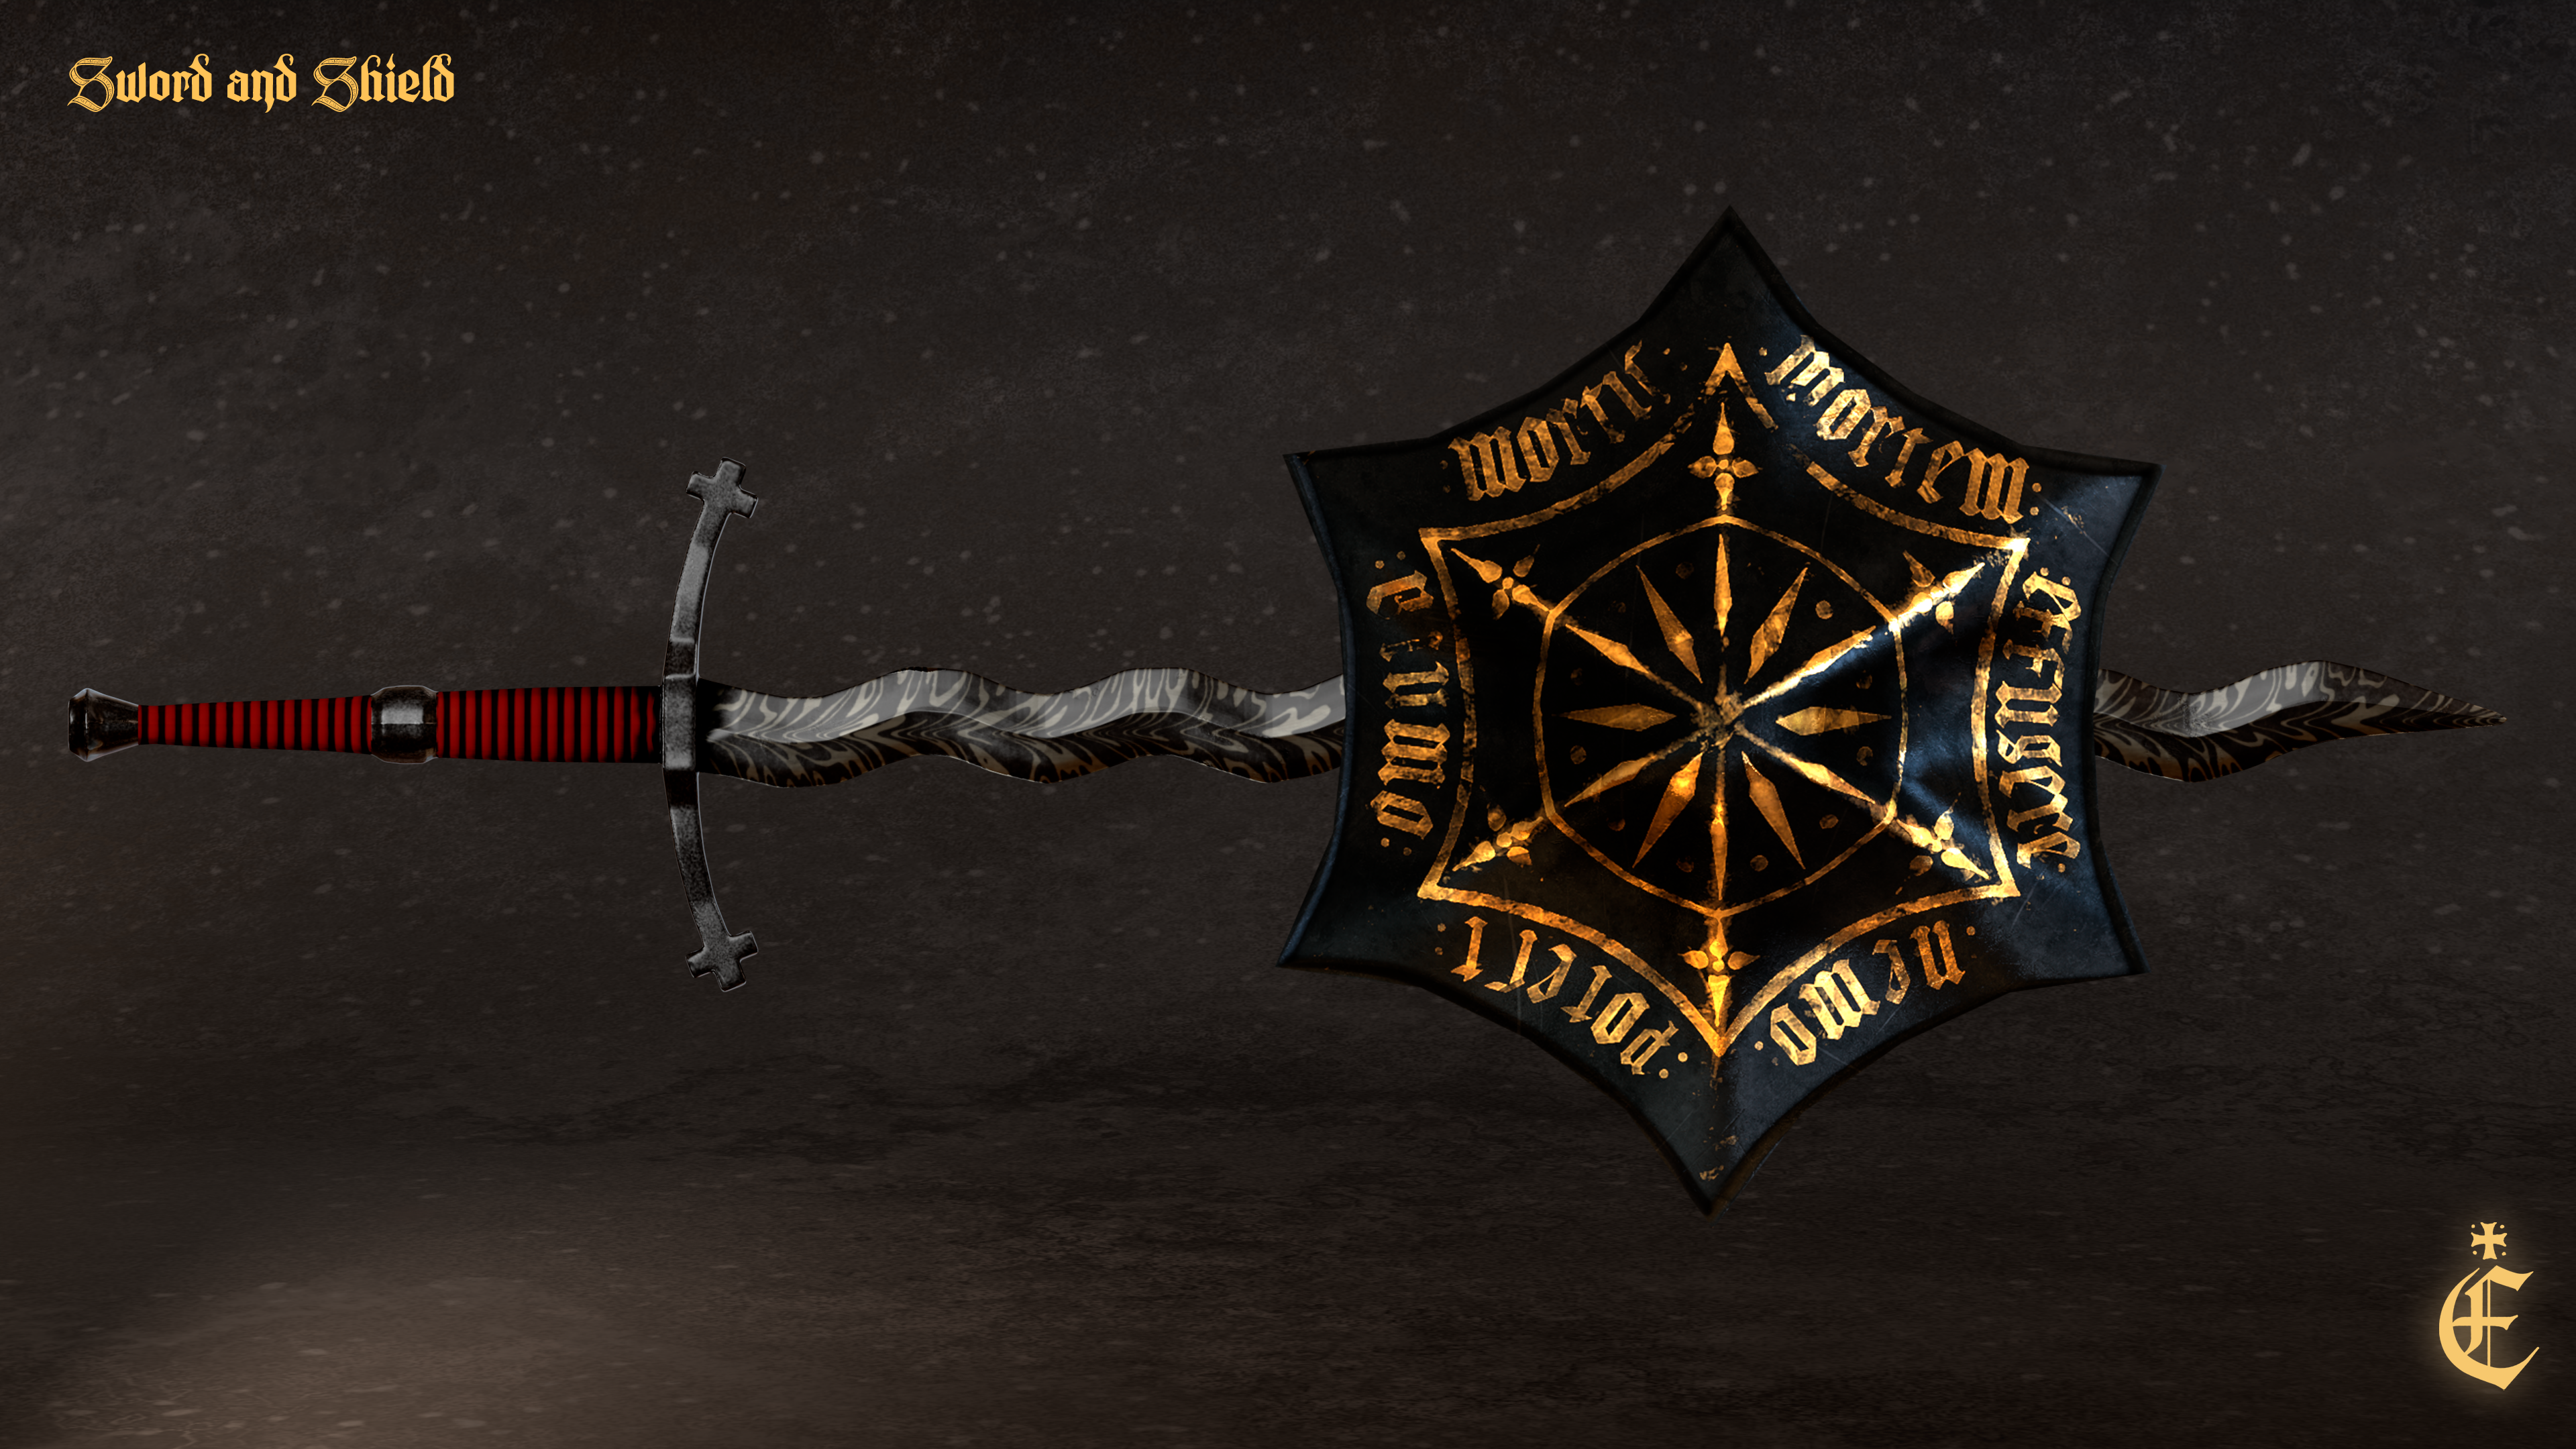
The main armor — everything except the helmet and gloves — was created entirely in Marvelous Designer. For the helmet and gloves, I used free assets as a base and rebuilt them from scratch in Blender. The sword and shield were also modeled in Blender. I refined the details in ZBrush and did all the texturing in Substance Painter. I created turntables in Blender, and the final renders were done in Marmoset Toolbag.
 What were some of the biggest challenges you faced while working on this project?
Marvelous Designer isn’t built for hard surface modeling, so getting the right shapes for armor was possible - but tricky. Every piece had to be carefully simulated, frozen, reinforced, and sometimes simulated again. Another important factor was adjusting seam angles - they play a huge role in creating bulges or indentations. One of the biggest challenges was the engraving. I had to manually paint all of it onto the curvature map in Photoshop to place it perfectly in UV space. It was a very meticulous process, but it helped preserve the clean topology I needed for the project.
Do you have any advice for artists looking to use Marvelous Designer for hard surface modeling?
It’s absolutely doable - you can achieve almost any hard shape as long as you understand the basics of simulation and pattern freezing. But to be fair to the community: Marvelous is best suited for rigid but organic forms. If you want to create sleek, flowing, or surreal armor, Marvelous can be a great fit. However, if you're aiming to recreate historically accurate pieces and you're working under production deadlines, it might be more efficient to stick to classic modeling tools. That said - don’t be afraid to experiment. You never know what creative results might come from trying something unconventional.
How would you describe your overall experience working with Marvelous Designer?
Out of all the clothing simulation tools I’ve tried, Marvelous Designer is the most intuitive and user-friendly — especially thanks to its clean interface. You can learn the basics and navigation within a few hours.
The new GPU-based rendering also speeds up the workflow significantly and allows for quicker prototyping and iteration. I would also like to share other projects that were created specifically for AR, which were also created using Marvelous Designer, as a tool of my pipeline: example 1 / example 2 / example 3.
이 작업은 Pattern, Armor, Hardsurface, CharacterArt 등의 기술로 제작되었습니다.
Marvelous Designer로 이와 같은 3D 의상·캐릭터 작업을 직접 만들어볼 수 있습니다.