Cyber Cat
Neon lights, high-tech fashion, and a bold cyberpunk attitude—Zhihao's "Cyber Cat" is the perfect blend of style and sci-fi. In this interview, he takes us behind the scenes, sharing his experience with Marvelous Designer and how he tackled the challenges of bringing a futuristic character to life. Whether you’re a seasoned artist or just getting started, his insights are sure to spark inspiration!

Interview with Zhihao | Cyber Cat (赛博猫猫) | 3D Character Artist
Please introduce yourself to the Marvelous Designer community.
Hello, everyone! My name is Zhihao, and I am a 3D character artist from China. My journey into the world of 3D began with my lifelong passion for gaming and my love for creating whatever I envision.
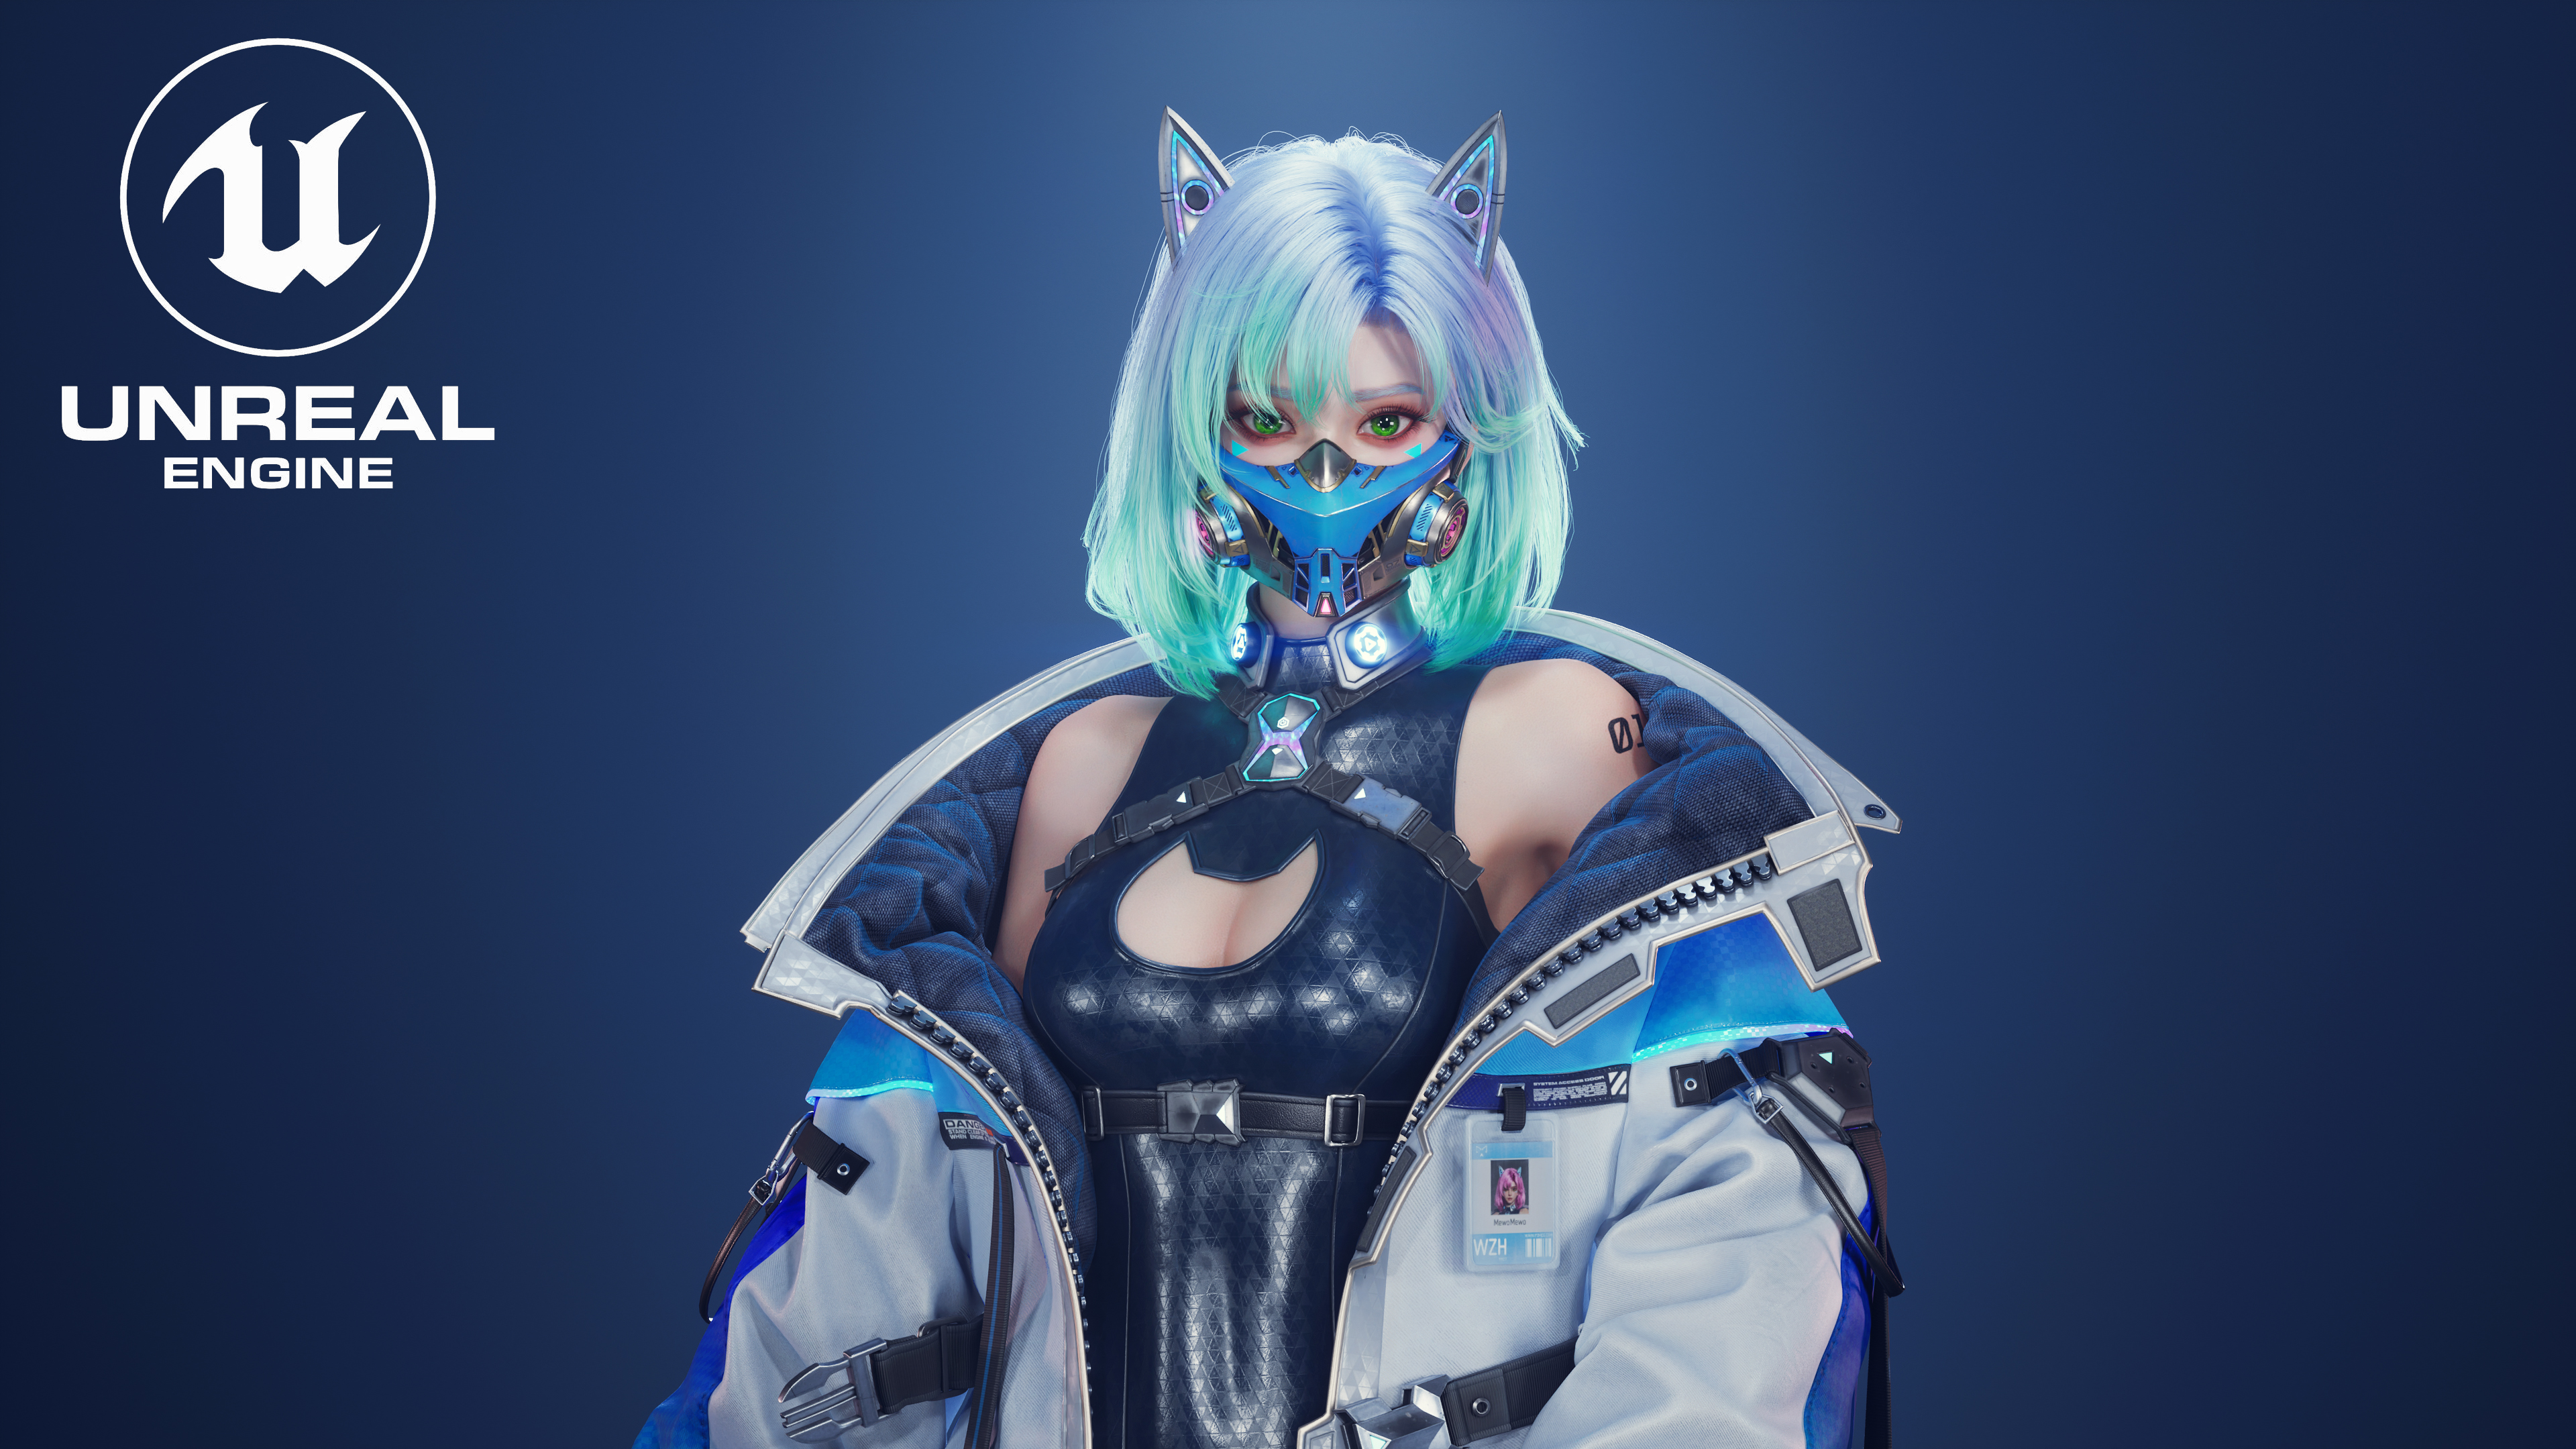
Cyber Cat has a strong cyberpunk vibe and a futuristic look. What inspired this character design, and is there a story behind it?
I got the idea for Cyber Cat after playing Cyberpunk 2077. The game’s cyberpunk world really captivated me, especially the way it blends humans with technology—it was unforgettable. Later, while browsing Pinterest, I stumbled upon an illustration by 박재우 that I absolutely loved. I thought it would look amazing if I brought it to life in 3D!
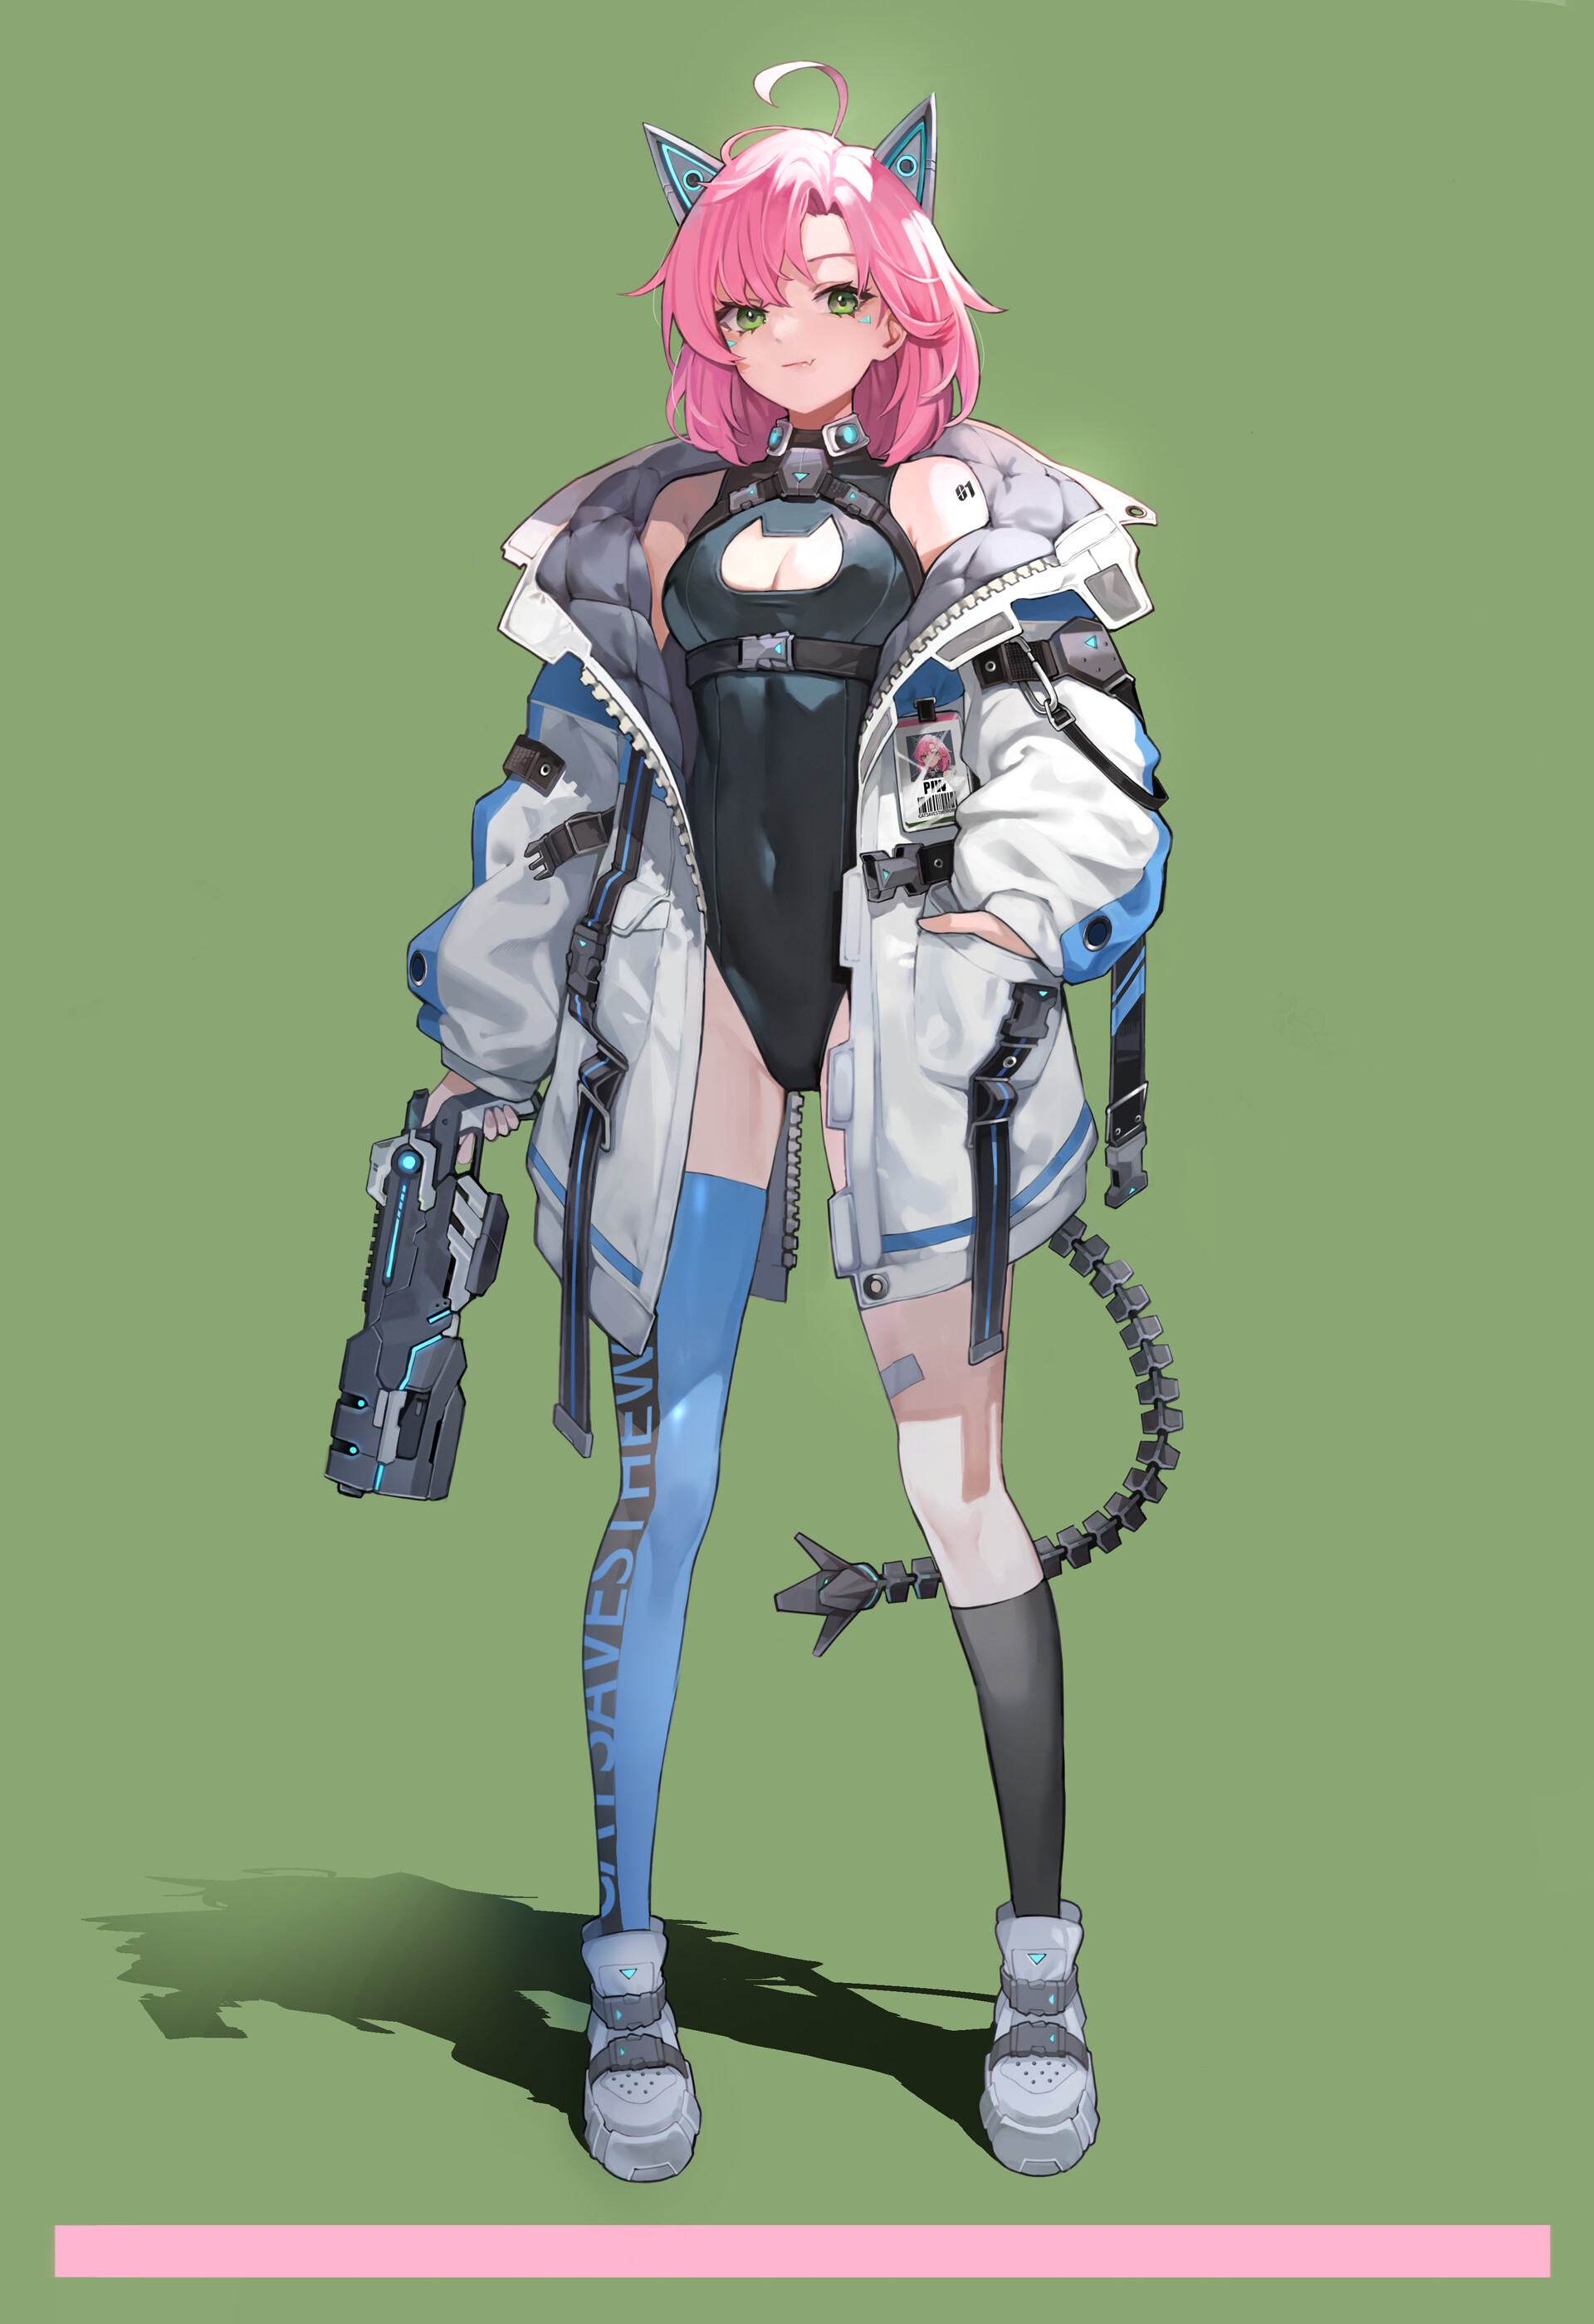
Artwork by 박재우
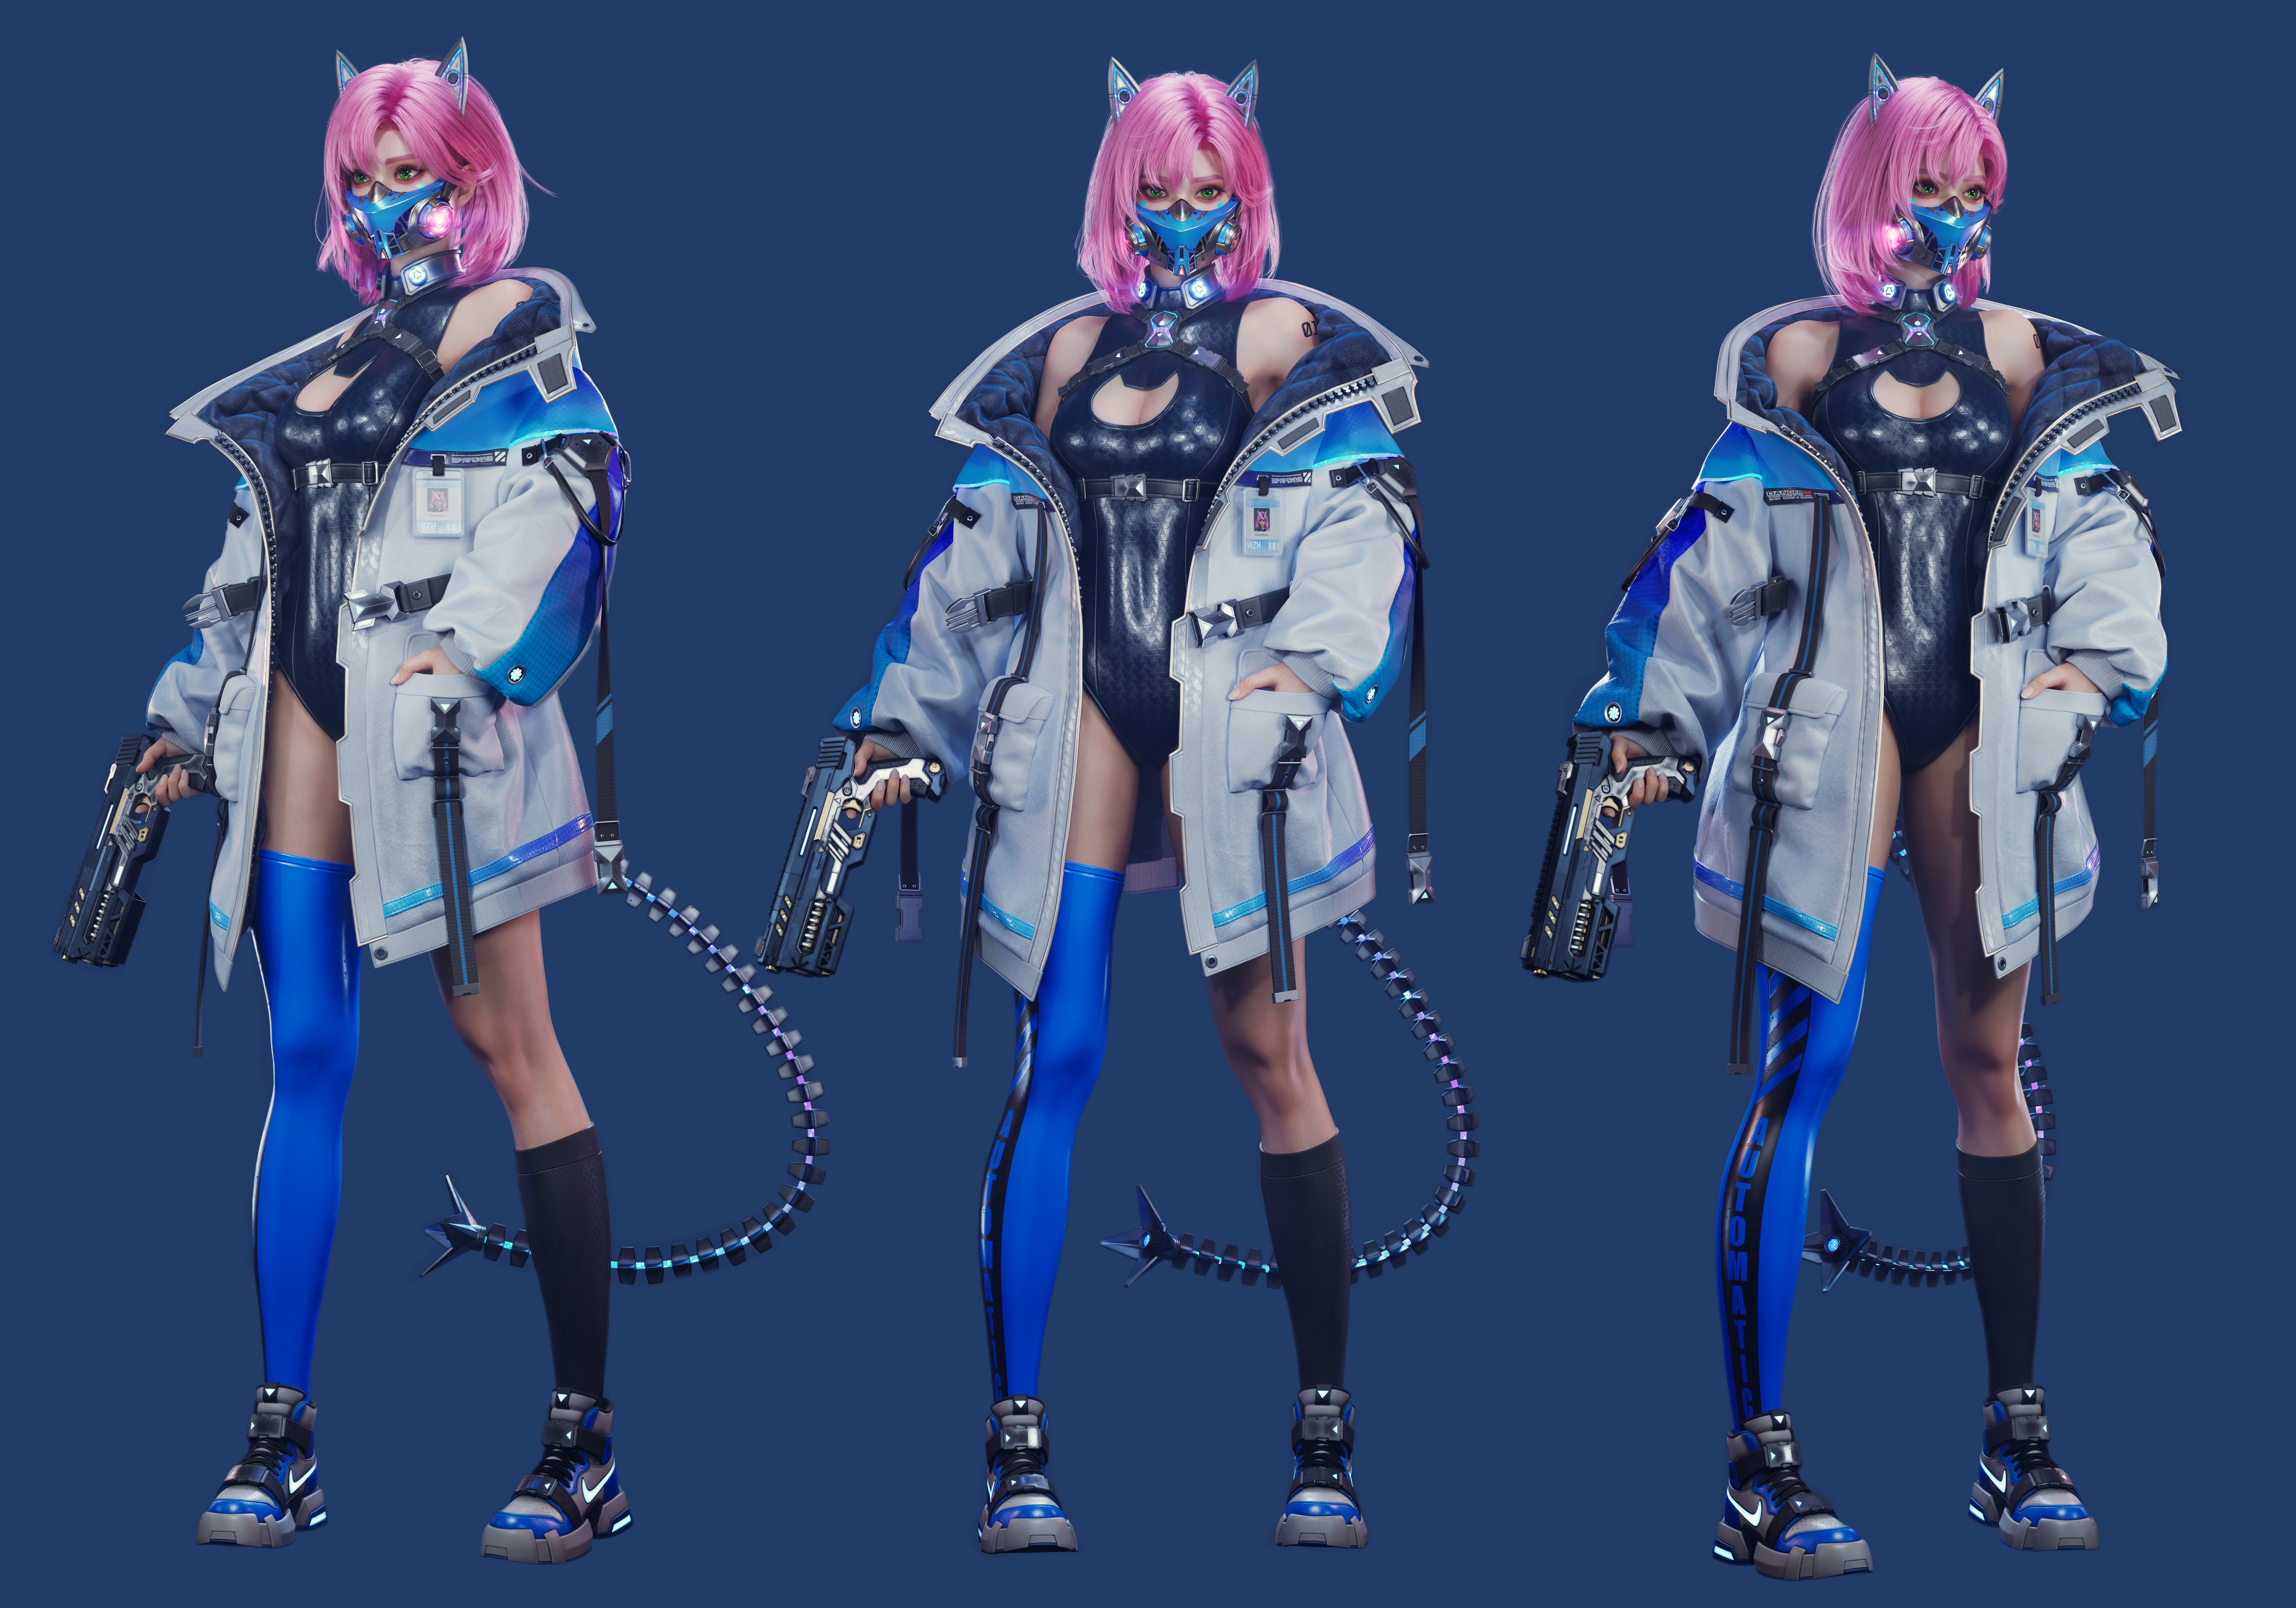
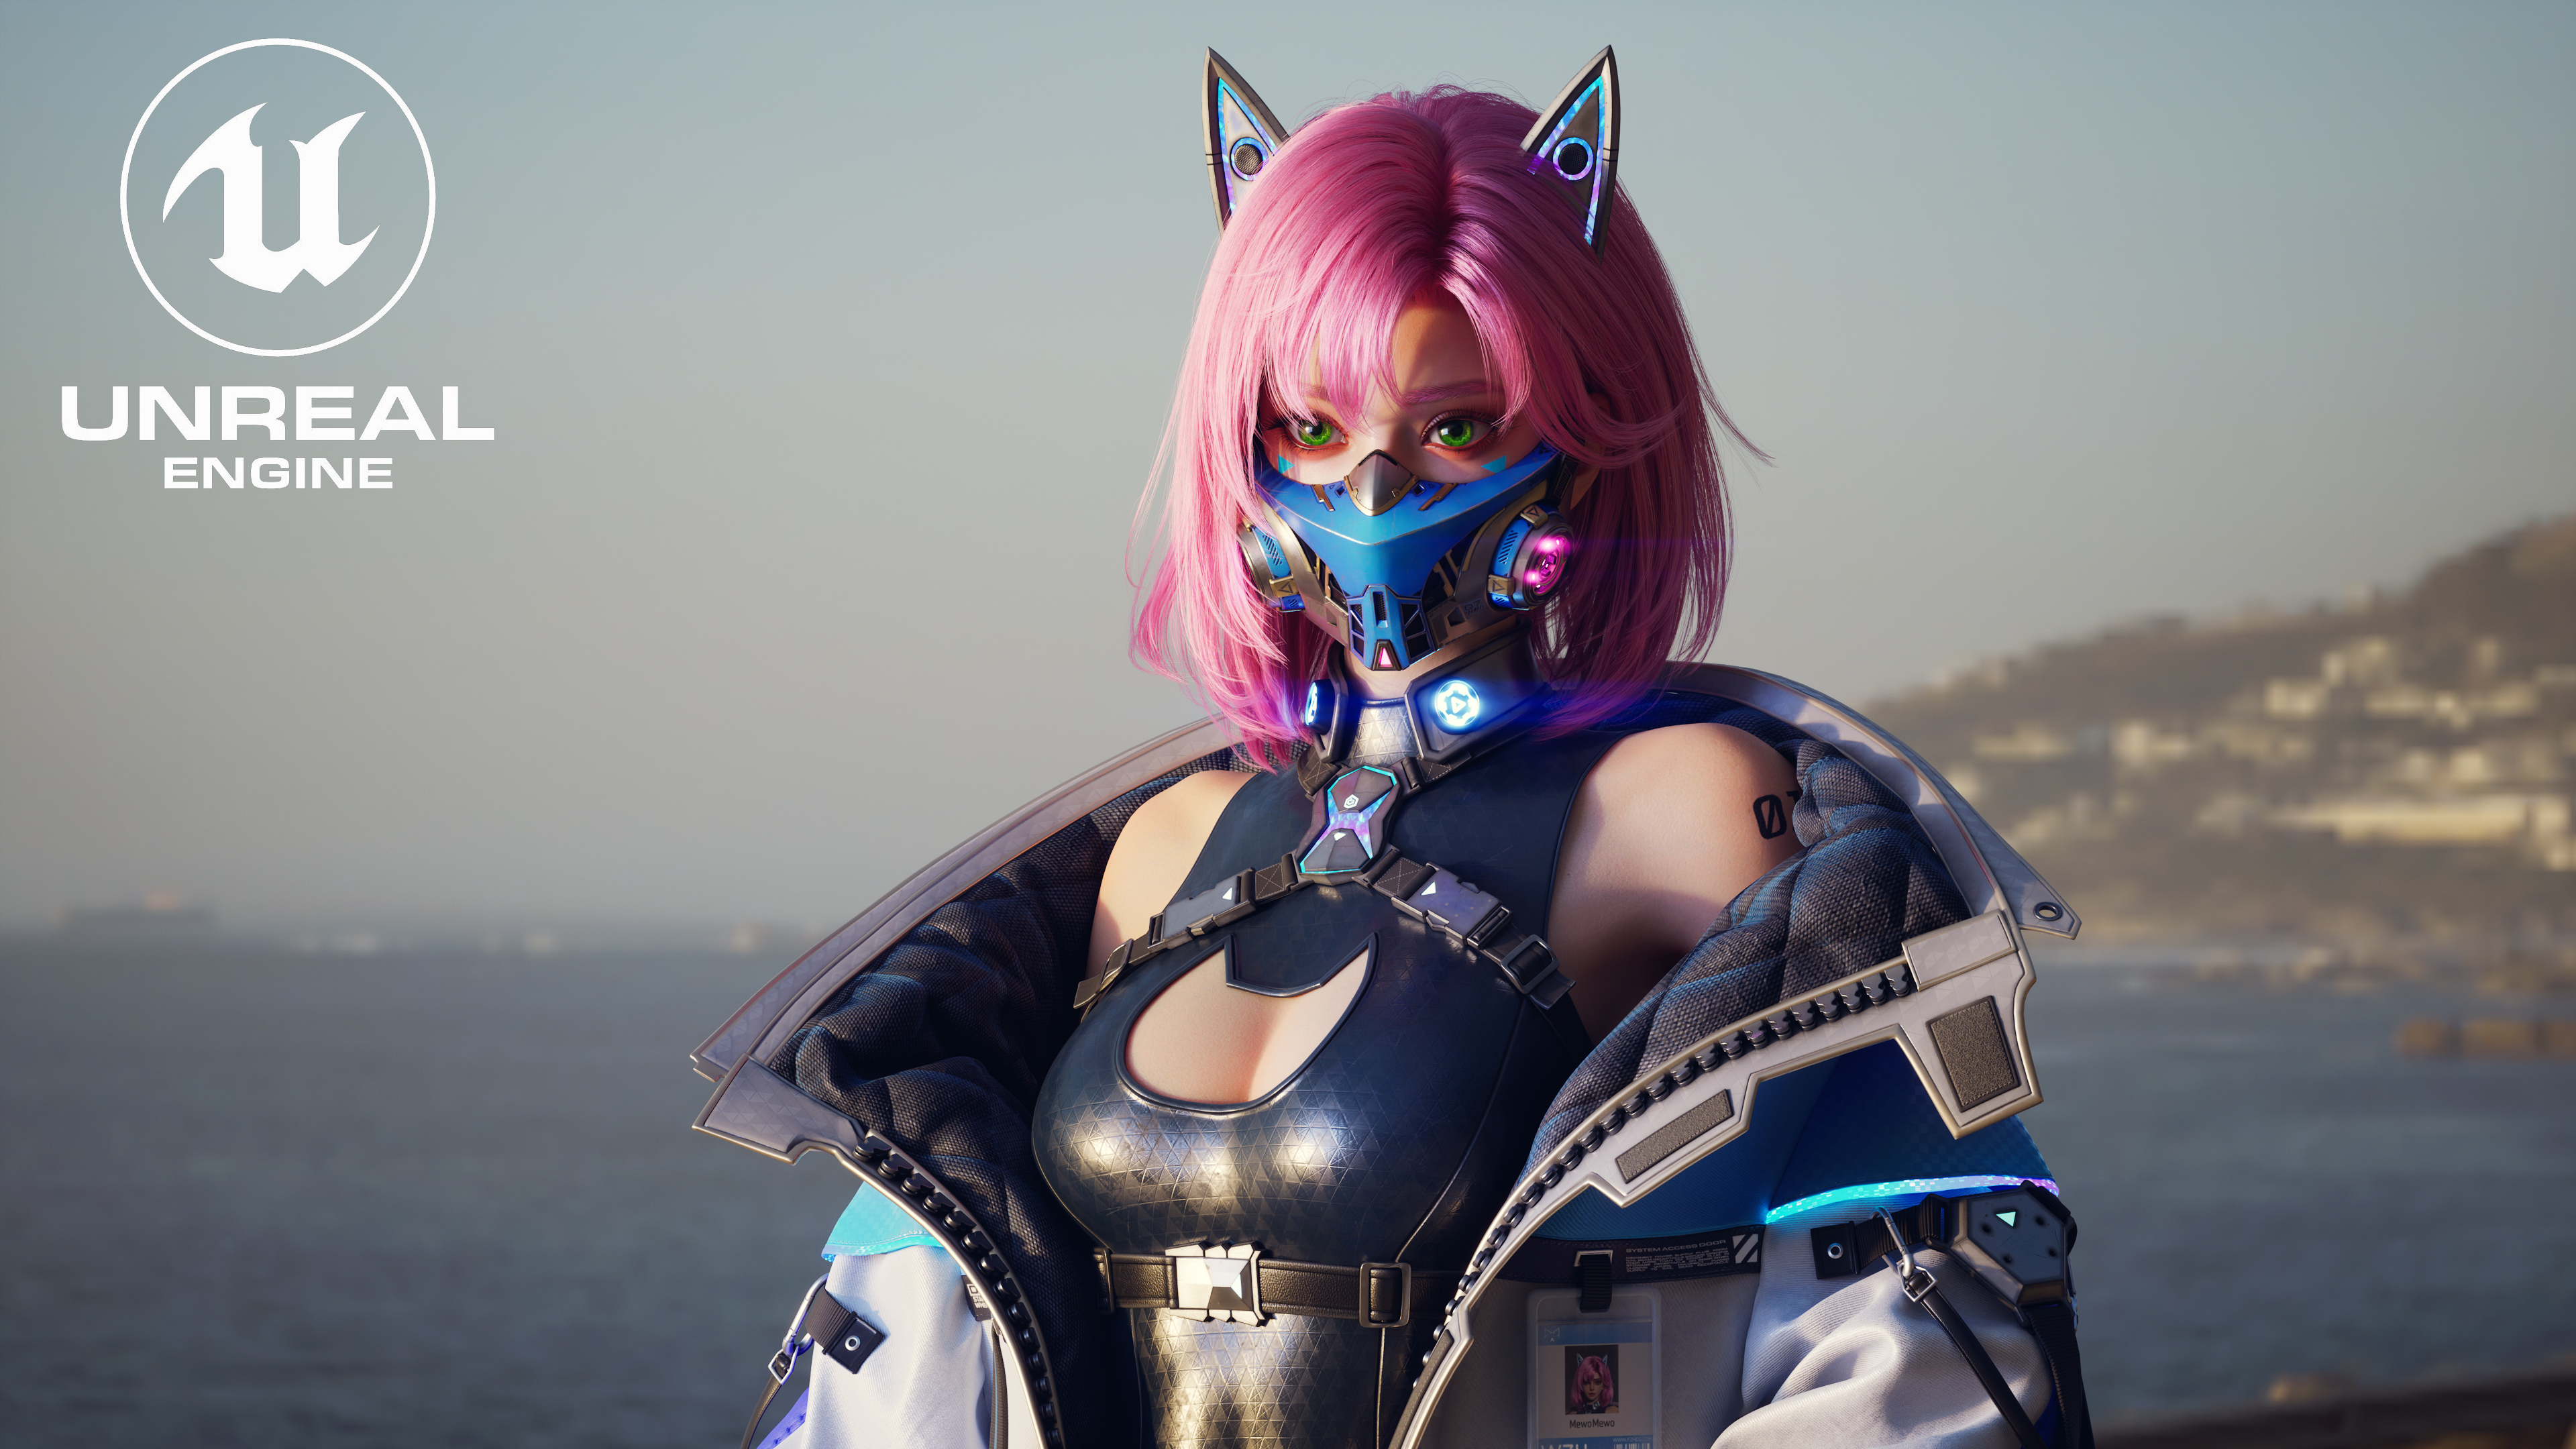
Your characters always leave a strong impression! With Cyber Cat, for example, the pink hair and futuristic cat ears really stand out. How do you think costume design helps express a character’s personality?
Clothing is a powerful tool for shaping a character’s identity. First, colors play a big role—they can communicate emotions and personality traits. Choosing the right colors helps bring out the essence of the character.
Next, the style of the outfit matters. It should complement the character’s body type and personality, enhancing their best features while balancing the overall look.
Finally, incorporating cultural elements makes the design more meaningful and unique. Just like Cyber Cat’s jacket—adding sci-fi details like LED strips strengthens the futuristic vibe and makes the outfit feel more immersive.
How does Marvelous Designer fit into your workflow? What makes it such a valuable tool for improving efficiency or achieving creative designs?
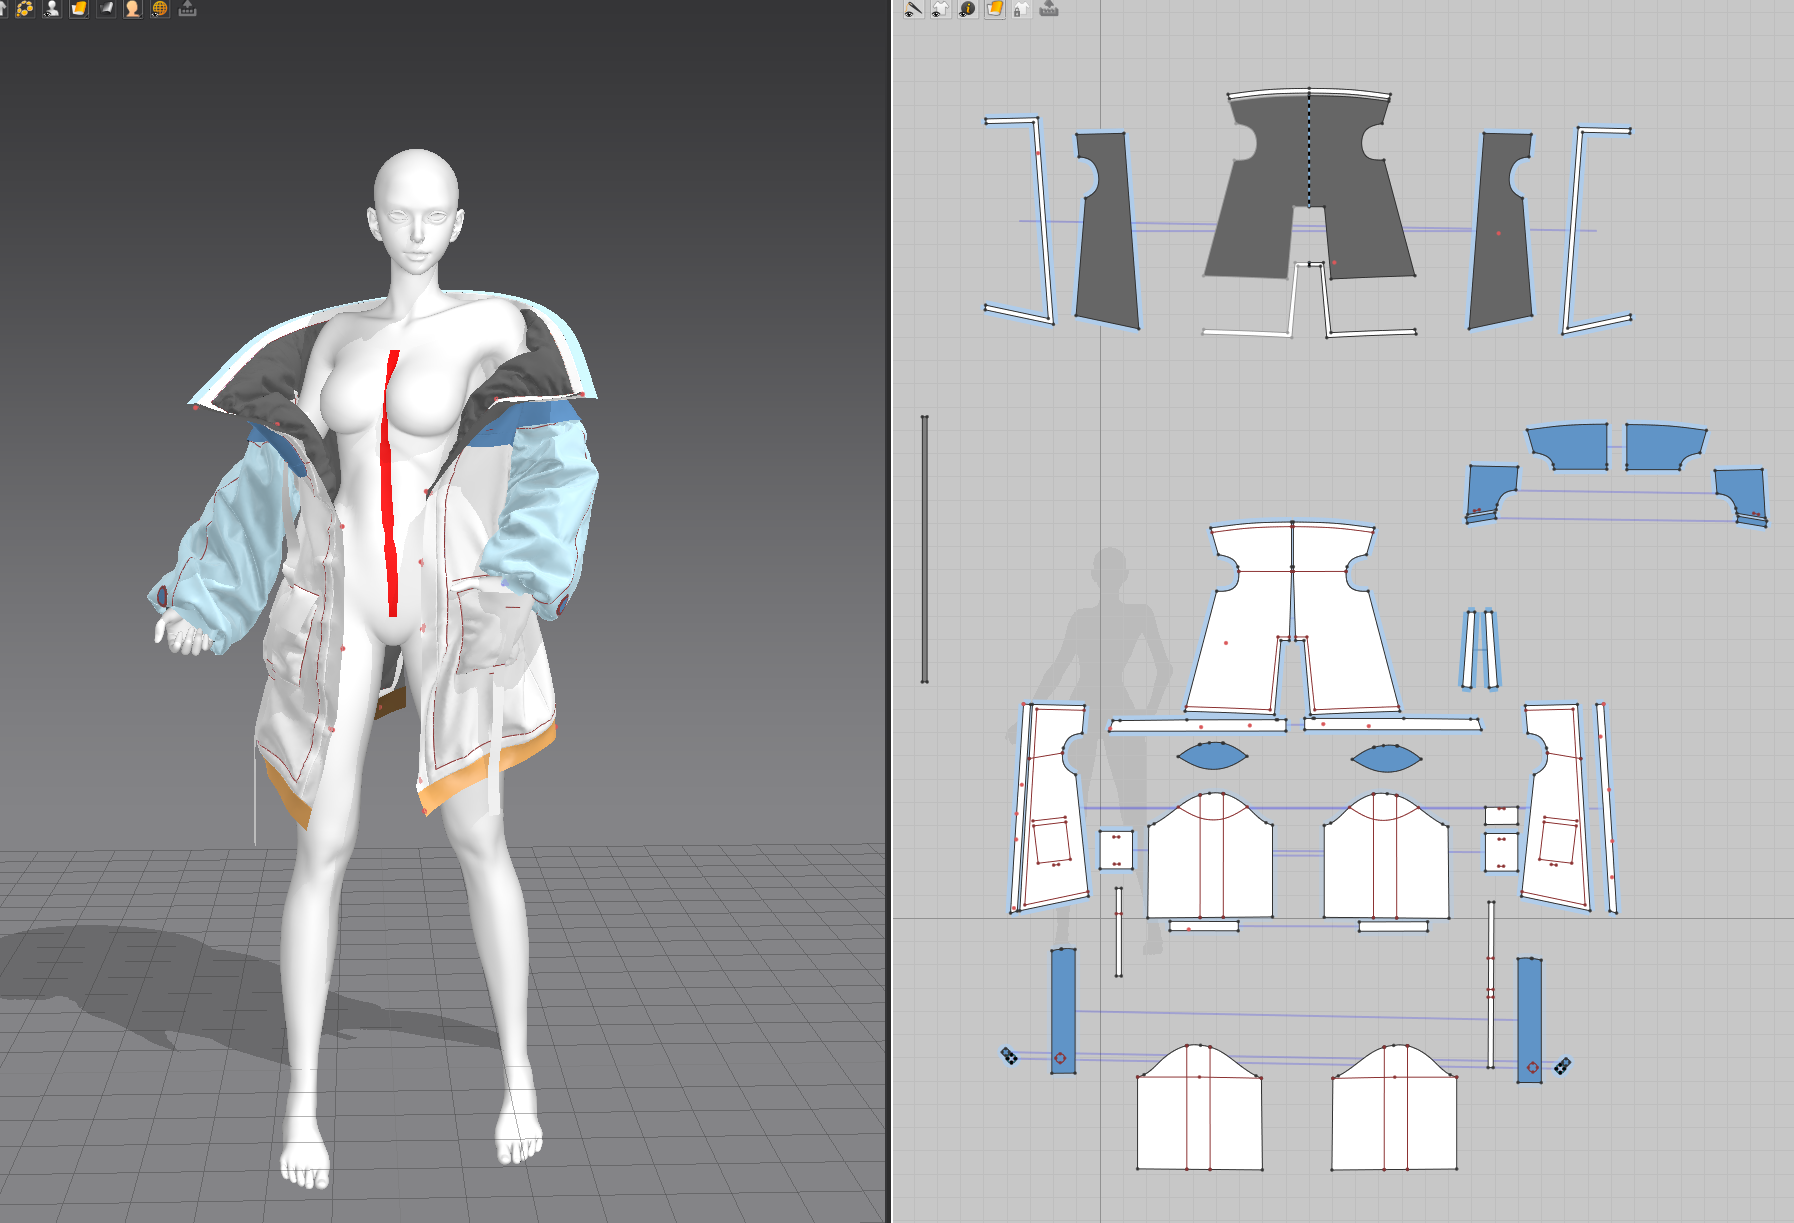
I usually start by creating the base garment patterns in ZBrush and then bring them into Marvelous Designer. For lapel-style clothing, I first select the collar pattern’s edges and use the Offset Pattern Outline function to generate an extra piece that helps hold the collar in place. I freeze this piece to keep the garment from falling apart while I work on other sections.
For sleeves, I make both an outer and inner layer. Adding an inner sleeve layer helps Marvelous Designer calculate thicker, more realistic fabric folds.
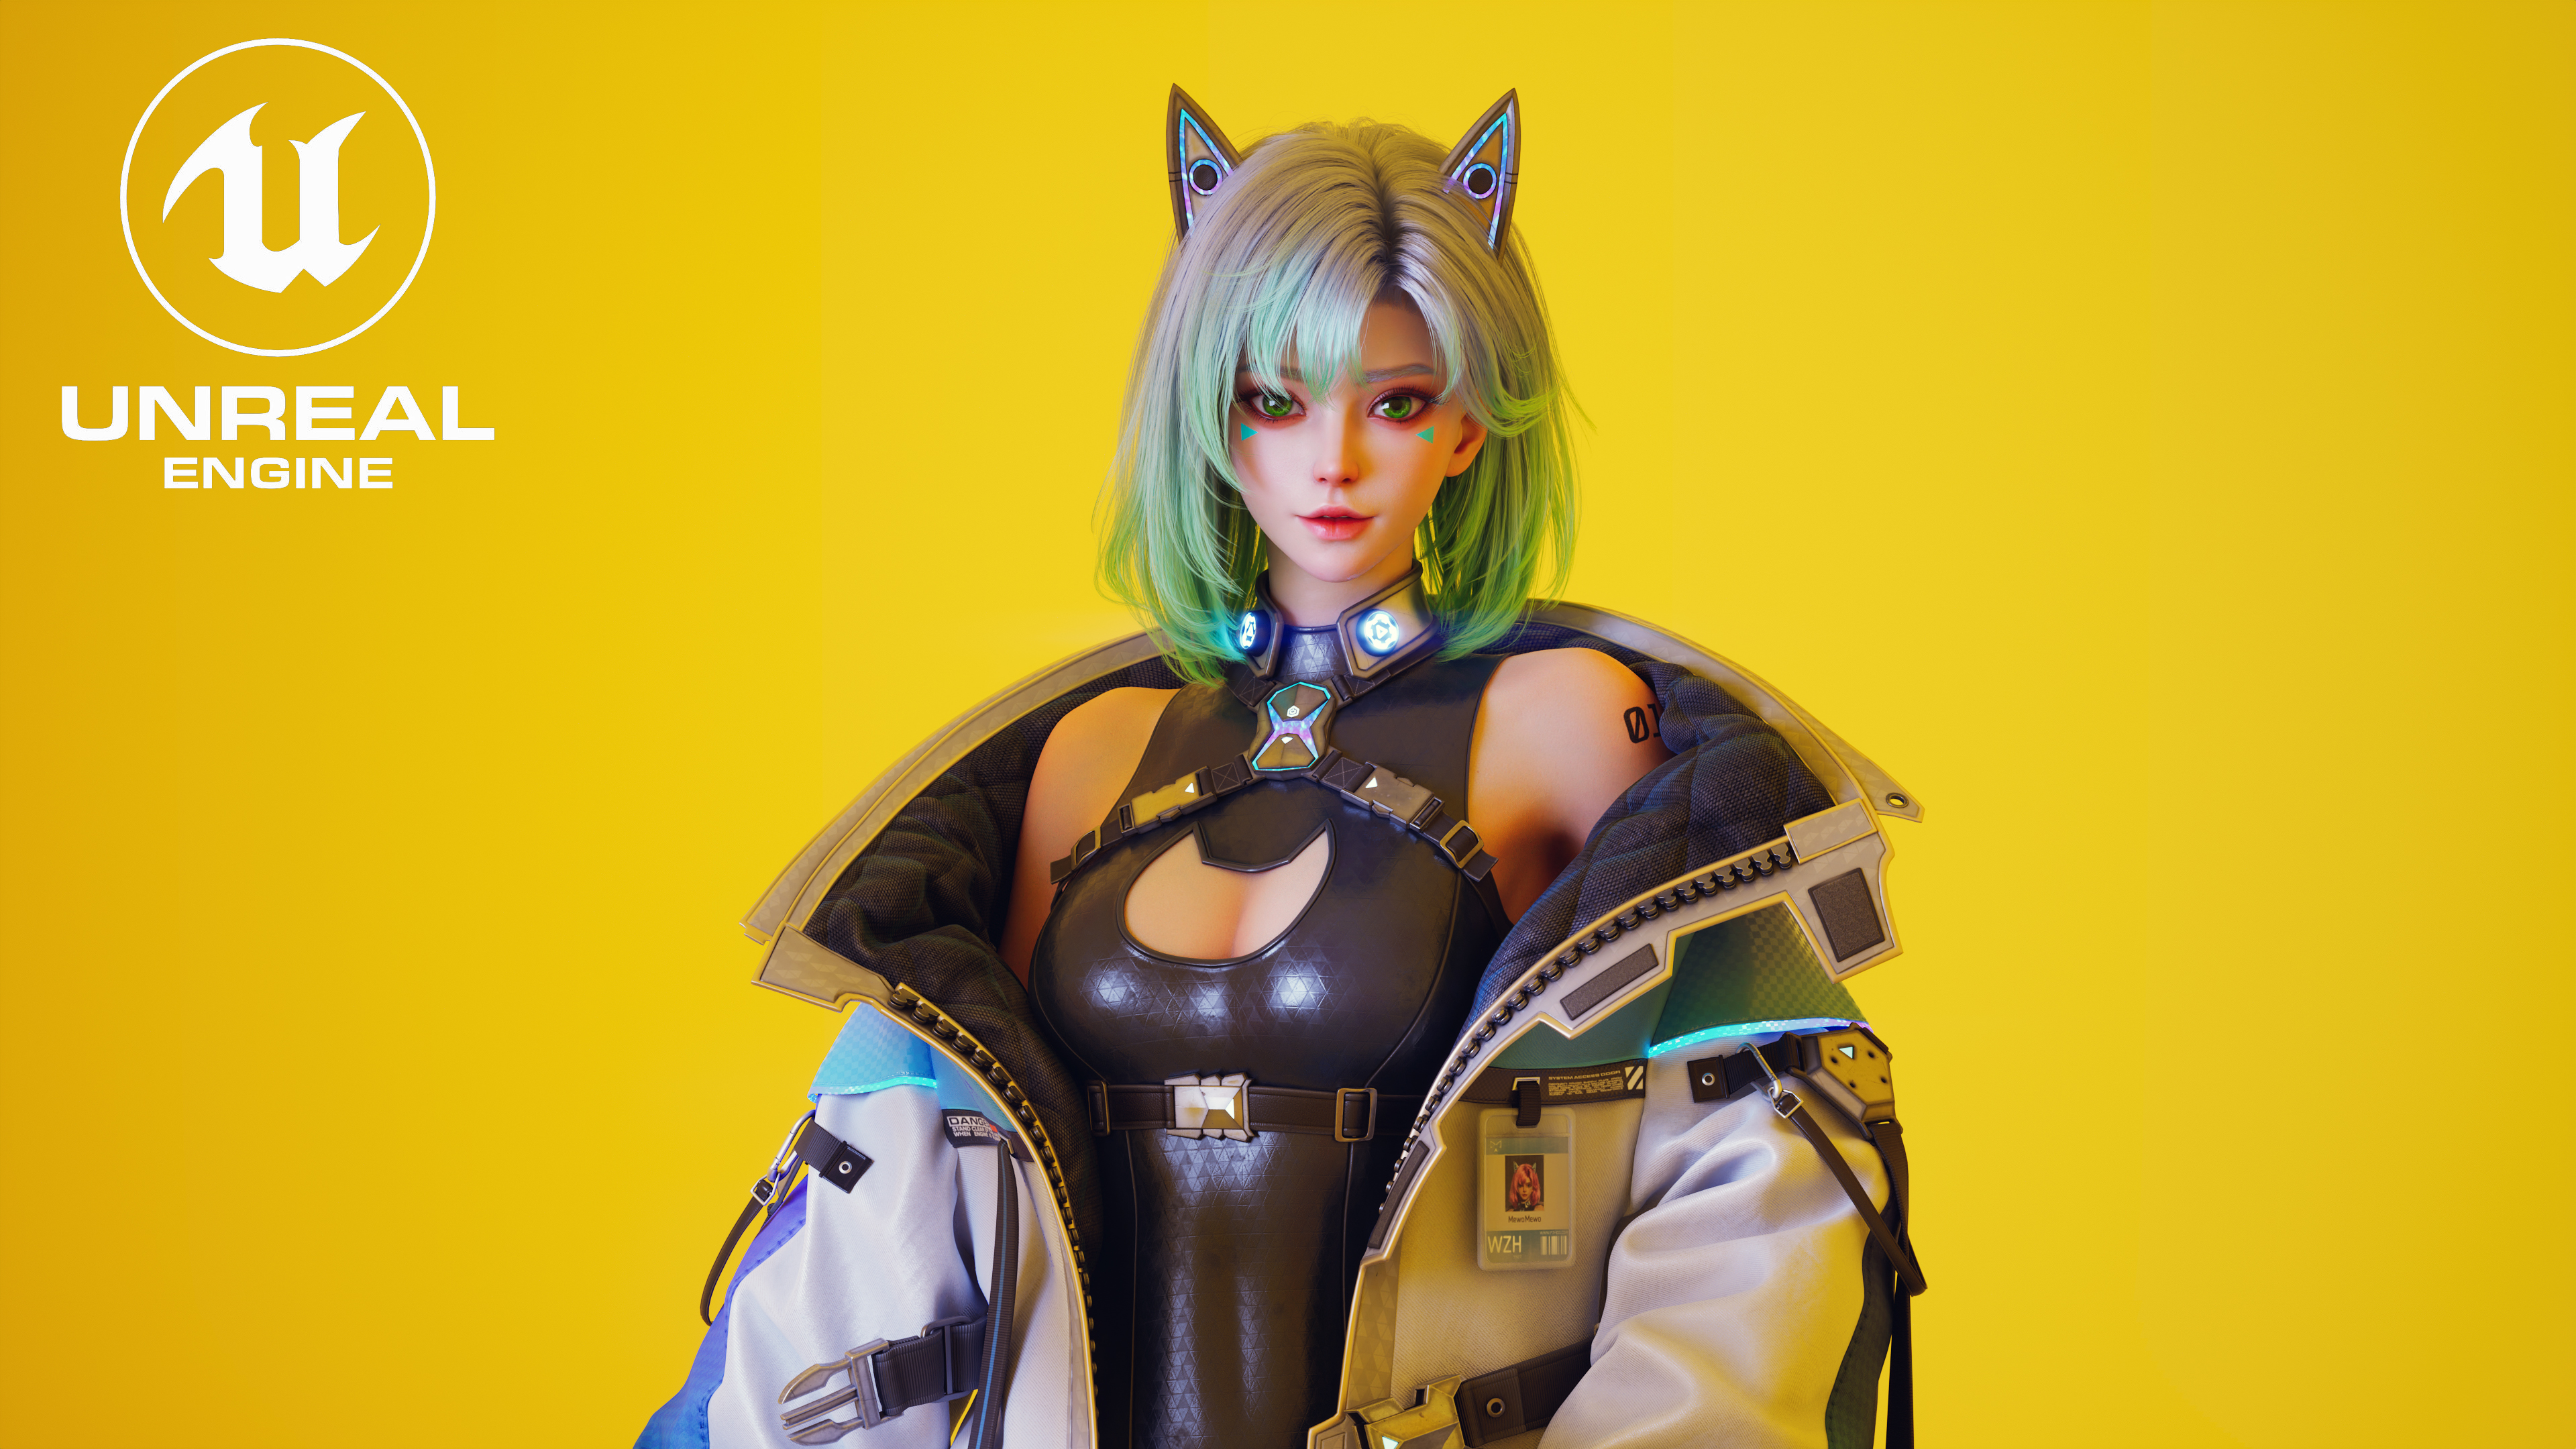
When designing sci-fi outfits, I often use Marvelous Designer’s Nylon Matte material because it creates a more rigid, structured look that works great for futuristic clothing.
One of the biggest advantages of Marvelous Designer is its ability to simulate different fabric types, making it easier to compare how different materials behave. Adjusting fold angles on internal lines also adds extra texture and depth, making the final design feel even more detailed and realistic.
What challenges did you encounter while using Marvelous Designer, and how did you solve them?
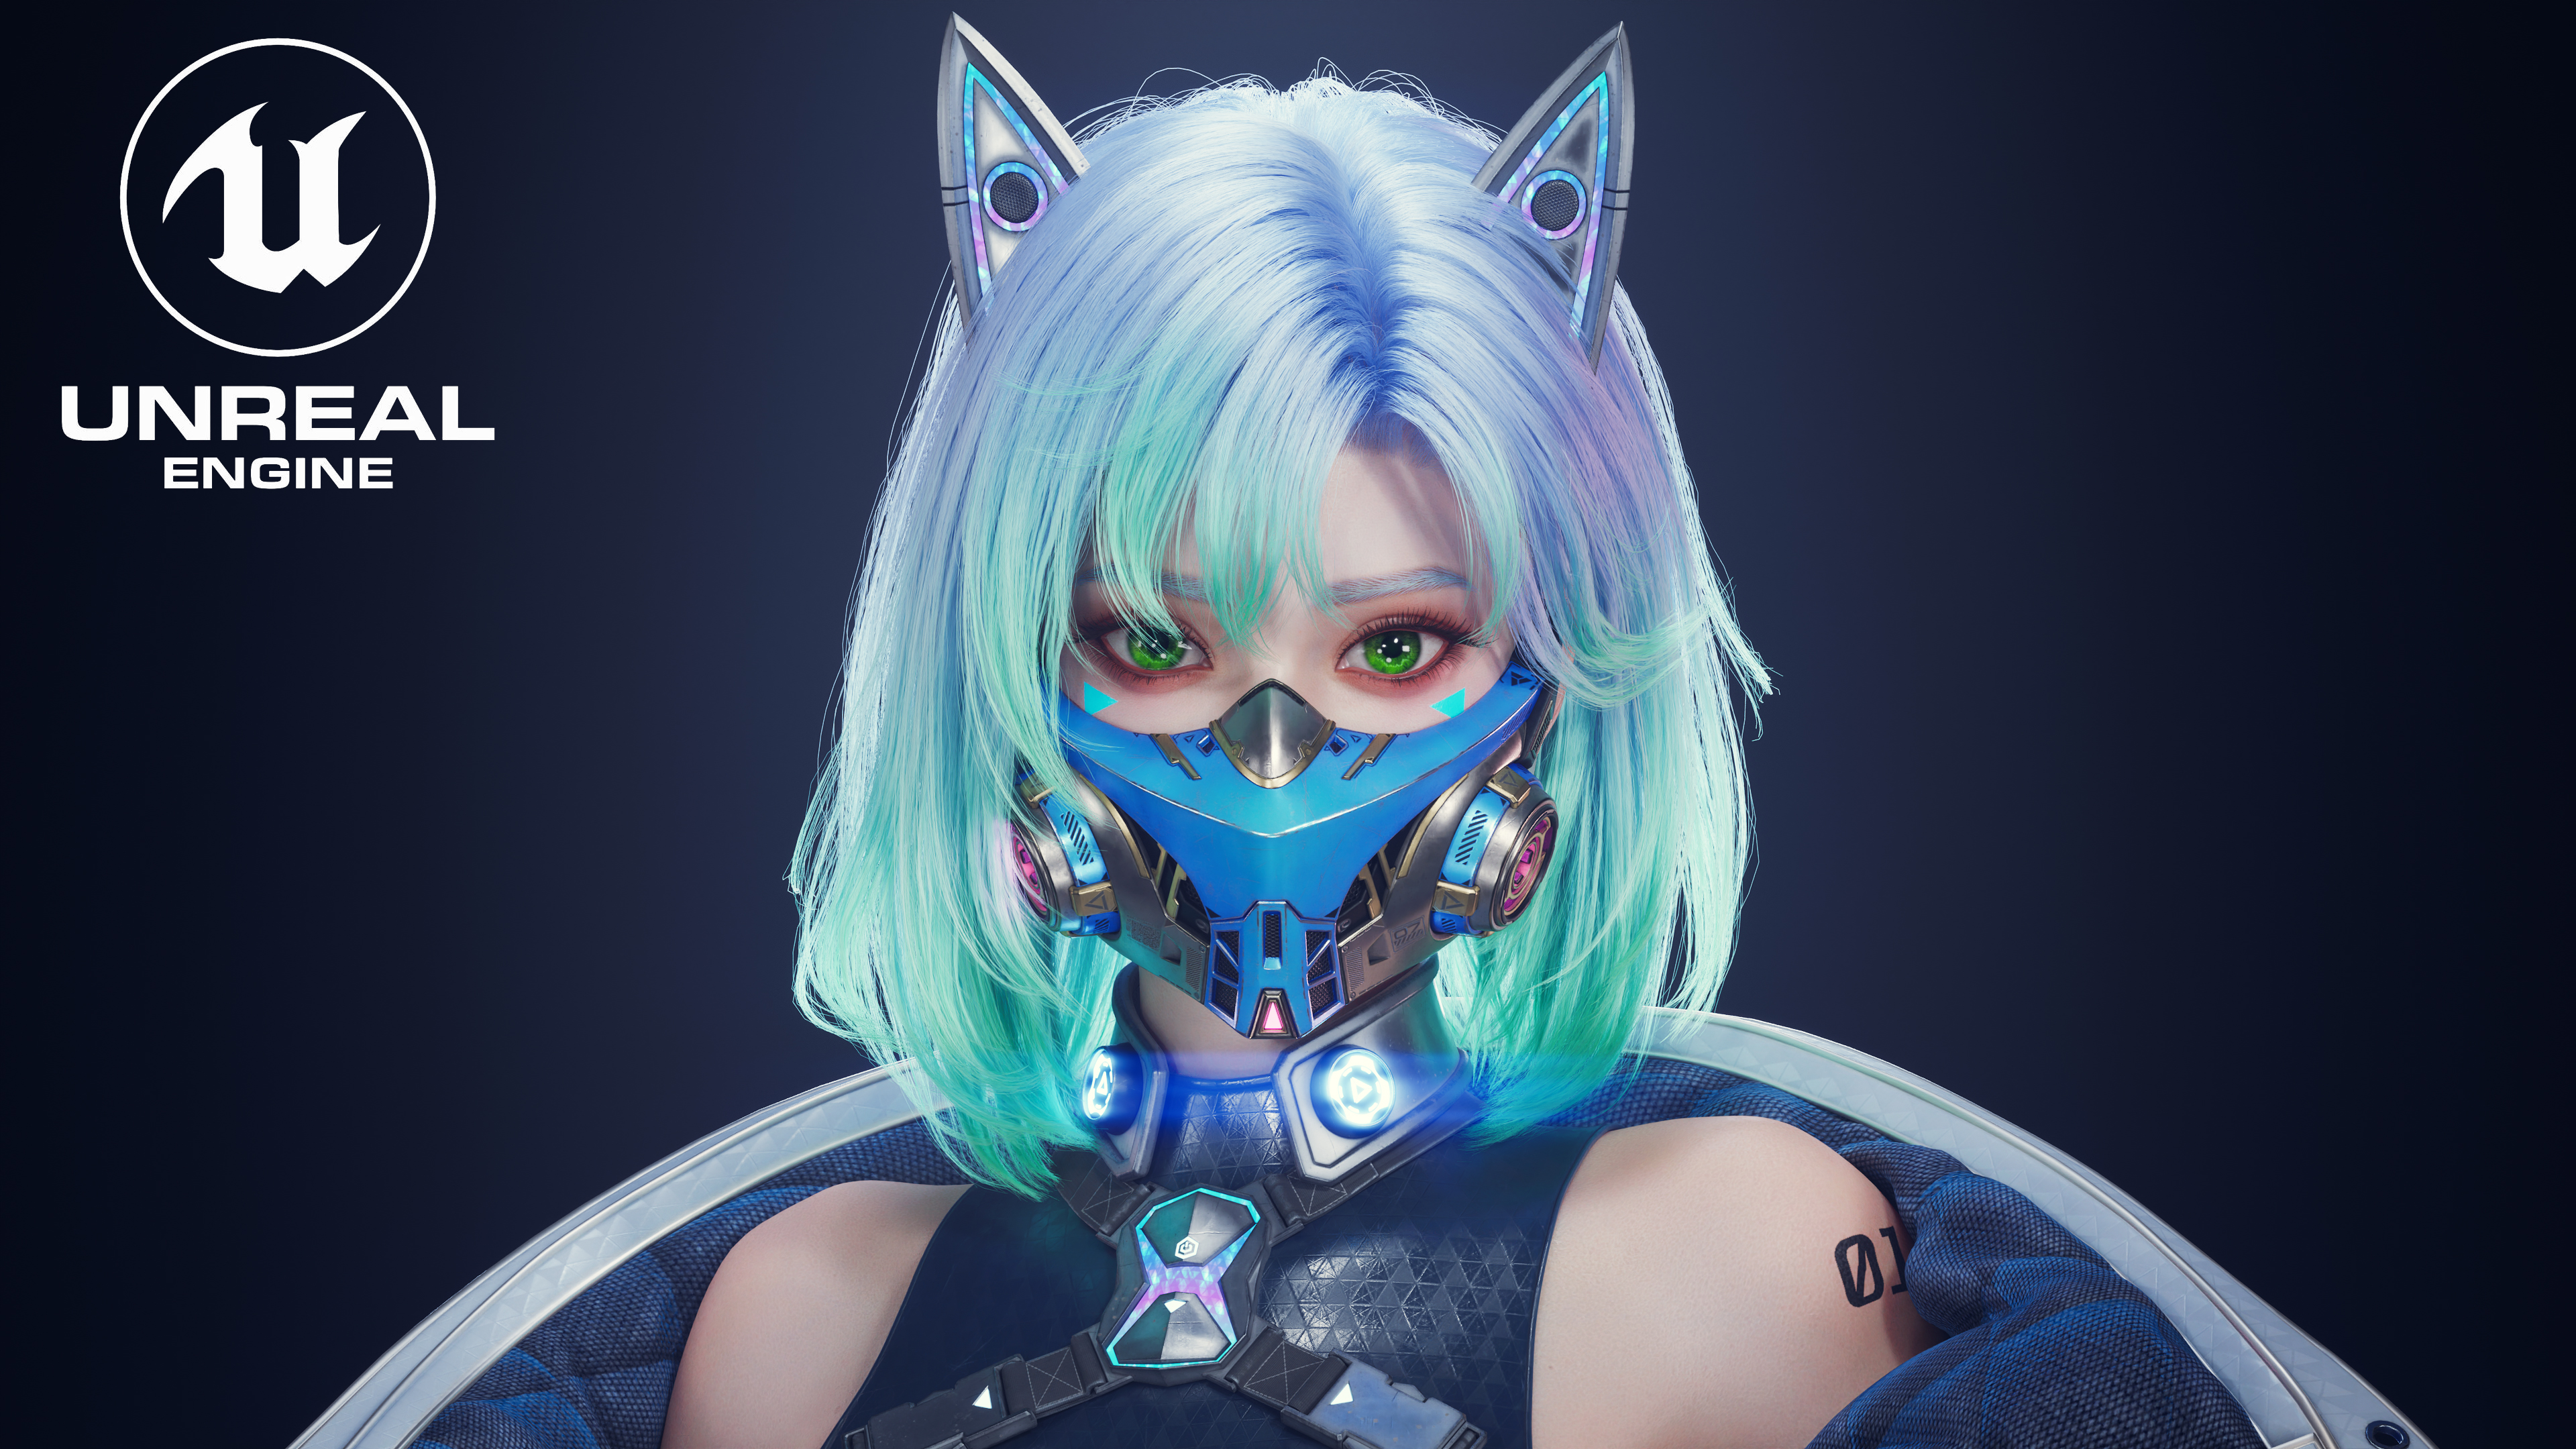
The hardest part of using Marvelous Designer was making sure the outfit looked as close as possible to the original design. To overcome this, I spent a lot of time researching cyberpunk fashion—analyzing references from movies, games, and concept art. I kept tweaking and refining the details and layering until I got the look just right. It took a lot of careful adjustments, but in the end, I was able to bring the design to life.
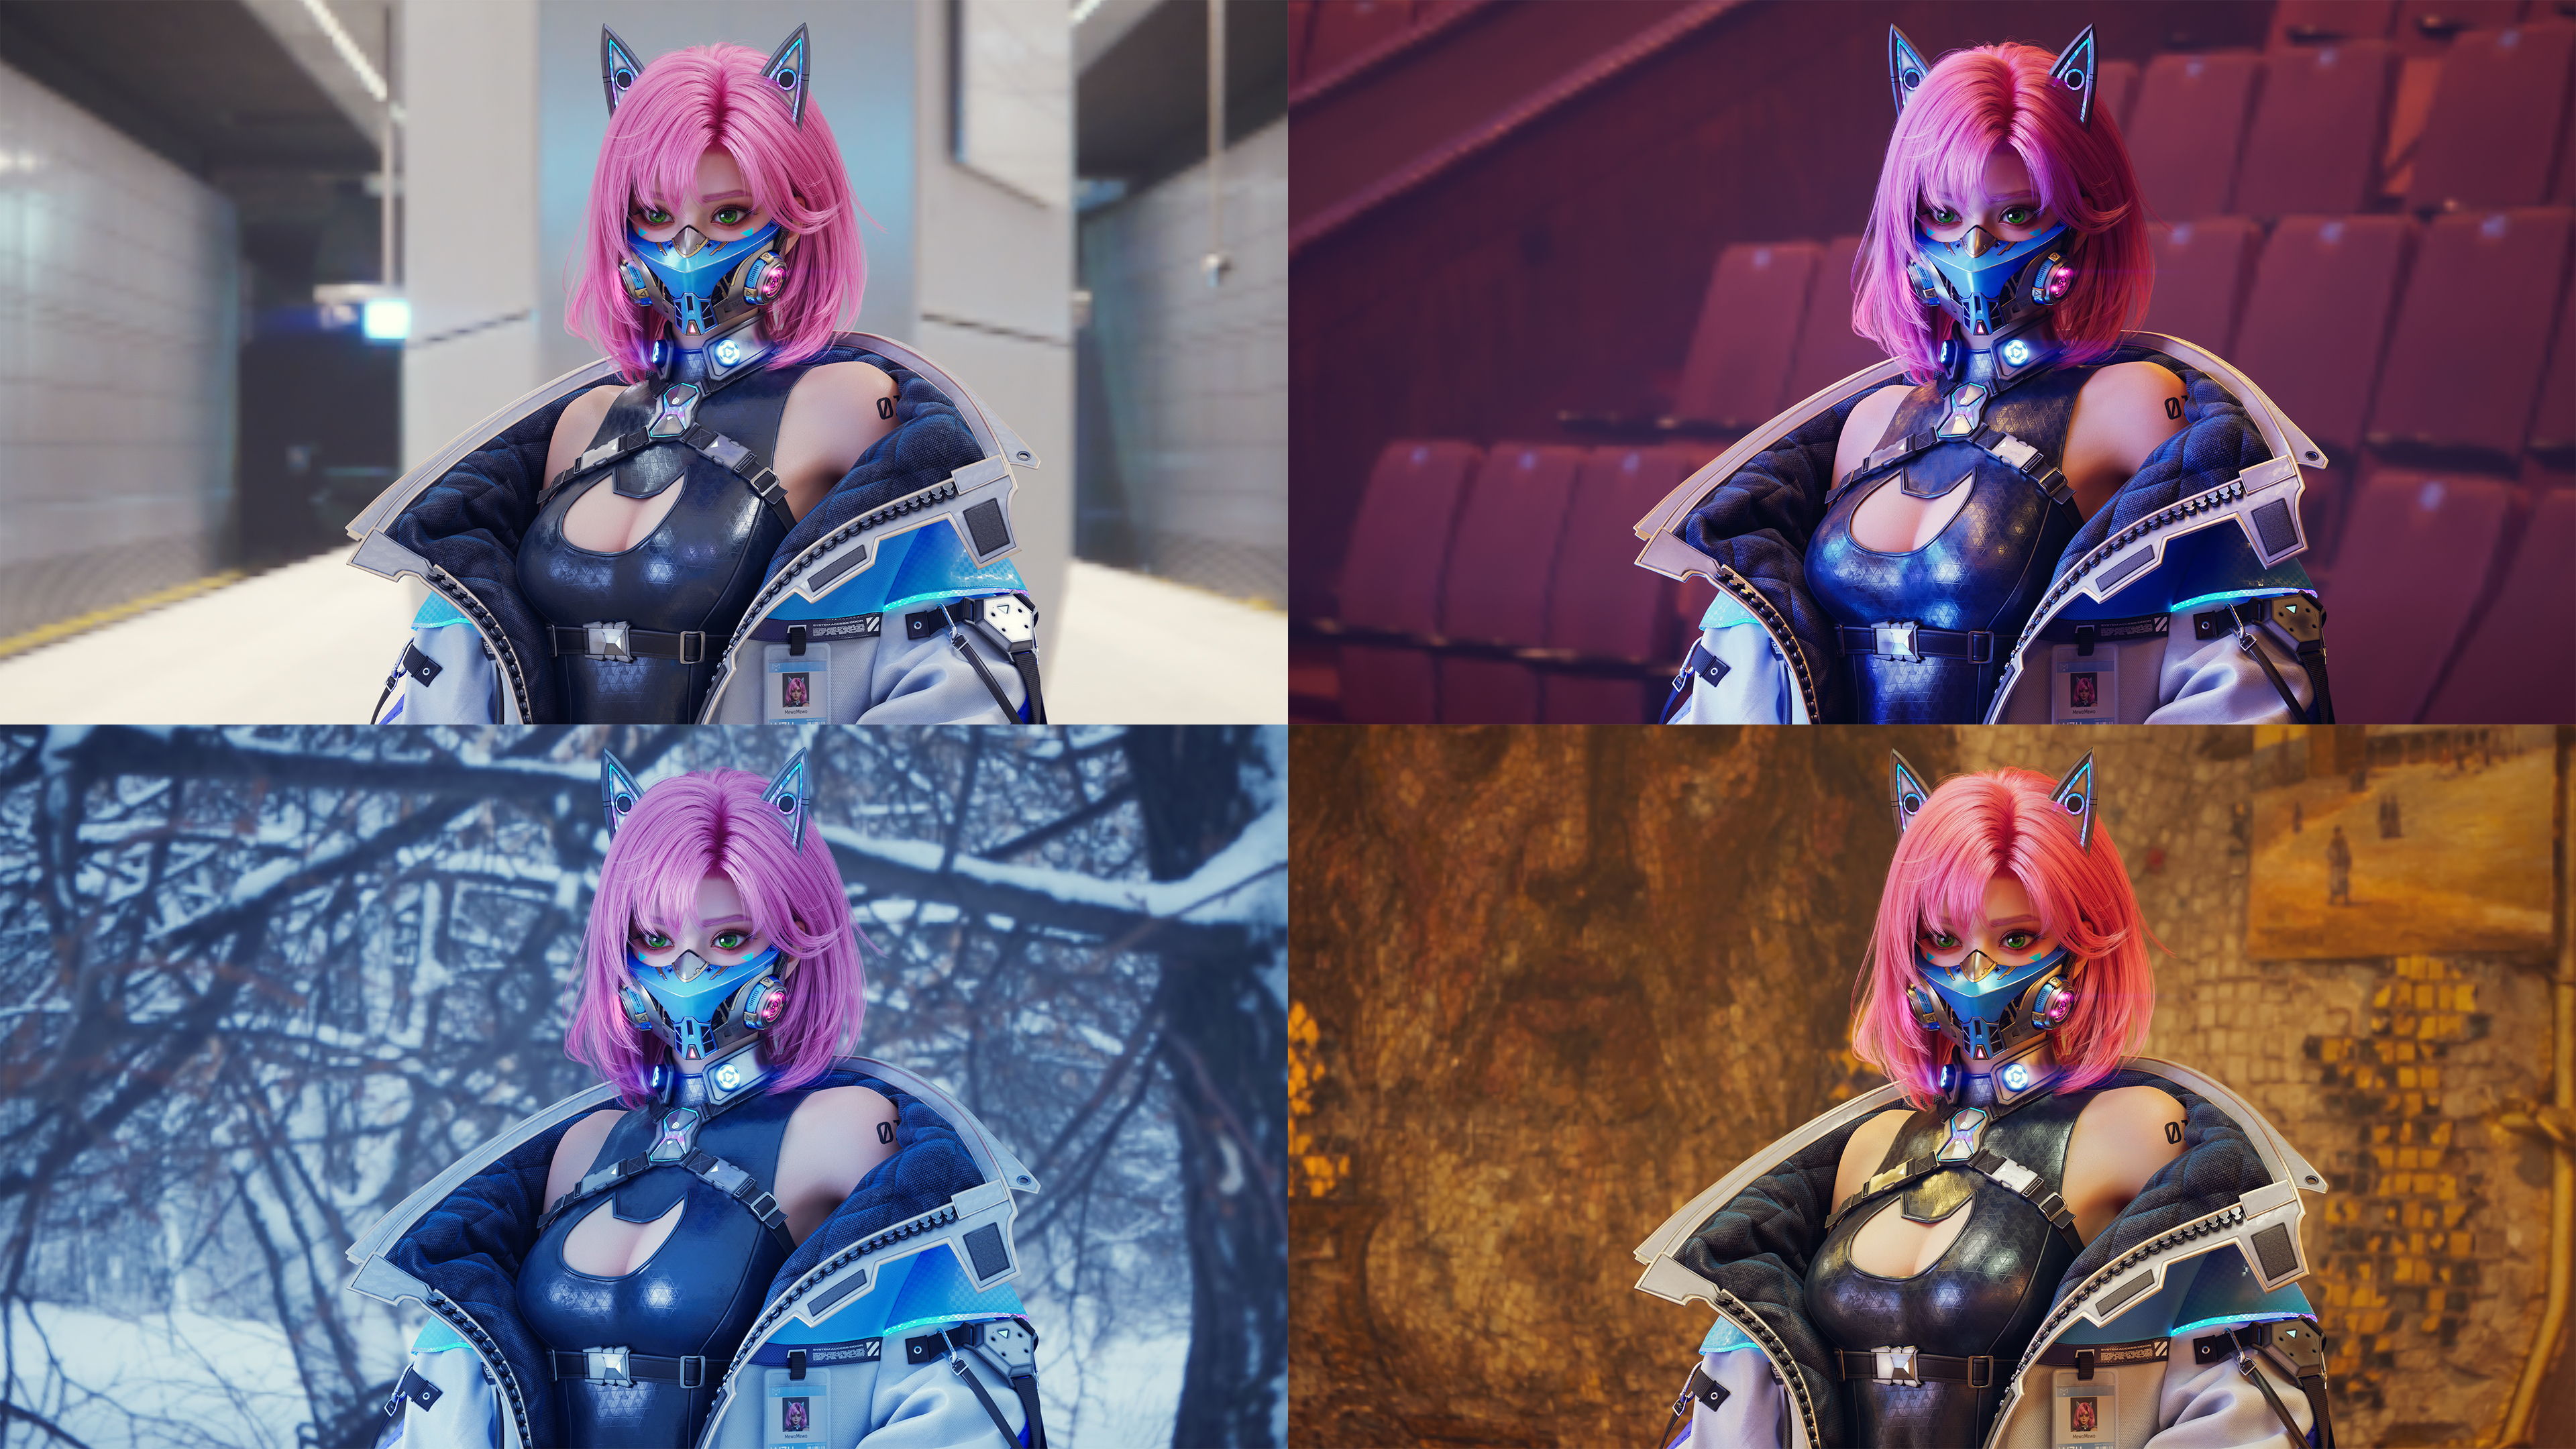
Could you briefly introduce the tools and software you used in this project? How well does Marvelous Designer integrate into your workflow?
At the start, I mainly used ZBrush and Marvelous Designer to create the base models and patterns. Then, I moved to Maya for retopology. For texturing, I worked with Substance Painter for the clothing and equipment, and Mari for detailed skin textures. Finally, I rendered everything in Unreal Engine 5.
Marvelous Designer works really well within the workflow—it’s quick and easy to export assets to other software, and I didn’t run into any issues when transferring files between different programs. Everything fits together pretty smoothly.
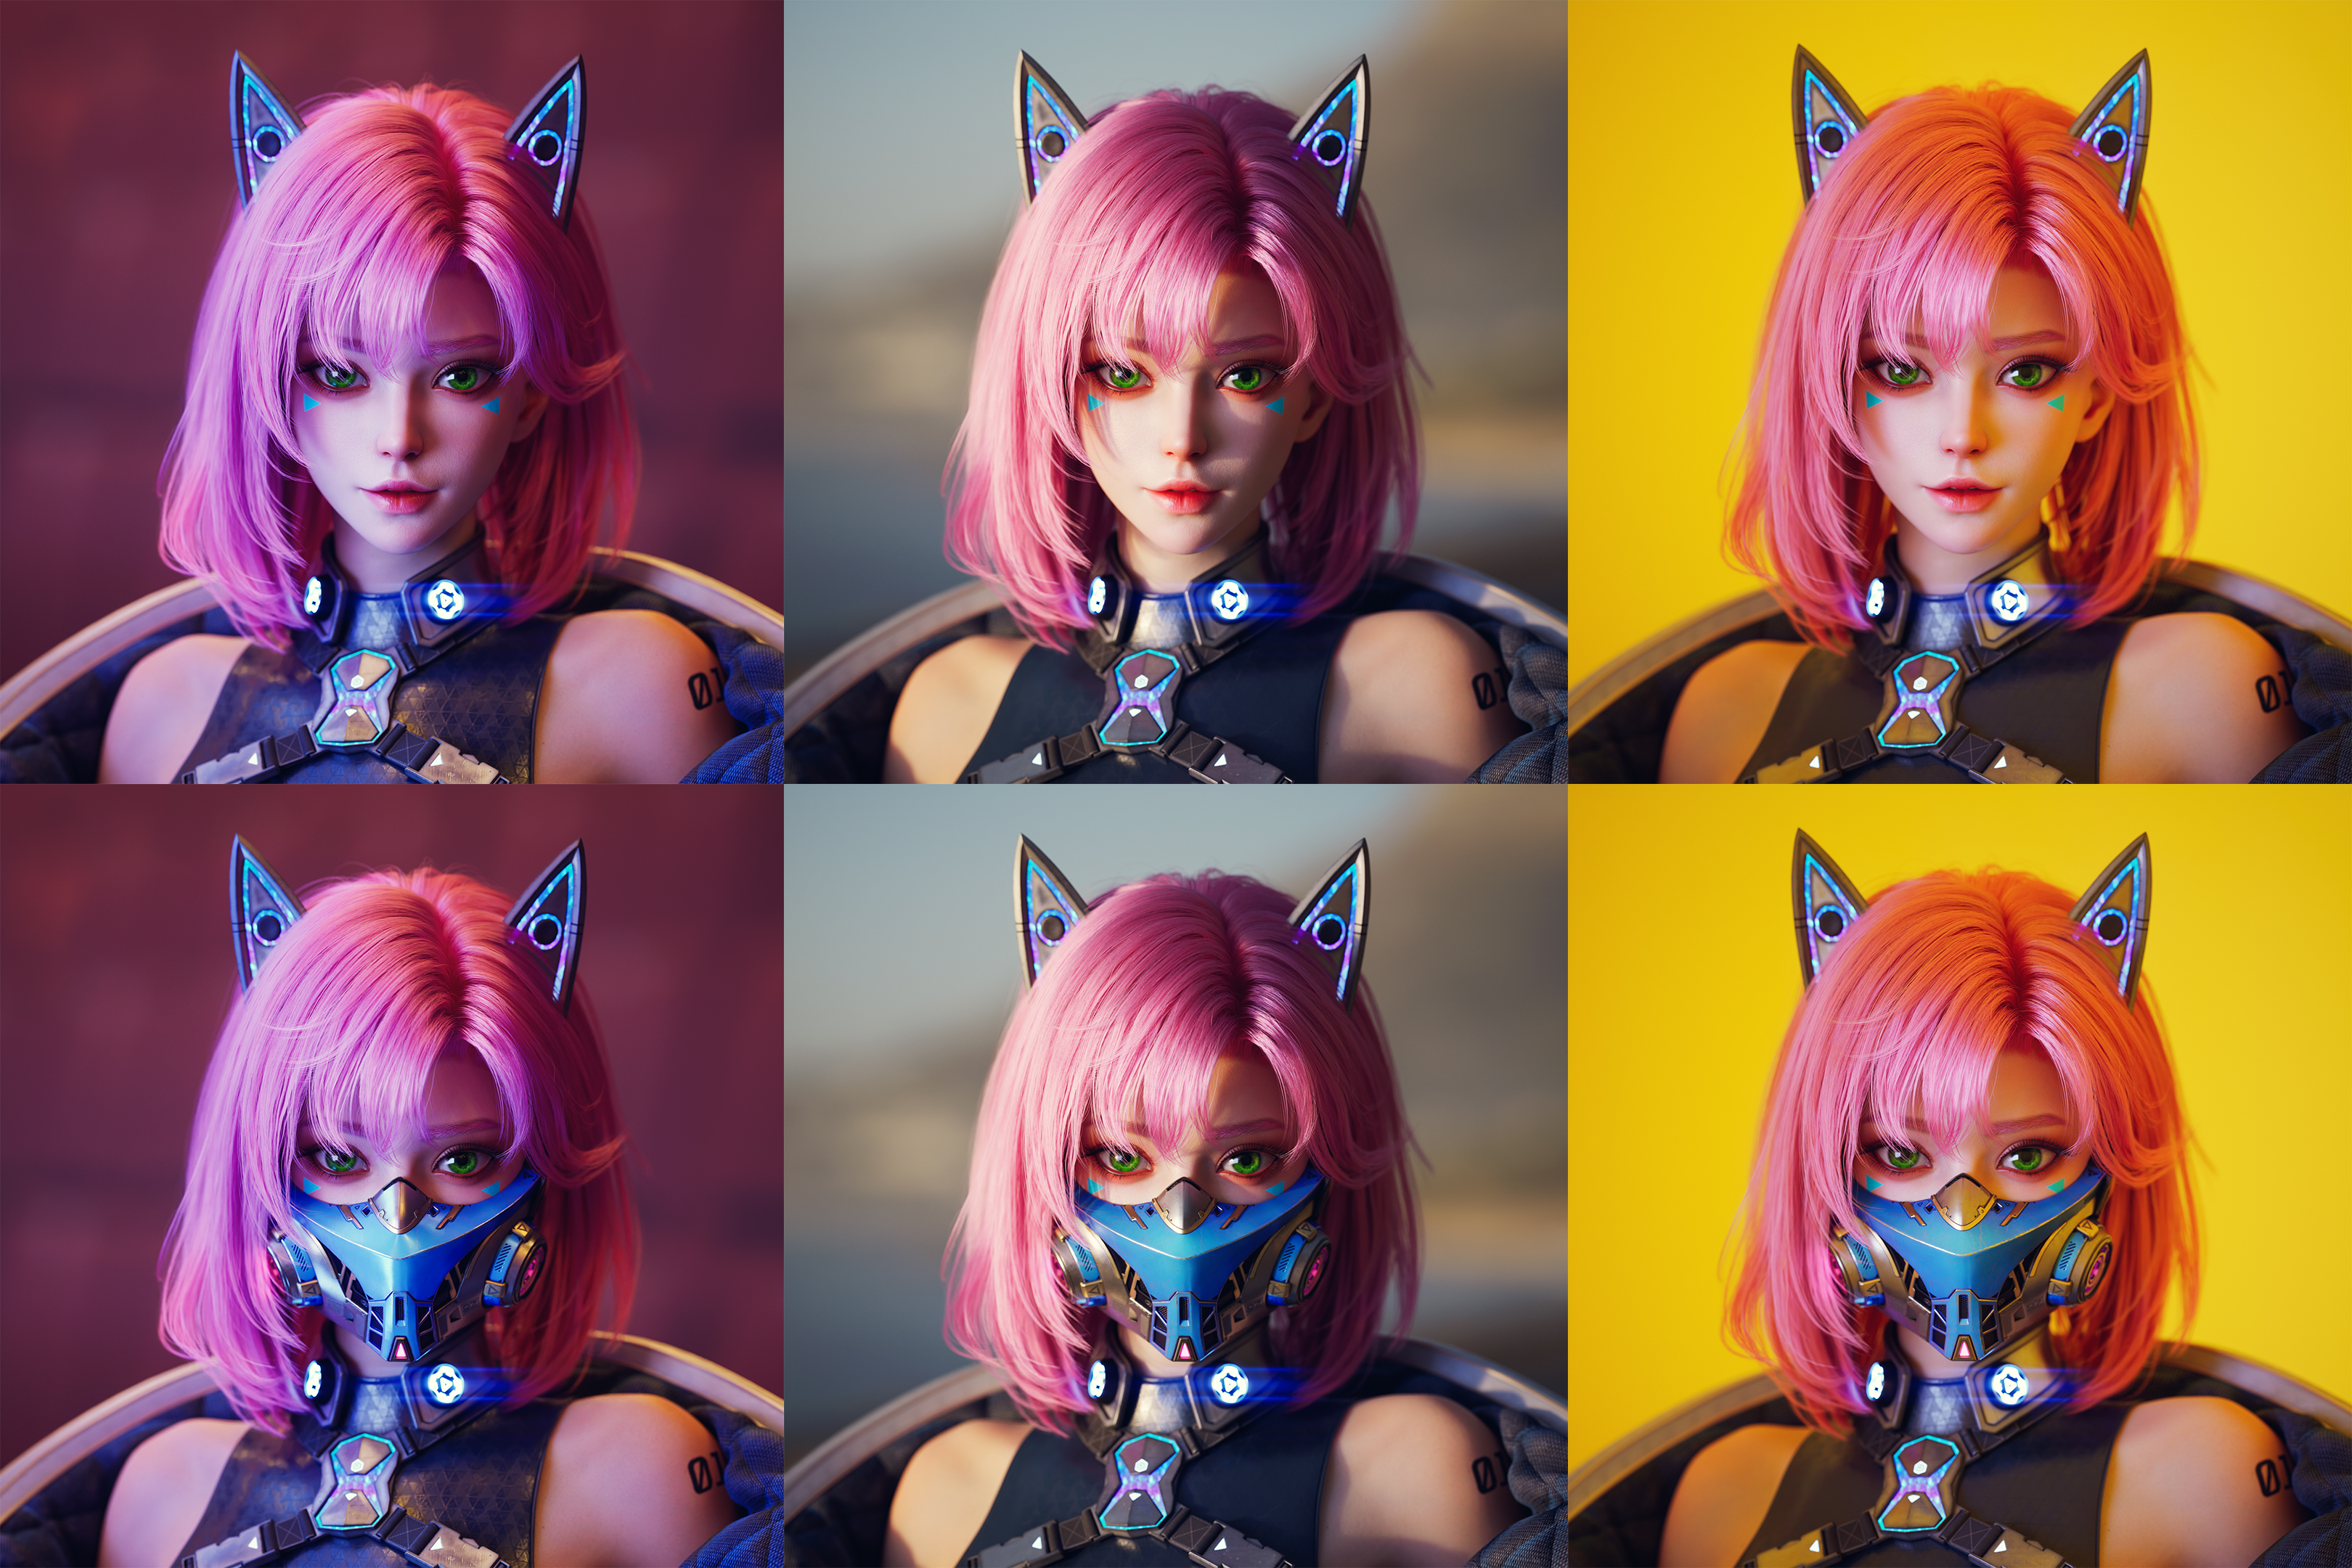
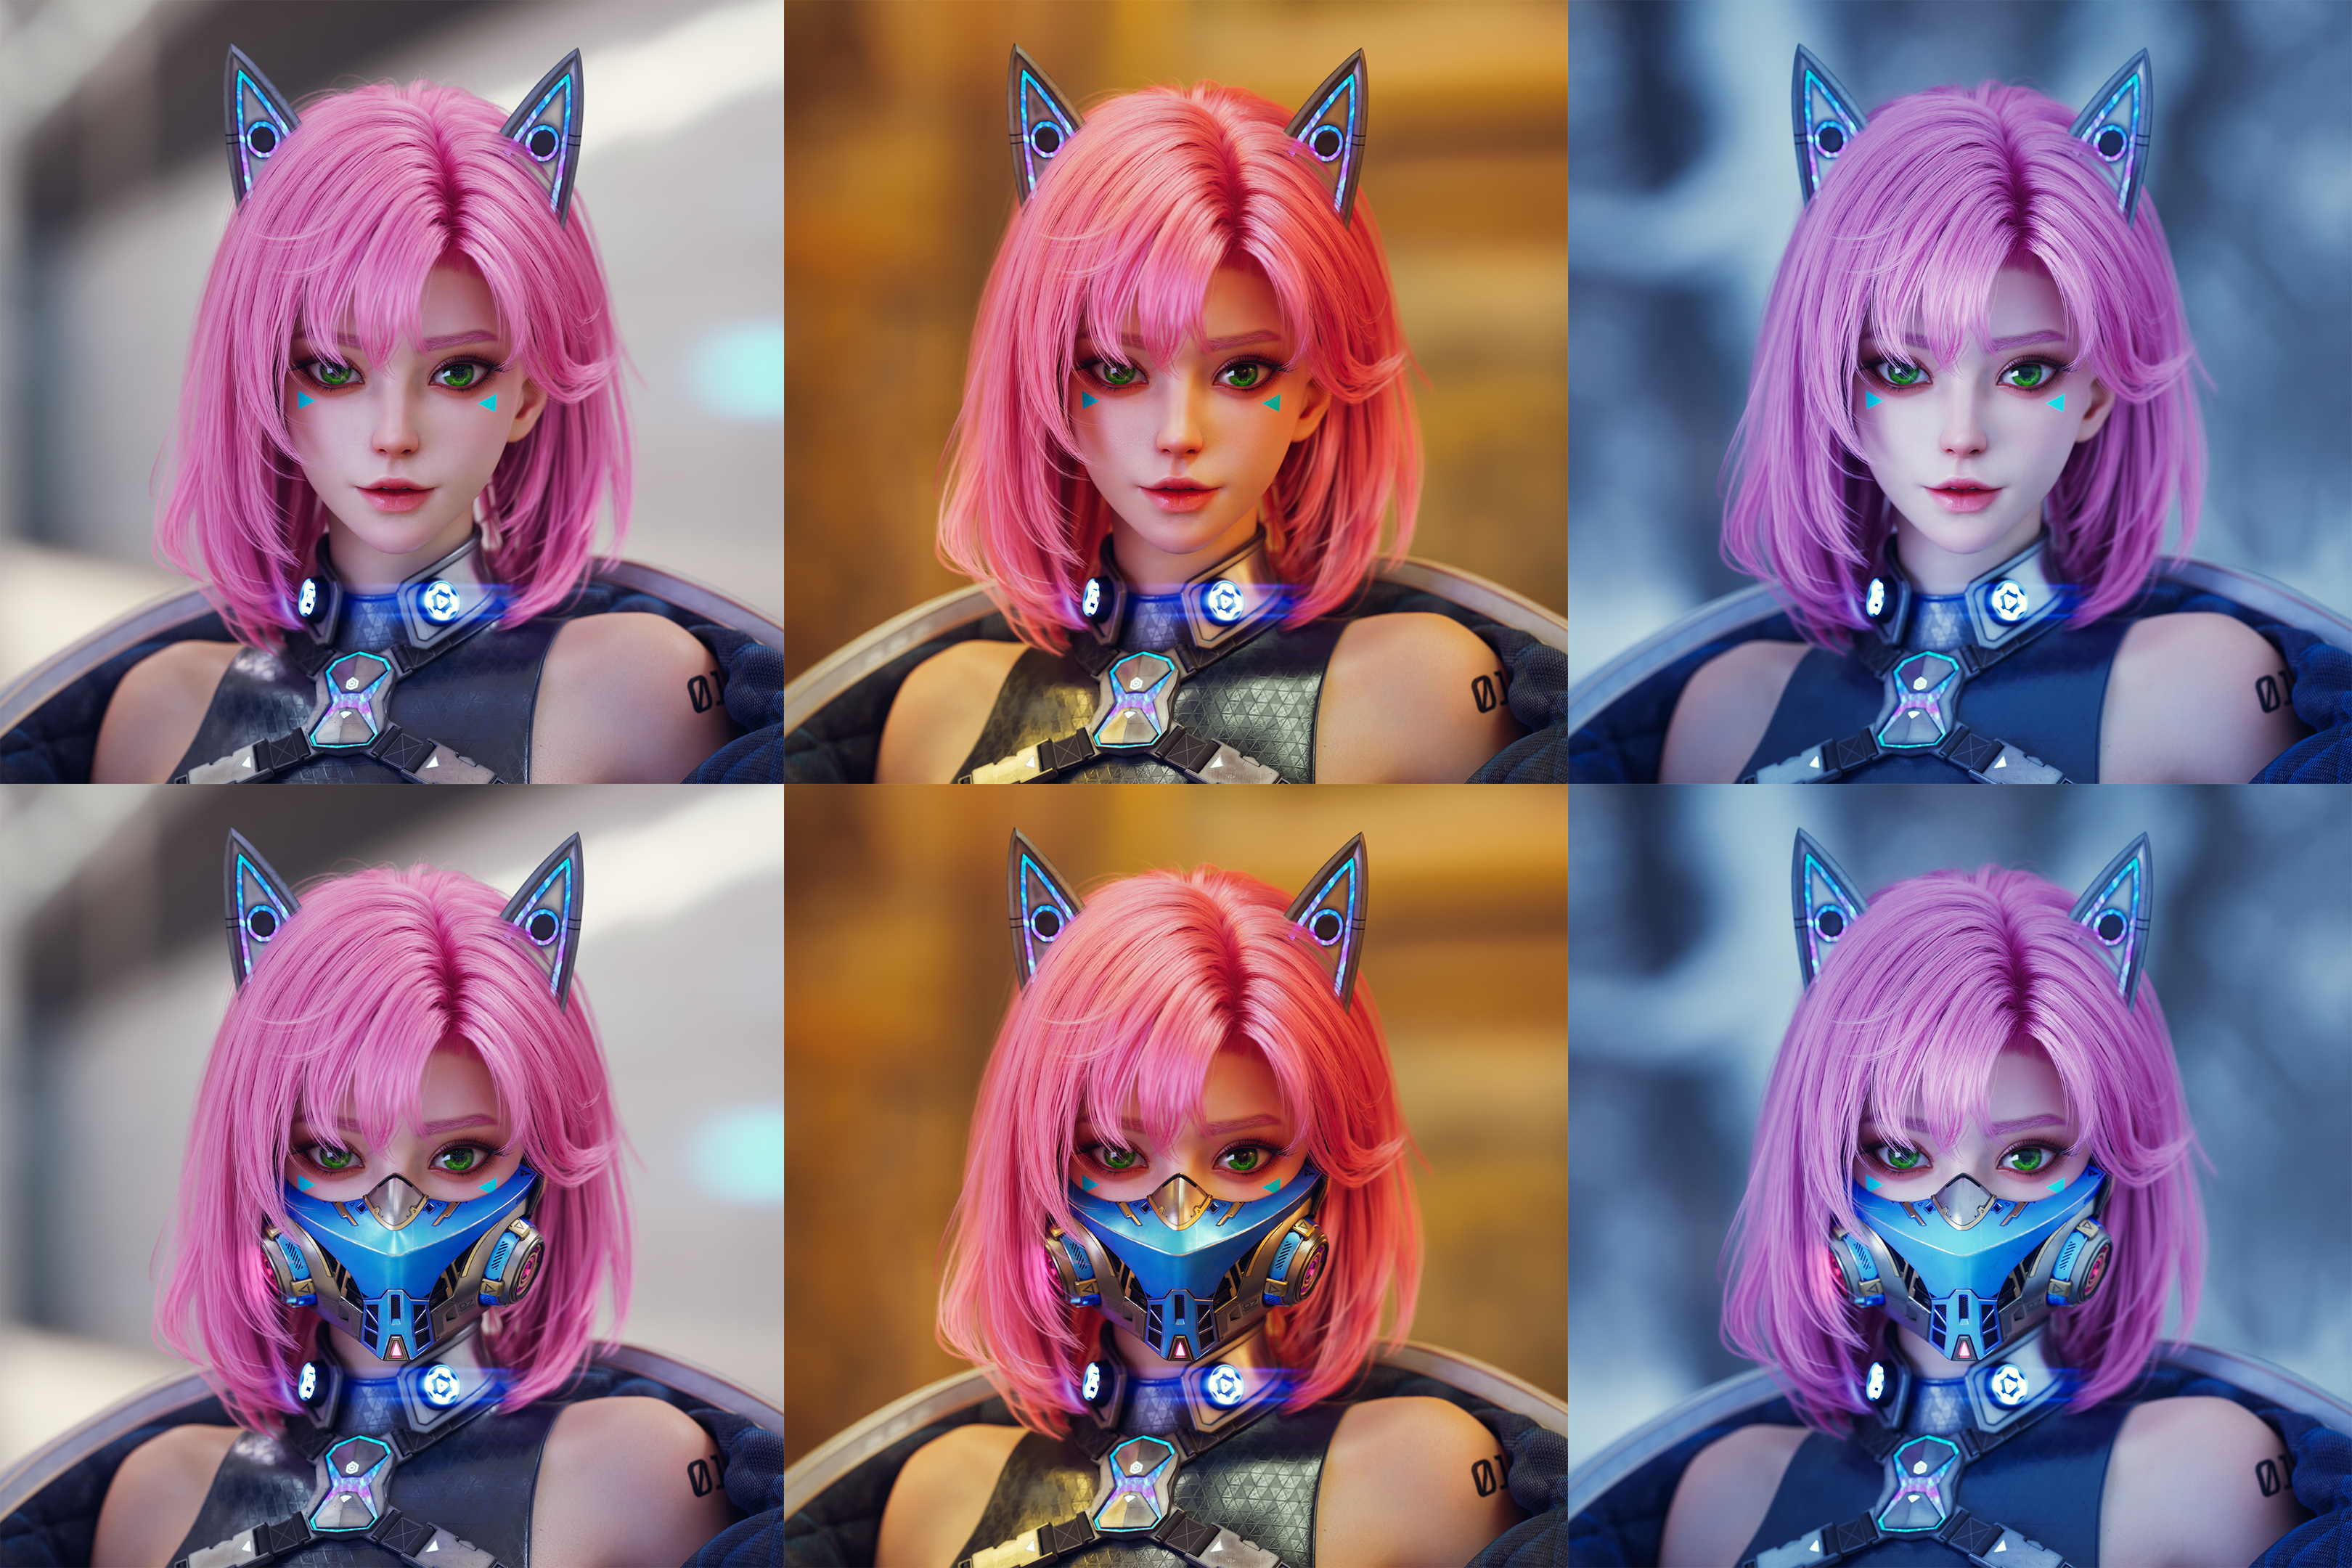
What advice or insights would you share with other artists looking to create cyberpunk-style designs using Marvelous Designer?
Since this was my first time working on a cyberpunk project, I know how tricky it can be to find good references. If you're struggling with that, I highly recommend browsing Huifeng Huang’s ArtStation page (https://www.artstation.com/wilsonhuang). His work is a fantastic source of inspiration and a great reference for capturing that cyberpunk aesthetic.
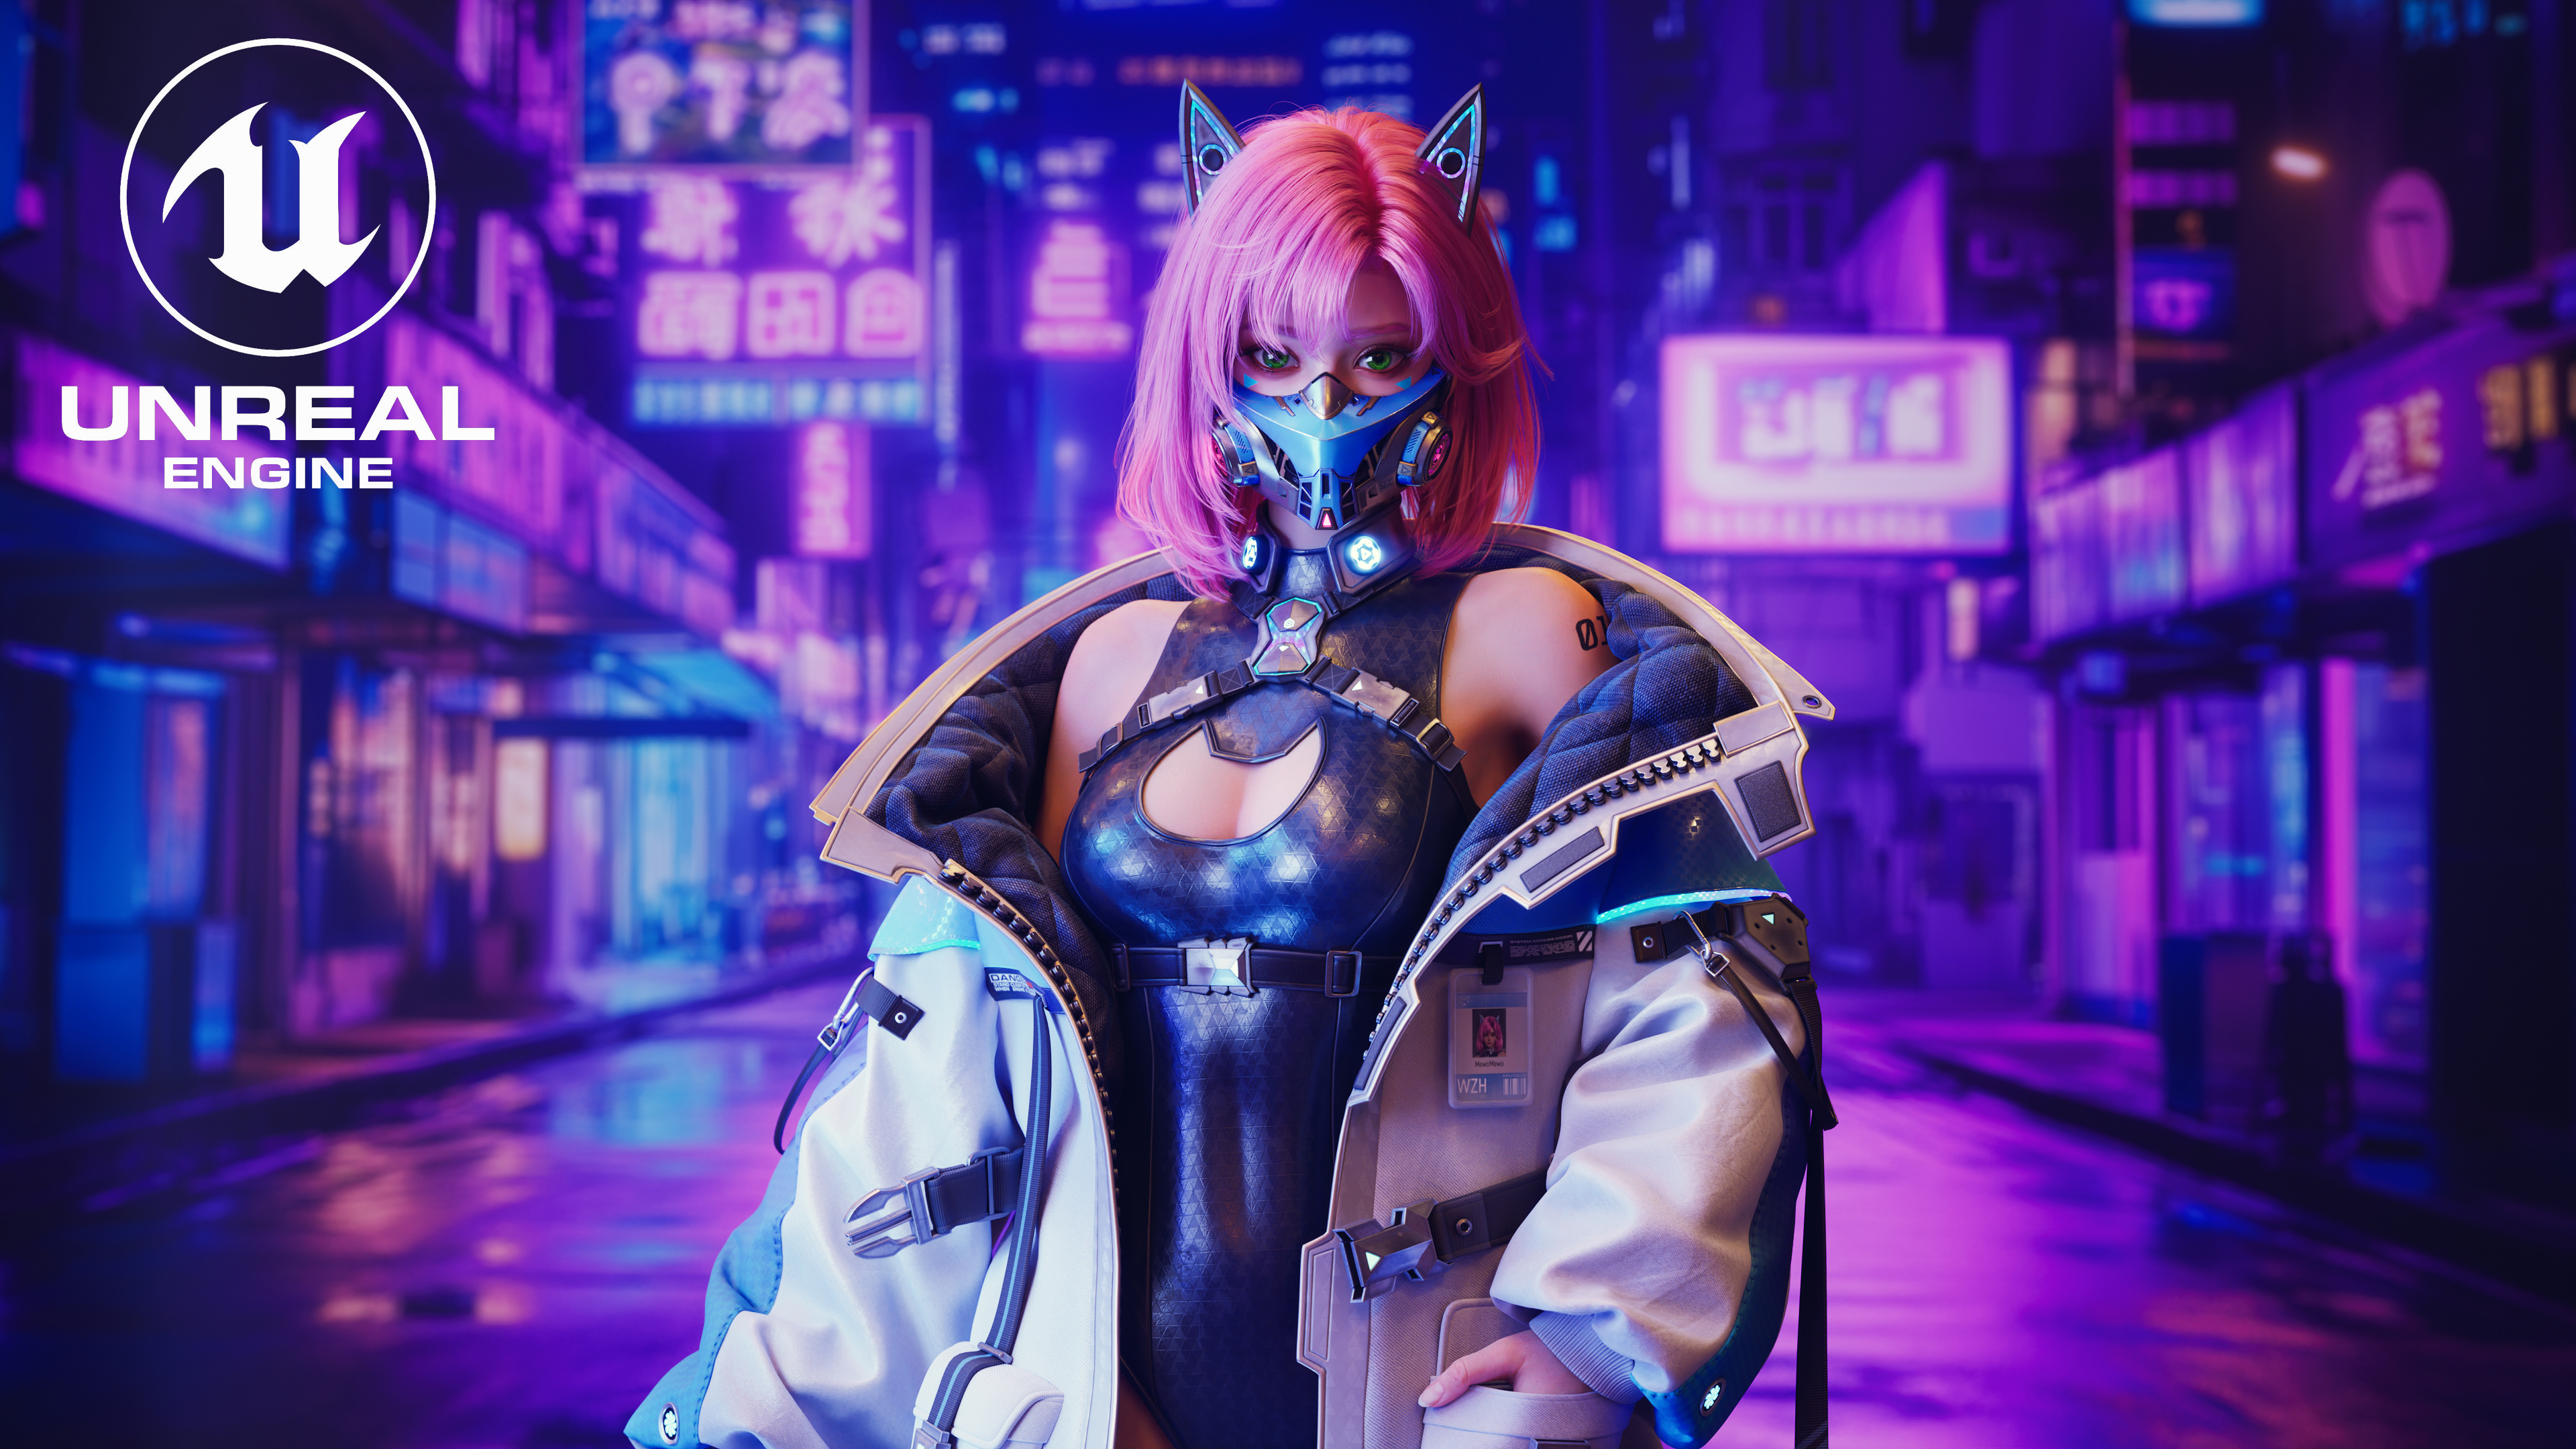
What’s your overall experience with Marvelous Designer?
Marvelous Designer keeps getting better with each update! The UI has become more intuitive and beginner-friendly, so whether you're new to Marvelous Designer or an experienced user, it's easy to pick up and work efficiently. The latest updates have also boosted GPU simulation and added improved quad remeshing, which makes the workflow much smoother. I think these improvements will make the software even more enjoyable for character artists in the future.
이 작업은 Maya, UnrealEngine, ZBrush, Substance, Cyberpunk, Cat 등의 기술로 제작되었습니다.
Marvelous Designer로 이와 같은 3D 의상·캐릭터 작업을 직접 만들어볼 수 있습니다.