Realistic Tent Simulation for Wanderer: The Fragments of Fate
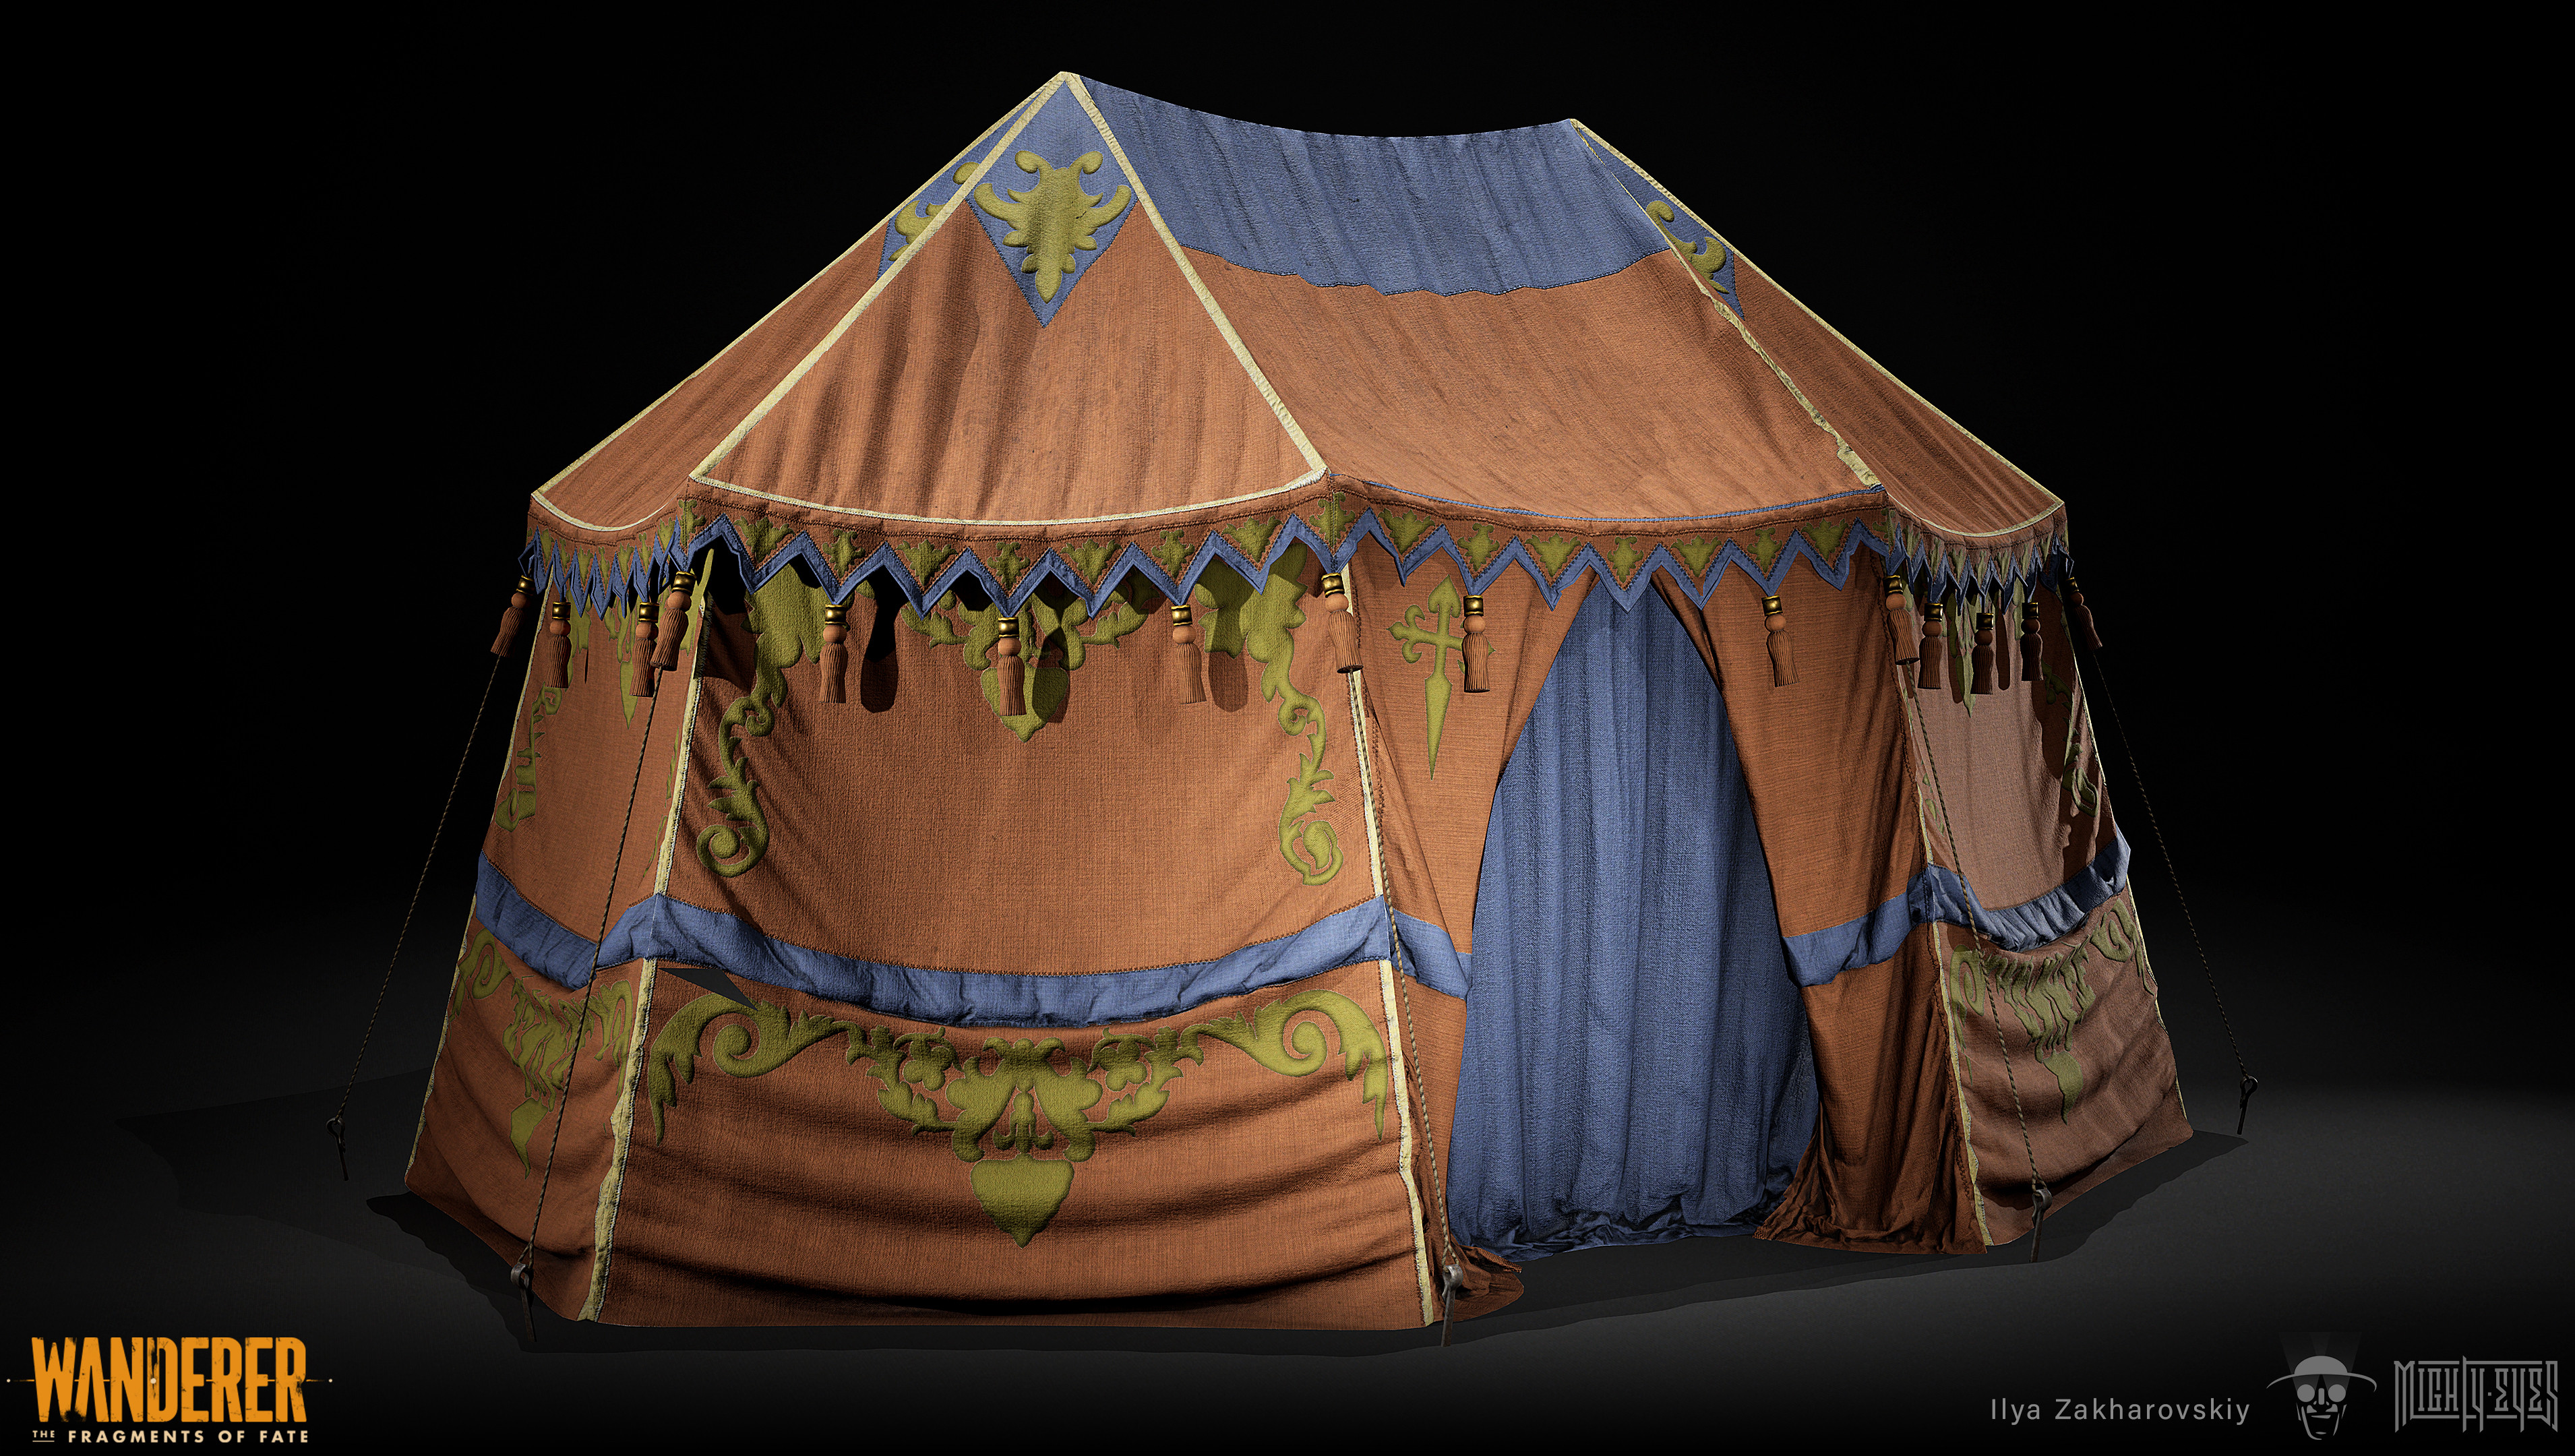
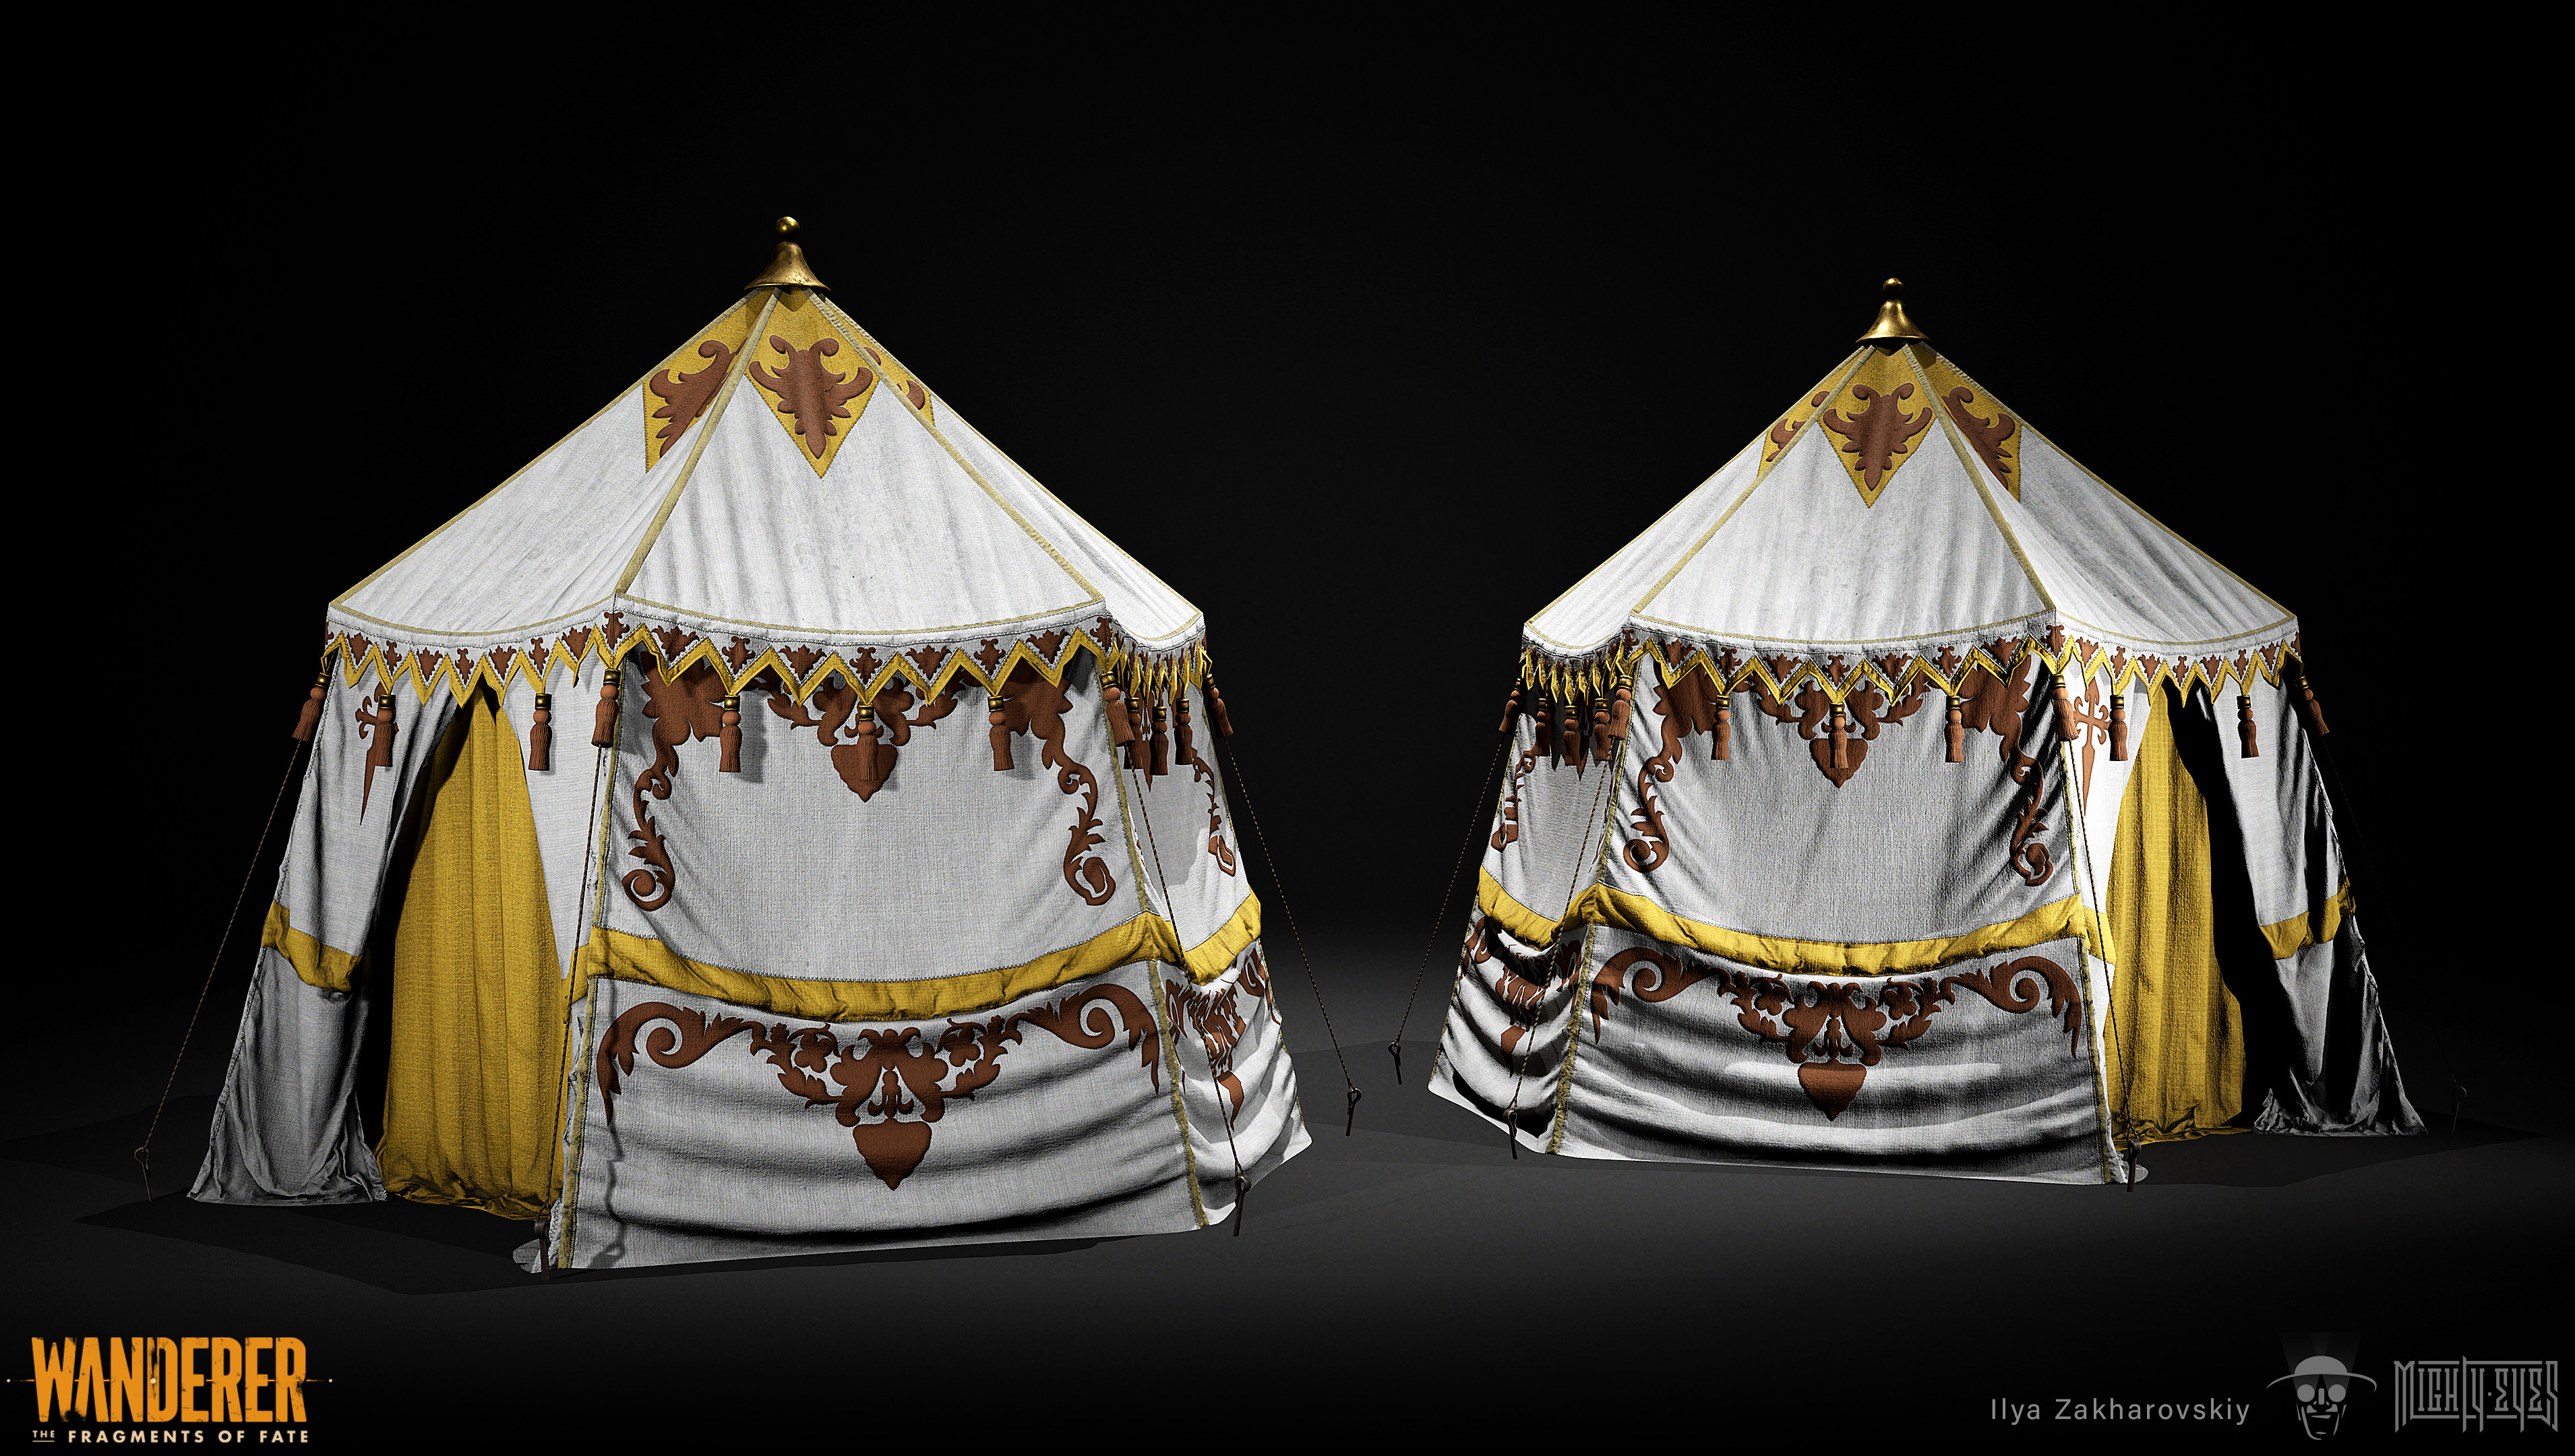
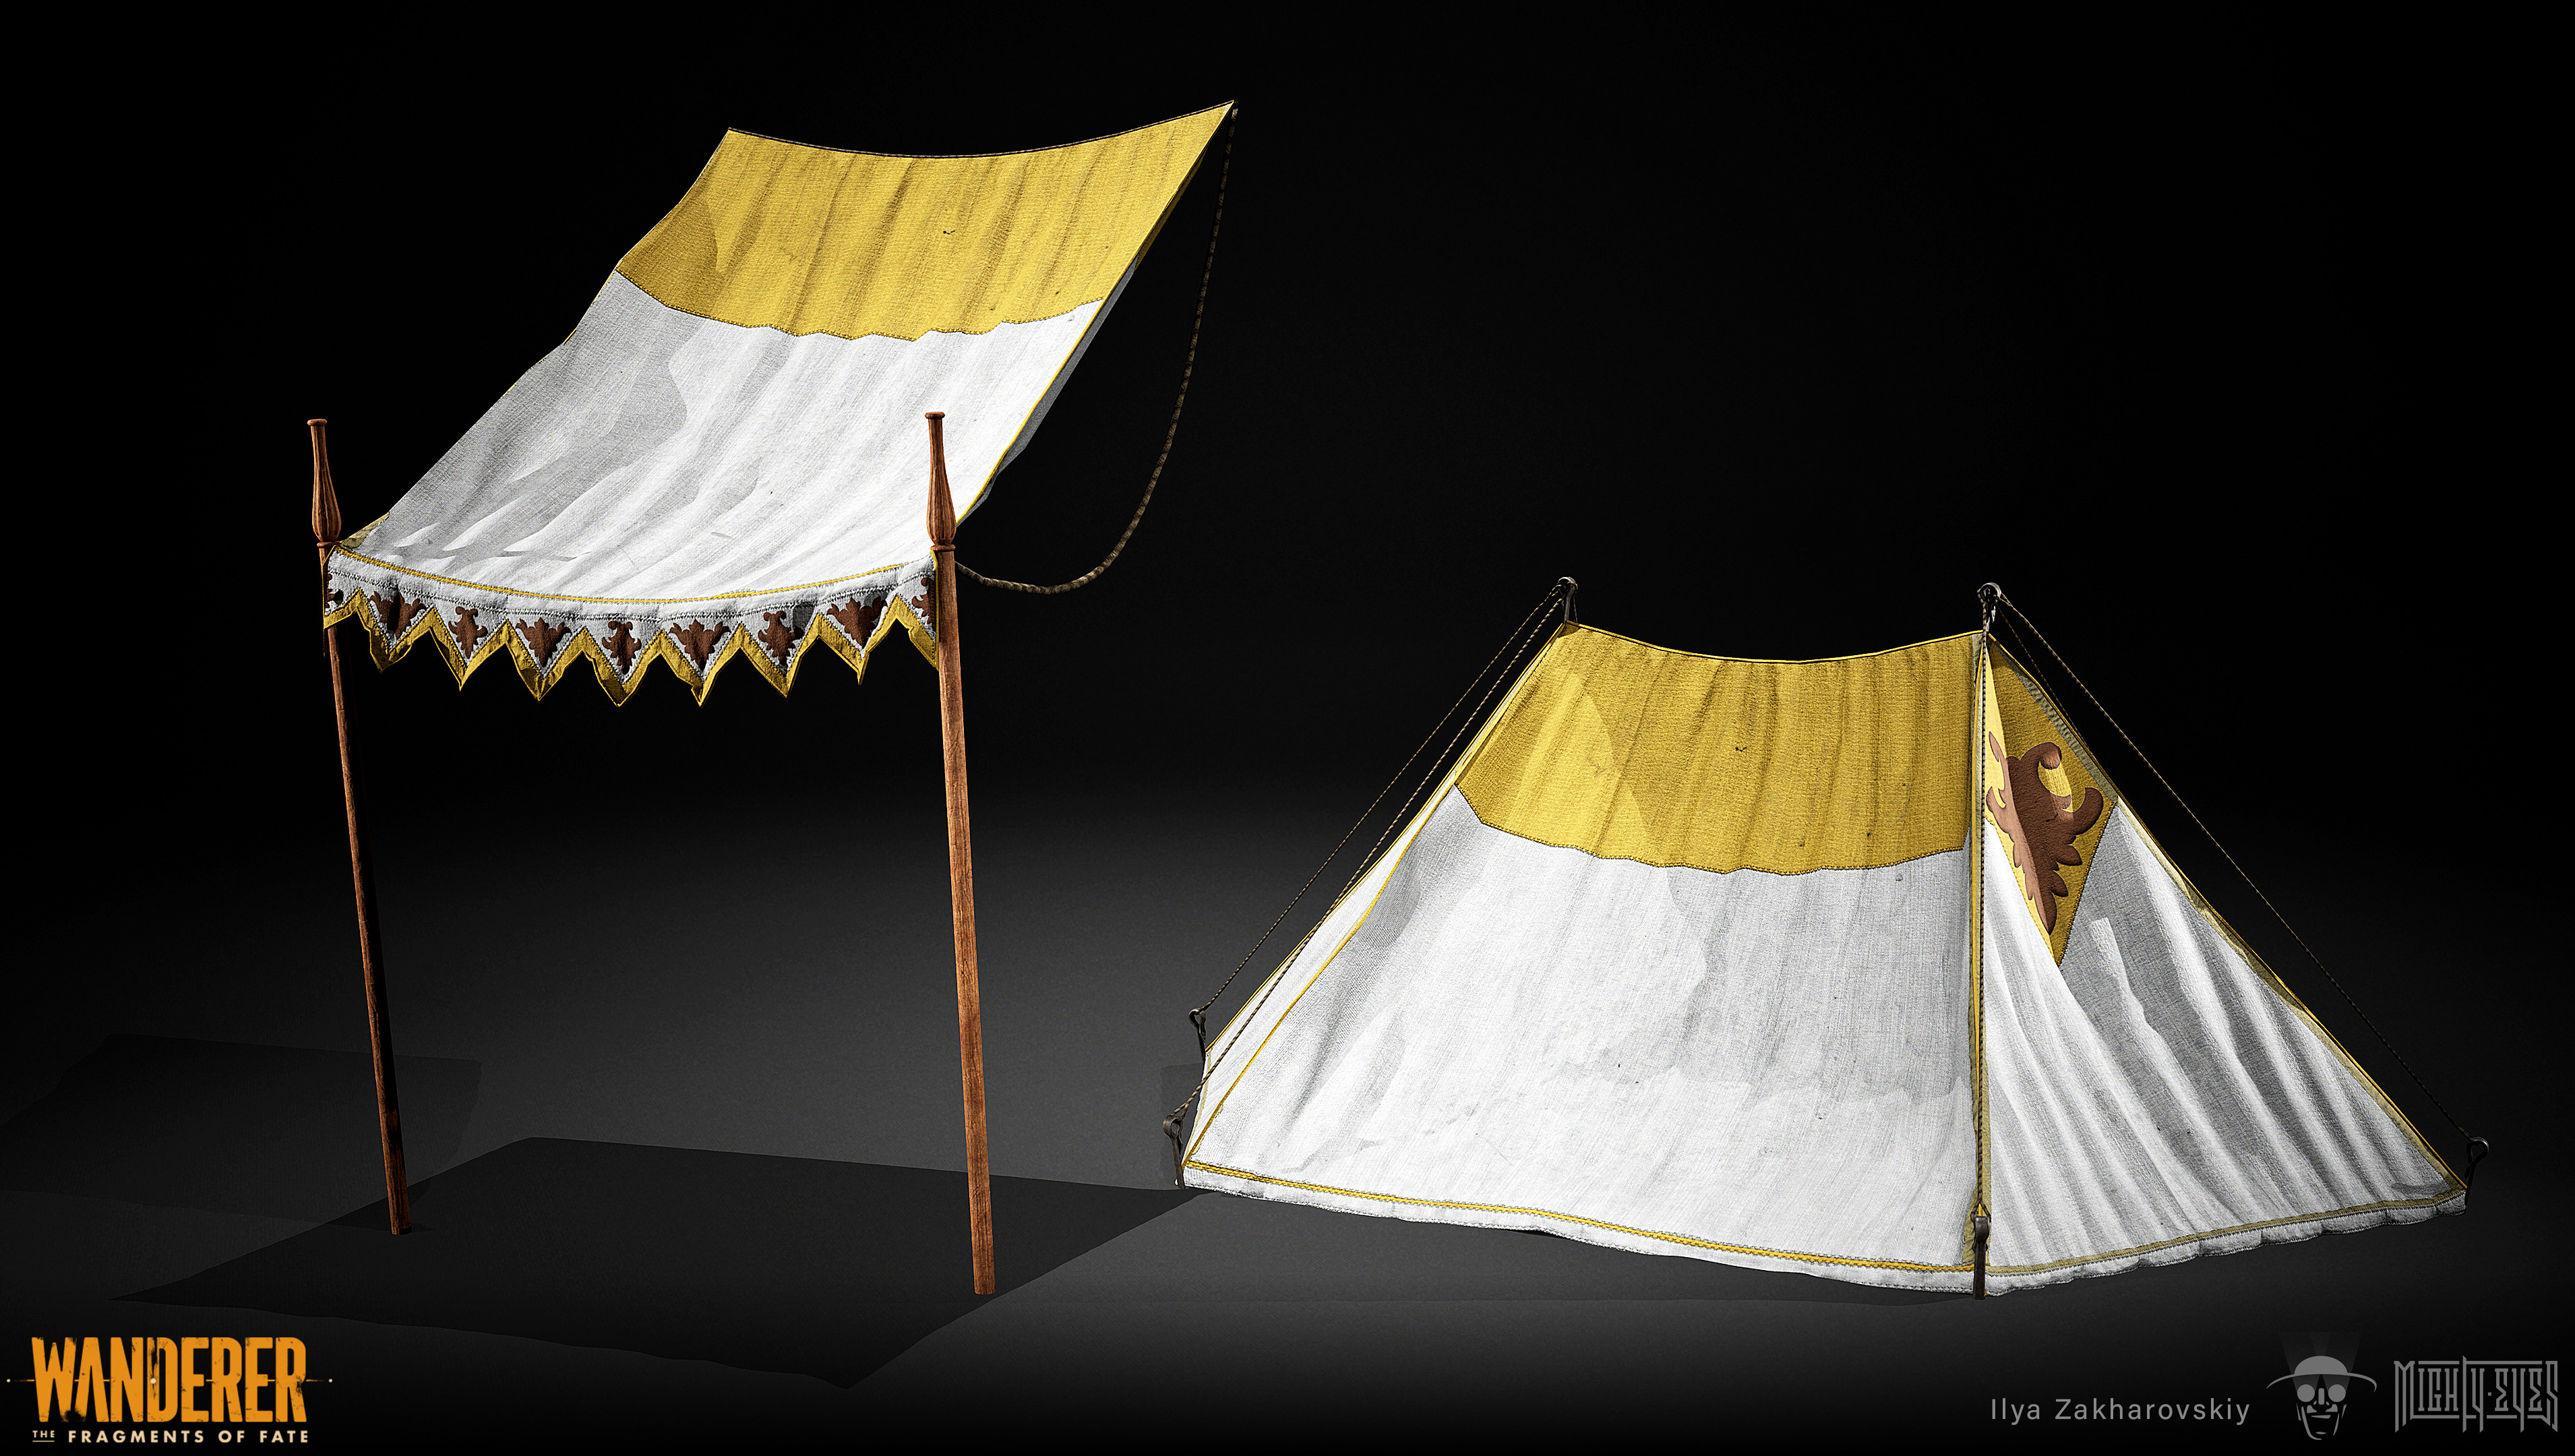
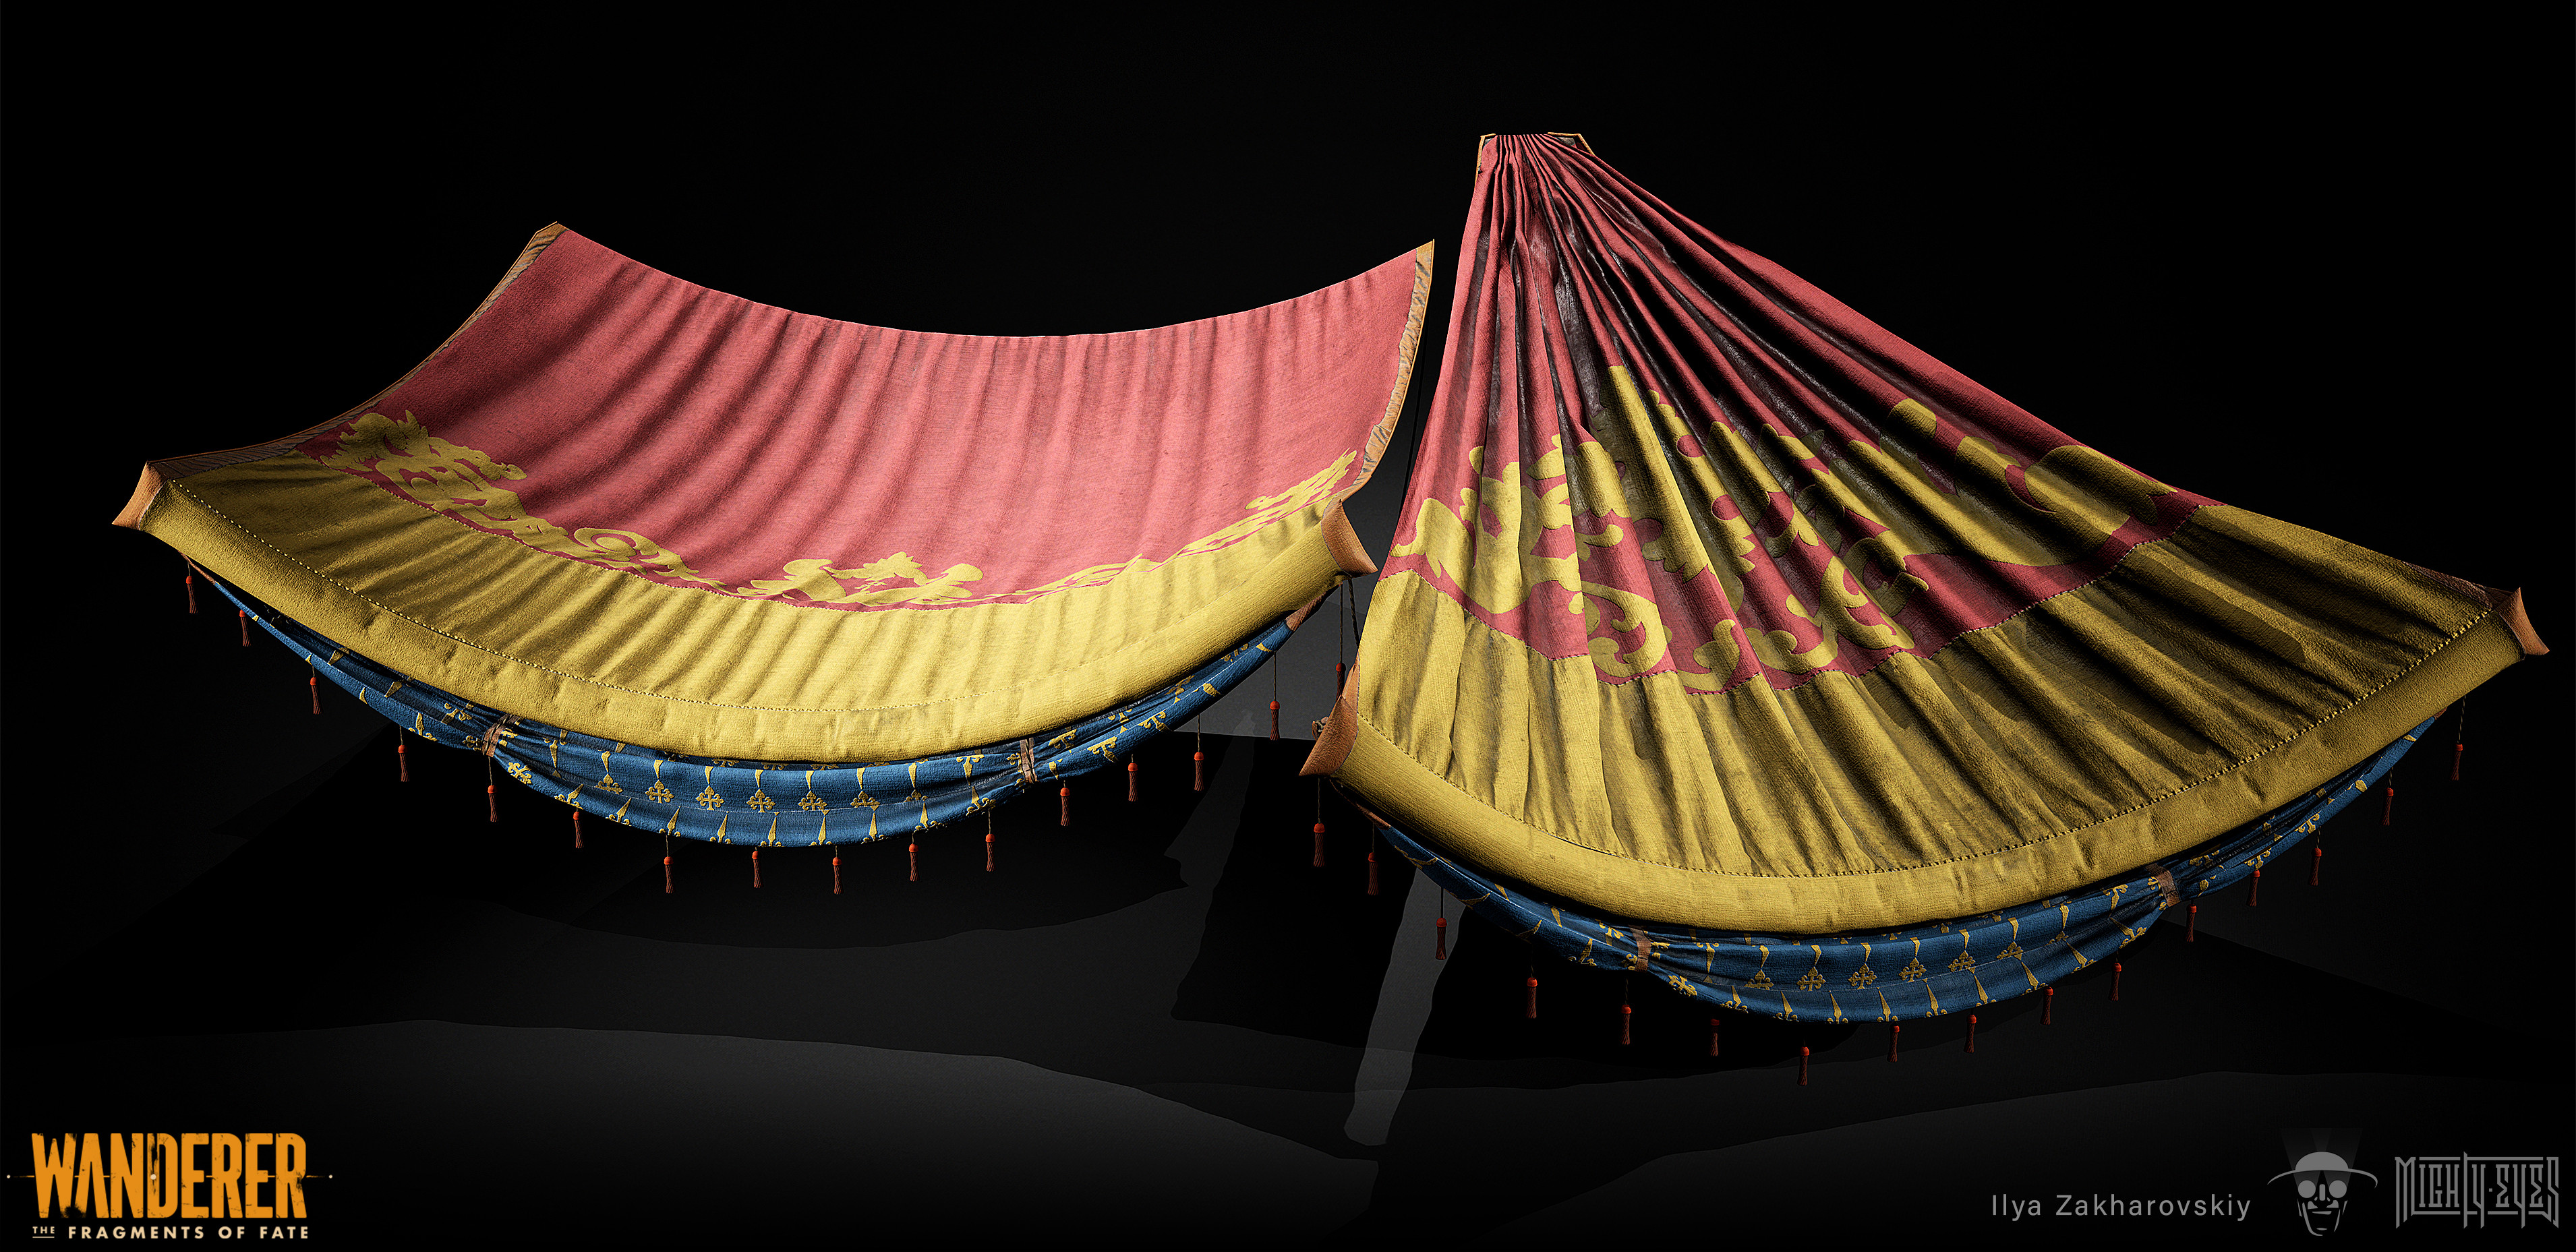
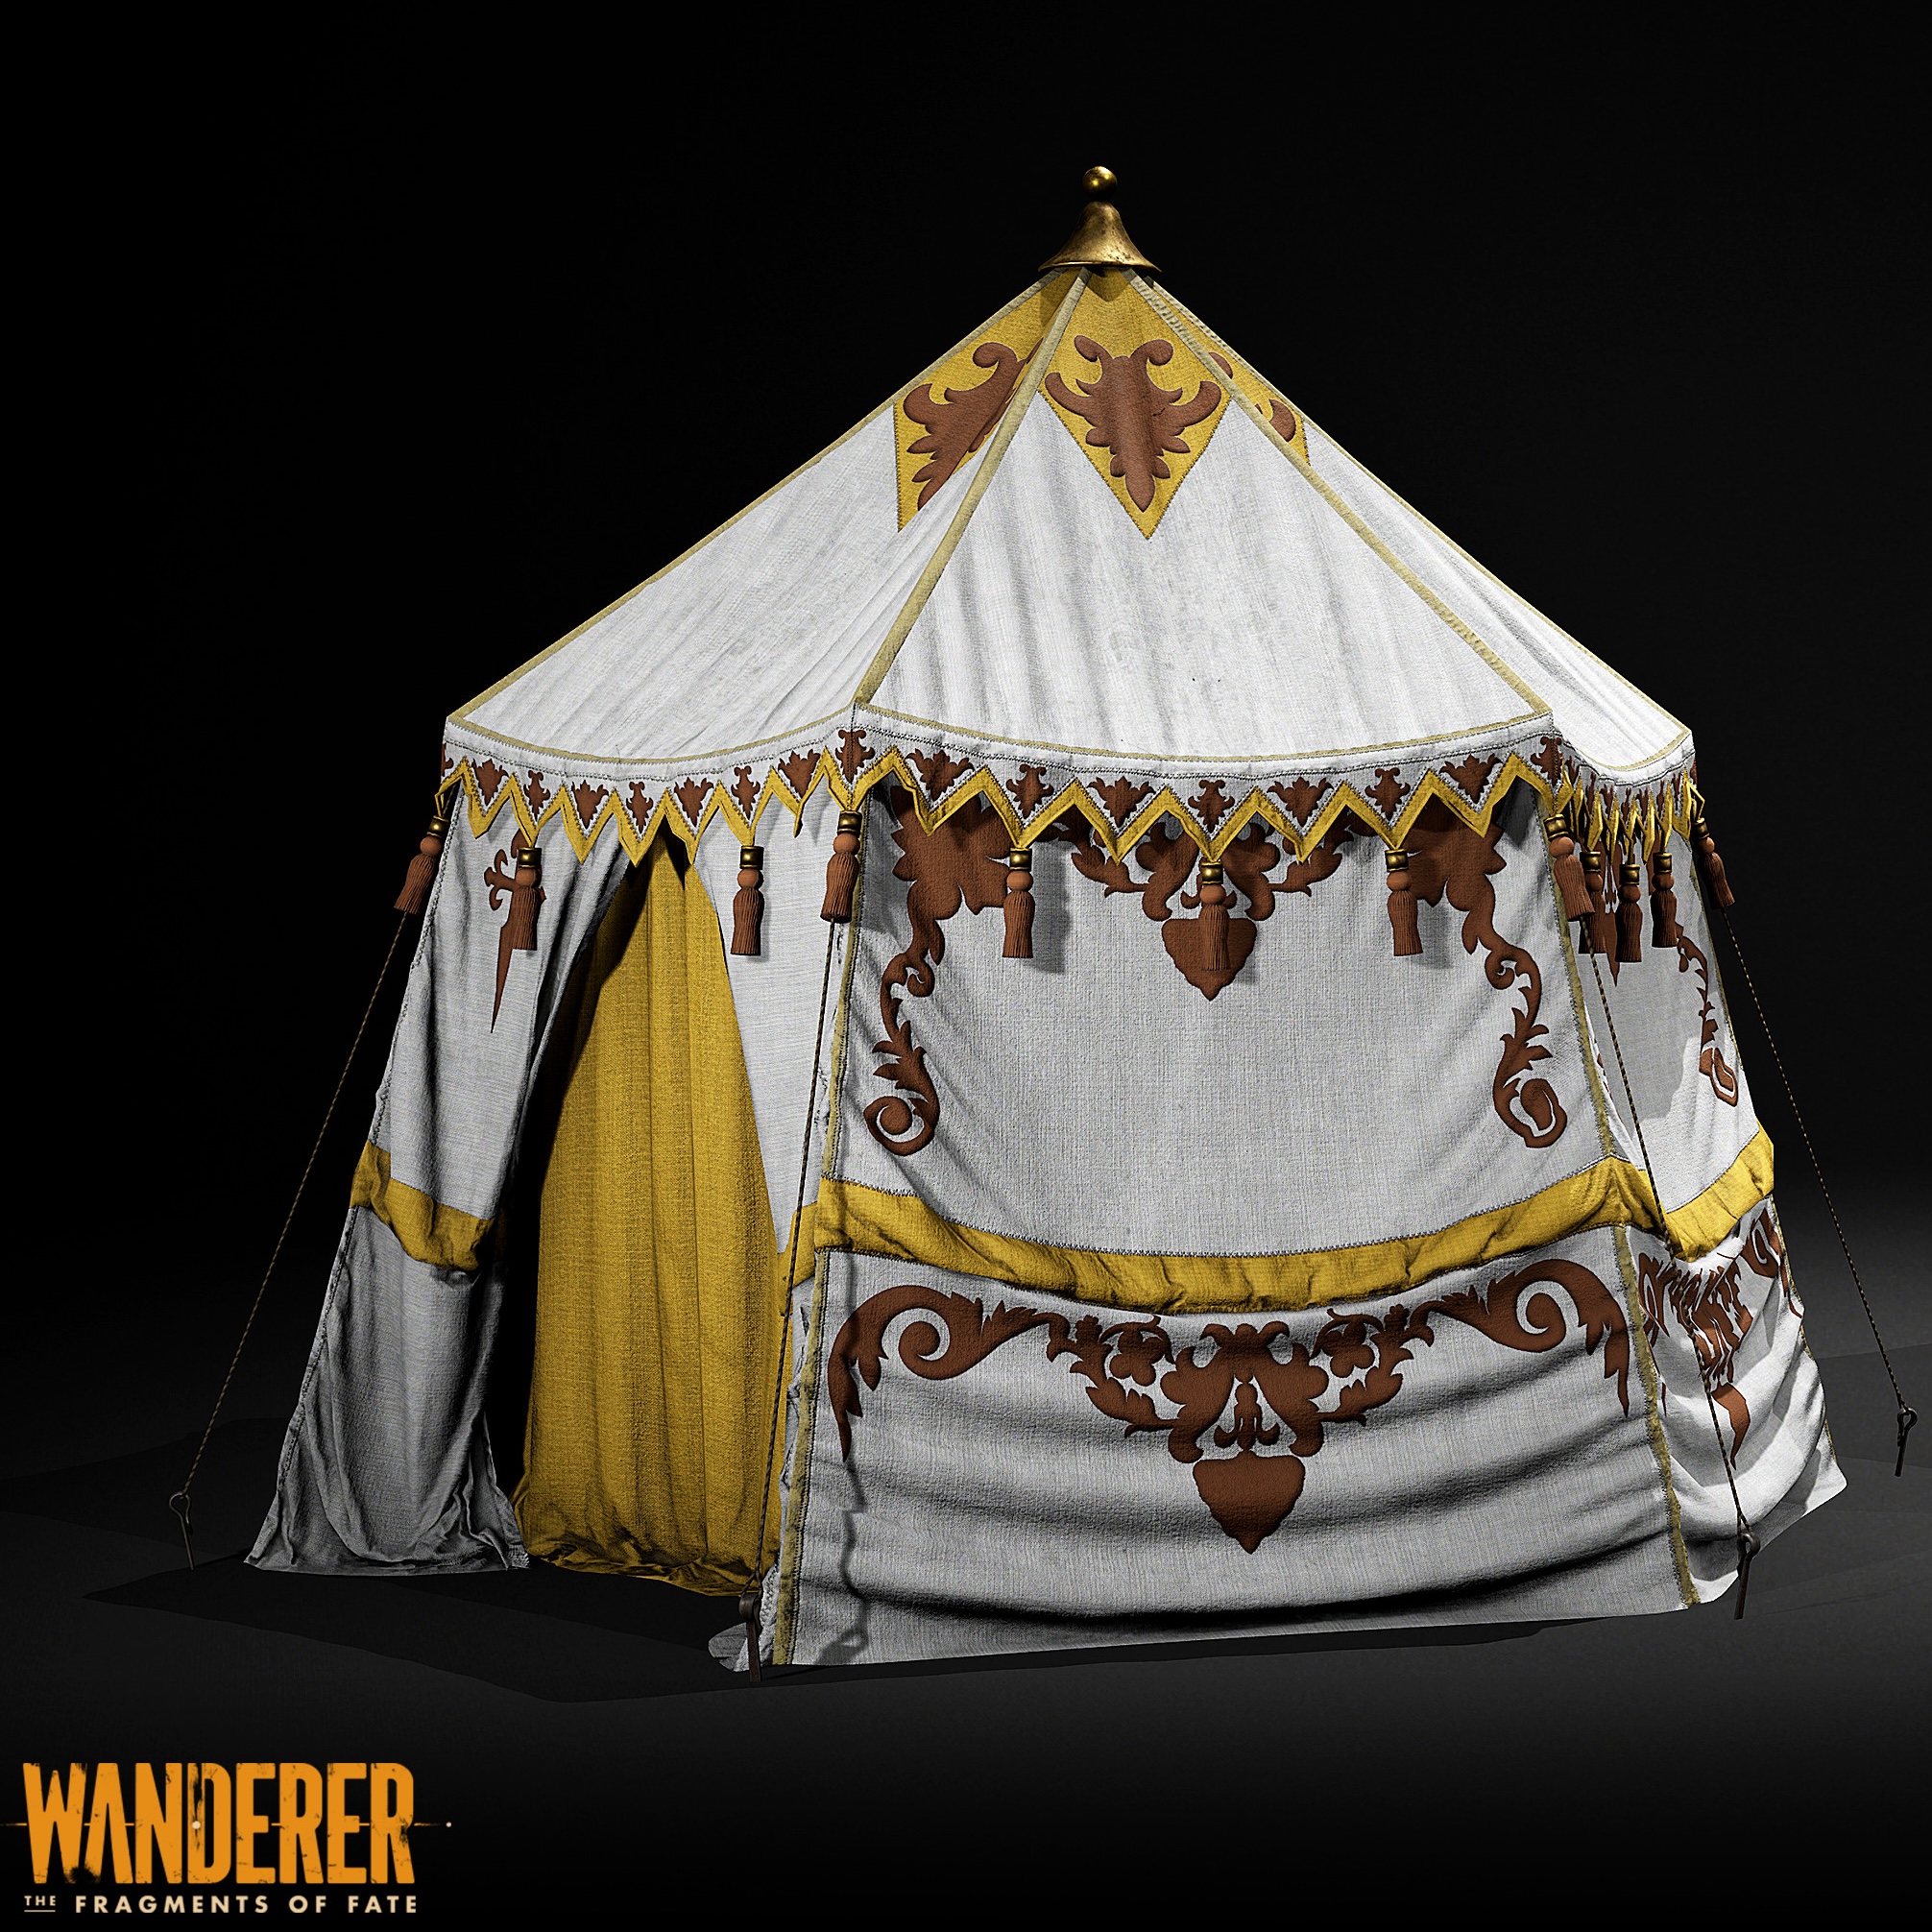
Ilya Zakharovskiy, In Wanderer: The Fragments of Fate, created realistic tents and fabric structures with Marvelous Designer. It enabled high-density cloth simulations with natural folds, eliminating the need for manual sculpting. The clean, UV-ready meshes streamlined the workflow, saving time in Maya and enhancing texture detailing in Substance Painter.
Interview with Ilya Zakharovskiy | 3D Environment & Vehicle Artist
Artist Introduction & Project Insights
Hello! My name is Ilya, I'm a 3D Environment and vehicle artist from Auckland, New Zealand. I also love the Concept design of vehicles, props, weapons, and futuristic environments. Recently, I've been working on the project Wanderer: The Fragments of Fate, a VR quest adventure game released on multiple platforms. In this article, I'm going to talk about the workflow of using Marvelous Designer in Environment art for games.
Pipeline Overview
A little bit of story first. In Wanderer: The Fragments of Fate, the ability to travel in time sends the player to ancient Mayan Civilization when the Spanish Empire was continuing its conquest of the Americas. Spanish conquistadors used a large variety of tents and movable shelters in their camps. In order to create them, I used Marvelous Designer in my pipeline, along with my other tools such as Maya, Marmoset Toolbag, Substance Painter, and Photoshop.
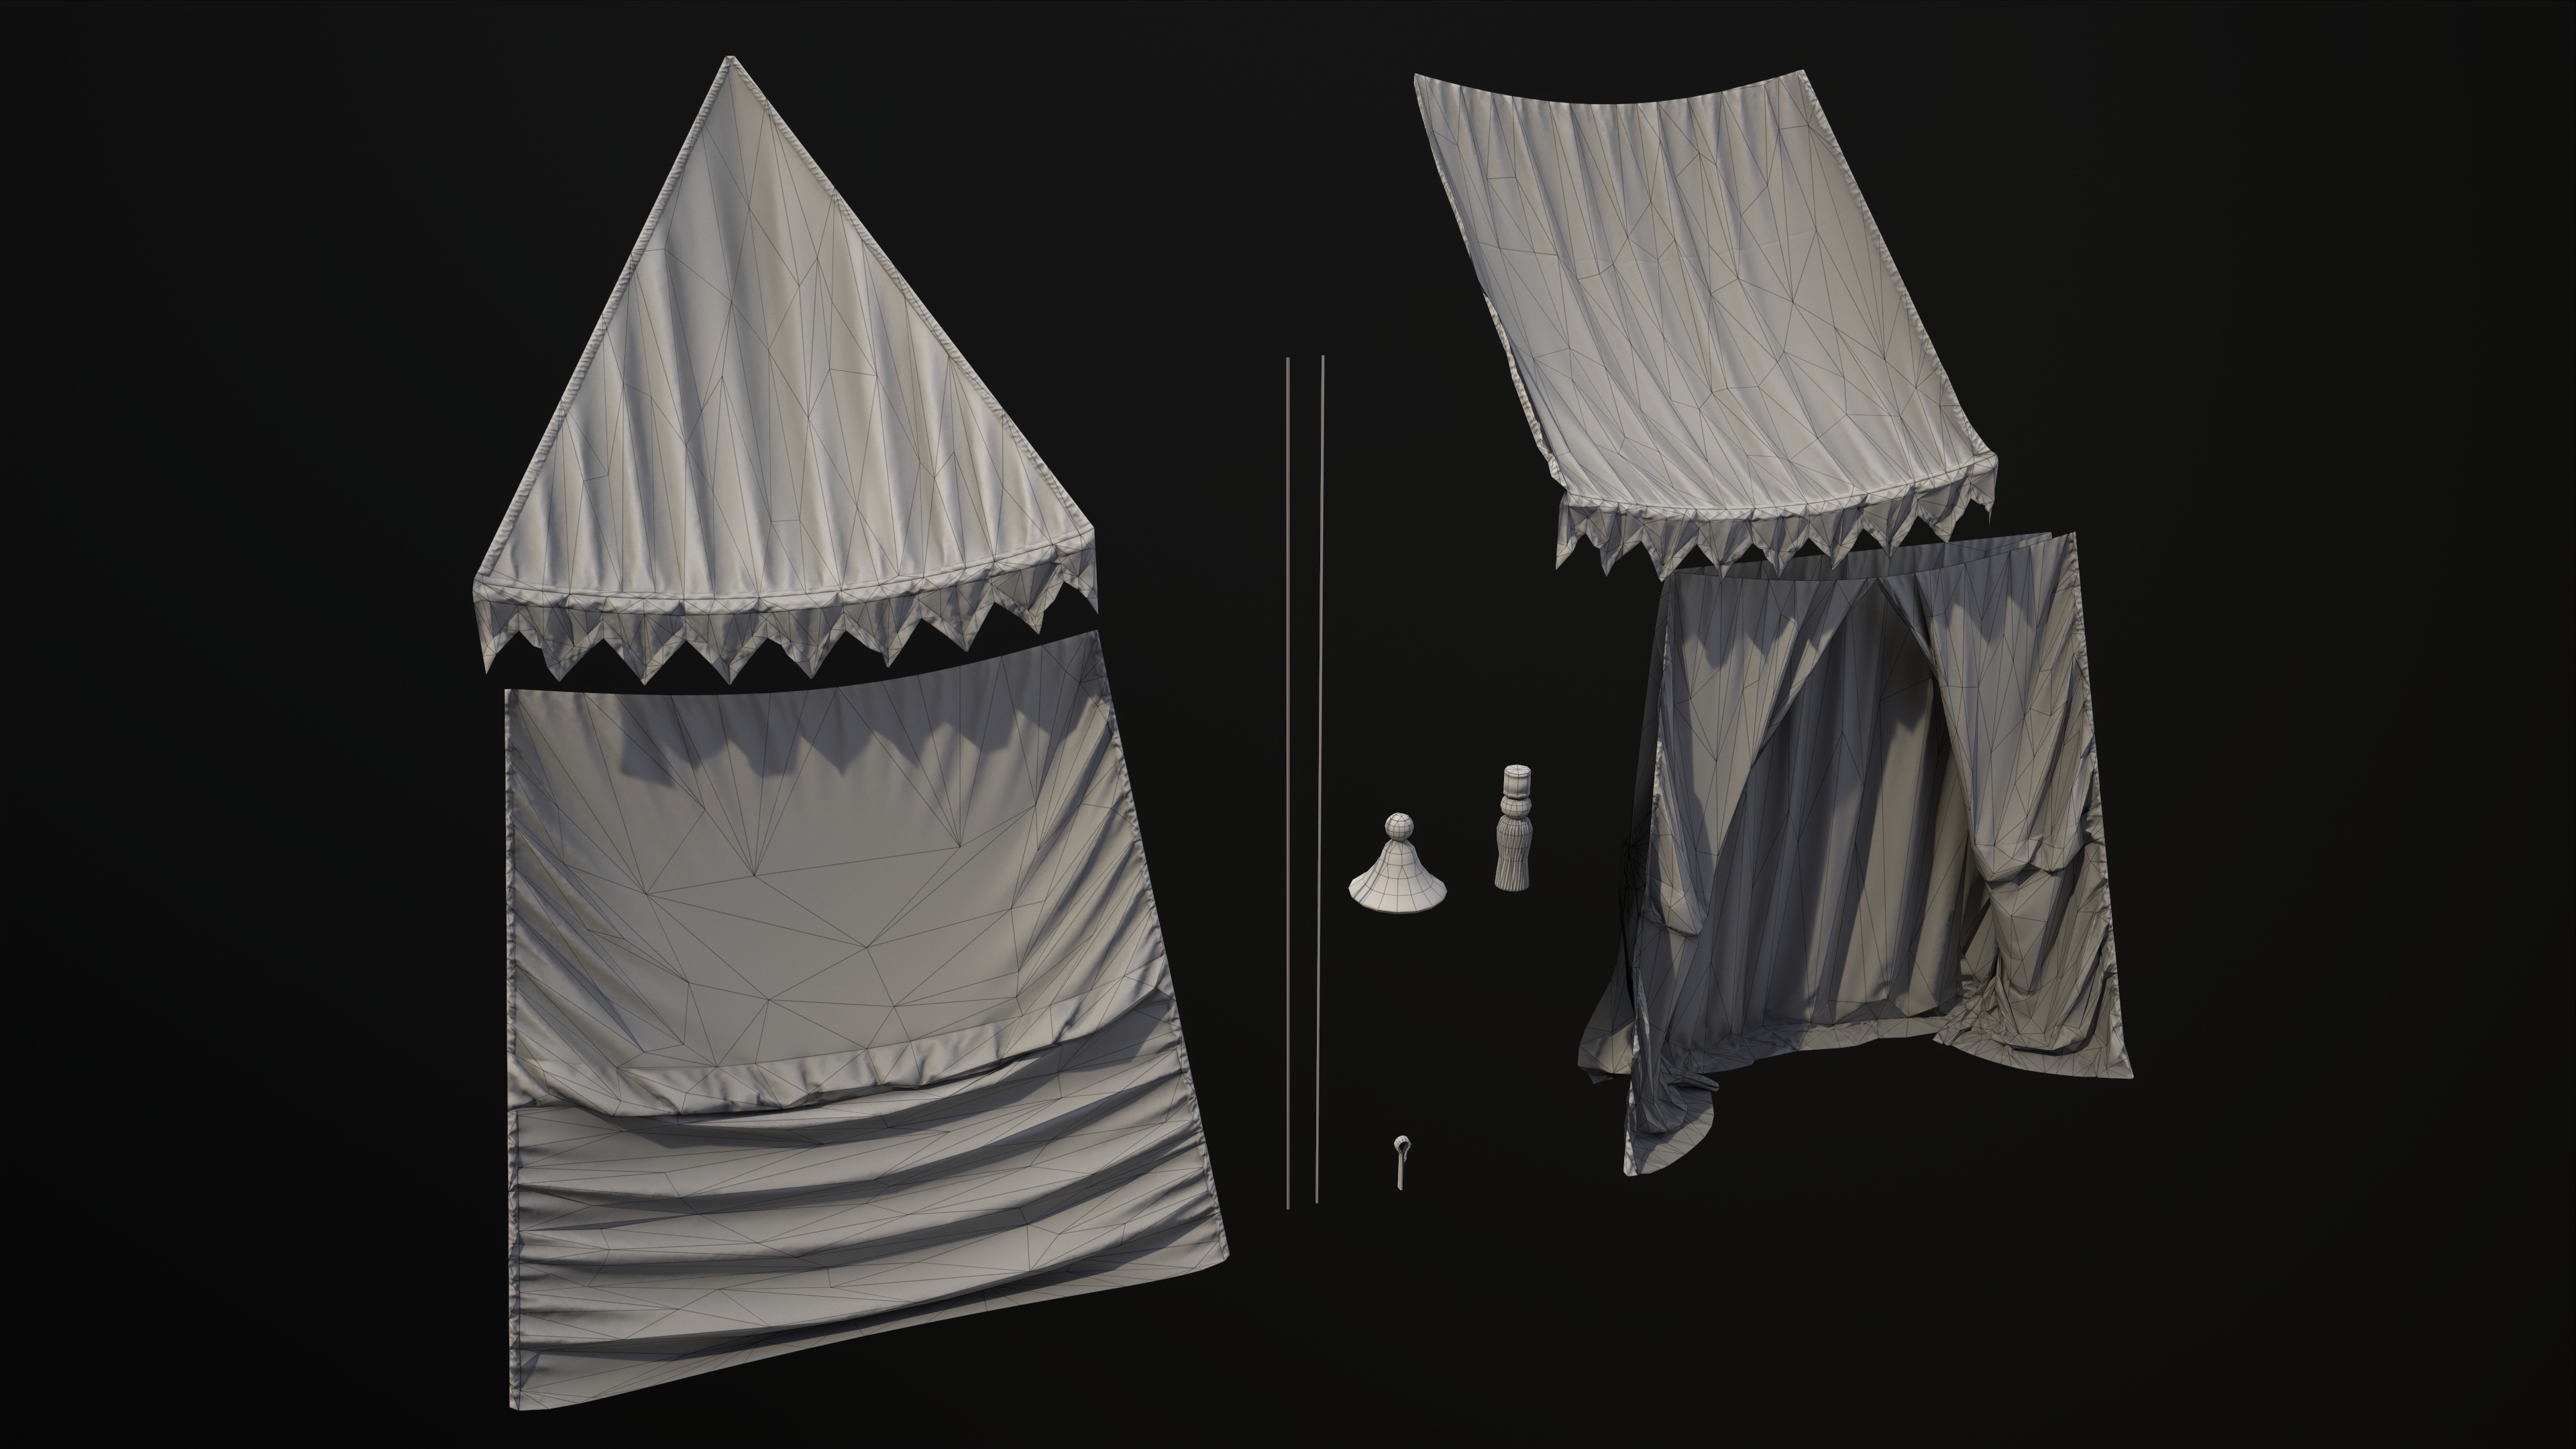
At the beginning, we started with a simple blockout to get shapes and sizes right for the player in VR. When it was done, I made a fabric layout for future tents and canopies in Maya, keeping the proper UV layout to use as a pattern in Marvelous Designer. At this stage, it is important to already know how many texture sets you will be able to use; in my case, it was 2 texture sets for an entire camp, including large fabric parts and little dressing details. I've made a kit of future tents by making unique parts only, they will be duplicated later.
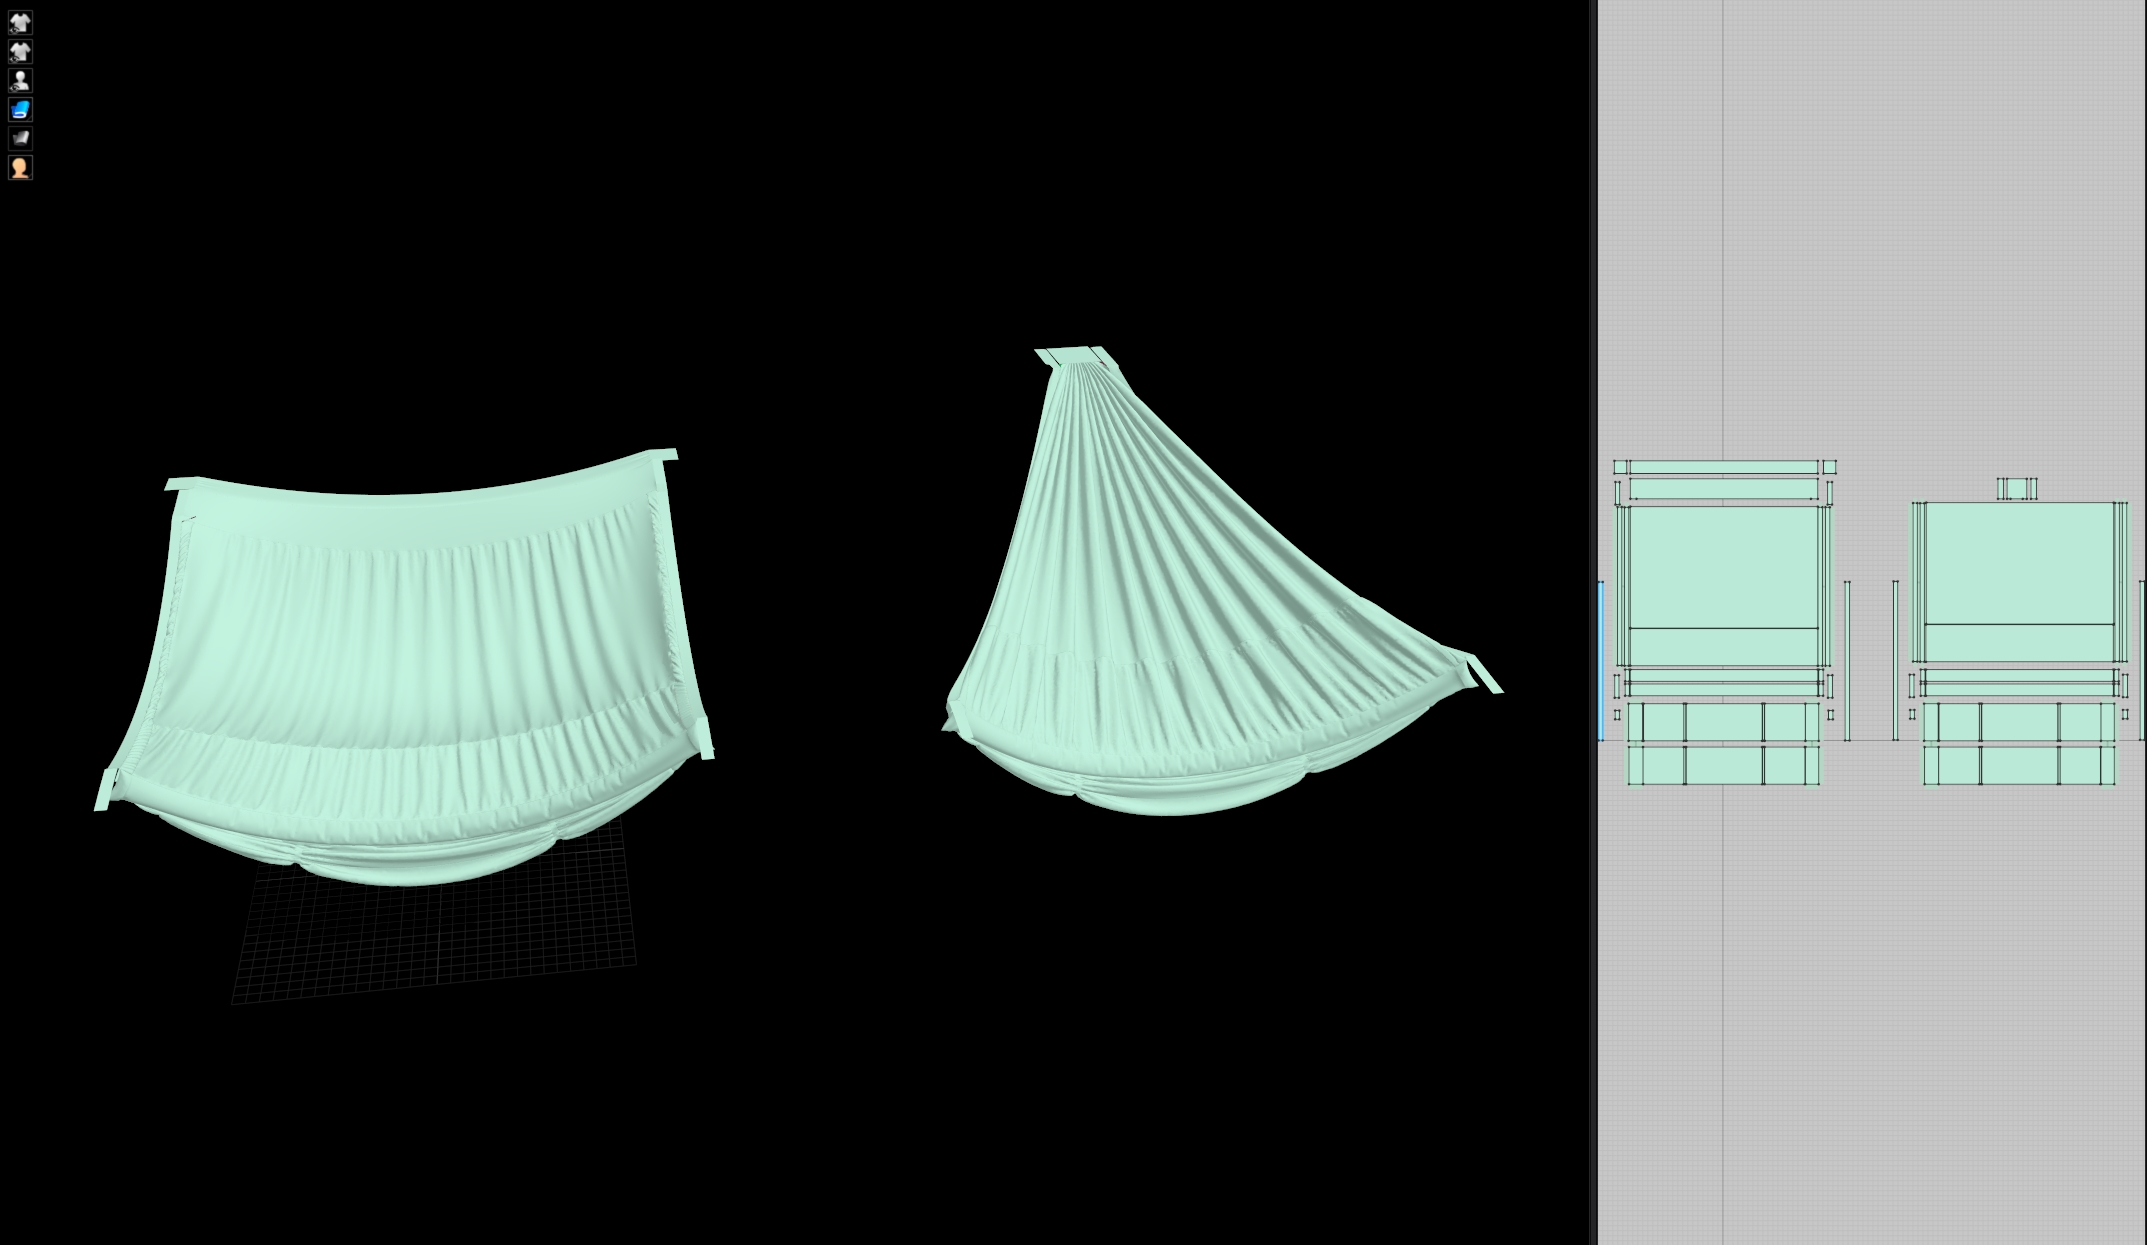
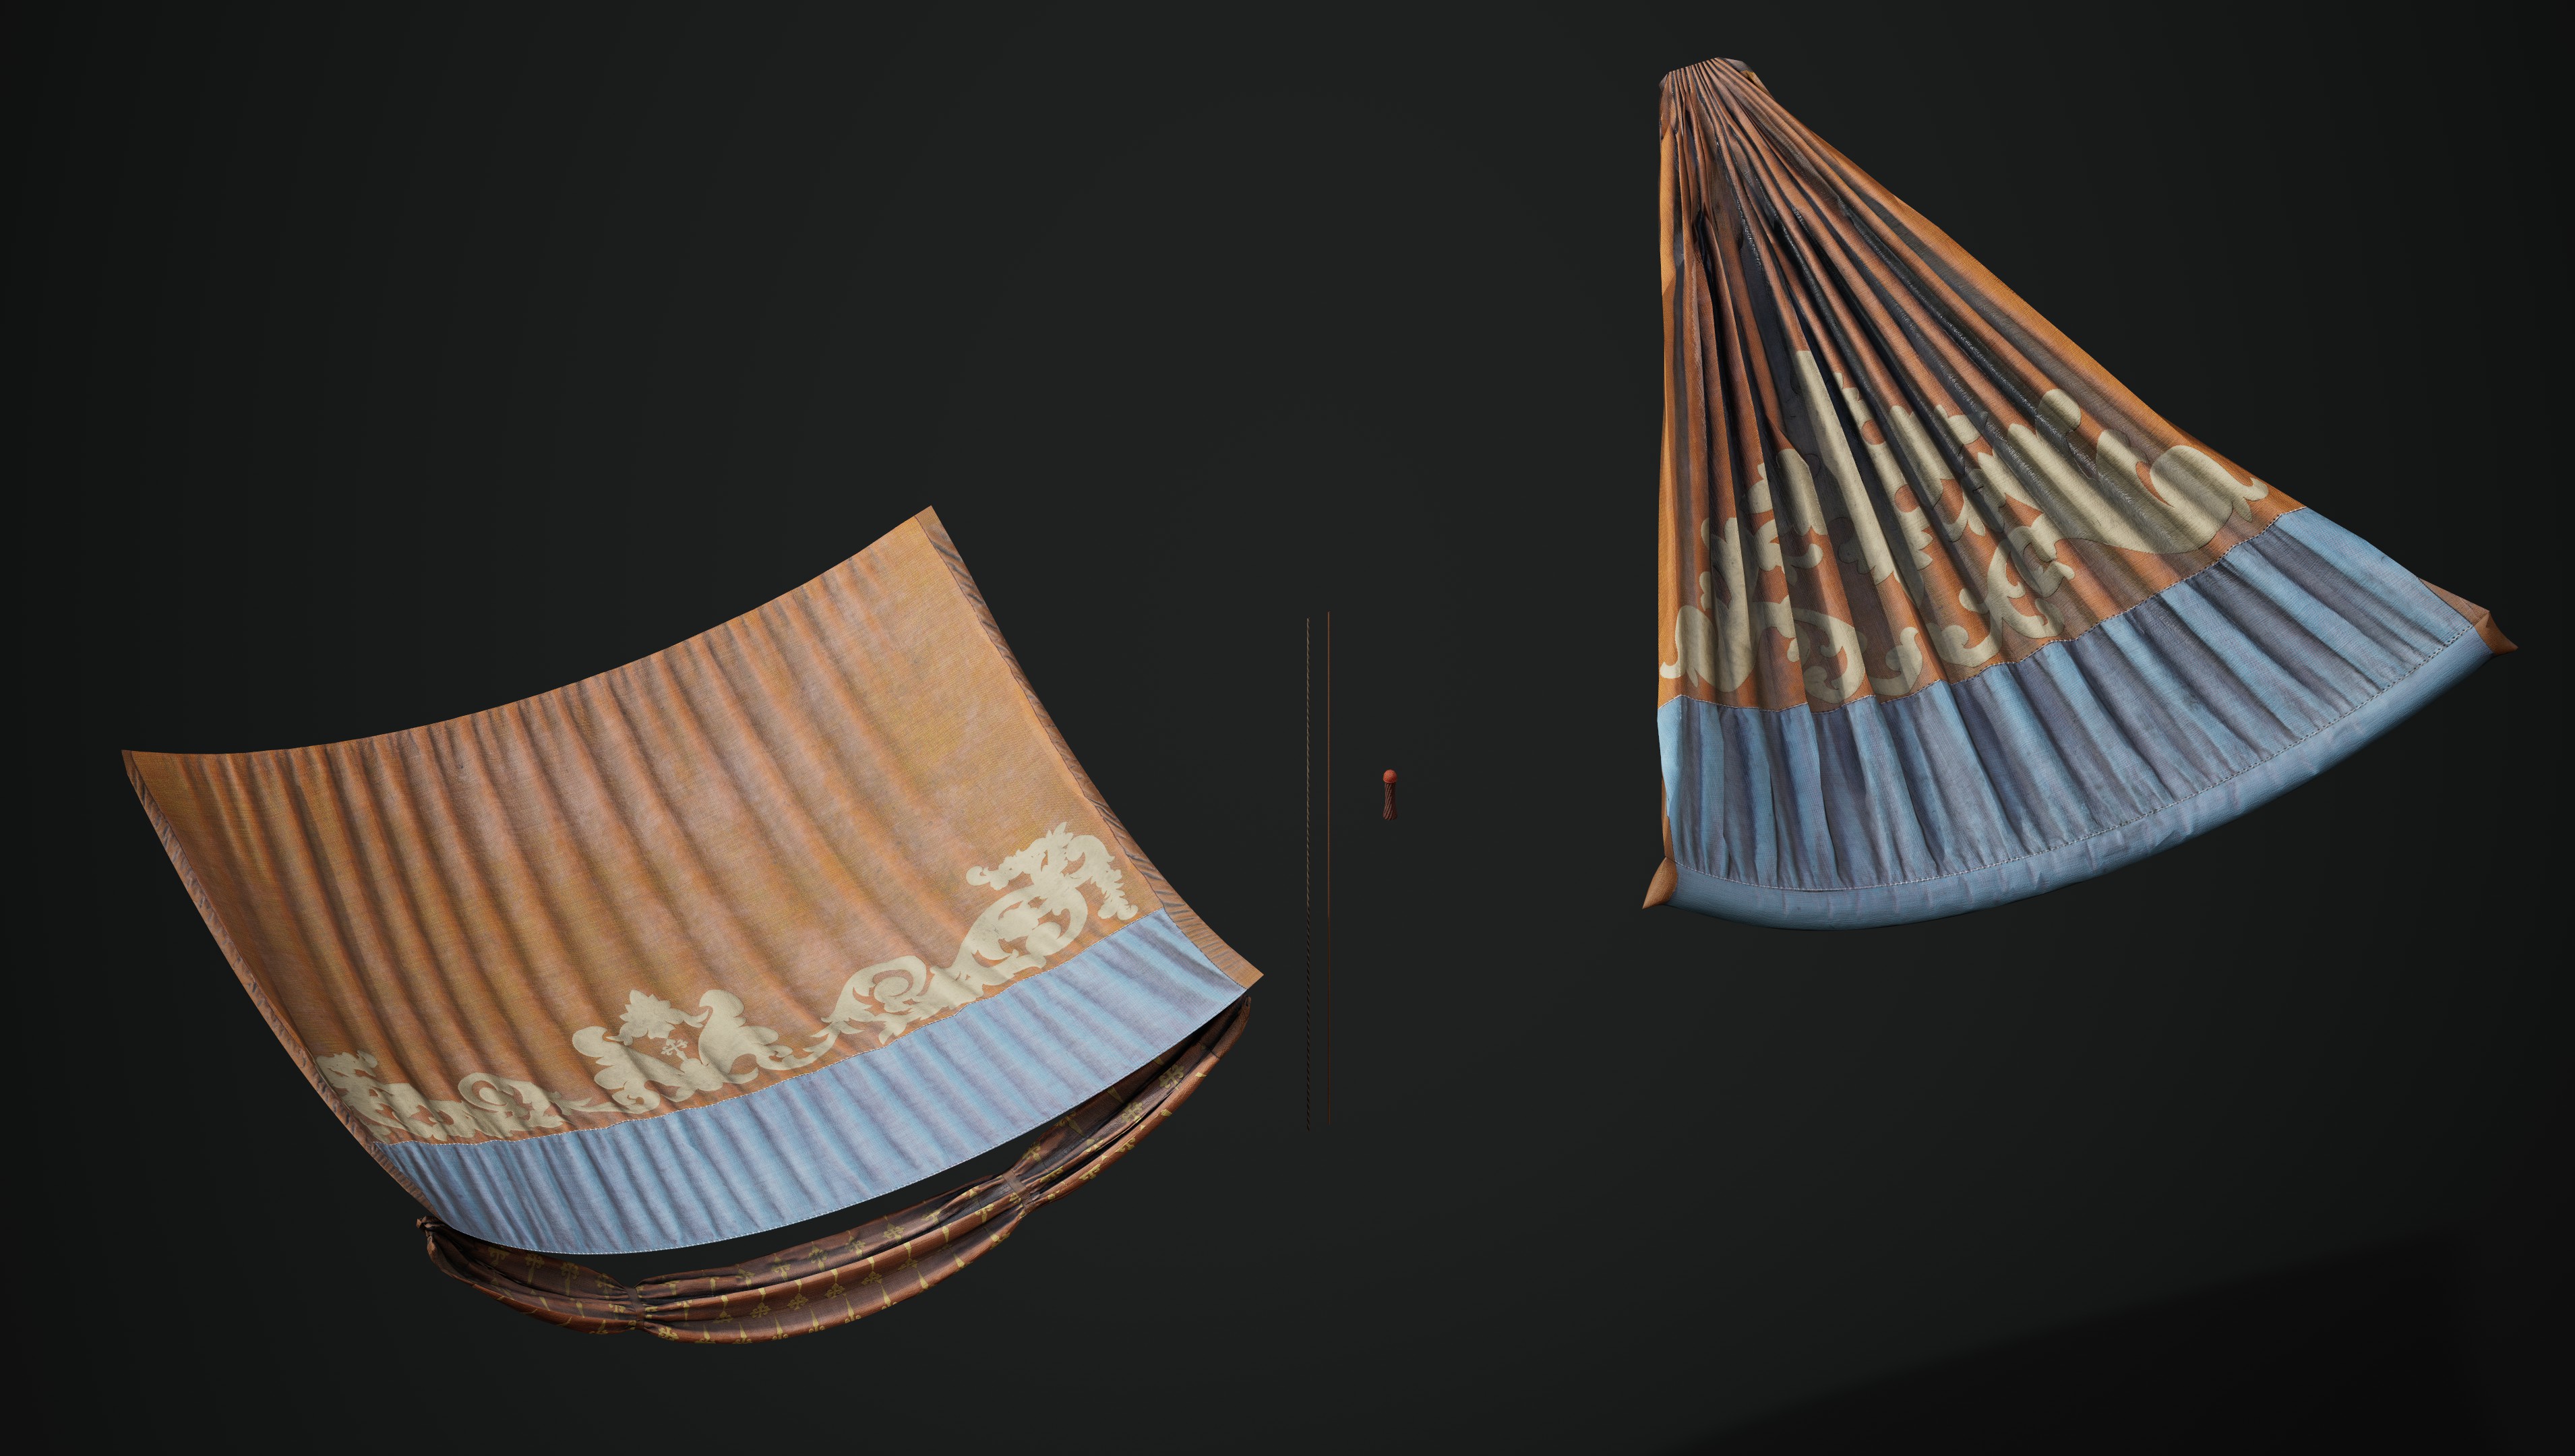
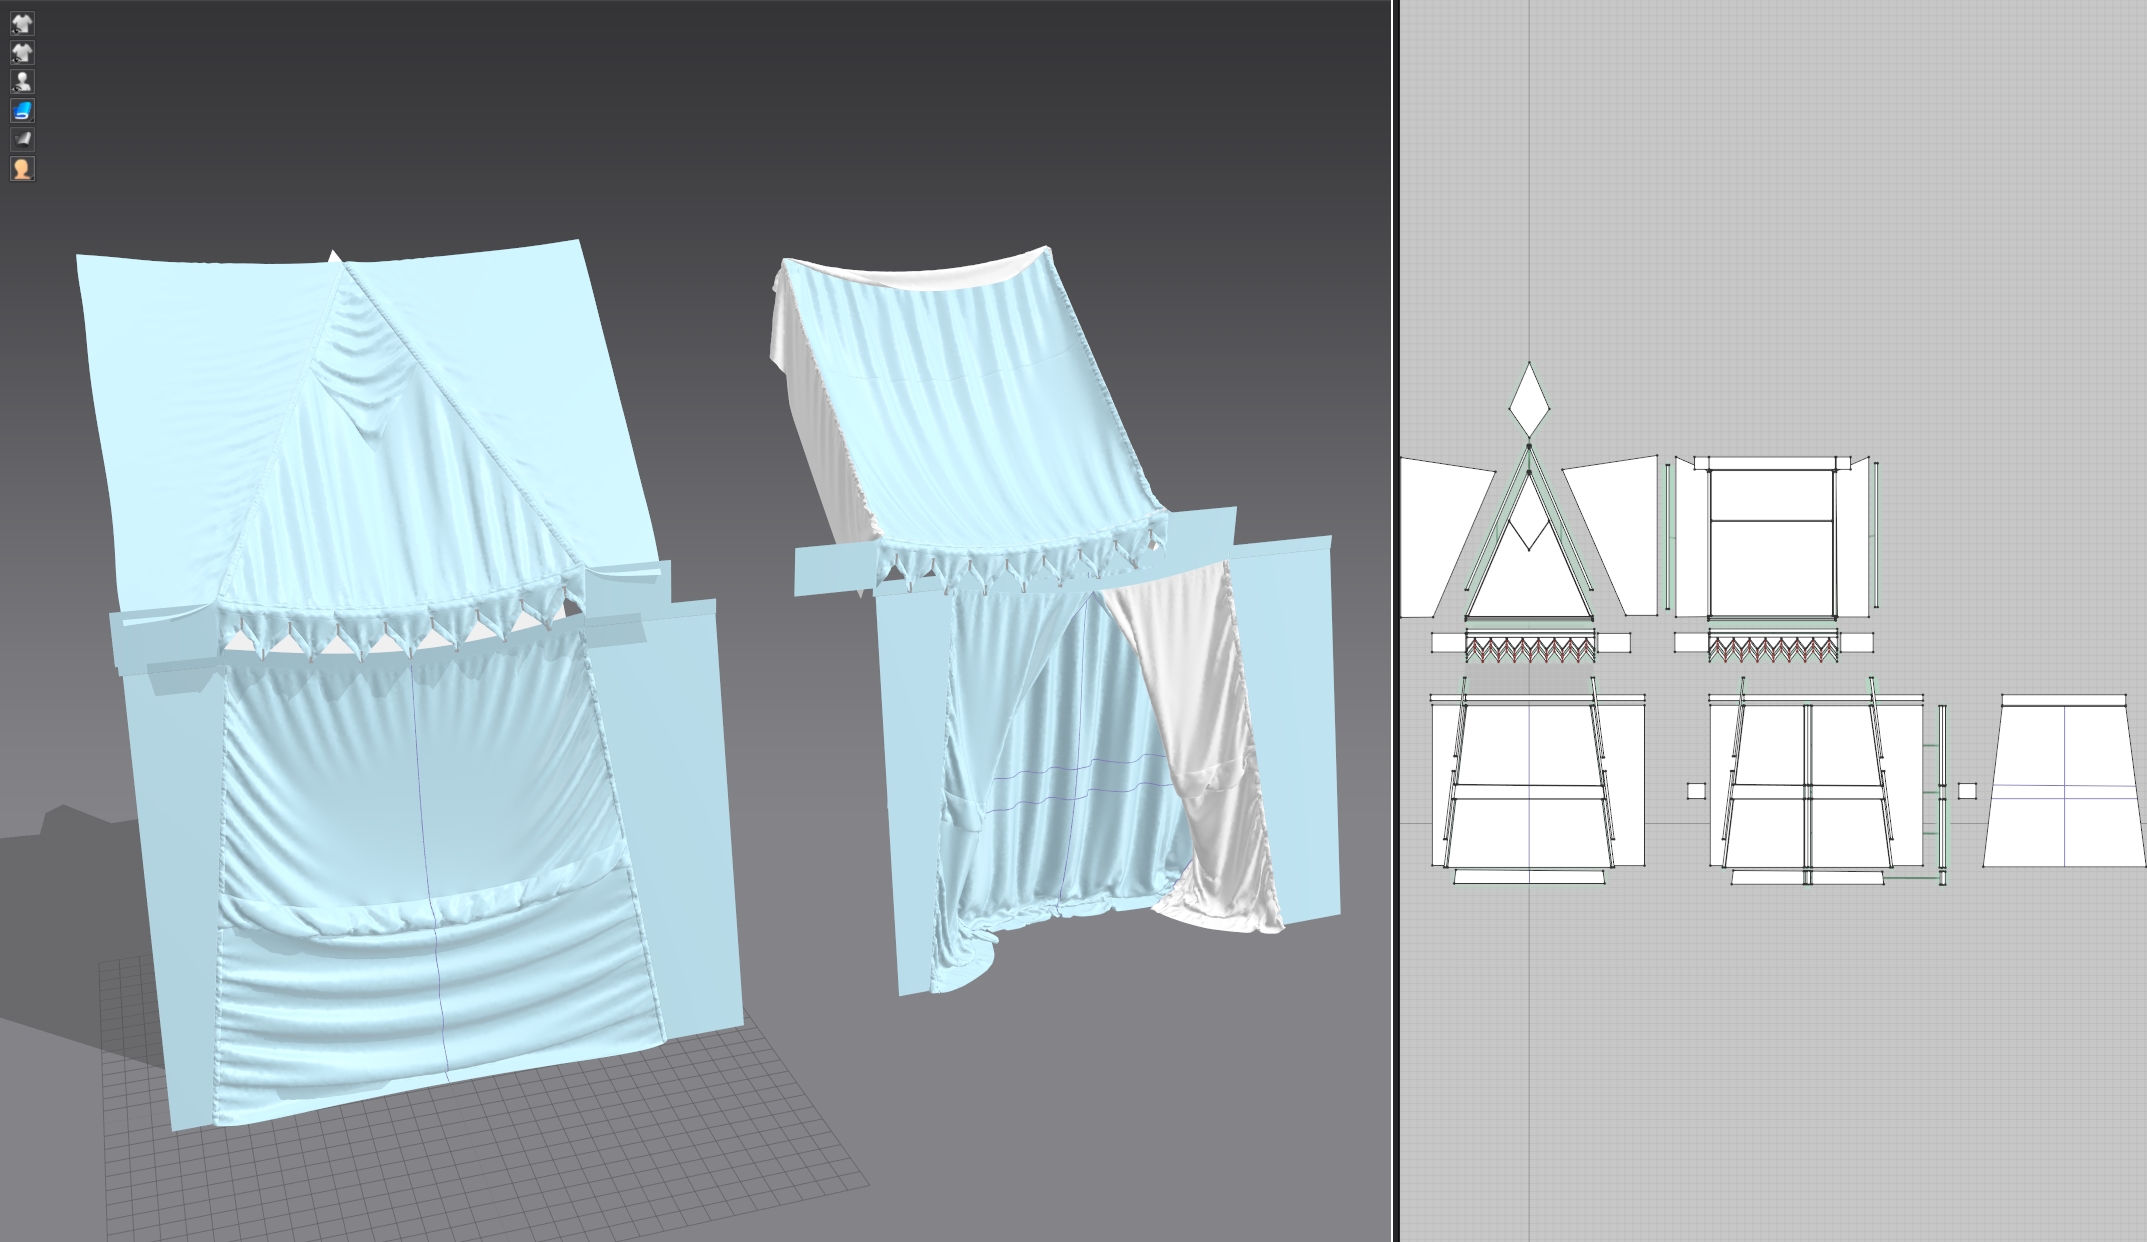 In Marvelous Designer, I've made cloth simulation with high mesh density, to keep all of those fabric foldings natural, without sculpting anything later. In a result I've got two sets of meshes, low and high poly. The next step was creating a UV layout and adding details such as ropes, cones, and wood poles in Maya. Because on the output from Marvelous Designer, you got clean meshes with already unwrapped UV's, we can skip the geometry cleaning and UV unwrapping in Maya, which saves us some time.
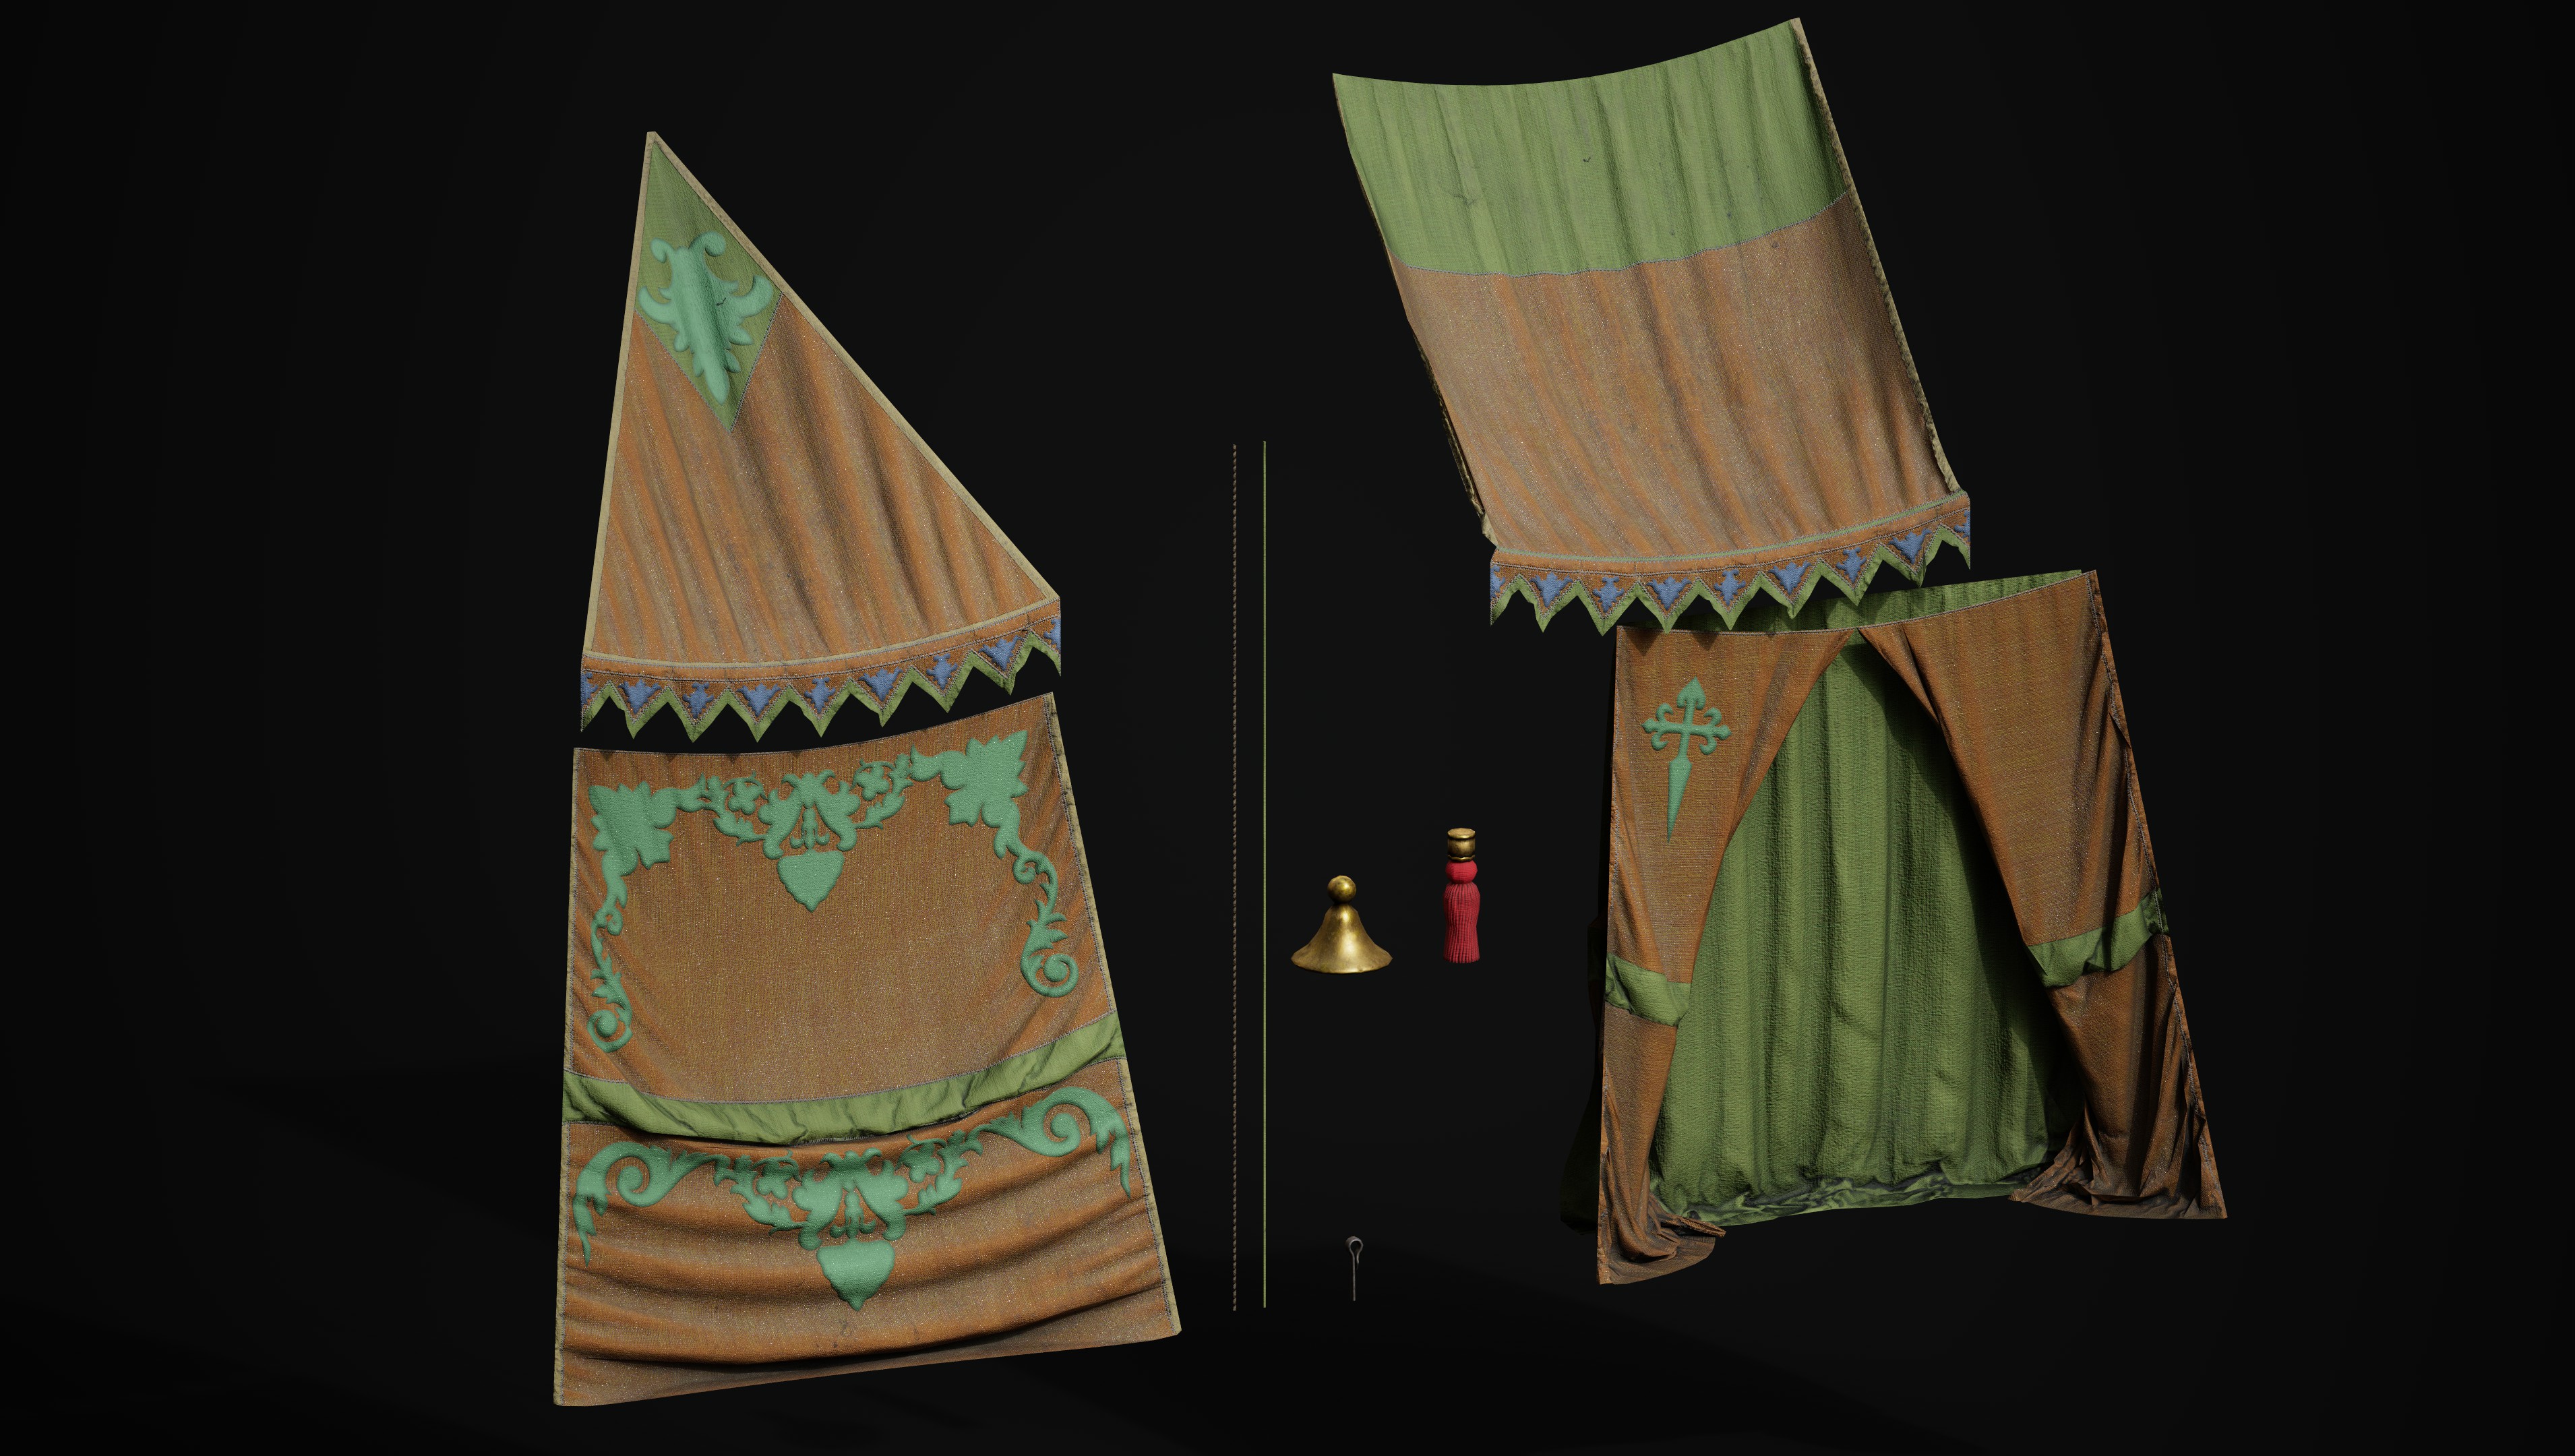
Now it's is baking and texturing stage. I've added patterns, seams and stitches, alongside with fabric micro details in Substance Painter. I love this stage, it's like a rendering, you already see the final result.
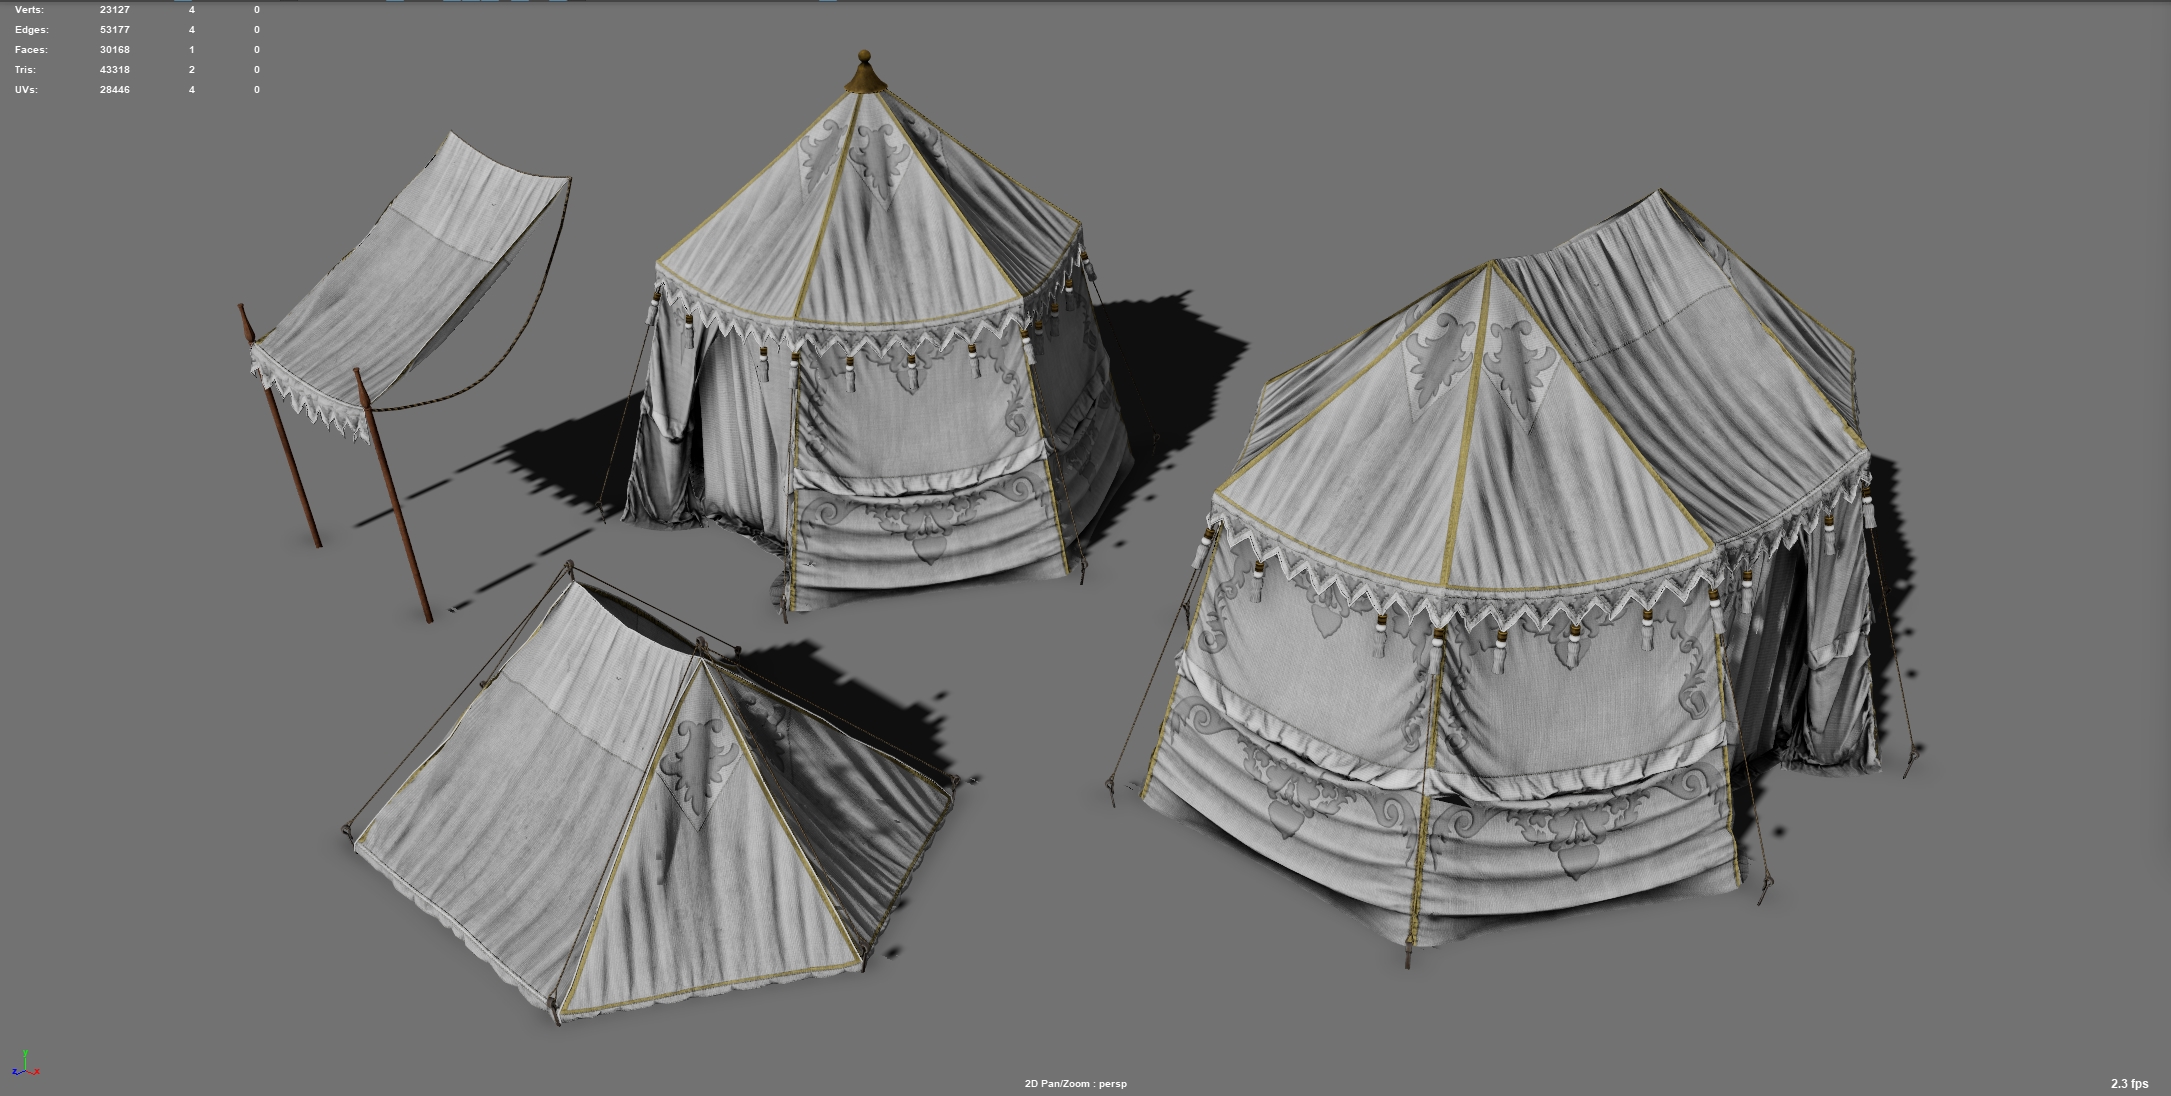
The final stage is the assembly of a variety of tents and canopies in Maya, using premade parts. Here, I need to create collision models and lightmaps to use them in the Engine. And then, everything is imported and set up in Unreal Engine, and it's ready to be placed across the map.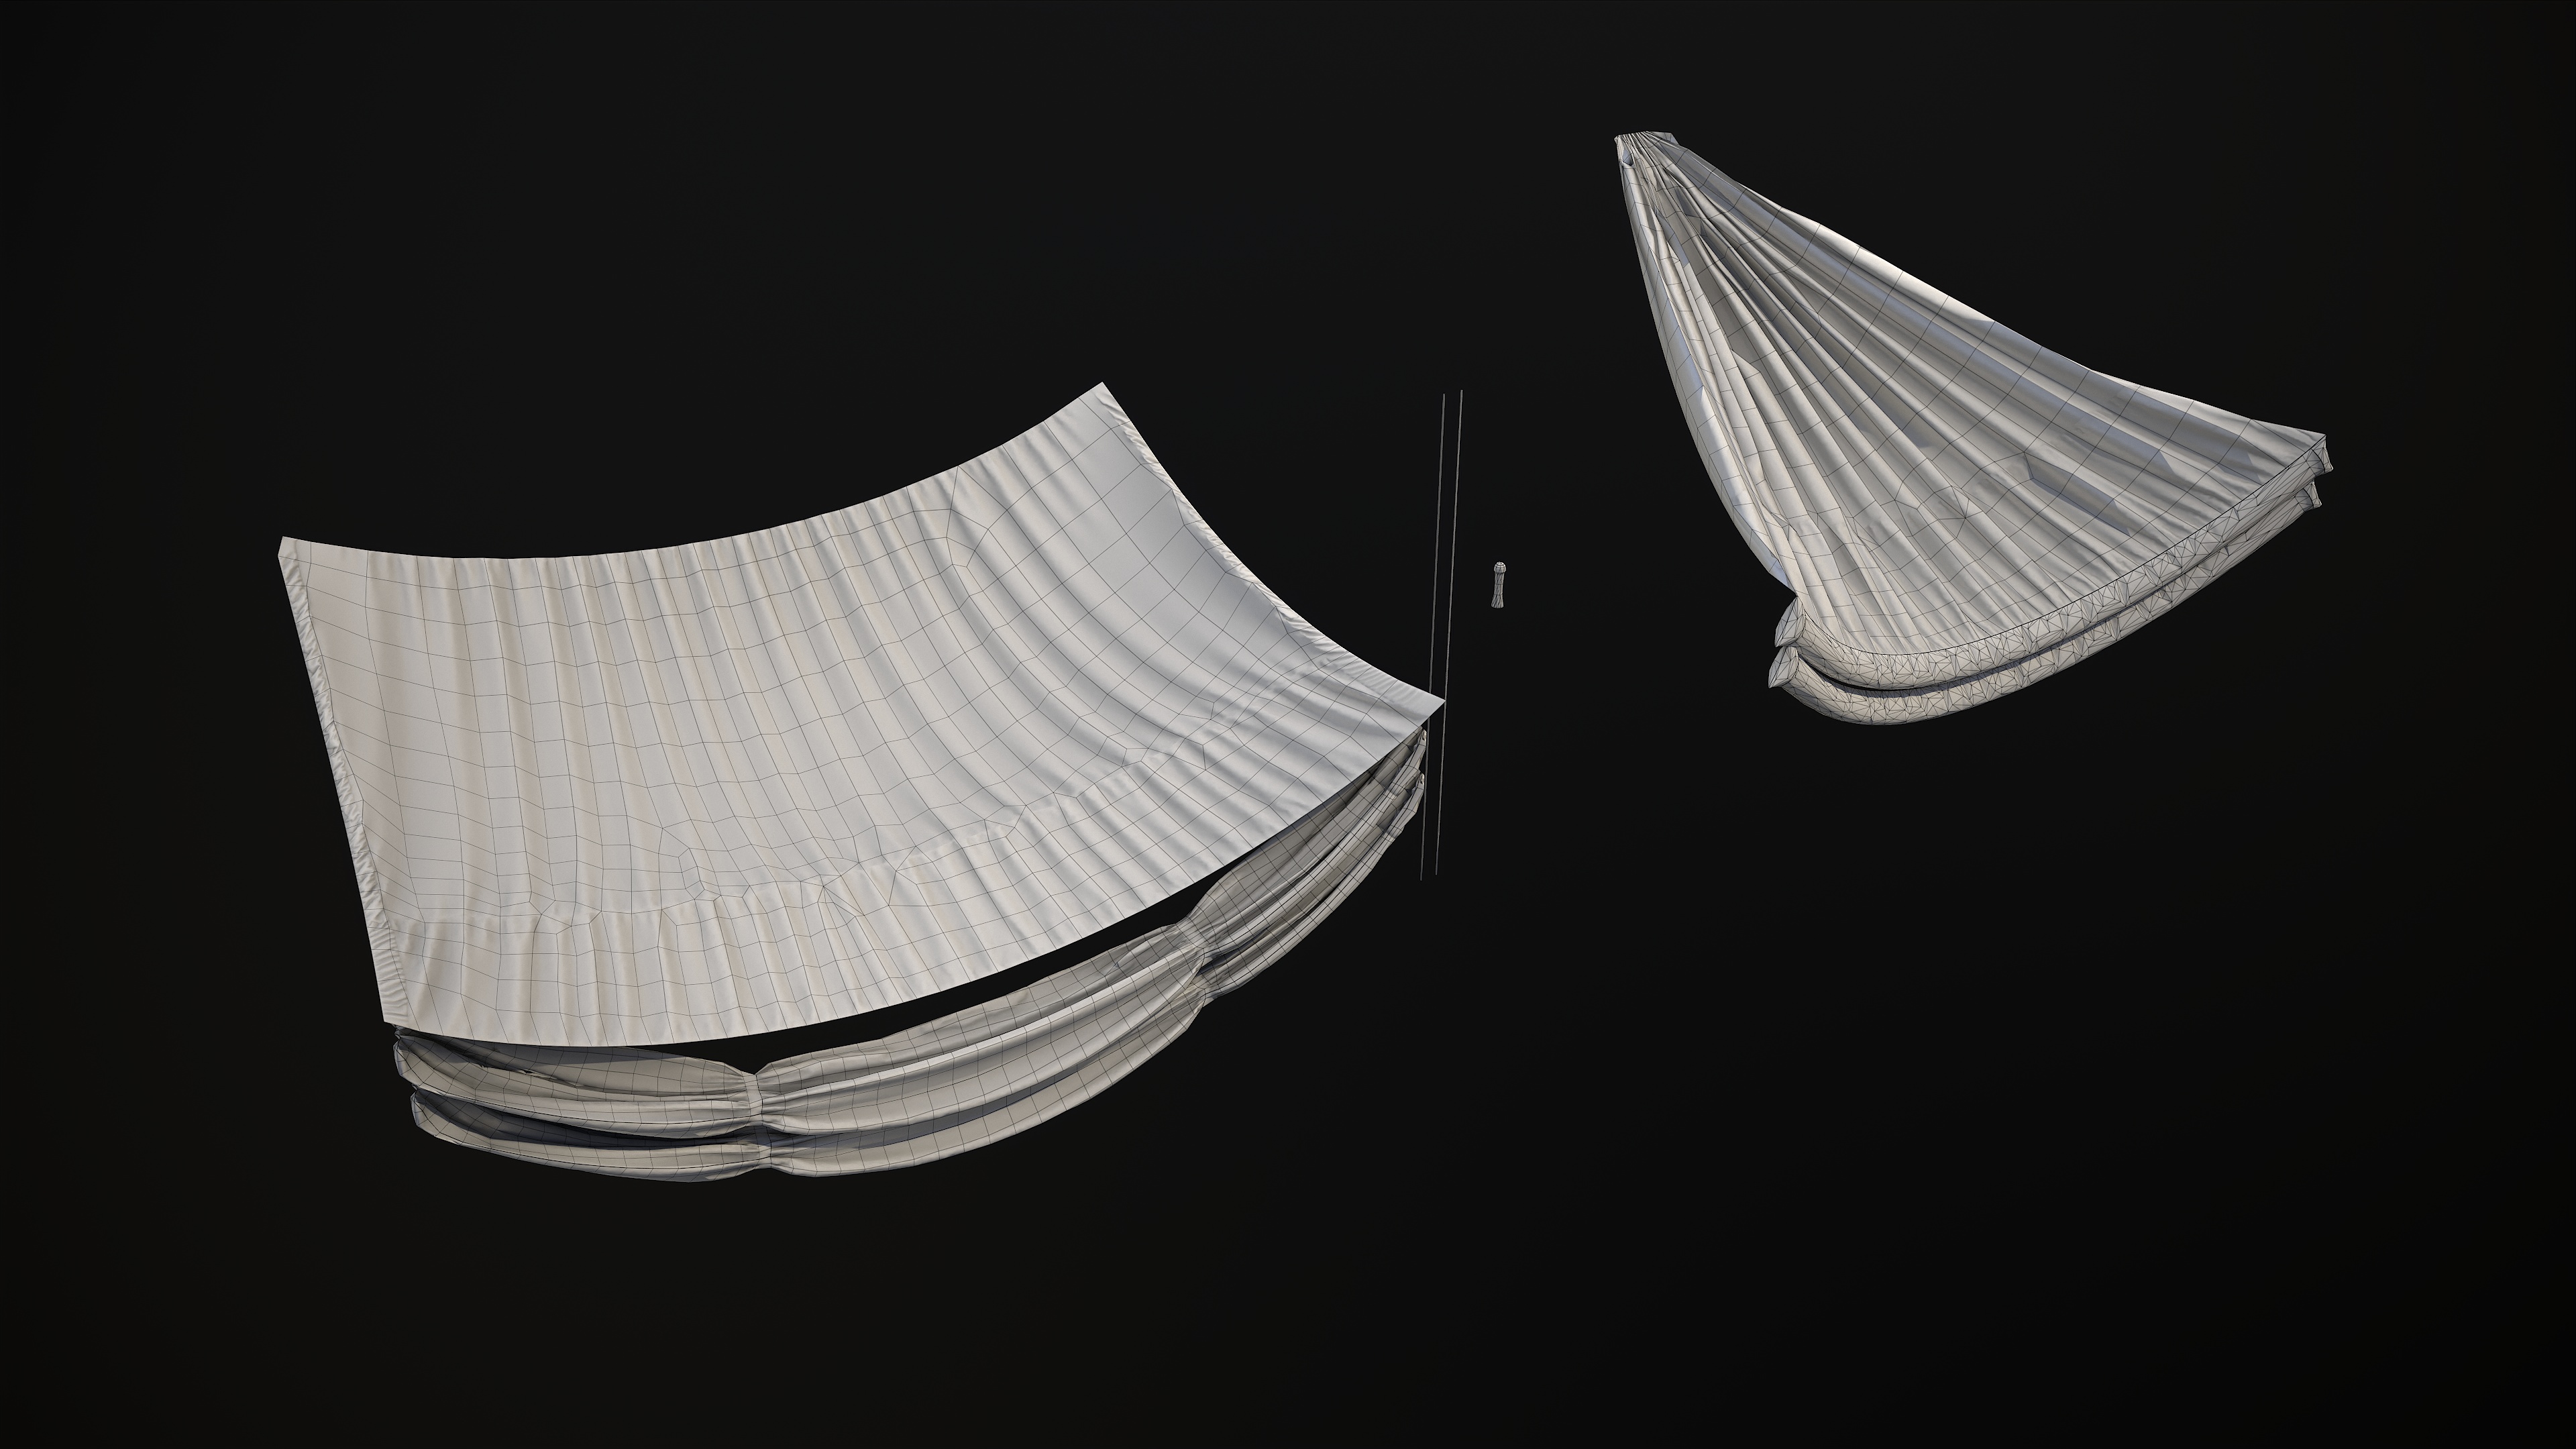
Tips for Fellow Artists
Sometimes it's better to create a main cloth simulation in Marvelous Designer and add micro details such as folds and torn in Zbrush. If your fabric components will be attached to some other hard parts, it's better to make them in your 3D package (3DsMax, Maya, Blender, etc.) and import them into Marvelous to keep the connection precise.
Future Plans
It is not the first time I'm using Marvelous Designer in my workflow. Previously, I've used it for environment art and concept design often. Marvelous is part of my main toolset, and I'm going to use it again soon, in my project.
Overall Experience
In this article, I've described the process of creating tents and canopies, but I used Marvelous for multiple assets during the development of Wanderer: The Fragments of Fate. Certainly, Marvelous Designer saves a lot of time when working with cloth simulation and provides the best result. It is easy to use reliable software.
이 작업은 Maya, Substance, Environment, ZBrush, EnvironmentalArt, game 등의 기술로 제작되었습니다.
Marvelous Designer로 이와 같은 3D 의상·캐릭터 작업을 직접 만들어볼 수 있습니다.